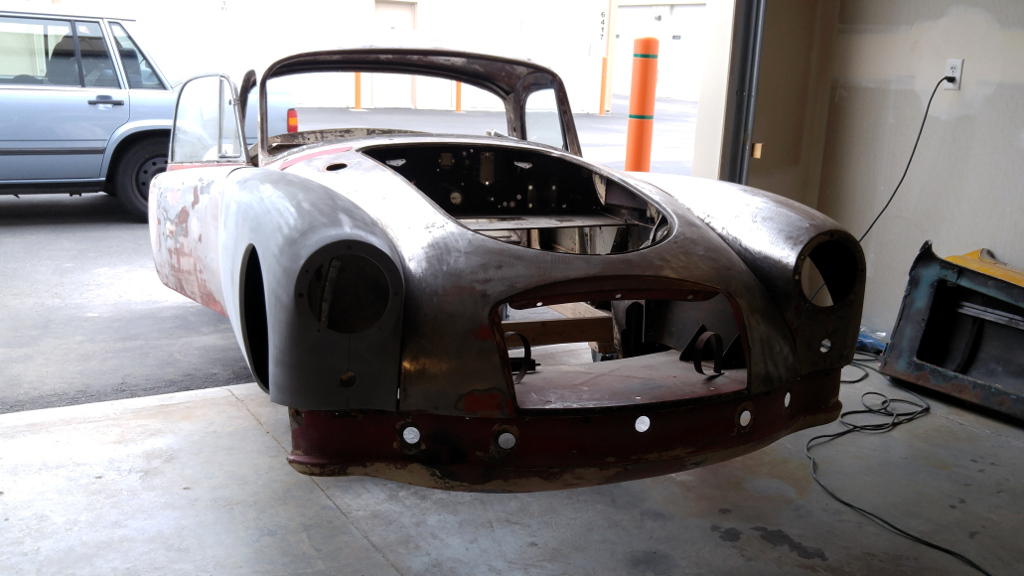
This past week, we’ve been very busy with the MGA. This is easily the biggest project we’ve taken on yet! So far, things are going quite smoothly. With the body and chassis separated, we have devised a system for getting this thing done in a timely fashion. So I’m taking on the body and Jesse is going to handle the suspension and brake work that still needs to be done. We’ve both been busy with our respective tasks, but sadly for Jesse, his jobs involve waiting for a few new parts to arrive. My job on the other hand only requires some sand paper, a body hammer, dollies, and a little body filler. I’ve already gotten a fair amount of the work done, so it’s time for a quick update!
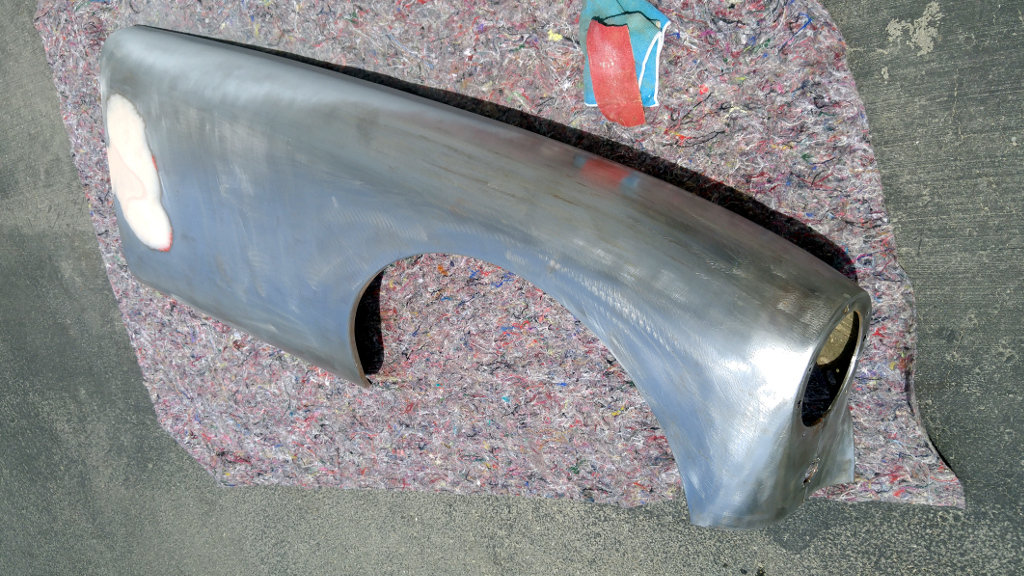
Most of my work is sanding, but let’s face it, that isn’t particularly interesting to do or read about. So we will just skip over that, although this fender does look pretty good (don’t you think?). What is interesting is watching damaged body panels come back to life! One of the few panels that hasn’t already been worked over by the previous owner’s body shop is the front valance.
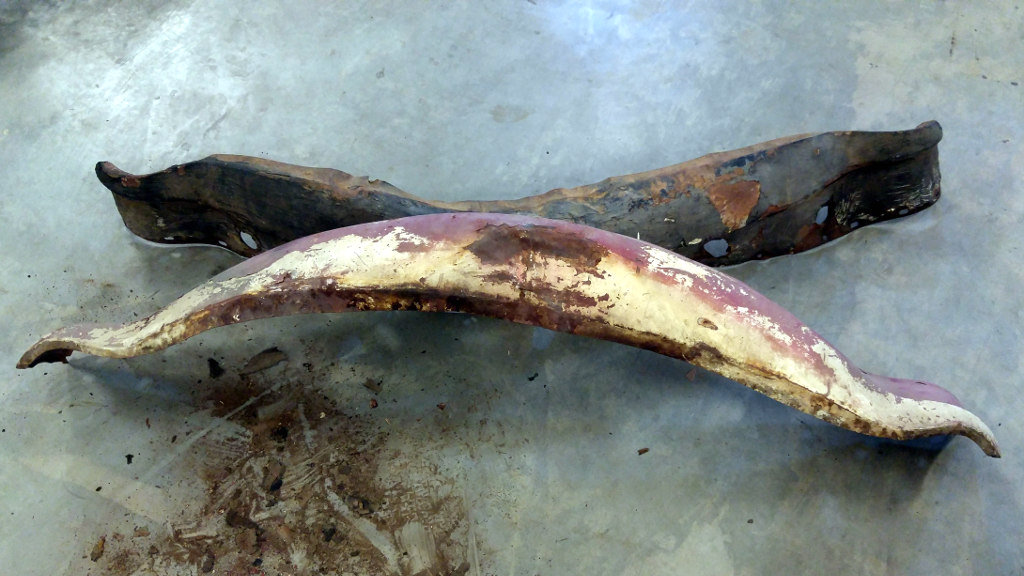
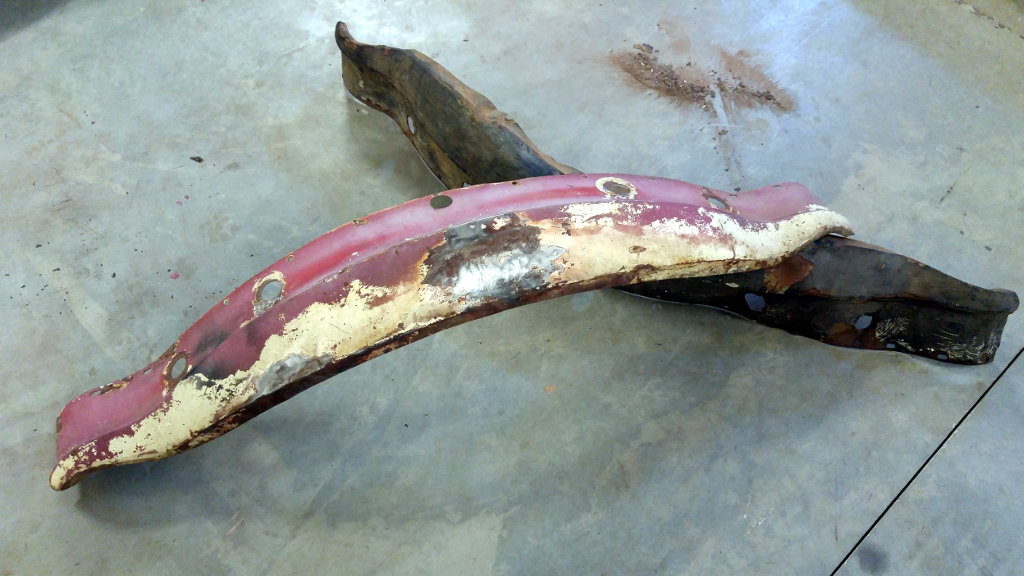
This fairly simple piece of metal would be costly to replace – almost $500. We talked about going with a cheaper fiberglass Sebring style valance, but before spending any money I wanted to try my hand at straightening out the original first. Clearly it has seen better days.
So I grabbed my body hammer and set of dollies. Before doing any hammering though, I sat down on the floor with this poor old valance and I studied it (I also knocked off a decent amount of dirt and rust). Doing body work on my Fiat, I learned from experience how important it is to understand the dent your fixing. If you just start hammering away, you might end up creating creases or worse you can end up distorting the overall shape of the panel. Using my dollies for reference, I studied the curves and contours of the undamaged areas to get an idea of how it should be shaped. Once I knew the panel well, where the impact took place and the depth of the dents, I got started with the job of pounding this panel back into shape.
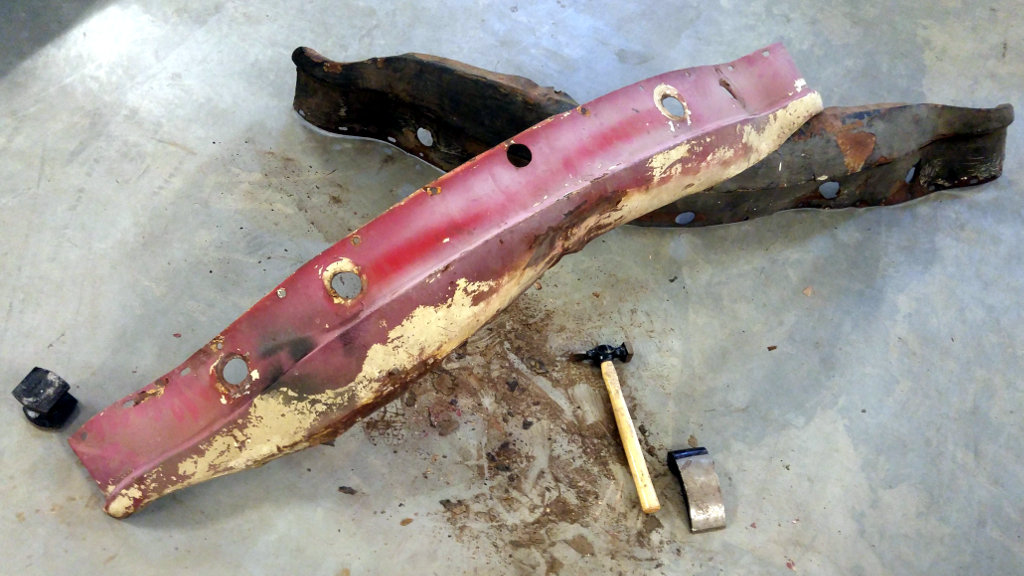
Getting it back to it’s correct curve took about an hour or so. With each drop of the hammer, I would check the shape of the panel from several angles to make sure I was headed in the right direction. Little by little, this panel returned to it’s correct shape! As I was shaping the main dent, I noticed a couple dents on the left side that was messing with the curve, so I pounded them out. I also went ahead and flattened out the bumper mount holes.
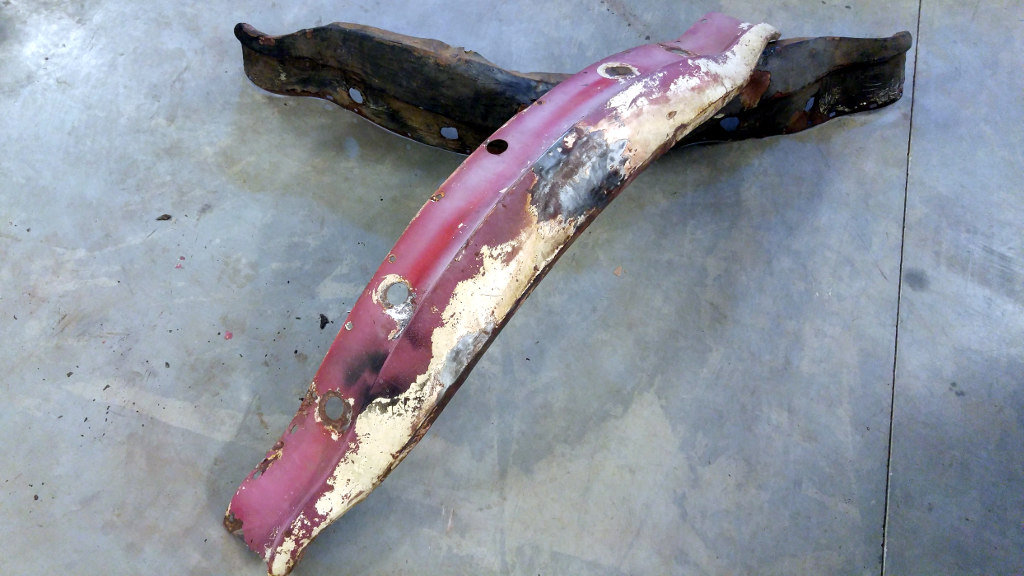
I still have some small adjustments to do and it will need a little glazing putty to cover the hammer marks I couldn’t get out, but overall it looks great. Once I get the rest of the paint stripped off, it should be about ready for primer and shiny new paint!
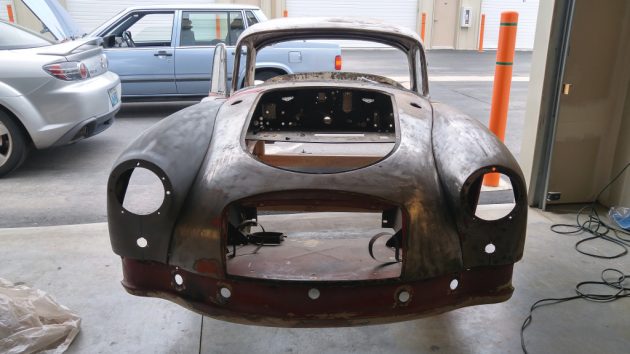
Sure my time cost us a little money, but far less than a replacement, even a fiberglass one would have cost more! And to be honest, it was kind of fun, well at least compared to sanding. As you might have noticed in our photos, we have an extra valance, so I might see about fixing that one up too. Doesn’t it look great bolted back onto the body where it belongs? Be sure to keep an eye out for more updates, specifically an update about setting the doors on an MGA Coupe!


Great work on the valance. Are you guys going to do your own paint, too? Ron…
Yep, going to attempt it.
More power to you your doing a great job look forward to seeing more as the car progresses .
The most difficult part of this build in my opinion will be the door fitment make sure they open and shut correctly before painting.We have restored several coupes get the door fitment right and you will have a beautiful car.Good luck! Dennis Collins
Thanks Dennis! Yeah I spent a whole day adjusting the passenger door, I’ve finally got it set right. The driver’s side still needs to be done, but it needs a lot more work. Hopefully I can get it lined up right as well. These really are beautiful cars, so I want to make sure we do this one justice!
So………what is that, 600.00 in labor?
good to see how the old girl is changing. Give me delight to see it slowly changing toward the finish line. Have you thought about putting a Mazda twin cam with a 5 speed?That would make a nice driver.
Can you give us any tips on the doors Dennis?
My 59 coupe. I haven’t been able to get the doors right. I read in MG Guru that you could heat the hinges and bend them as needed.
Looking good. Can’t wait to see how it turns out.
Nothing is as satisfying as saving those original panels. Way to go, now you are restoring something. I was about to give up on this hobby, i am reinspired. Thanks!
Hey I’m happy to hear we re-inspired you in someway! So many people want to cut corners or avoid the hard work, but I want people to see with this car that you don’t need a big budget to build a sweet car. It’s still not going to be cheap all said and done, but we will have the satisfaction of knowing we built something with our own hands. Plus we will have a great car when it’s all done!
This is really great! You guys are going to have a really nice big-dollar car when you are done, based on the attention to detail that you are giving this! Here’s a picture of an MGA roadster I did a few years back… these motor compartments can look really nice with just basic detail work. (ok, I kinda over-did it with the yellow accents!)
dm
Looks sweet Doug! I’m getting excited for the detail work, there’s something gratifying about it, plus it will mean we almost ready to take the car out for a drive!
I’ve never attempted my own body work but it looks to be quite gratifying. Starting out with a dented panel and massaging it back into shape – all at the work of your own hands. Nice job, guys!
Yeah it really is fun, well relatively fun that is. It feels great to watch a panel like this return to its original shape, but it’s still a lot of work. Truth is though, I’d pound out dents all day long if it meant I didn’t have to do any sanding!