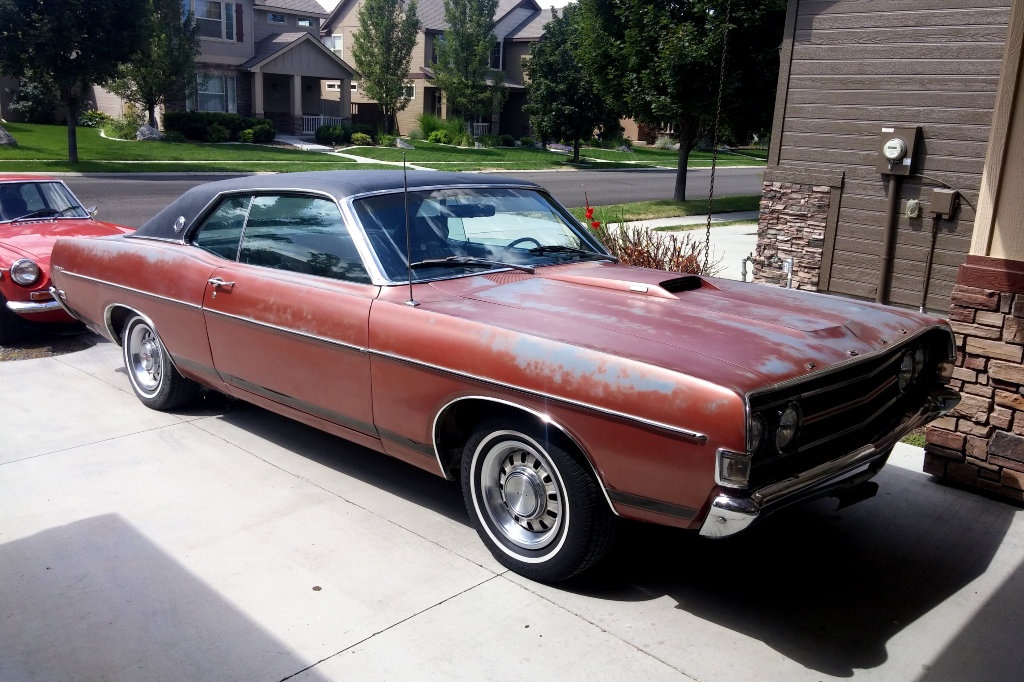
Well guys, I recently promised an update on our 1969 Ford Torino GT and here it is! For whatever reason, Summer is the busiest time of the year for us, so it’s been hard to get out to the garage and work on our cars. We decided a couple weeks ago that we needed to spend at least two mornings each week in the garage and here is the first of the results of this endeavor. If you remember back to when we got this Torino GT, it was looking rather sad, as a matter of fact we were a bit embarrassed to be seen in it. It was still a sweet machine, but the paint looked so bad that most people looked shocked that it even ran.
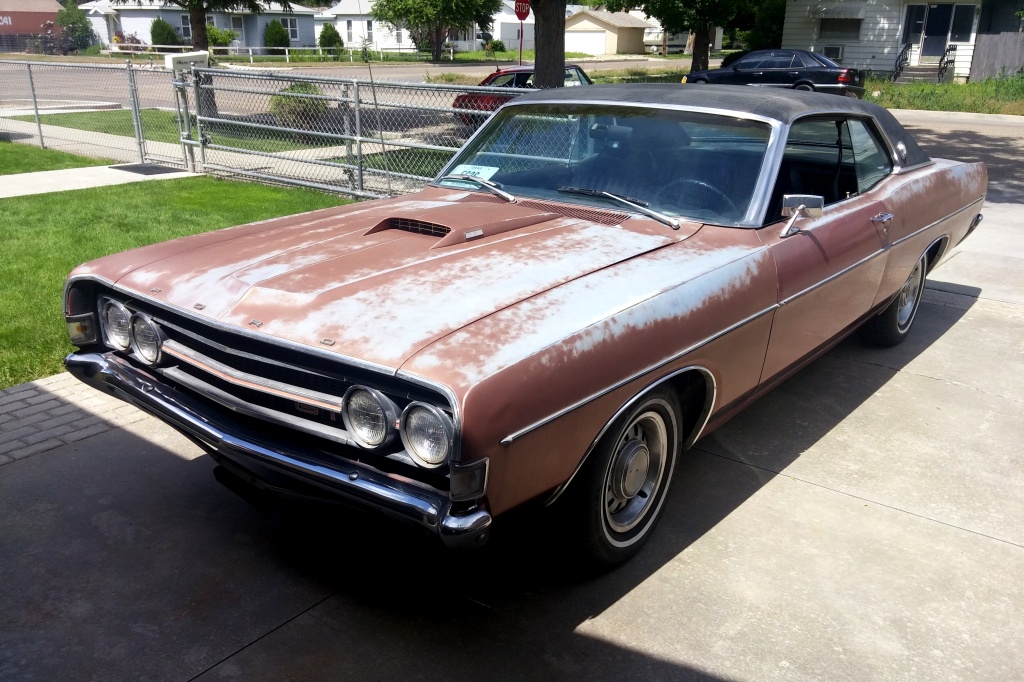
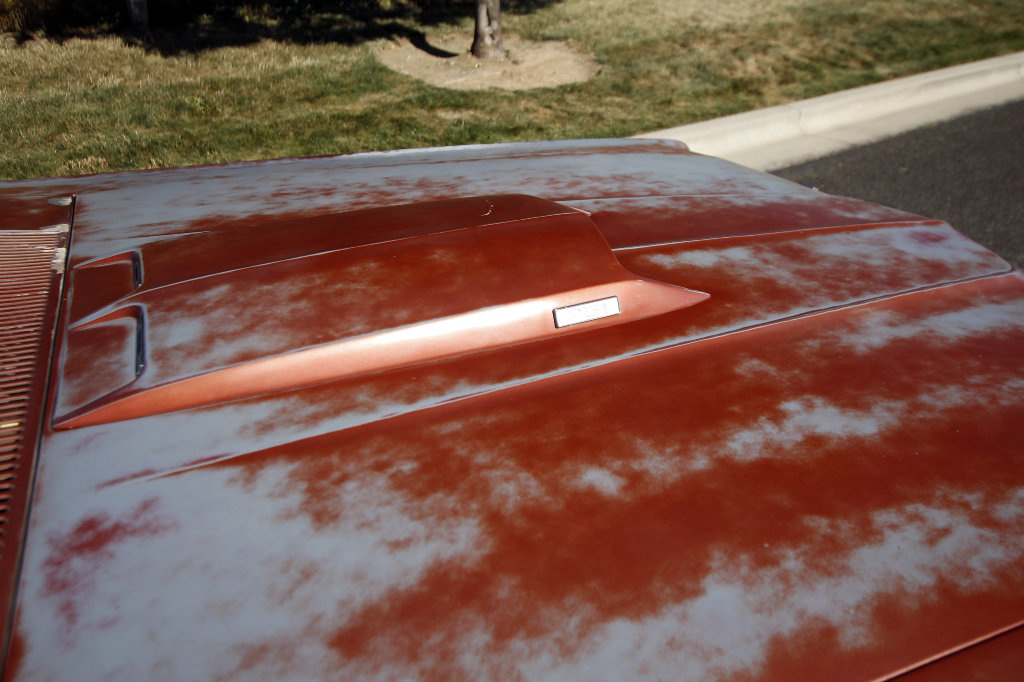
In a previous post about the car, we asked you guys for help with coming up with a plan for it and we got all kinds of input. Some thought we needed to paint it, others wanted us to leave the paint alone, so we found what we felt was the middle ground. Now if you’ve been with us for any period of time, you probably have heard about our little white Mustang. We got great results from polishing and waxing the old worn out paint on it, so we decided we would try refreshing this car’s paint. Our approach would be a bit different with this beast than it was with the Mustang. Rather than wet sanding, compounding and polishing we felt this car needed a more careful approach. So rather than diving right in, I spent a good half hour just studying the paint and body. It might seem strange to just study the paint, but in all honesty it was the best use of time spent on this car yet, as it revealed a lot about the car’s history (we’ll get into that later!).
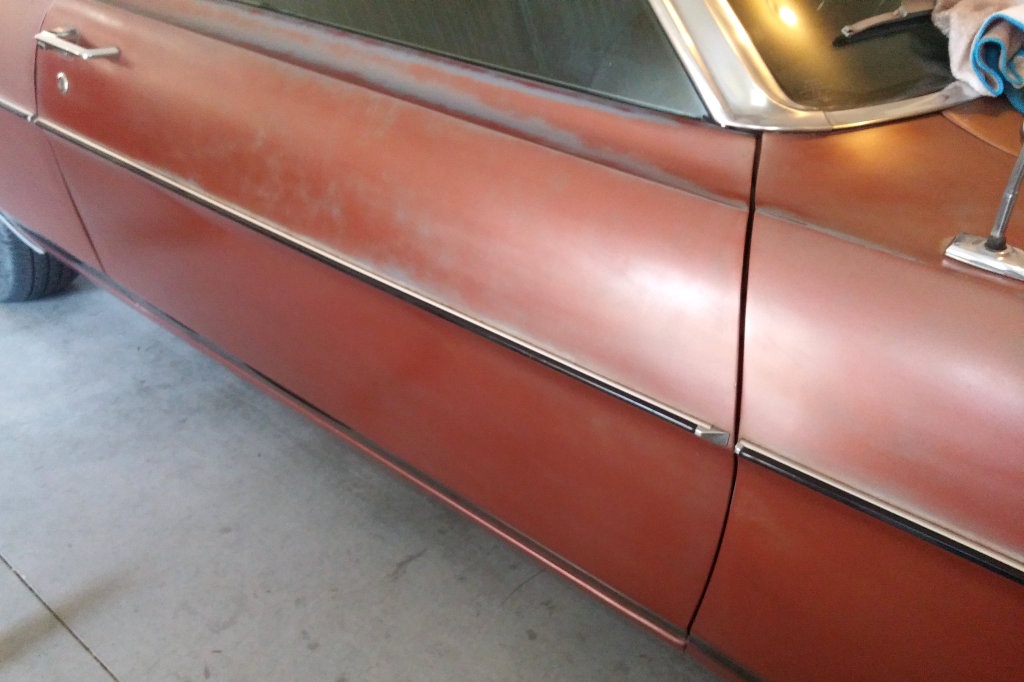
Once I had a good idea of what I was dealing with, we decided the paint needed to re-hydrated before anything else could be done. I put down two coats of show glaze, which puts nutrients back into the paint. Right away, the car looked better, but I knew it had more potential than what just a little glaze had to offer. I felt the next step in the processes was to go over the entire car with a very light cutting polish. I did most of the polishing by hand, but for the more stubborn areas of oxidization, I used our small orbital polisher that attaches to a drill.
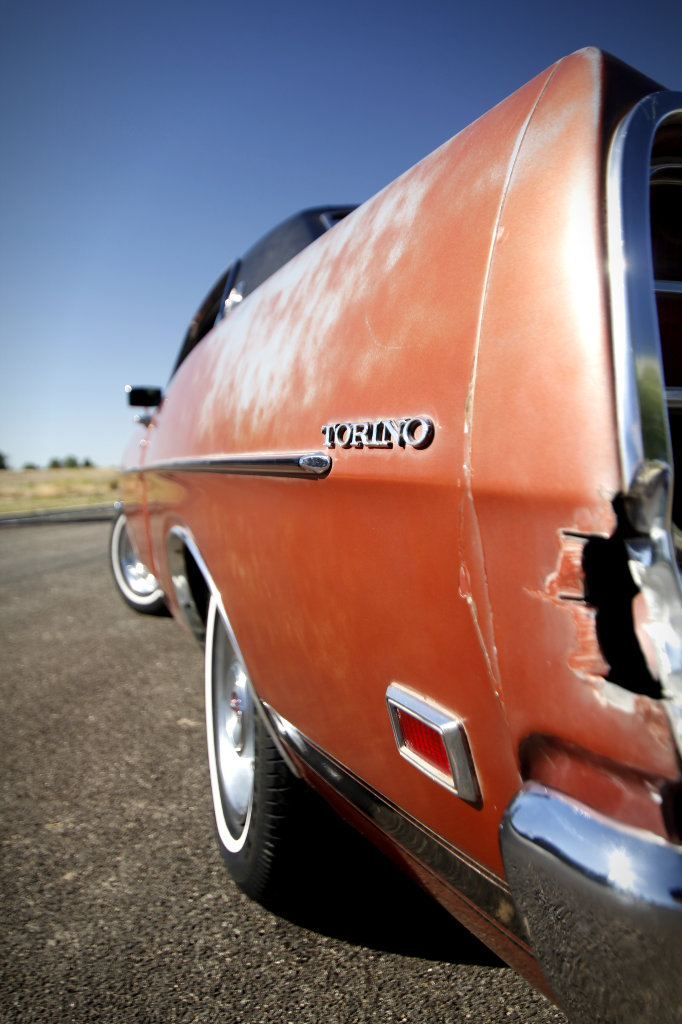
This part of the processes proved to be time consuming and meticulous, but I think it was well worth the work! After spending so much time hand polishing, I’ve come to know every square inch of this car quite well. Doing it by hand also cut down on the risk of burning through the paint, although that probably wouldn’t have been much of an issue for this one. You see, this car hasn’t been repainted just once, but twice. Now as for why it’s been repainted multiply times, well I can’t really say. I couldn’t find any signs that the car has ever been in an accident or been restored. It could be as simple as a previous owner deciding the paint was ugly and needed refreshed, but we will probably never know. On the upside, it means you could probably wet sand the entire car to reveal the original paint. The areas where I found exposed original paint, it shined up extremely well! We decided it wasn’t worth the risk though, as you just never know what might be hiding under a respray. While the last respray wasn’t the best, the first appears to have been done quite well.
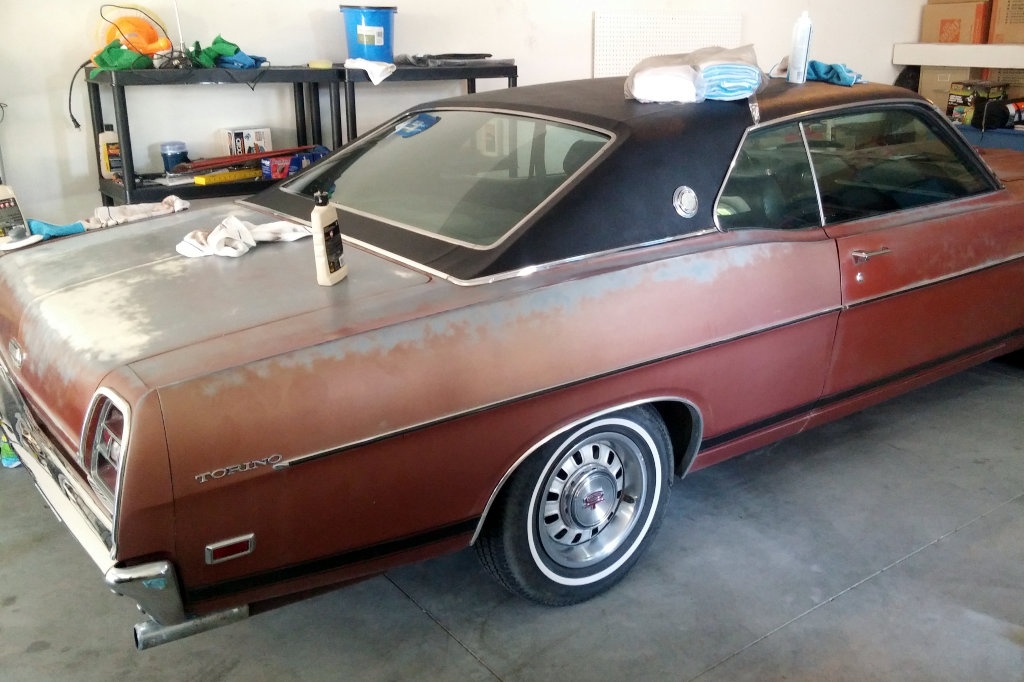
Once the polishing was completed, I grabbed my machine glaze. Like the glaze I put down on the first day, this glaze is designed to put life back into the paint, but it also has a bit of grit to it. It’s not as aggressive as polish, but does a nice job of evening out the paint’s surface. This isn’t a product you want to put down and leave, as it can be quite difficult to remove once it’s fully dried. Once I had gone over the entire surface with machine glaze, I gave it one more coat of show glaze to insure I had good depth and color. At this point, I thought about just being done. I already had several days worth of work invested and it looked pretty good. But having left the project and come back several times, I had seen how quickly the paint lost it’s luster and clarity, so I laid down a couple coats of wax. By the final coat, I was ready to be done, but thankfully Jesse’s wife wanted to help out and was excited to help with waxing the car. While she finished up waxing, I worked on freshening up the wheels. We had asked you guys what direction we should go with them too and in the end we decided to just clean up the originals.
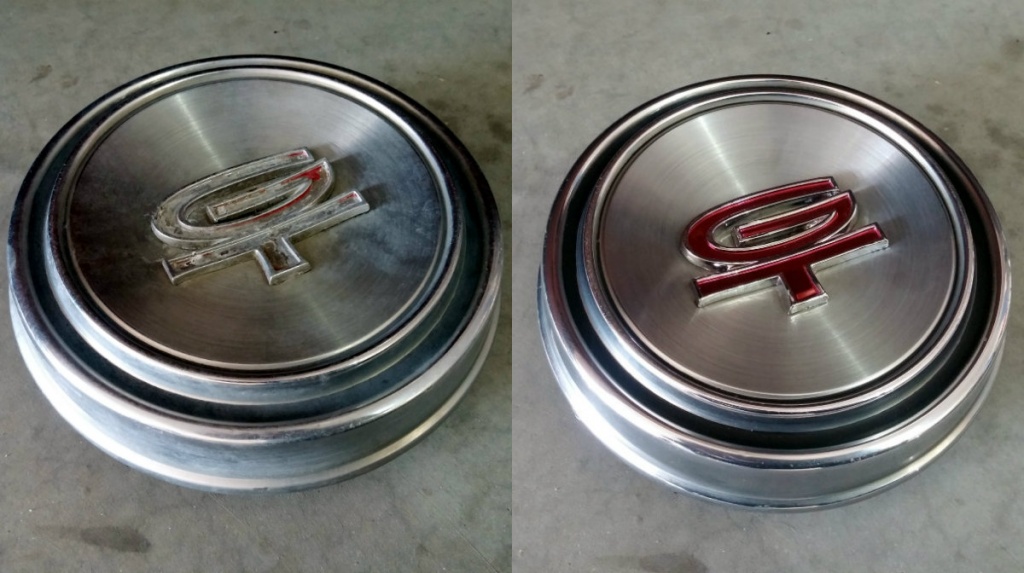
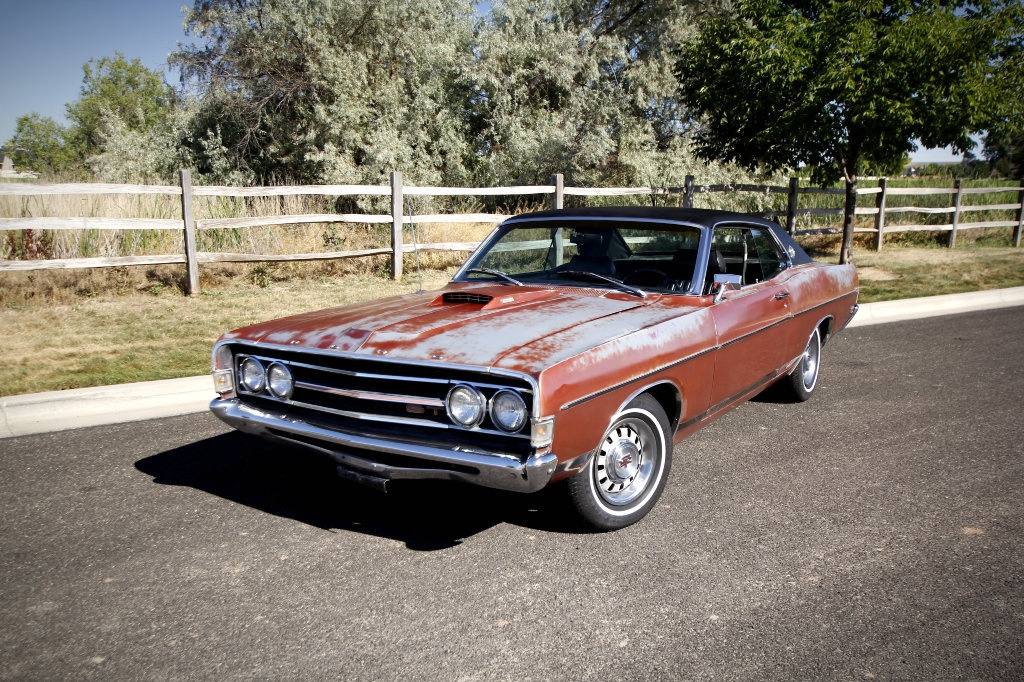
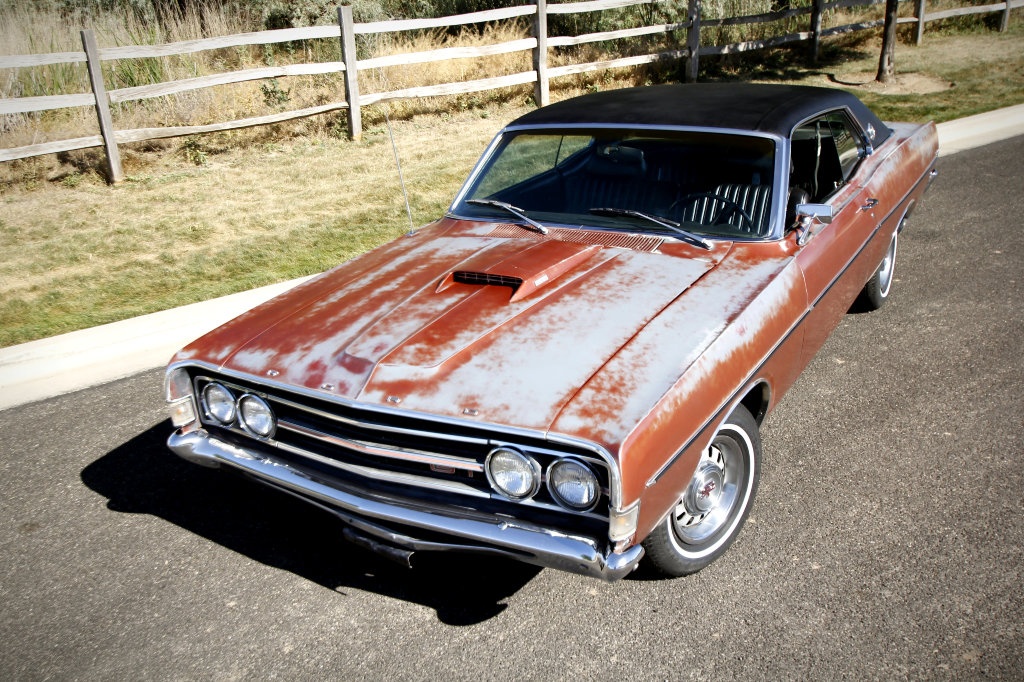
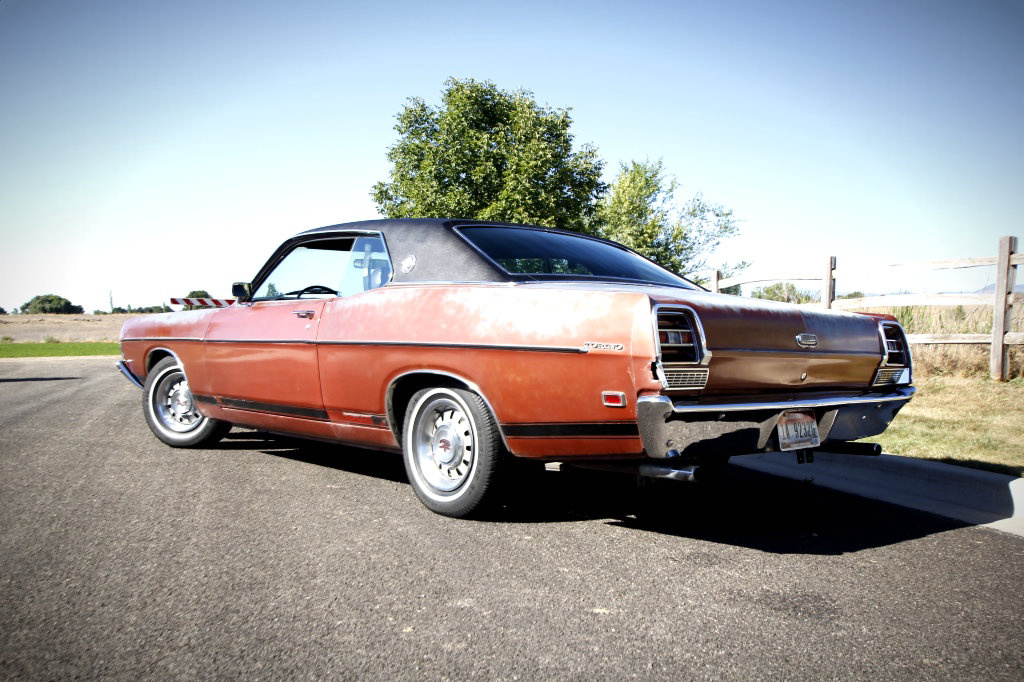
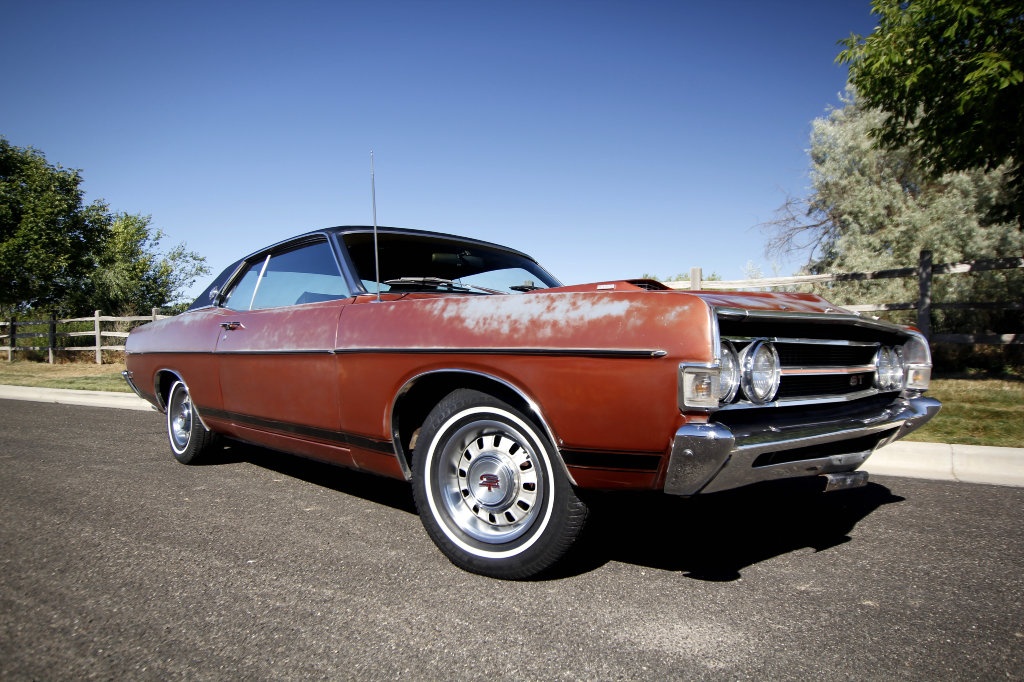
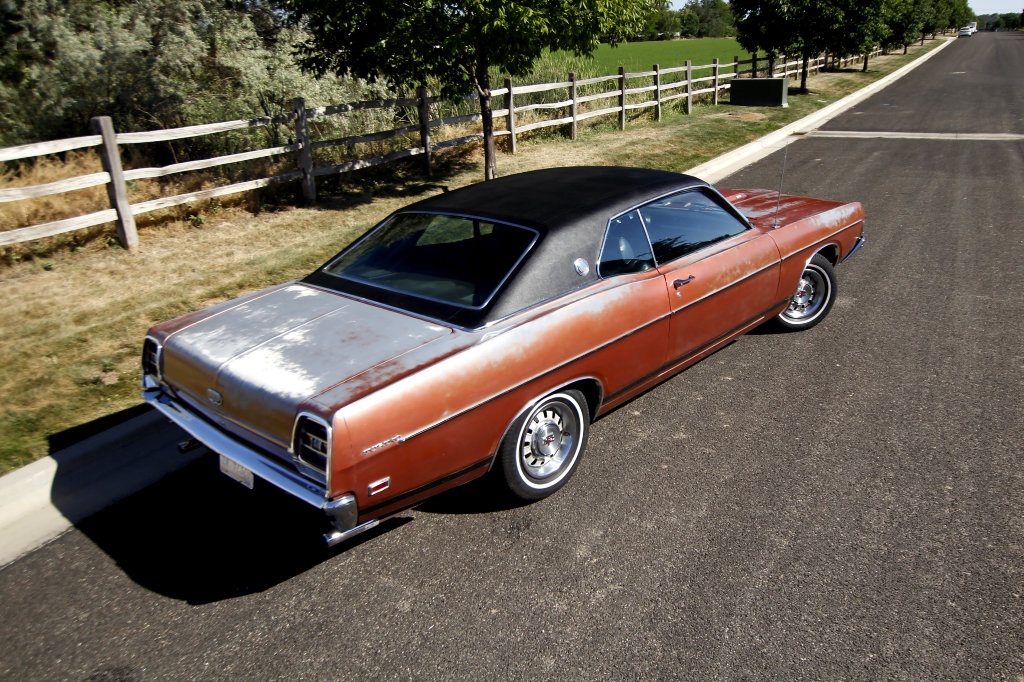
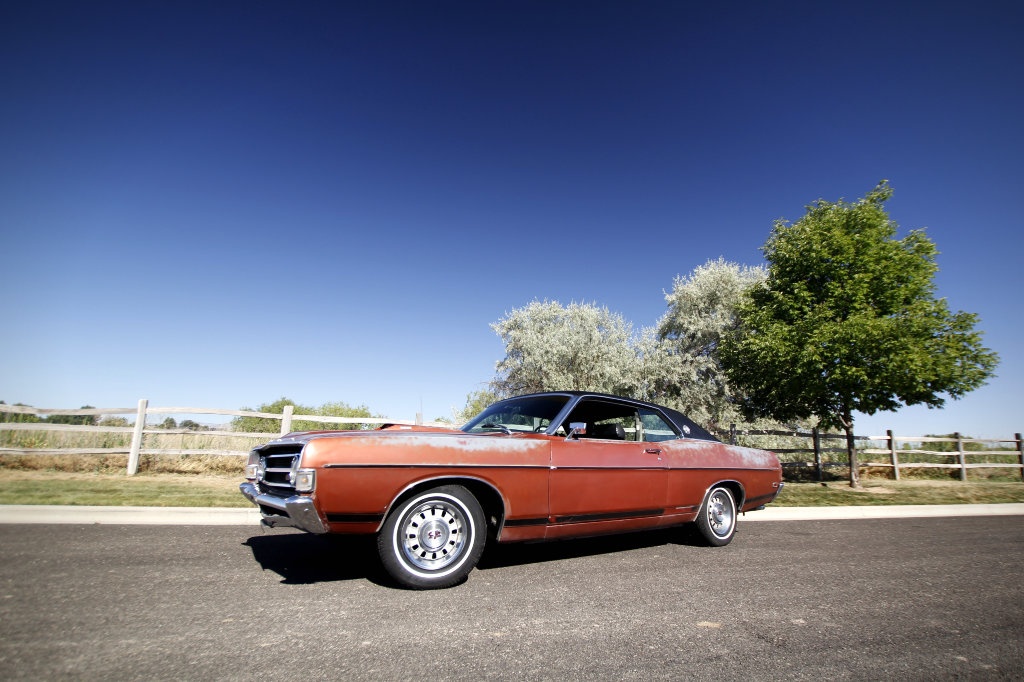
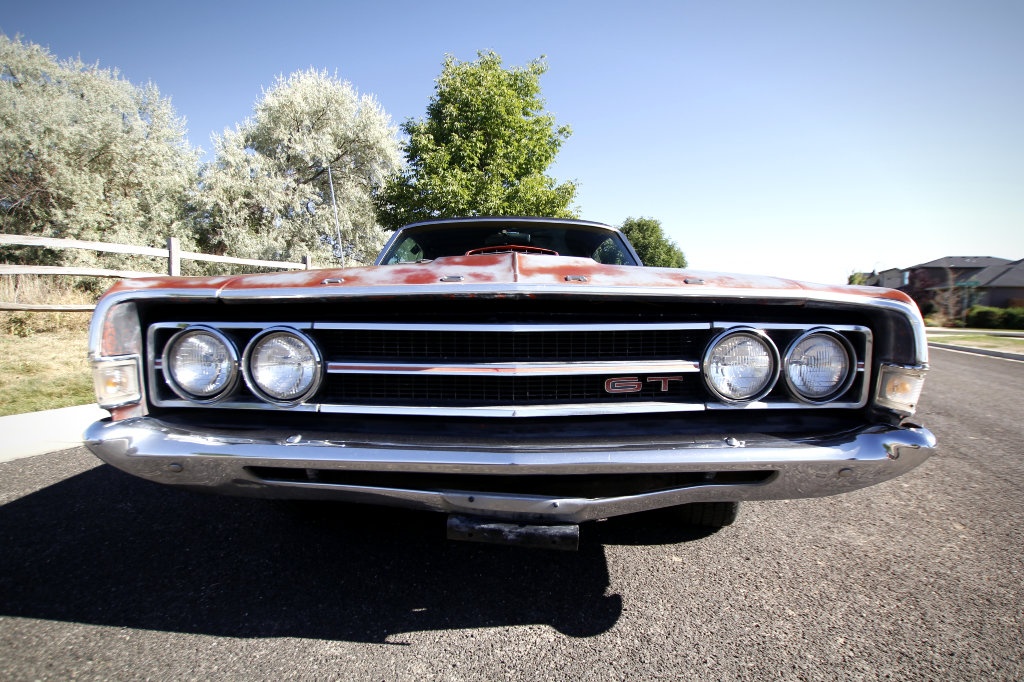
At first, I wasn’t too sure about keeping the old rims and caps, but once we installed all new GT badges and polished up the hub caps and beauty rings I decided it was the right choice! They turned out great! I even cleaned up the white lined tires. The rims could benefit from some new paint, but they look alright and it keeps some of the car’s history. While I was doing the final touches to the wheels, Marie worked on cleaning up the windows and chrome trim. I had to help her with the bumpers, which had lots of water marks and oxidization, but they cleaned up extremely well and from a short distance look like new! Once we had all the chrome cleaned up I knew this beast was ready for a photo shoot! Jesse wanted me to wait until we had a new antenna installed, the interior detailed, and the roof badges replaced, but he had already detailed the vinyl top, so I felt it was ready for its time in the spot light.
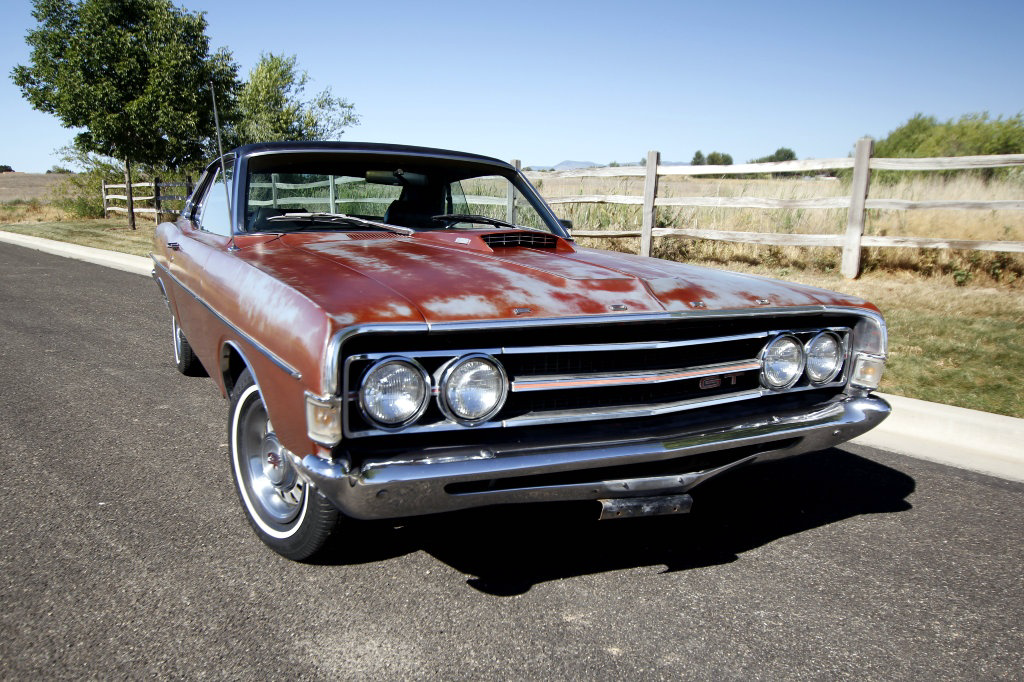
Boy was this a fun car to photograph! It was possibly the most challenging, from a sheer size standpoint at least! Thankfully, I have a very wide angle camera lens. But is just so photogenic, it looks good from every angle. It really is imposing all cleaned up, it looks like a genuine muscle car! It was about 100 degrees out while I was taking these photos, but I didn’t really notice. I was so blown away by how great it turned out, that I didn’t notice the sweat running down my face. We still have a lot of work left to do, but this has been one incredible transformation that didn’t cost much more than my time. We spent about $75 for all the supplies and I have about 20 hours invested in cleaning, polishing, waxing and detailing. It wasn’t an easy task, but was significantly cheaper than paint and you couldn’t ever capture the car’s story the way restoring the old paint does. Once we rebuild the carb, do a full tune up, and clean the interior, this car will be ready for some fun! We like to do events with each of our cars and we’ve decided we are going to hit the drag strip once it’s all done! So stay tuned for Barn Finds at Firebird!
You can see more photos of our Torino GT here on Drive!


Love it! Your hard work shows and it is a great looking beast!
car looks great and painting it again would have been a mistake. the dragstrip should be fun and draw a lot interest in the car and BF site. so who is going to have the highest trap speed/best et, you, jesse or jesse’s wife?
Jesse’s wife might give me a run for my money, but I think I can take them both! I guess we will just have to see what happens at the track!
Great job! Looks like fun!
Nice work, and thanks for the tips on finish restoration. Who would have thought the vinyl top would come back looking so good. What’s the next step?
Very stylish! I just bought one of these with a 428CJ in it. I wouldn’t do a thing to the paint on yours. I’m not planning to do anything to mine either, except cleaning it up. Thank you for the info on product you used. I will try the same on mine and see how it goes.