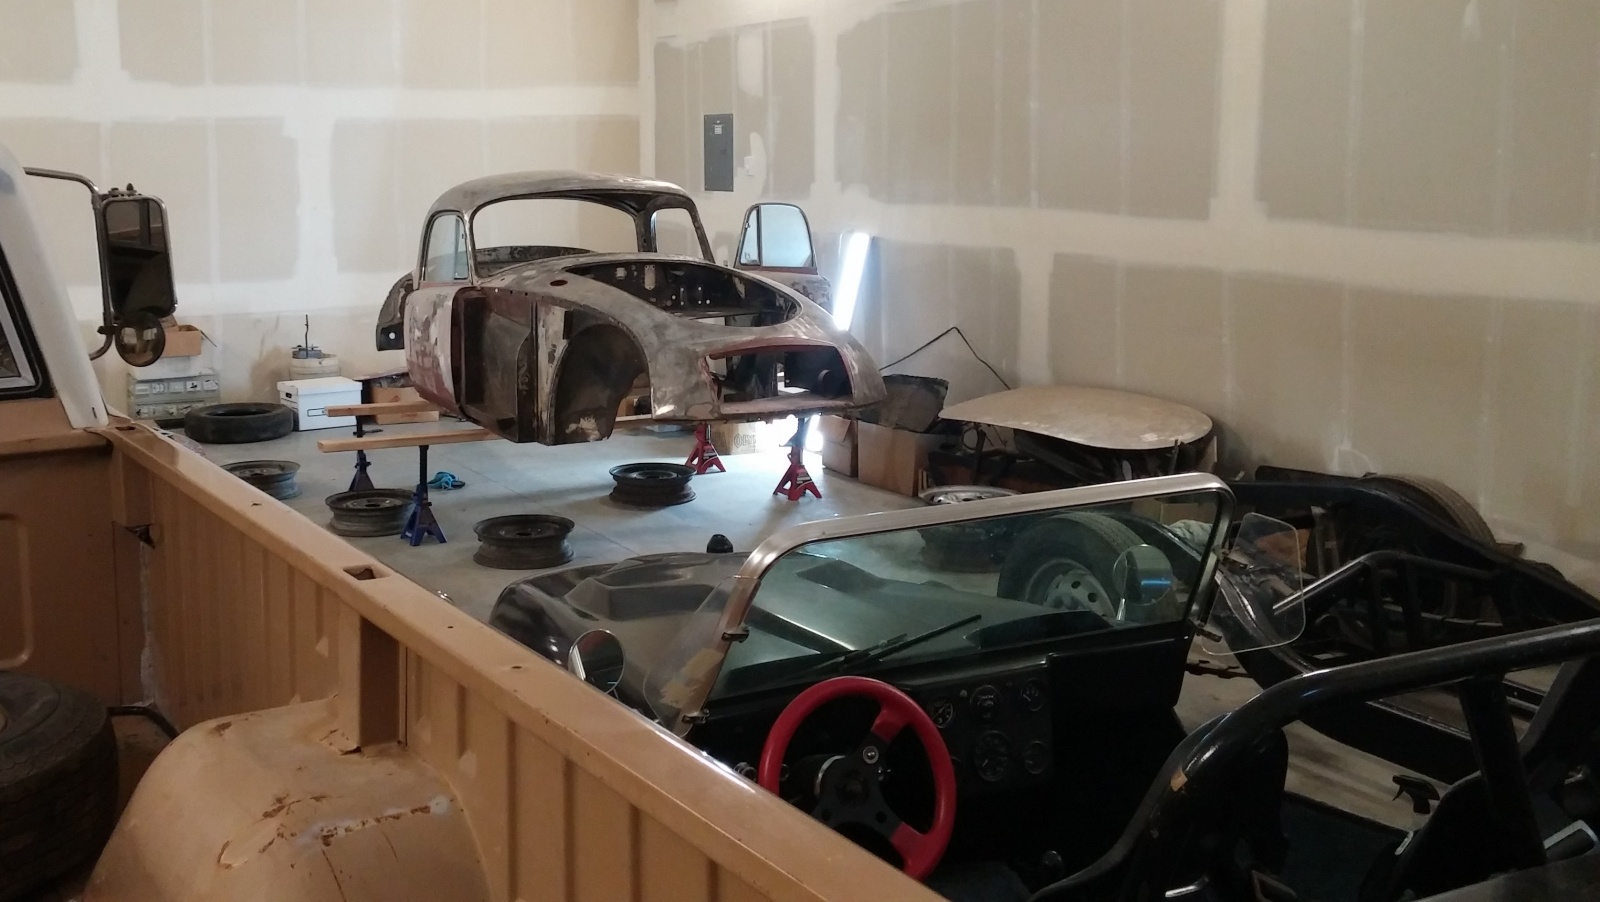
Here’s a quick update on what Josh and I have done to our MGA since it arrived at the garage. Just keeping the site running takes up most of our time, but we have been able to spend a few afternoons in the shop this past week. We now have the body pulled off the frame and mounted on a wooden dolly. We’ve also started cleaning parts and test fitting the body panels.

Take a look at that frame! Lynn had a professional make sure everything was straight before painting it. The rear brakes were then rebuilt and he even put wax paper between the drums and rims. The suspension has been rebuilt too and we were surprised to find disc brakes out front! We haven’t taken the time to figure out if the parts came from a 1600 or an MGB, but either way it’s a welcome upgrade.

Our dolly isn’t anything fancy, but it works. The frame is made out of four 2x4s that were screwed together to form a square. We added a couple of blocks at one end to line up with the rear body mounts. We also added some big wheels to make it easier to move around. After sliding our frame under the body we attached it with lag bolts through the holes in the mounts.
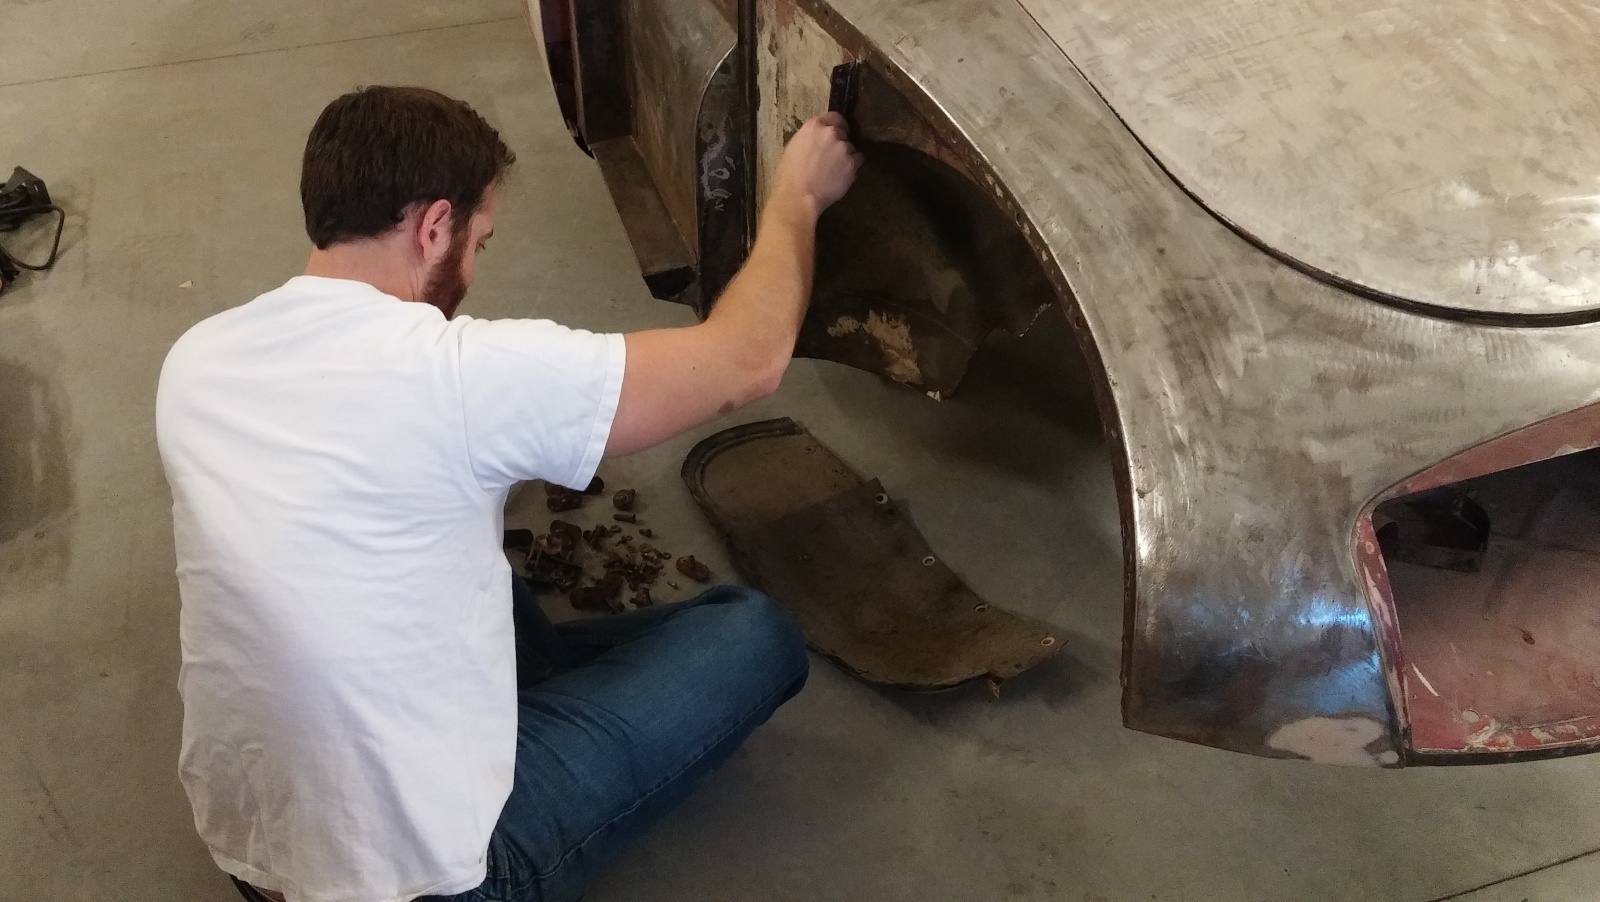
After that, we decided to take Doug and Alan’s advice and test fit the body panels before finishing the bodywork. But, first we had to figure out which bolts went where. Luckily, a couple of old workshop manuals came with our project.
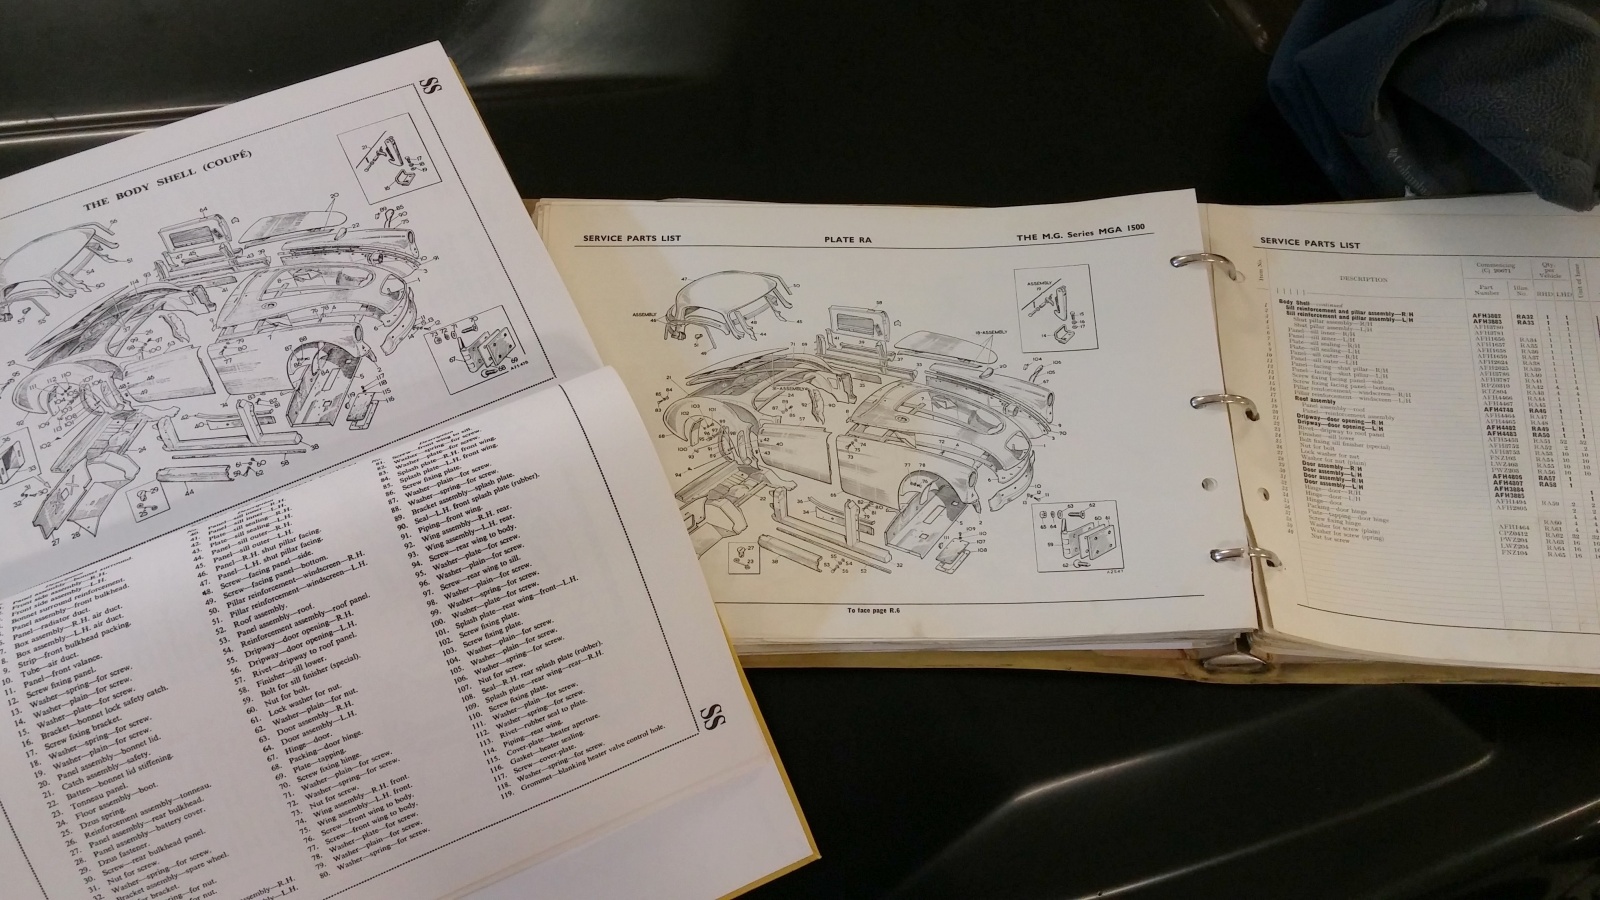
With the parts manual we were able to lookup the parts numbers and then we used this handy reference to decode those numbers. Even though Lynn was very organized when he took this car apart, I’m starting to think we might be further ahead with a hardware kit from Todd Clarke.
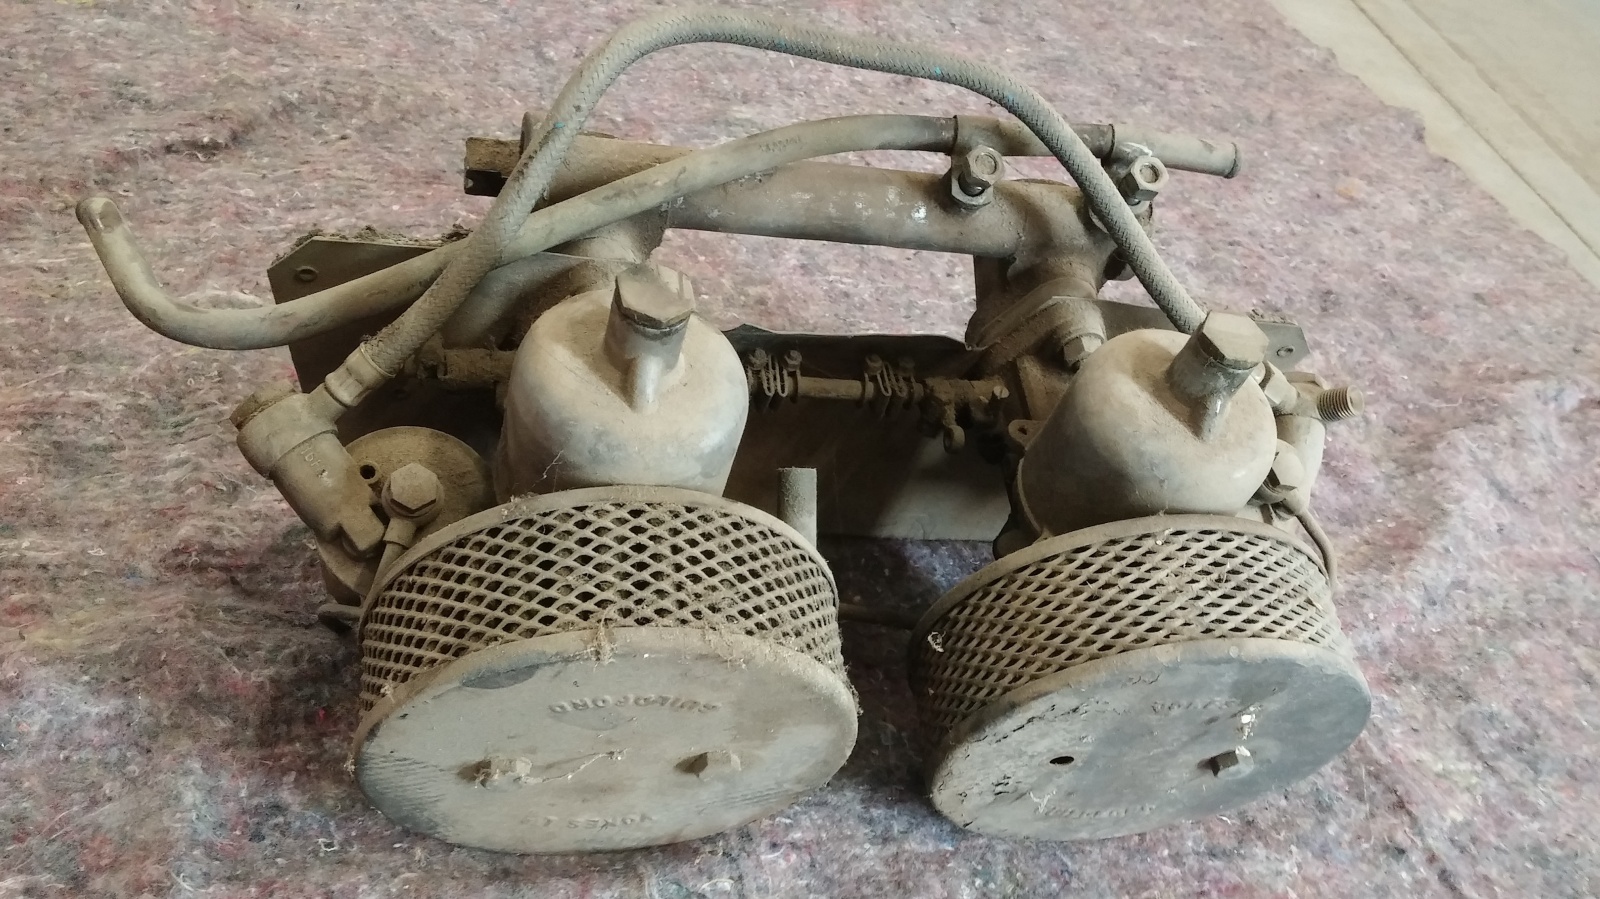
While Josh was doing that, I thought we would test out another bit of advice that was left in the comments. Jimbosidecar mentioned that he liked to use Pine Sol to clean up carbs before taking them apart. Our SUs were pretty dirty, so I thought we’d give it a try.
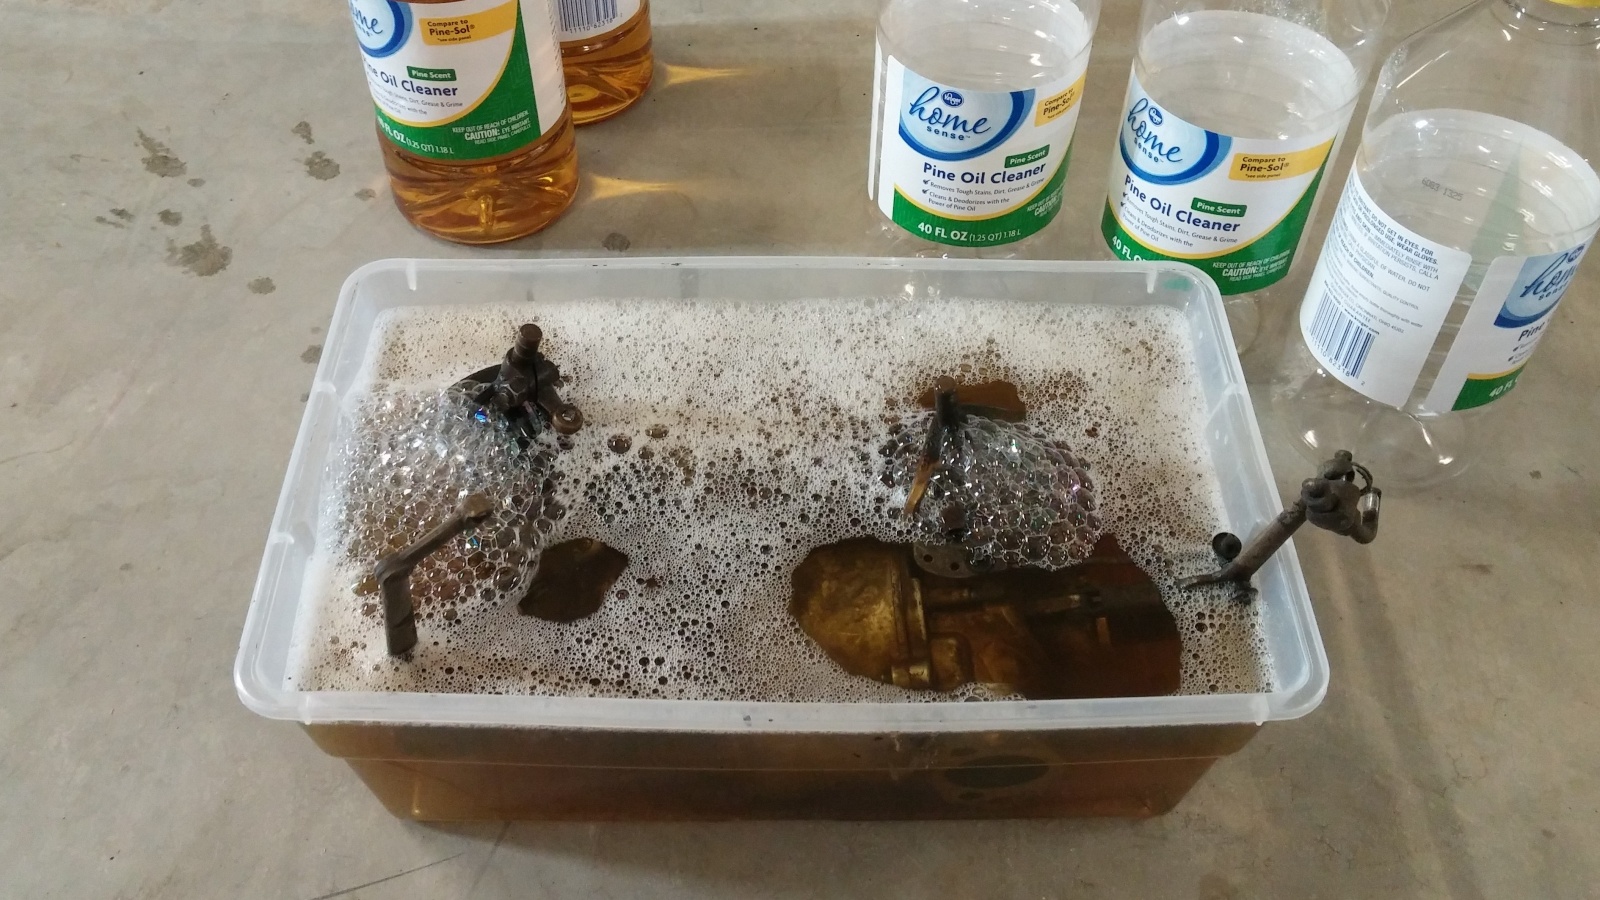
So, I took the carbs off the manifold and stuck them in a plastic bin. Then a couple of bottles of generic Pine Oil were poured in. We will see how they look in a couple of days. Even if it doesn’t work, the pine scent in the garage isn’t too bad. Stay tuned for more MGA updates!

Great project. I have been working on my 67 Chevelle SS for 2-1/2 years and find it very satisfying to complete check boxes from my worksheet. This is very helpful verifying that all is complete and without issues. It also allows you to note anything that might need attention further on in your build. Keep up the good work. I really enjoy your updates
Blake N
How intense is your restoration. I’m doing a 65 triumph Spitfire. Bumper to bumper. I think I could benefit from your check list. Could I get a copy please?
As you can see, it’s pretty intense. We probably need to put everything in a spreadsheet with deadlines, but the basic plan is to get the body painted while we put together the brakes, suspension, engine, interior, etc. Maybe someone here can provide us both with a general task list?
BRAVO.. Bravo!!
Great project and that frame looks wonderful. Those disc brakes may very well have come from a later MGA which was a common update. Having them saved you the trouble of finding and putting on your own front discs. Yesterday, for the first time in decades I saw a nice red driver condition MGA out on the street here in western PA. Made my day.
Looks like it’s off to a very good start!
Sterling effort! Building the body dolly was a step farther than many hobbyists would go! Thanks for the lesson!
Please do let us know on the Pine-sol procedure. I have never heard that, but am always tinkering with a set of old carbs…??
The Pine Sol works great! I just rebuilt the throttle body on my 92 Chevy 2500 with the 350 sbc. I took the whole thing apart first (although I did leave the throttle plates and shaft in place (they’re a pain to get set correctly and don’t matter if the bushings are tight). Removed all of the paper gaskets as well. I left it submerged for 48 hours or so. Clean up afterwards amounted to rubbing the worst dirt off with a blue shop paper towel. I did also use a couple of picks to get at places where it was hard, such in some of the bowls, slots, and air passages. I did use black nitrile gloves. When I was done, I strained the Pine Sol through a folded up paper towel to keep the particles out and it looks, in the bottle, as if it’s fresh and new, ready to be reused. Jesse’s right…the smell improves my garage space quite a bit.
I’ve used the expensive carb cleaners in the gallon cans with the basket included…the stuff that has the toluene and benzene and other dreadful carcinogens. Never again. The Pine Sol was miraculous. And BTW, the truck is running great too :-). Big shoutout to Jimbosidecar!
Having gone through a “restoration from hell” with my Austin-Healey 3000 that included a court case that I won, the opportunity arose where I was able to purchase my 1959 MGA 1600 Coupe already restored with hardly any miles. It was the restorer to took the financial hit when he sold the car, not me for a change! No more full restorations for me, although an decent MGA would be a good choice if one wanted the challenge. Good luck on the restoration!
I haven’t seen any mention of the year of this MGA. If it is a 1600, then it would have had the front disc brakes along with the engine having 1600 on the block casting, along with a 1600 badge on the front shroud near the windshield. If not, then a nice thing to have already done.
Sorry, should have mentioned that it’s a 1958 1500.
That is so purdy……great color and all the fixin’s.
Thanks. I love the colour too. When I bought her, she had chrome wires and wide whitewall bias ply tires, but now with Vredesteins and Minilite clones, she handles way better. The interior has the same red colour beading. And windup windows too, something you didn’t get with the roadster. And while my 6ft 2 in friend had a fun time getting in and out of the driver’s seat, he fit once in!
The disc brakes are readly available from moss. The doors are going to be the real chalange. I still dont have mine right. 59MGA coupe.
Keep posting
i see in the first photo that the dodge truck is still there. once that goes down the road you will have a lot more room to work with. you have made a lot of progress on the mg in a short amount of time. have fun.
The truck actually just shipped out last night and yes, it did free up a ton of space. Which I already filled up!
i hope the new owner of the truck will post an update to the site.
The home made dolly is a great tool for moving that body around. I hope the wheels are bigger than the ones on my craftsman tool box. Other wise a small screw or pebble will stop you in your tracks. In that event simply sweep or blow the floor clean with an air hose so it is free to travel. You probably already thought of that, but figured I would mention it just in case. This is something to consider if you haven’t already. If upon close inspection of the body you detected some surface rust on the bare metal is is possible that it also got under the bondo that had been applied by the previous owner. I would invest in a set or at least one dental pick and see if the bondo will pull off with that or not. If it does flake right off your going to need to do that to each area of bondo and perhaps remove it and start over. That is if you want the paint to hang on for say at least ten years. The last thing you want is someone crying about the quality of your work down the road after you sell it. Obviously lead fill is the prefered method although it does ad weight. Hopefully the body is straight enough for the hood, trunk lid and doors to hang correctly as well as the fenders. Triple check your ” Gaposis ” a term a friend of mine coined regarding the fitting of body panels. If they are uneven it is a reflag when buying a car as you well know. For me body work is very similar to hanging sheet rock and finishing it. My finger tips can feel any irregularities in the surface that would require more mud. Once you get it all smoothry LOL and your ready to prime and paint. I would also consider applying a POR type corrosion inhibitor on the underside as well as the wheel wells where crud can accumulate once it is going down the road. That would pretty easy to do if you can get your hands on a rotisere fixture. Or make one. Once you get all the parts and body painted up ( I am only assuming your will paint it dissassembled) , Be ready with the wiring harness and install that first before you reinstall the the body panels save you a lot of cussing later. I would not wait more than a week or two after it is painted before you put the body back together. There are many reasons for this suggestion, it will shorten the time those panels could be damaged while in storage or warping via temp changes. Metal has a mind of it’s own. Also you will not risk losing the impetus of the over all project. Your going to get stalled out every now and then because of life if nothing else or like waiting on parts. So keep it moving as best ya can. LOL If I lived closer I would come and help just for the fun of it.
Thanks for all the great suggestions Pete!
Looks good with good progress…
What is the small black vehicle beside the truck? Looks interesting and fun