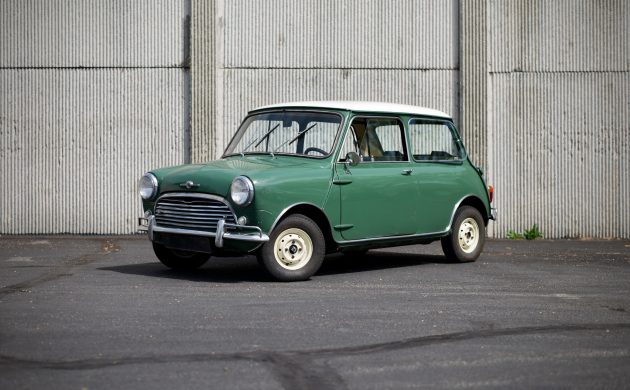
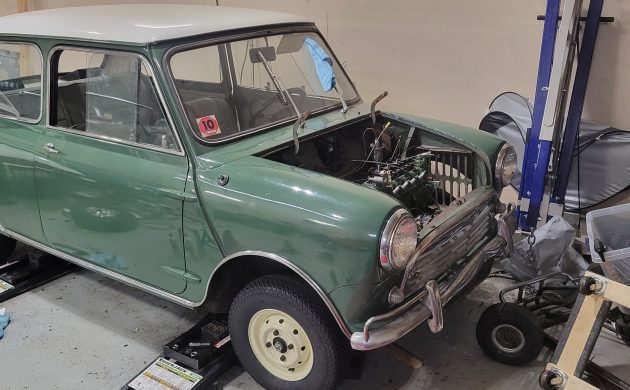
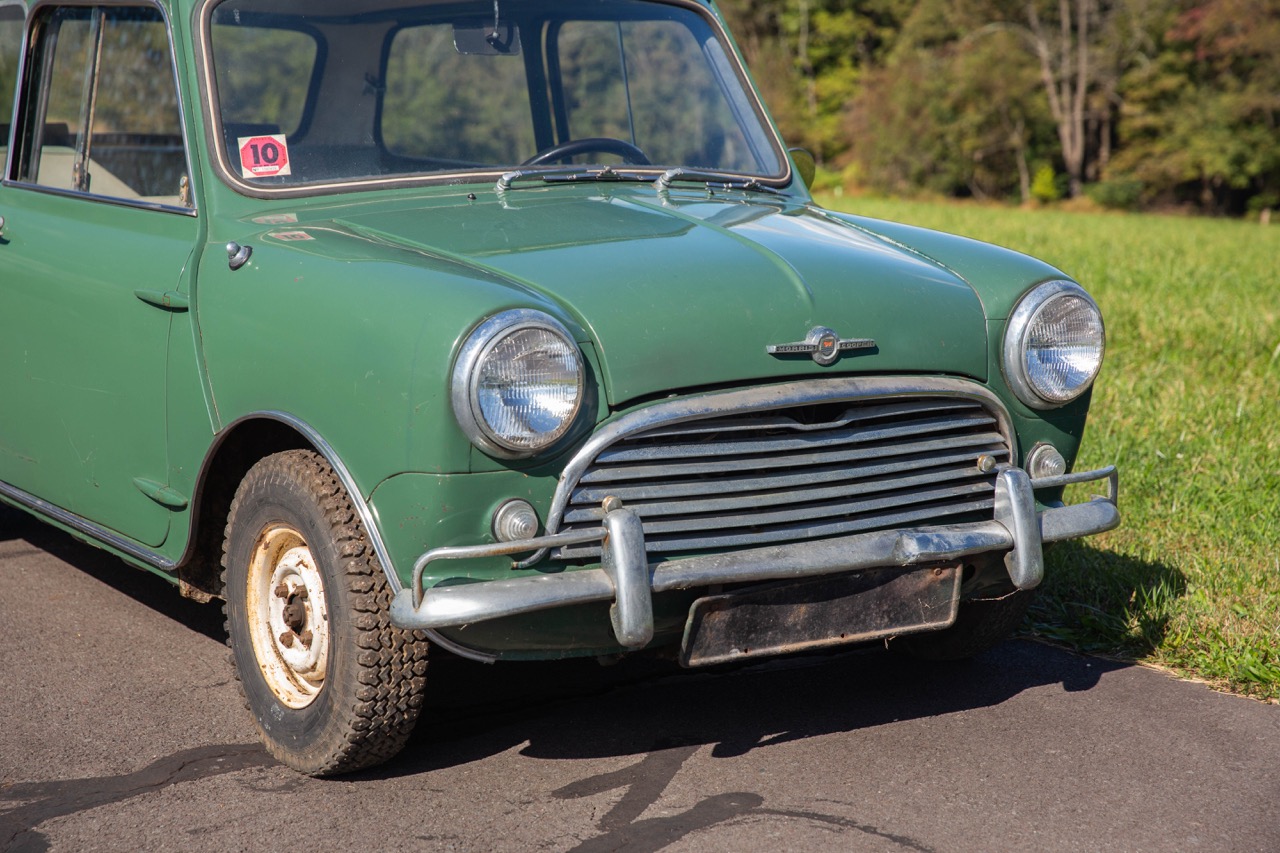
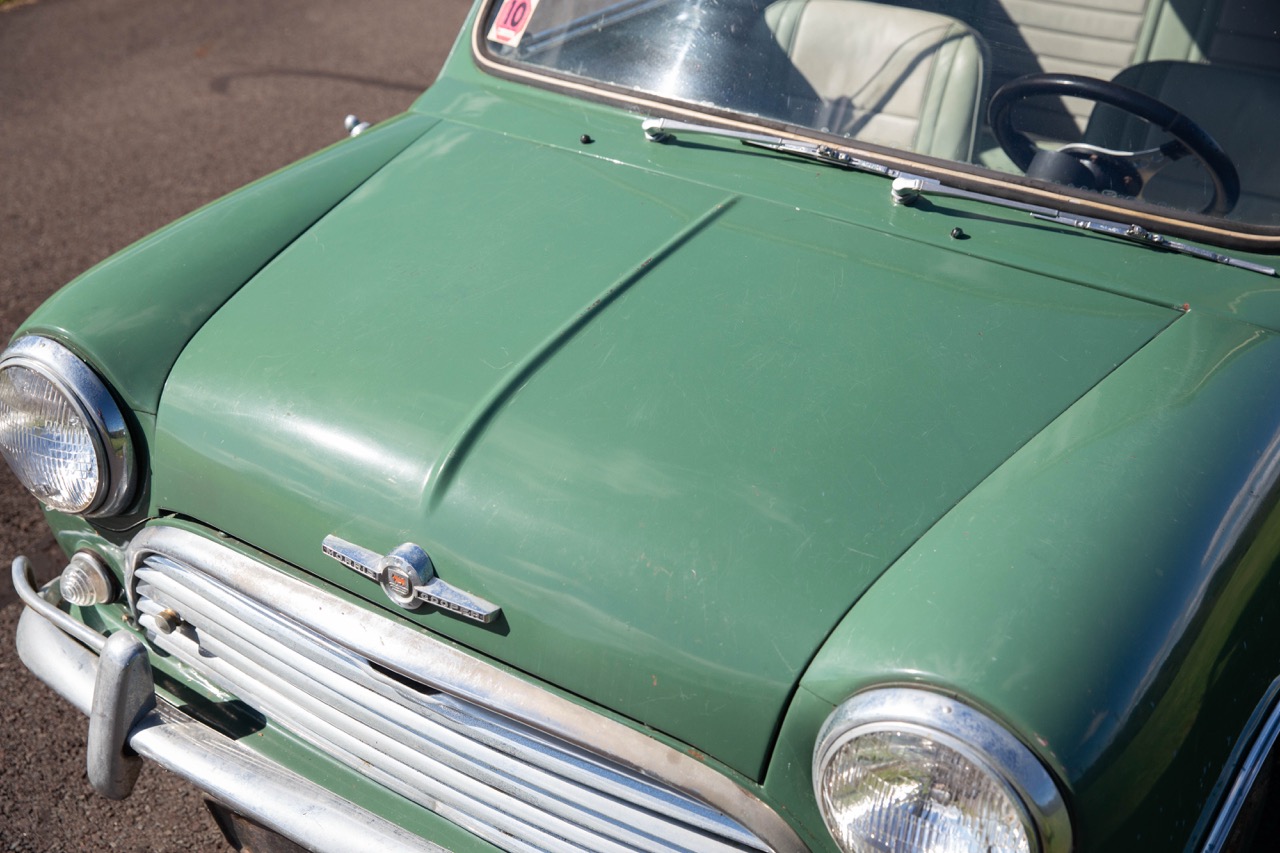
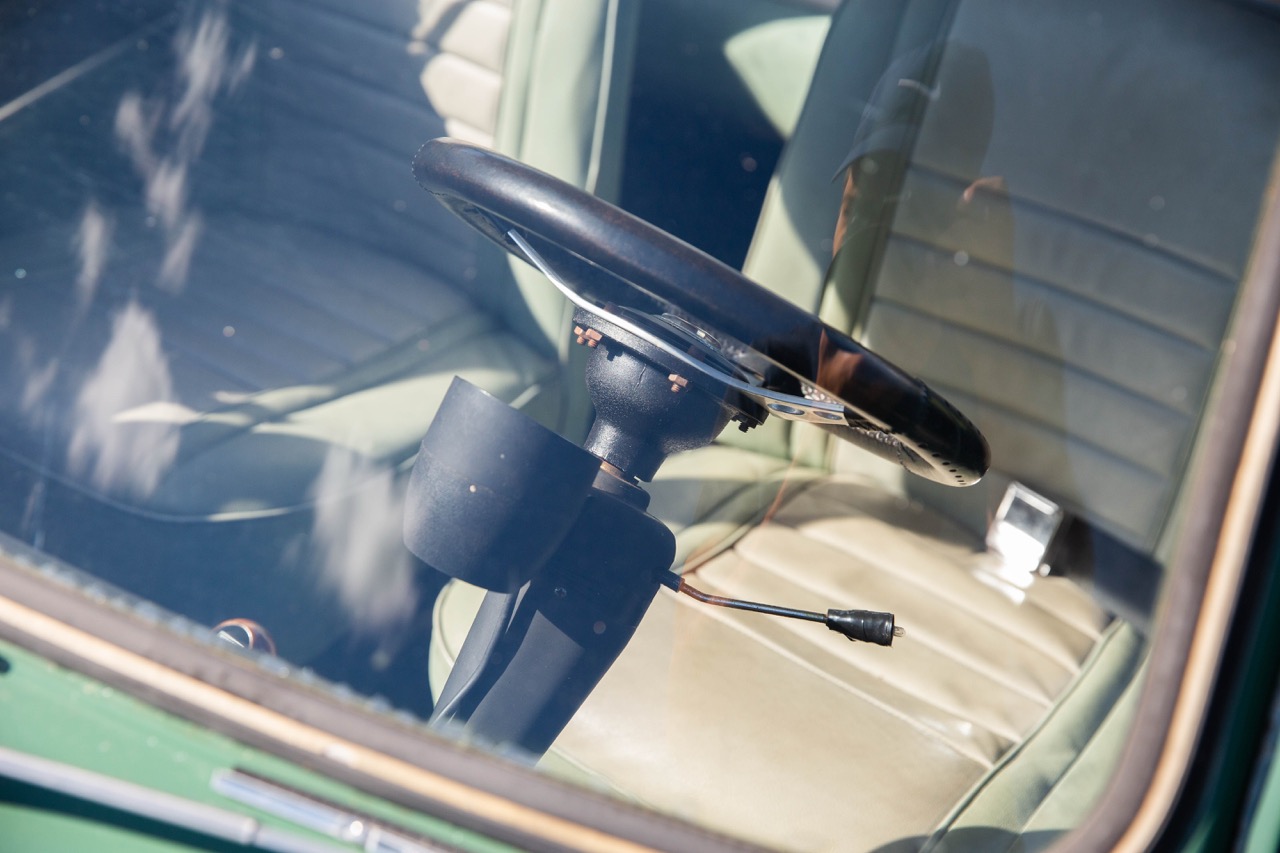
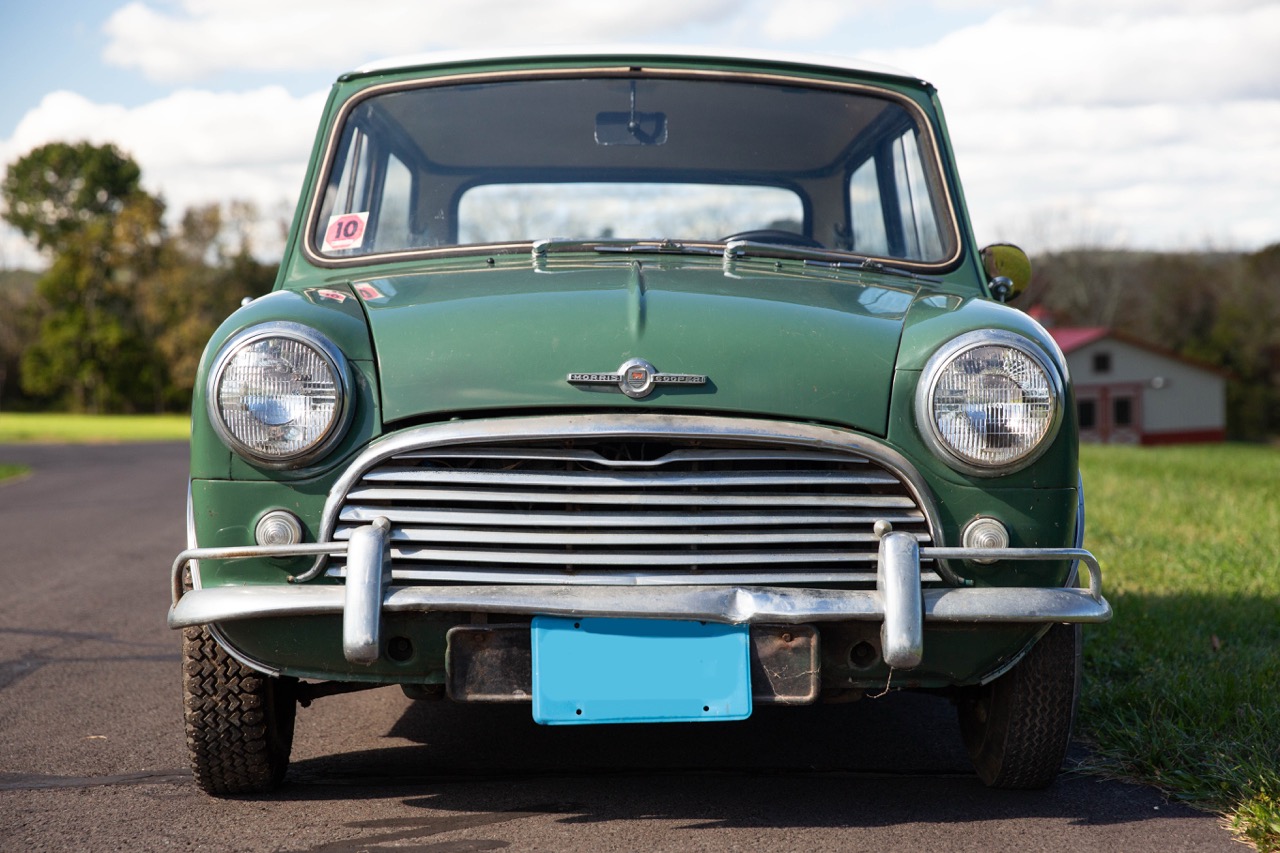
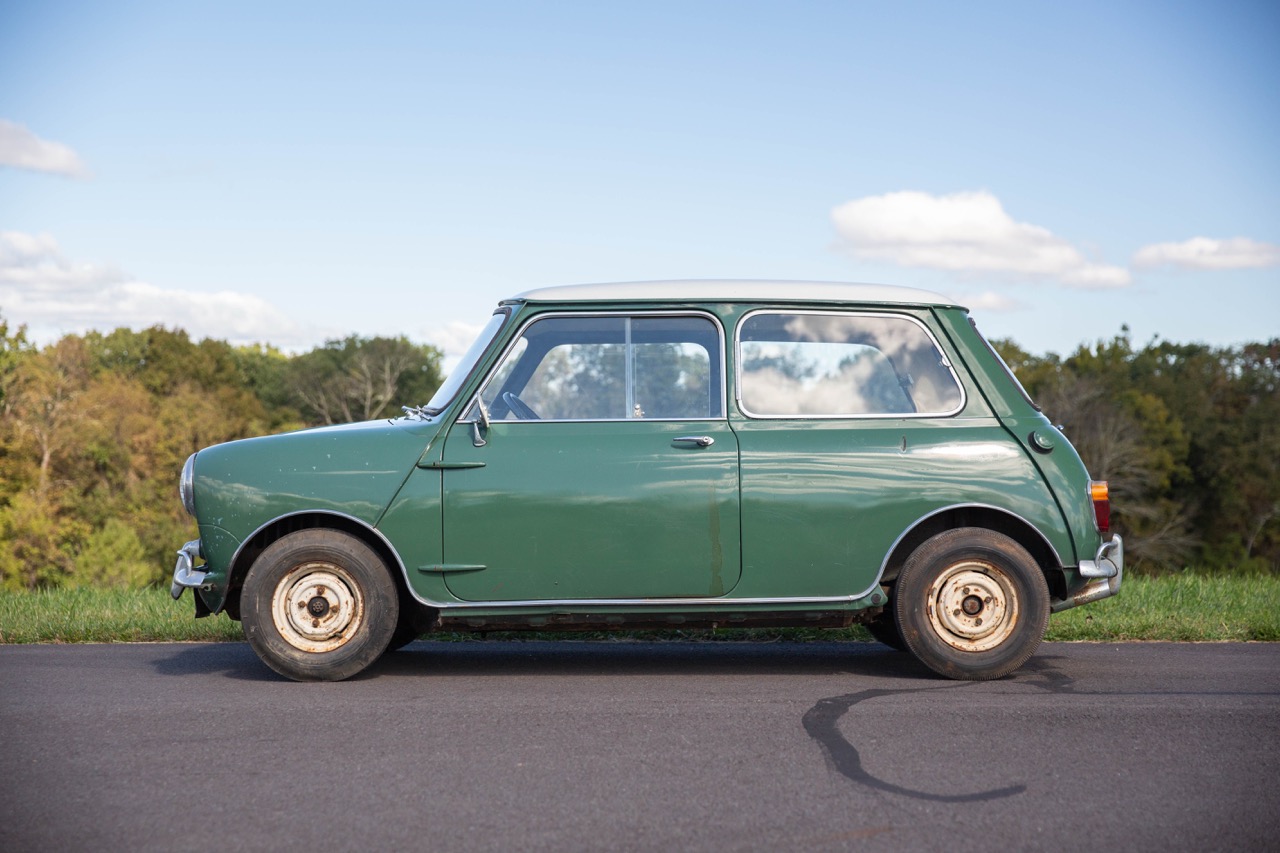
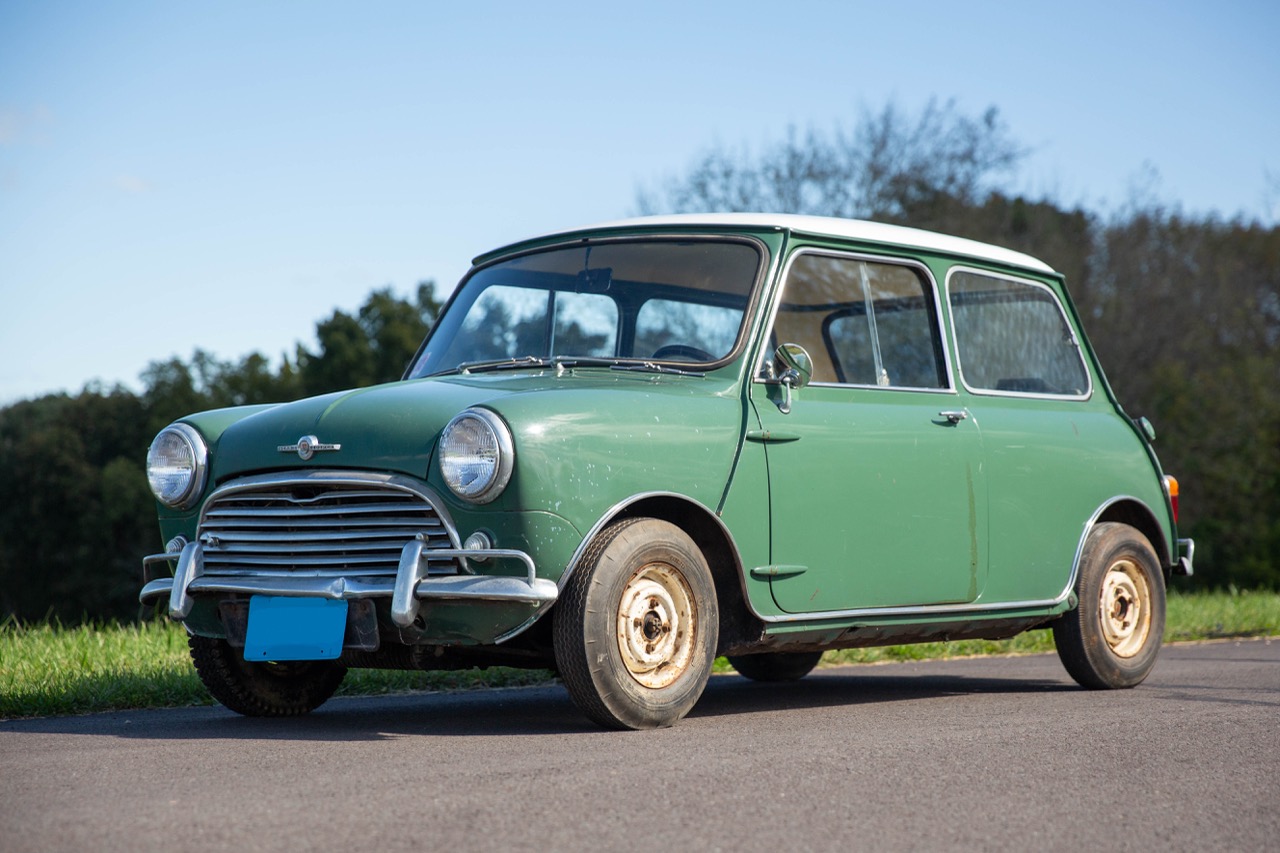
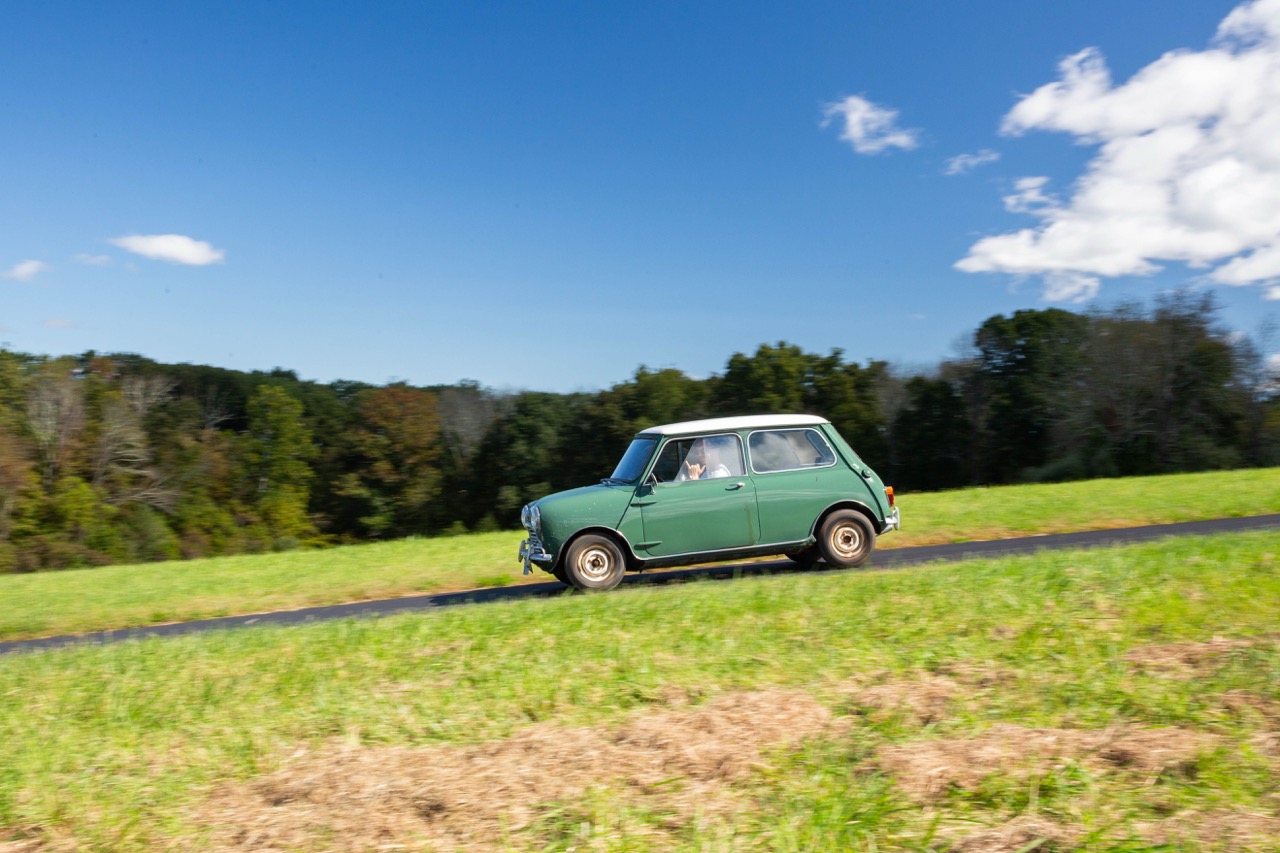
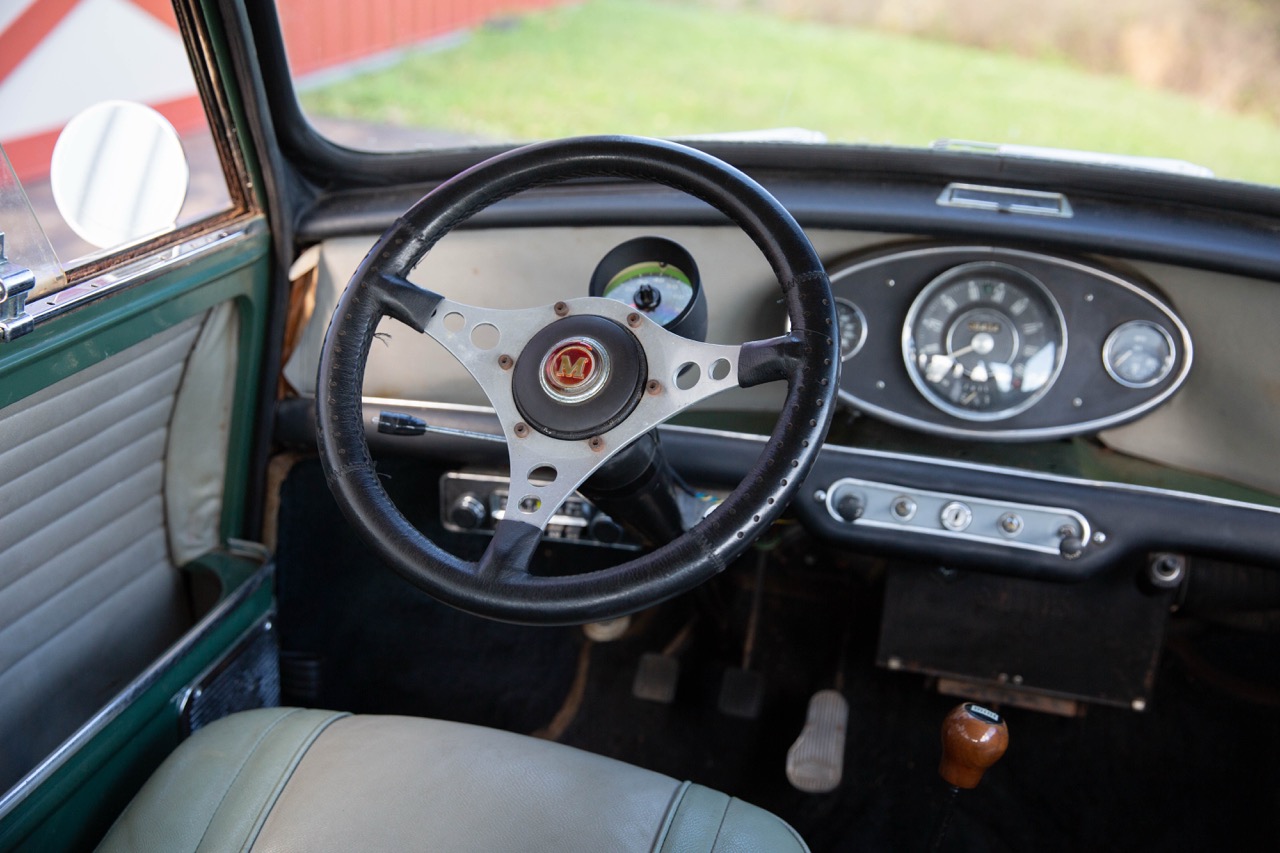
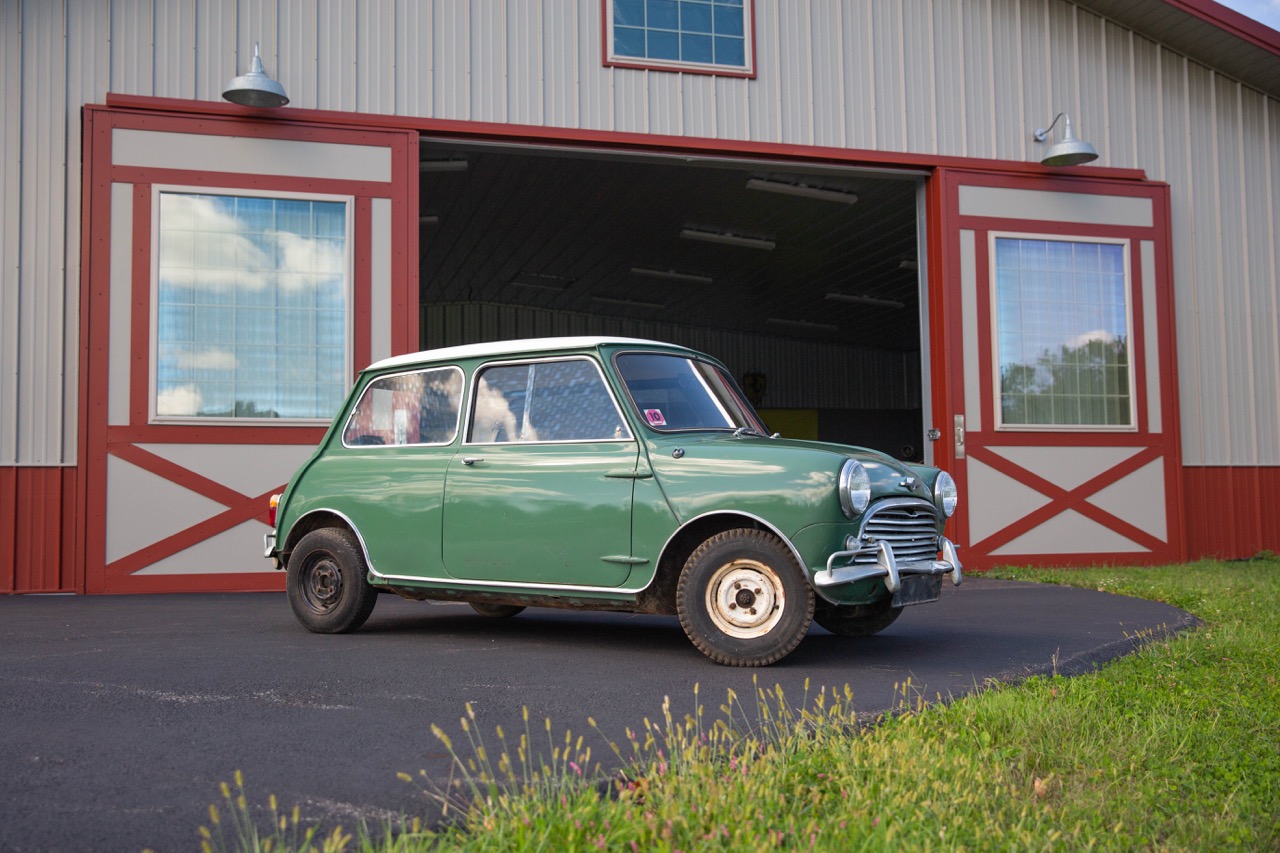
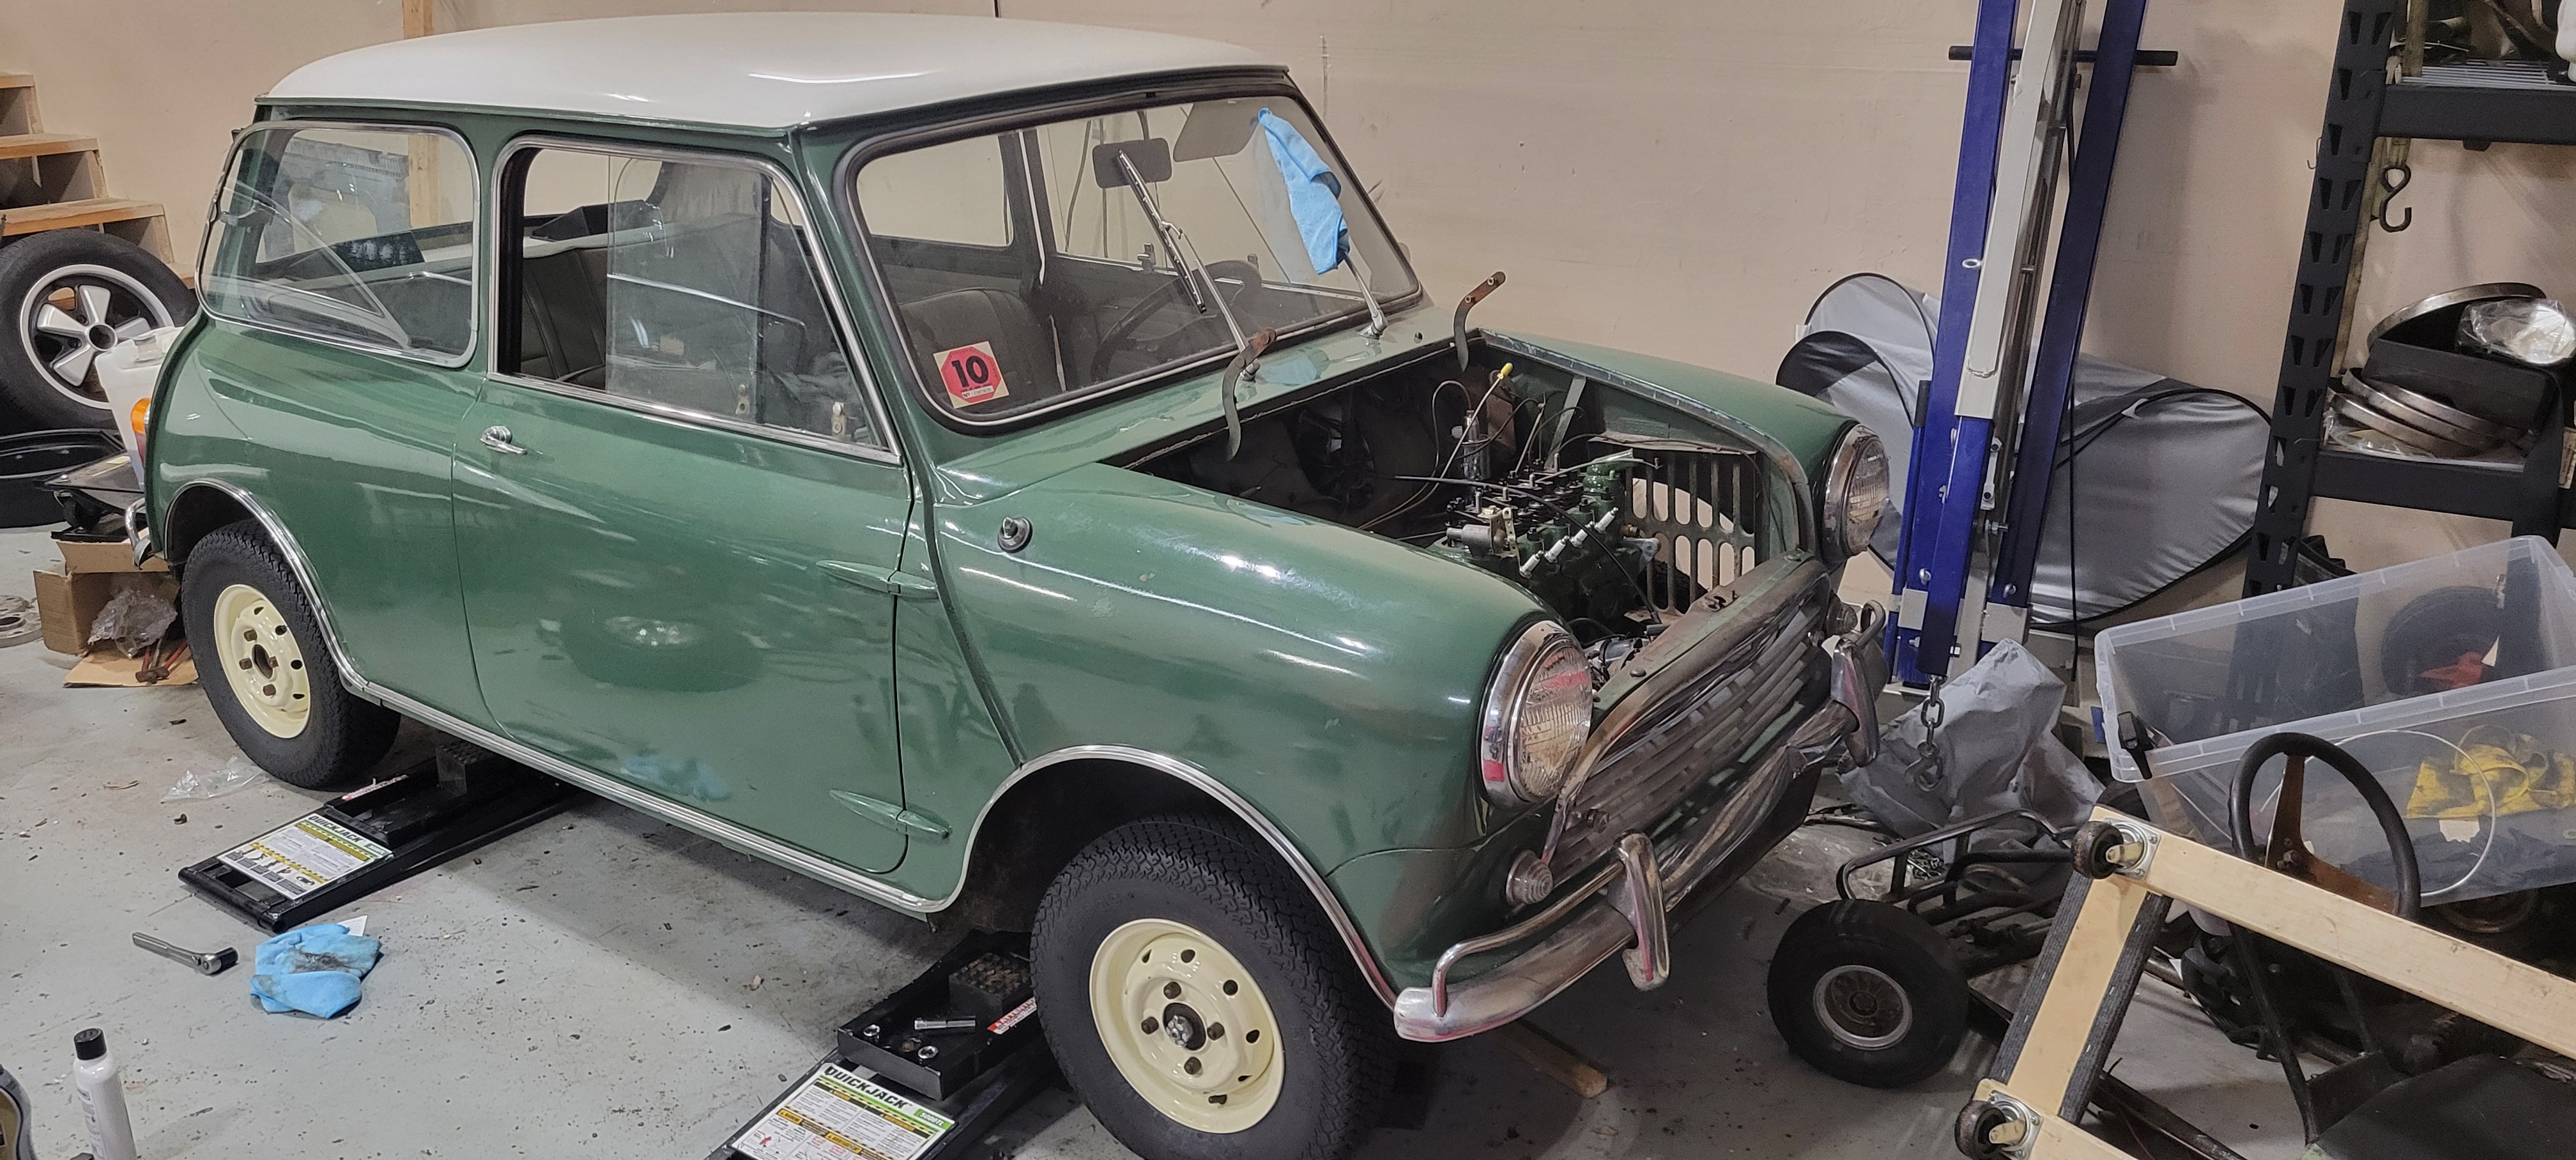
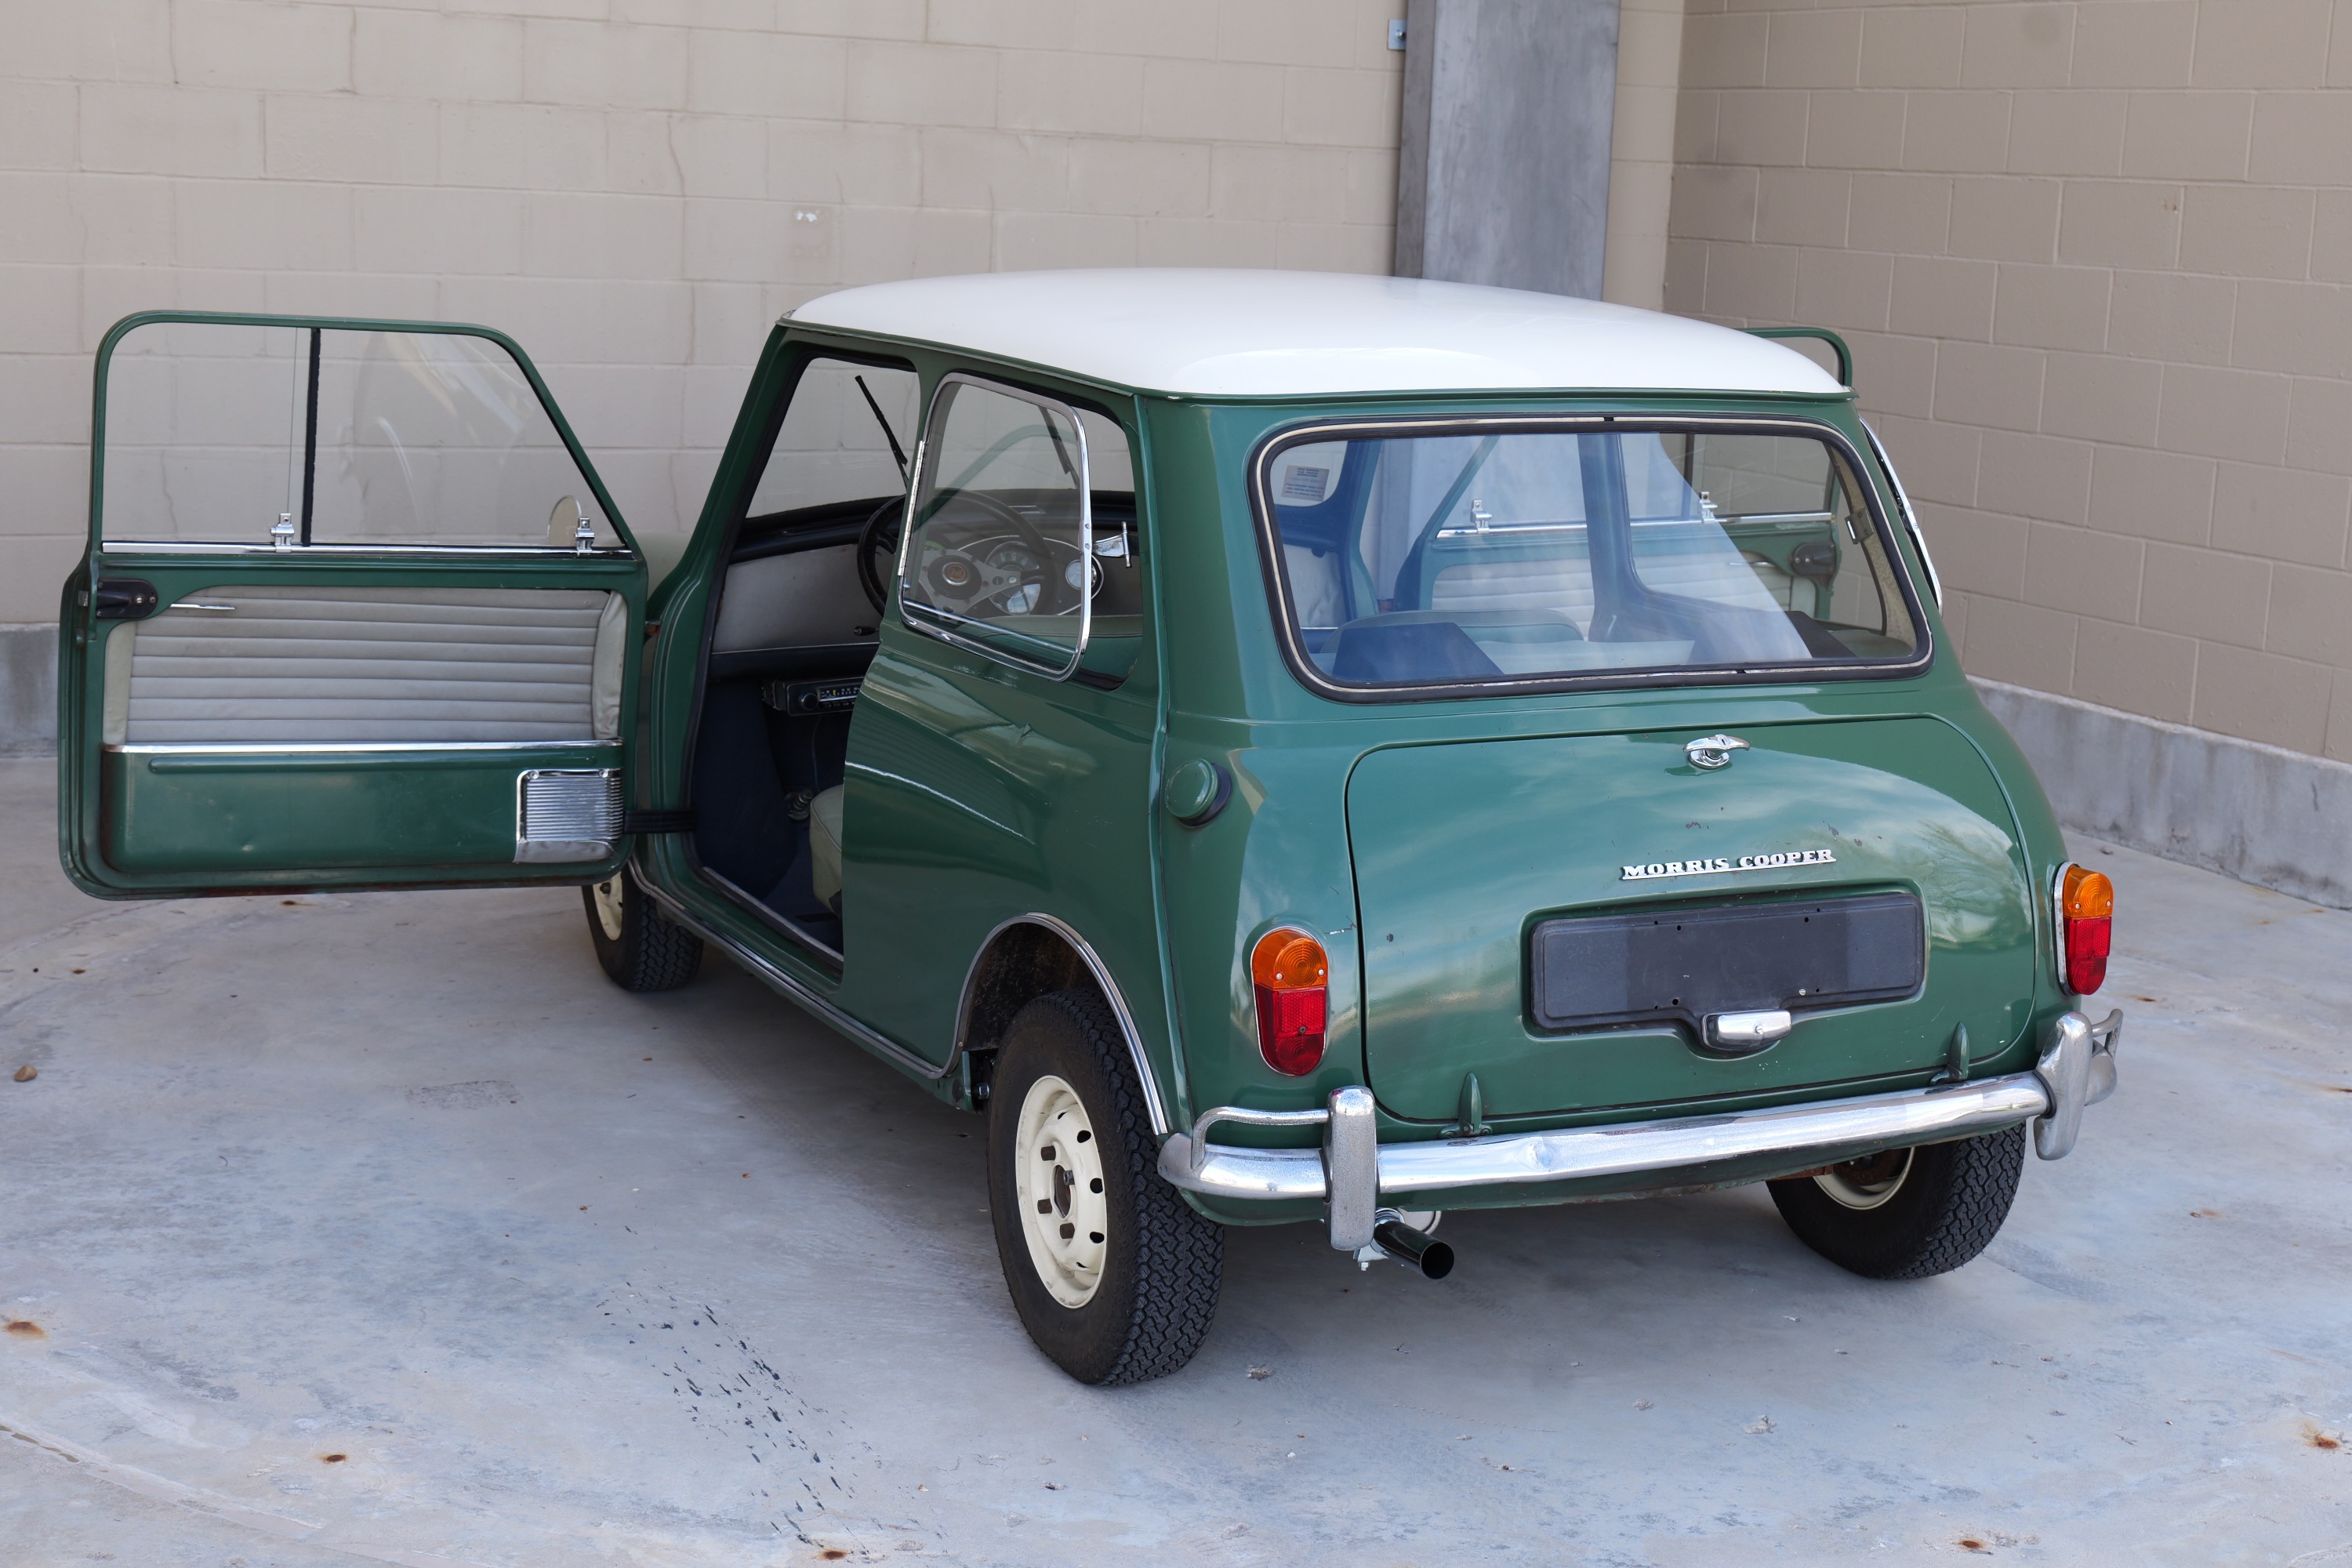
For the past 4 years, we’ve been slowly going through this very special barn find. If you’ve been following the site over the years, you might have seen a post or two about it. Running Barn Finds takes up the majority of my time, but whenever I get the chance to wrench on one of our projects, I take it! So, it’s taken a little longer to get it back on the road than we would have liked, but I recently put in overtime and got it going. Boy, is it hilarious to drive with its tiny 10-inch wheels, quirky 997cc 4-cylinder engine, and go-kart-like handling. We didn’t give it a full restoration, as we didn’t want to take away too much from its originality, but we went through all of the mechanical systems, and it drives great now!
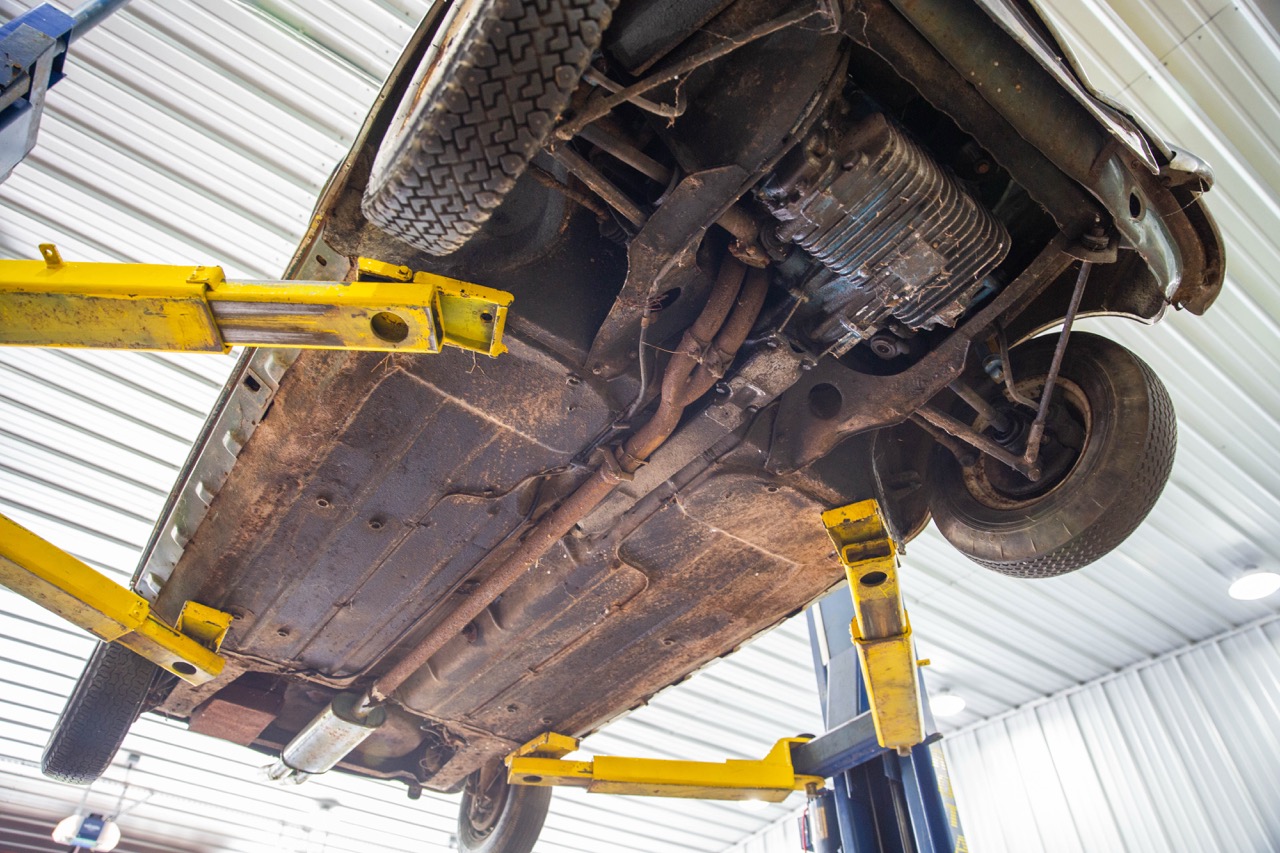
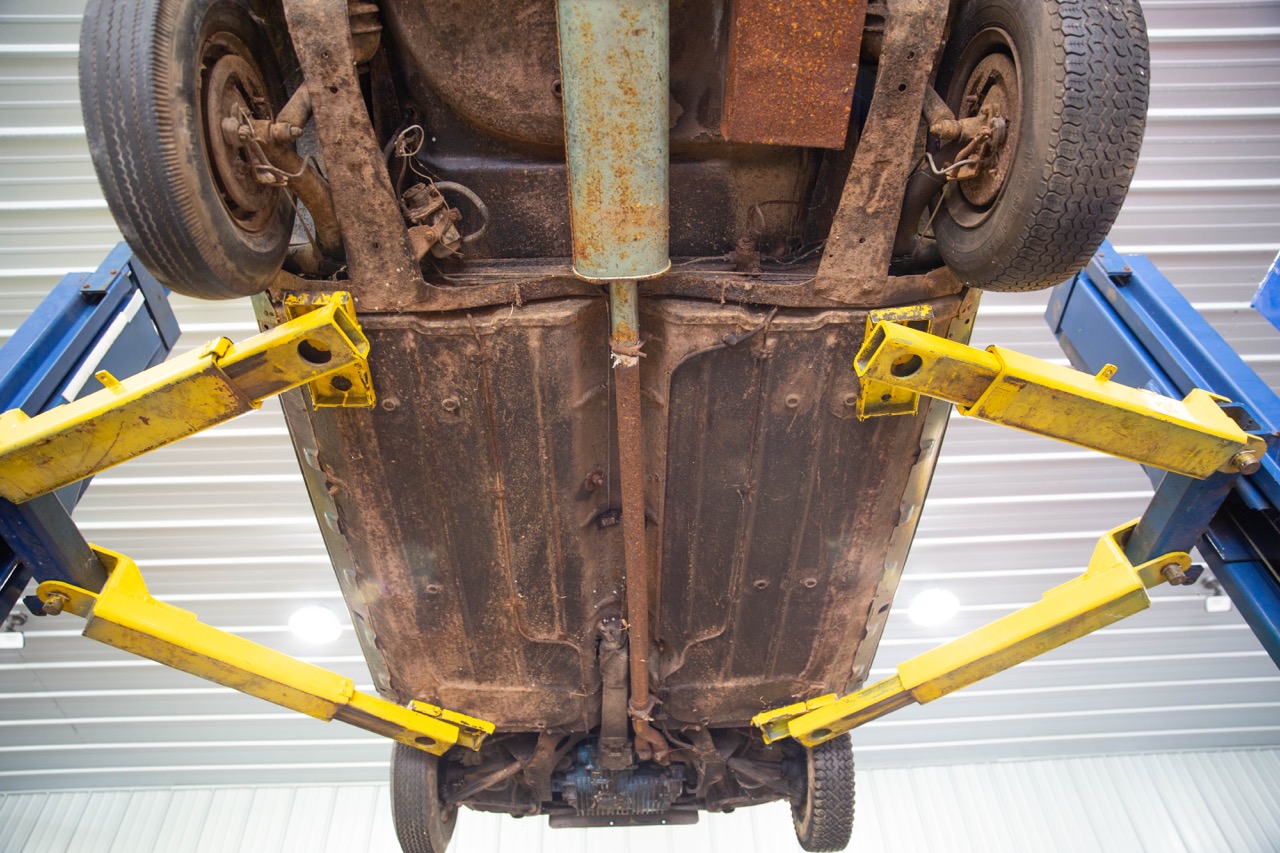
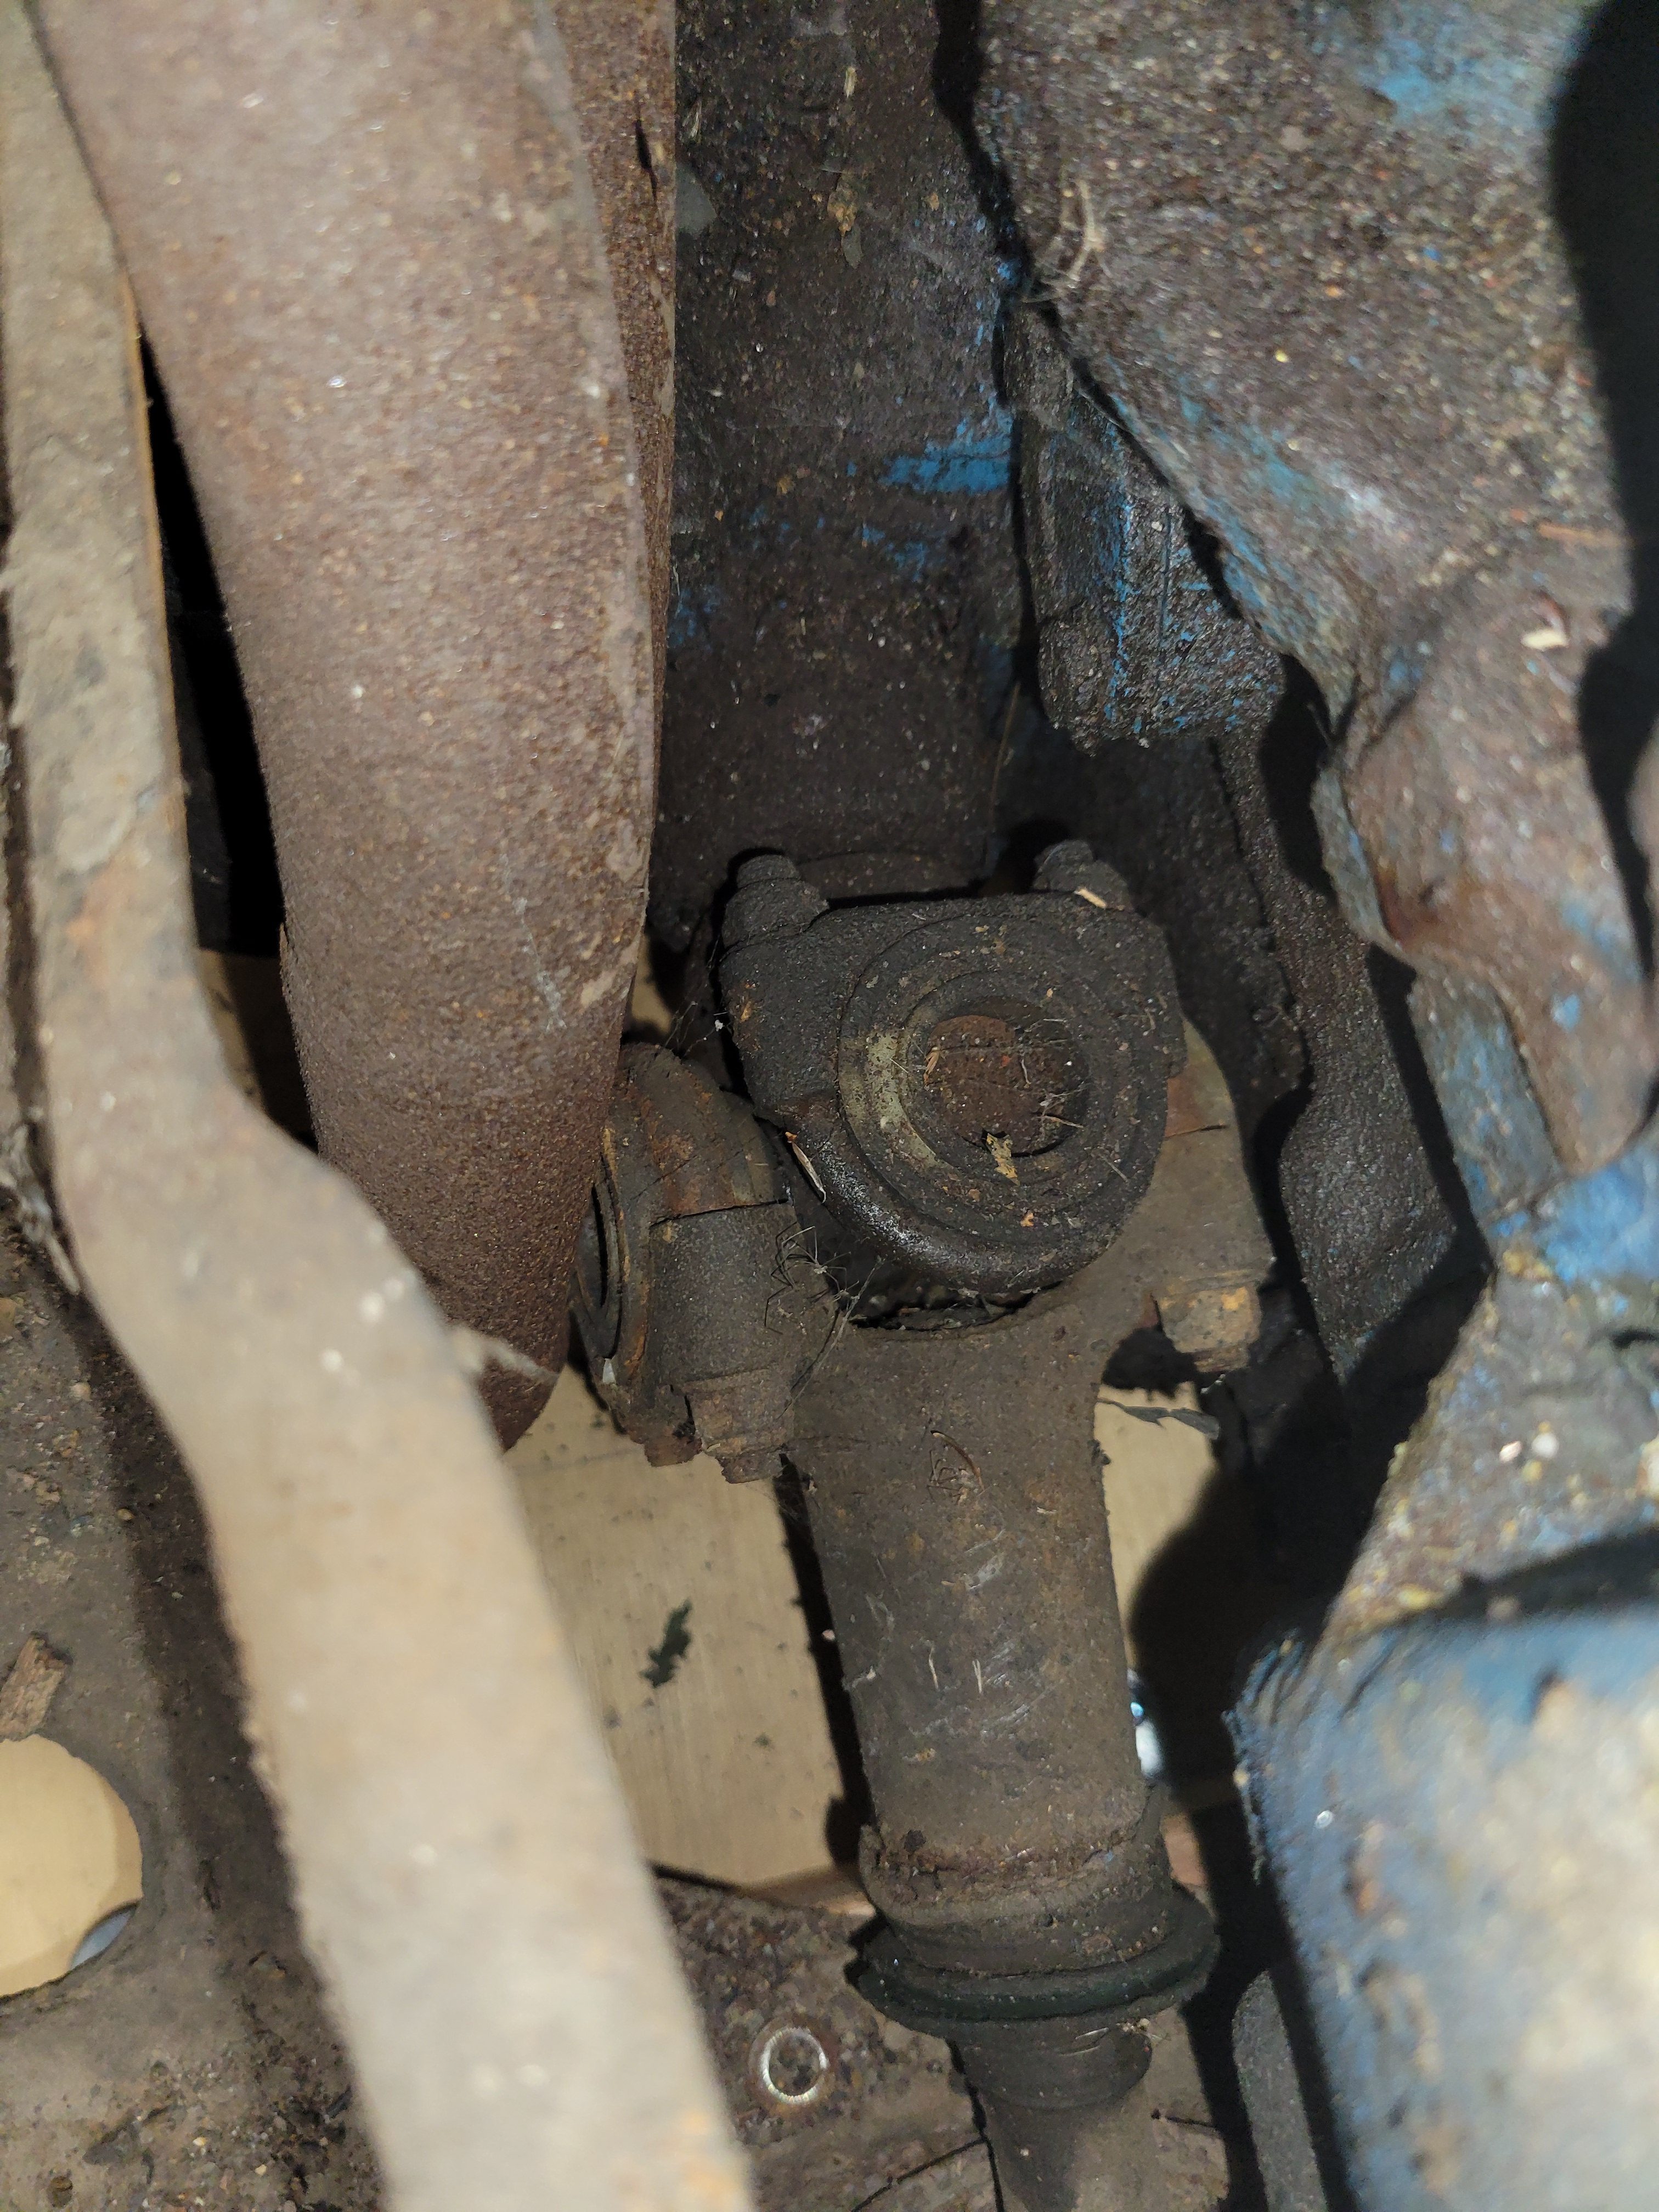
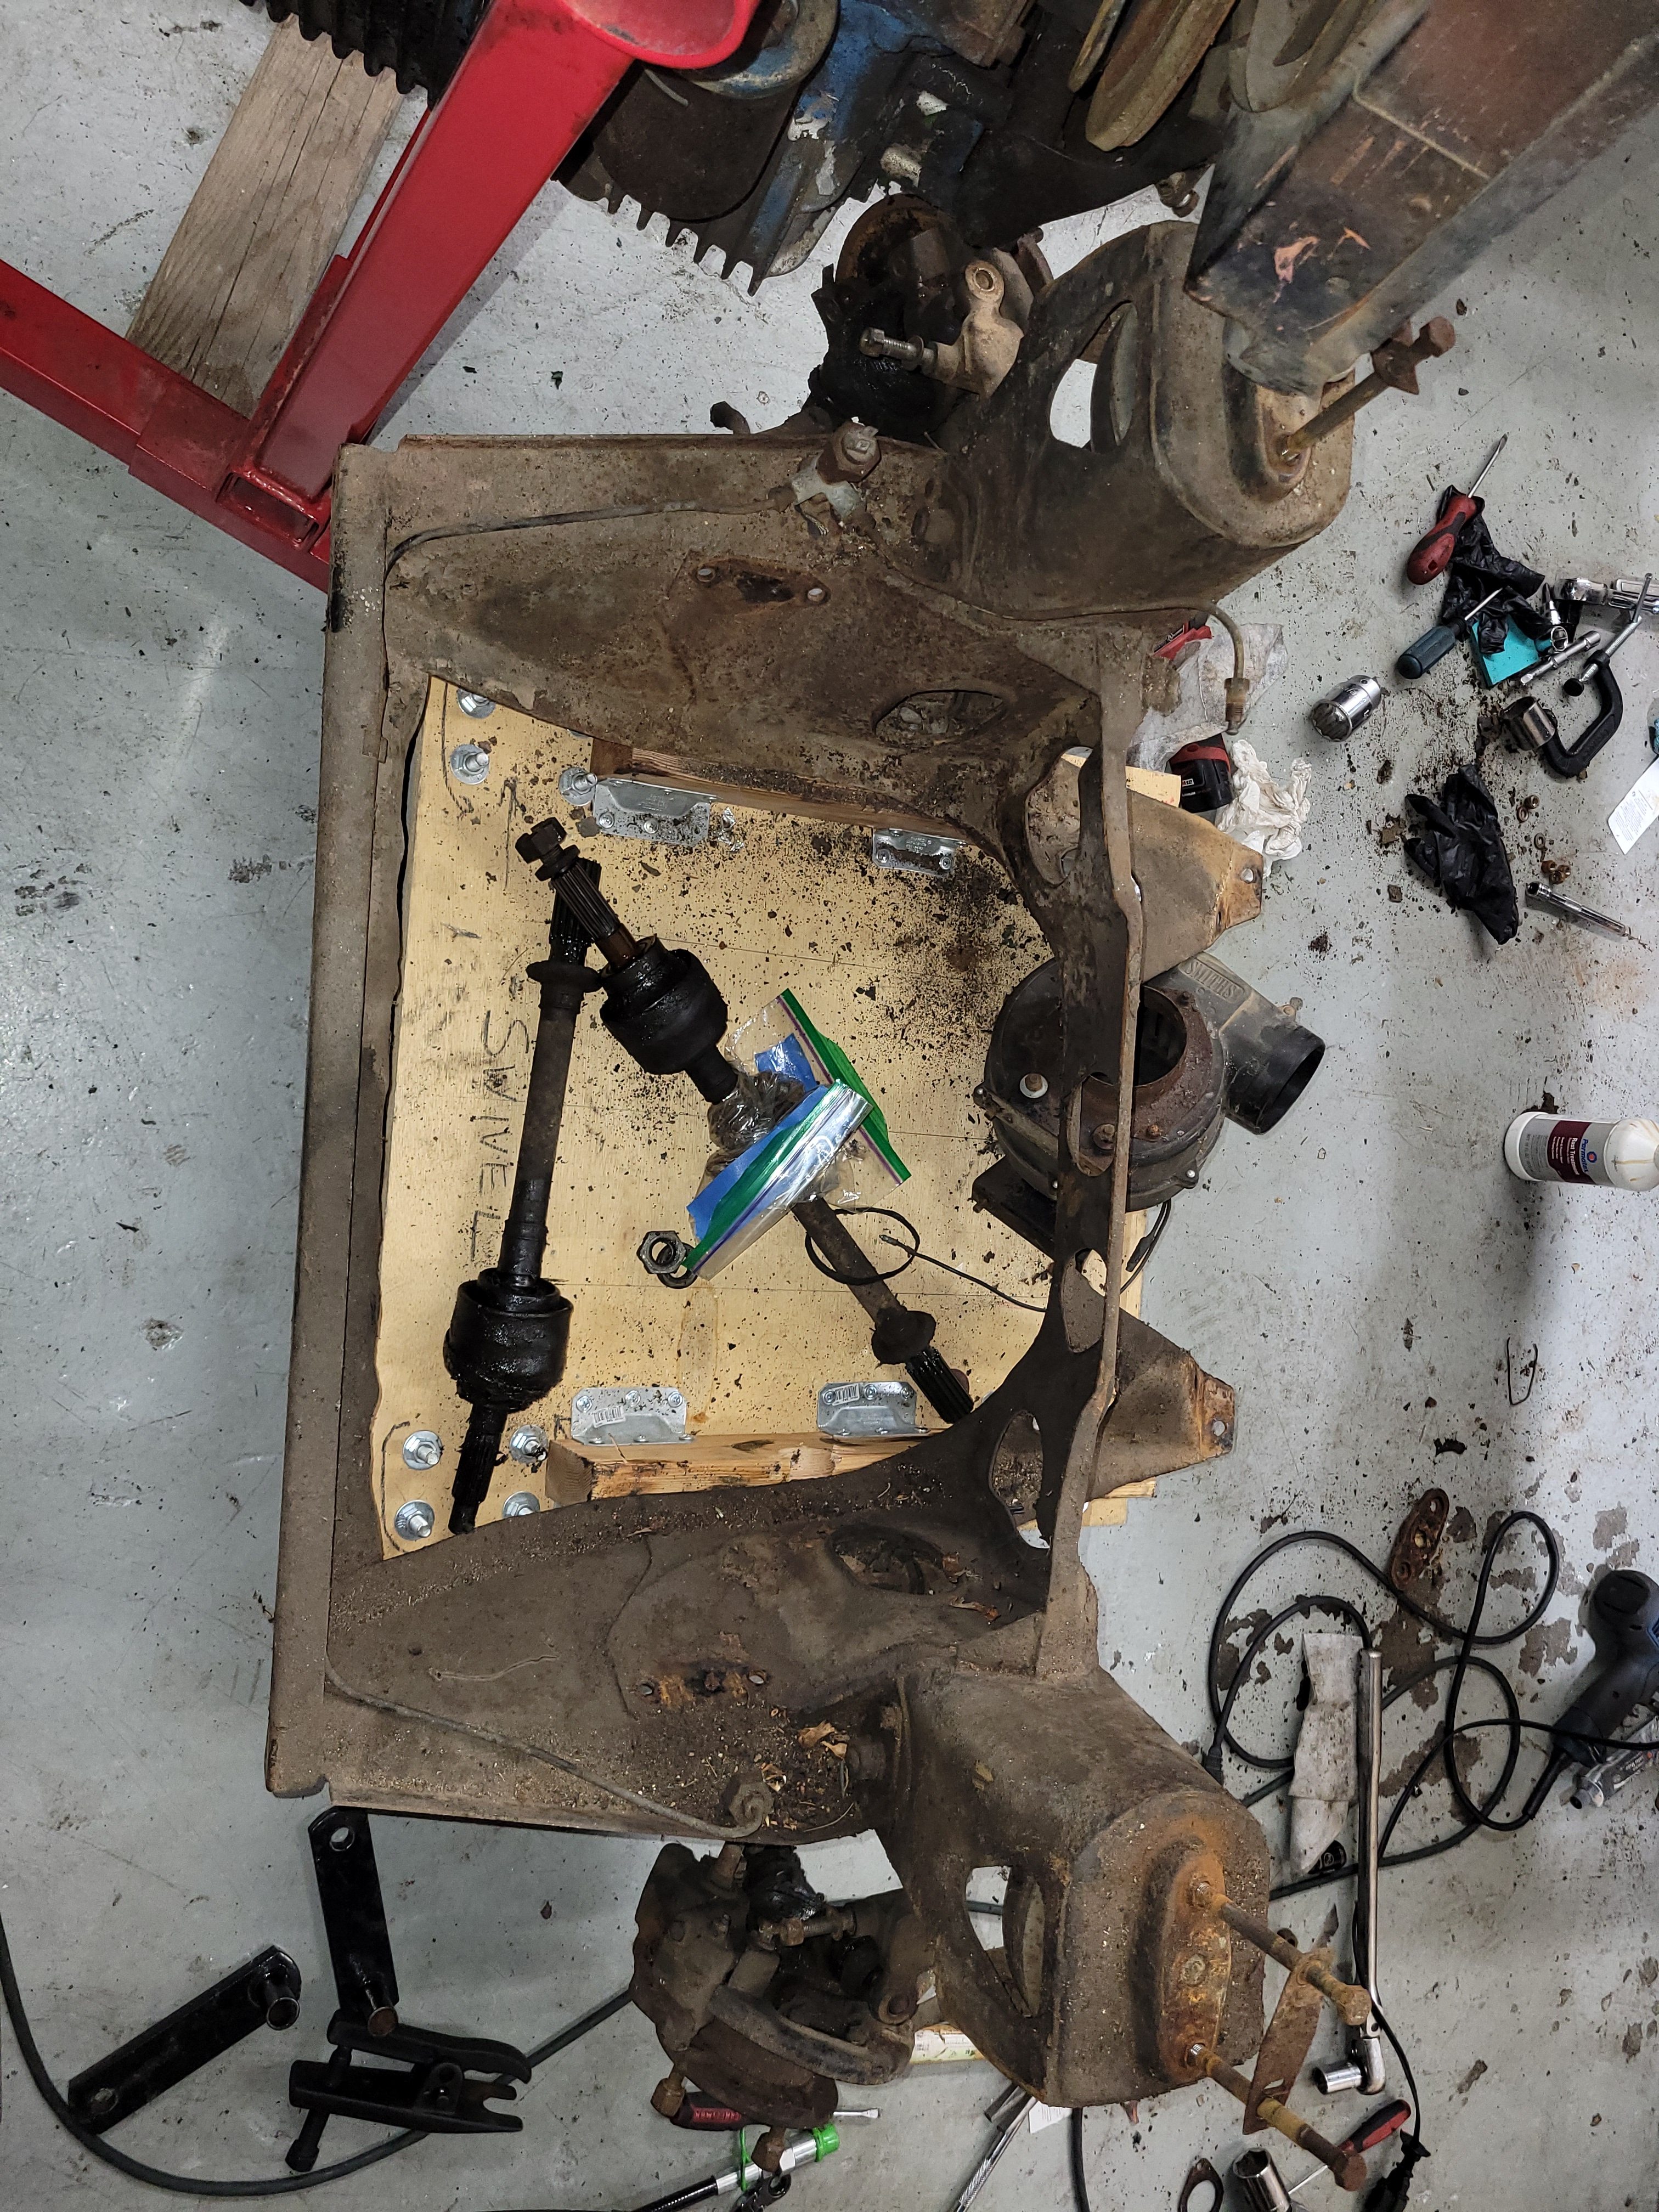
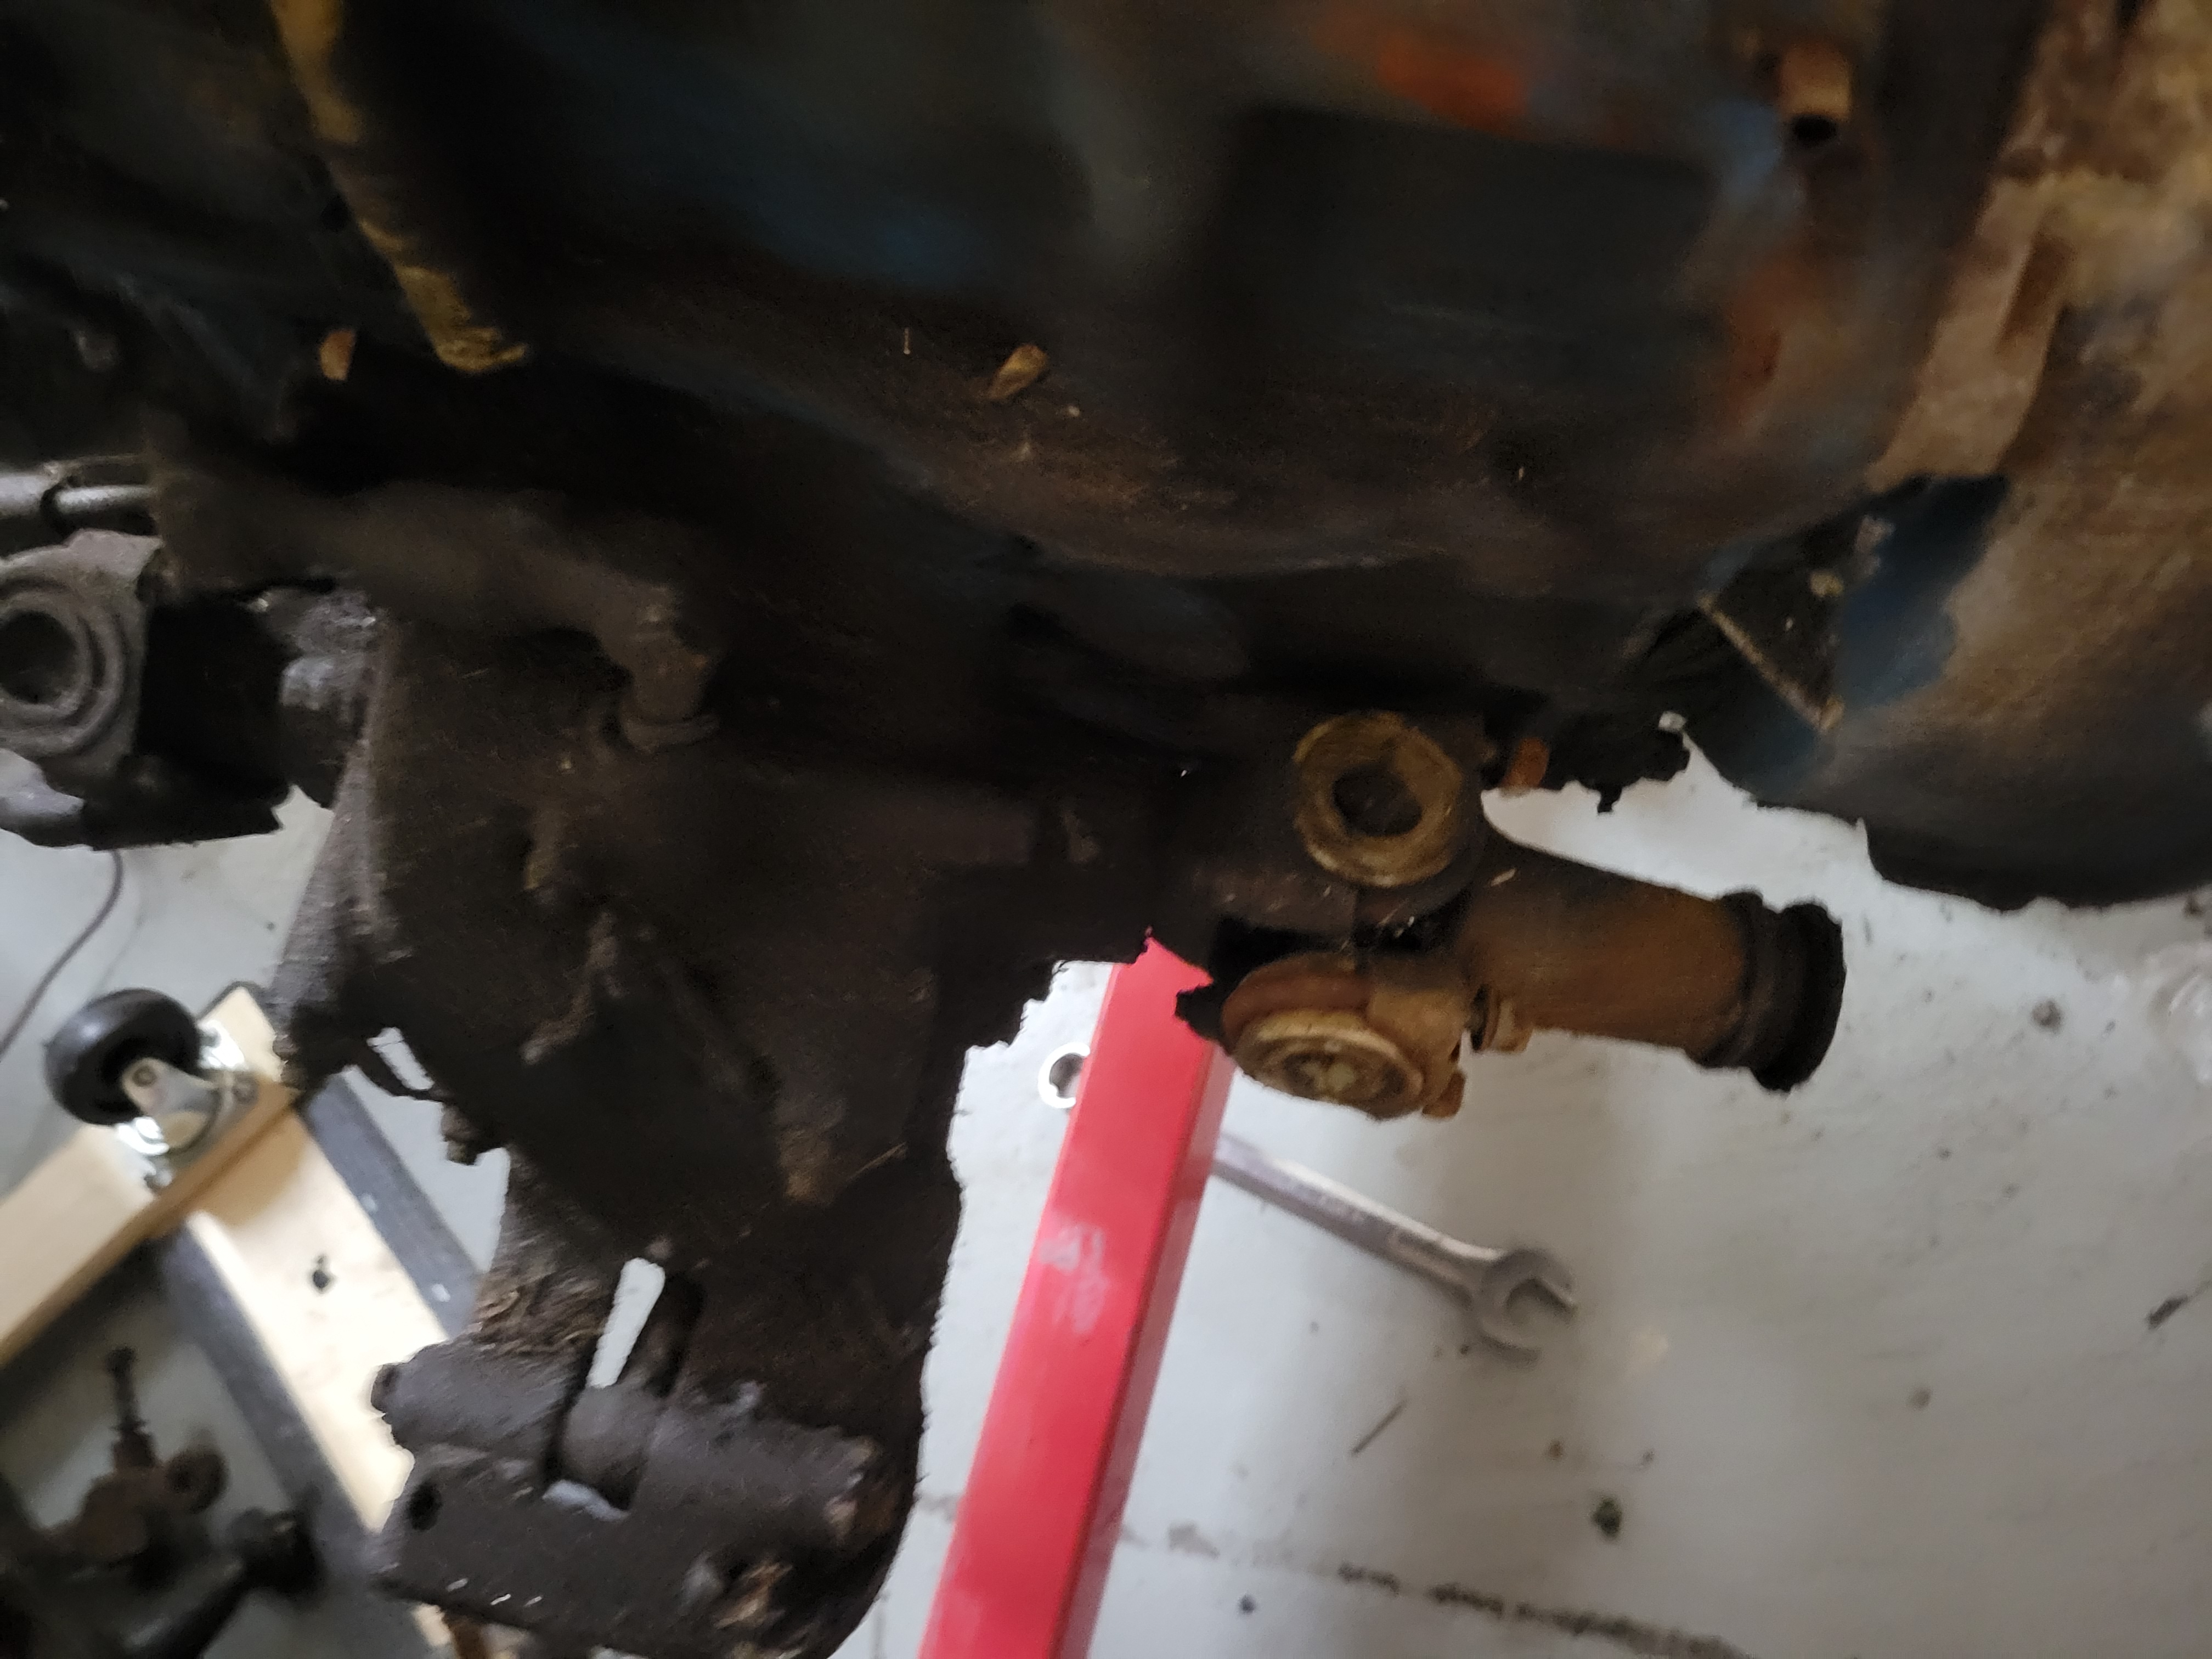
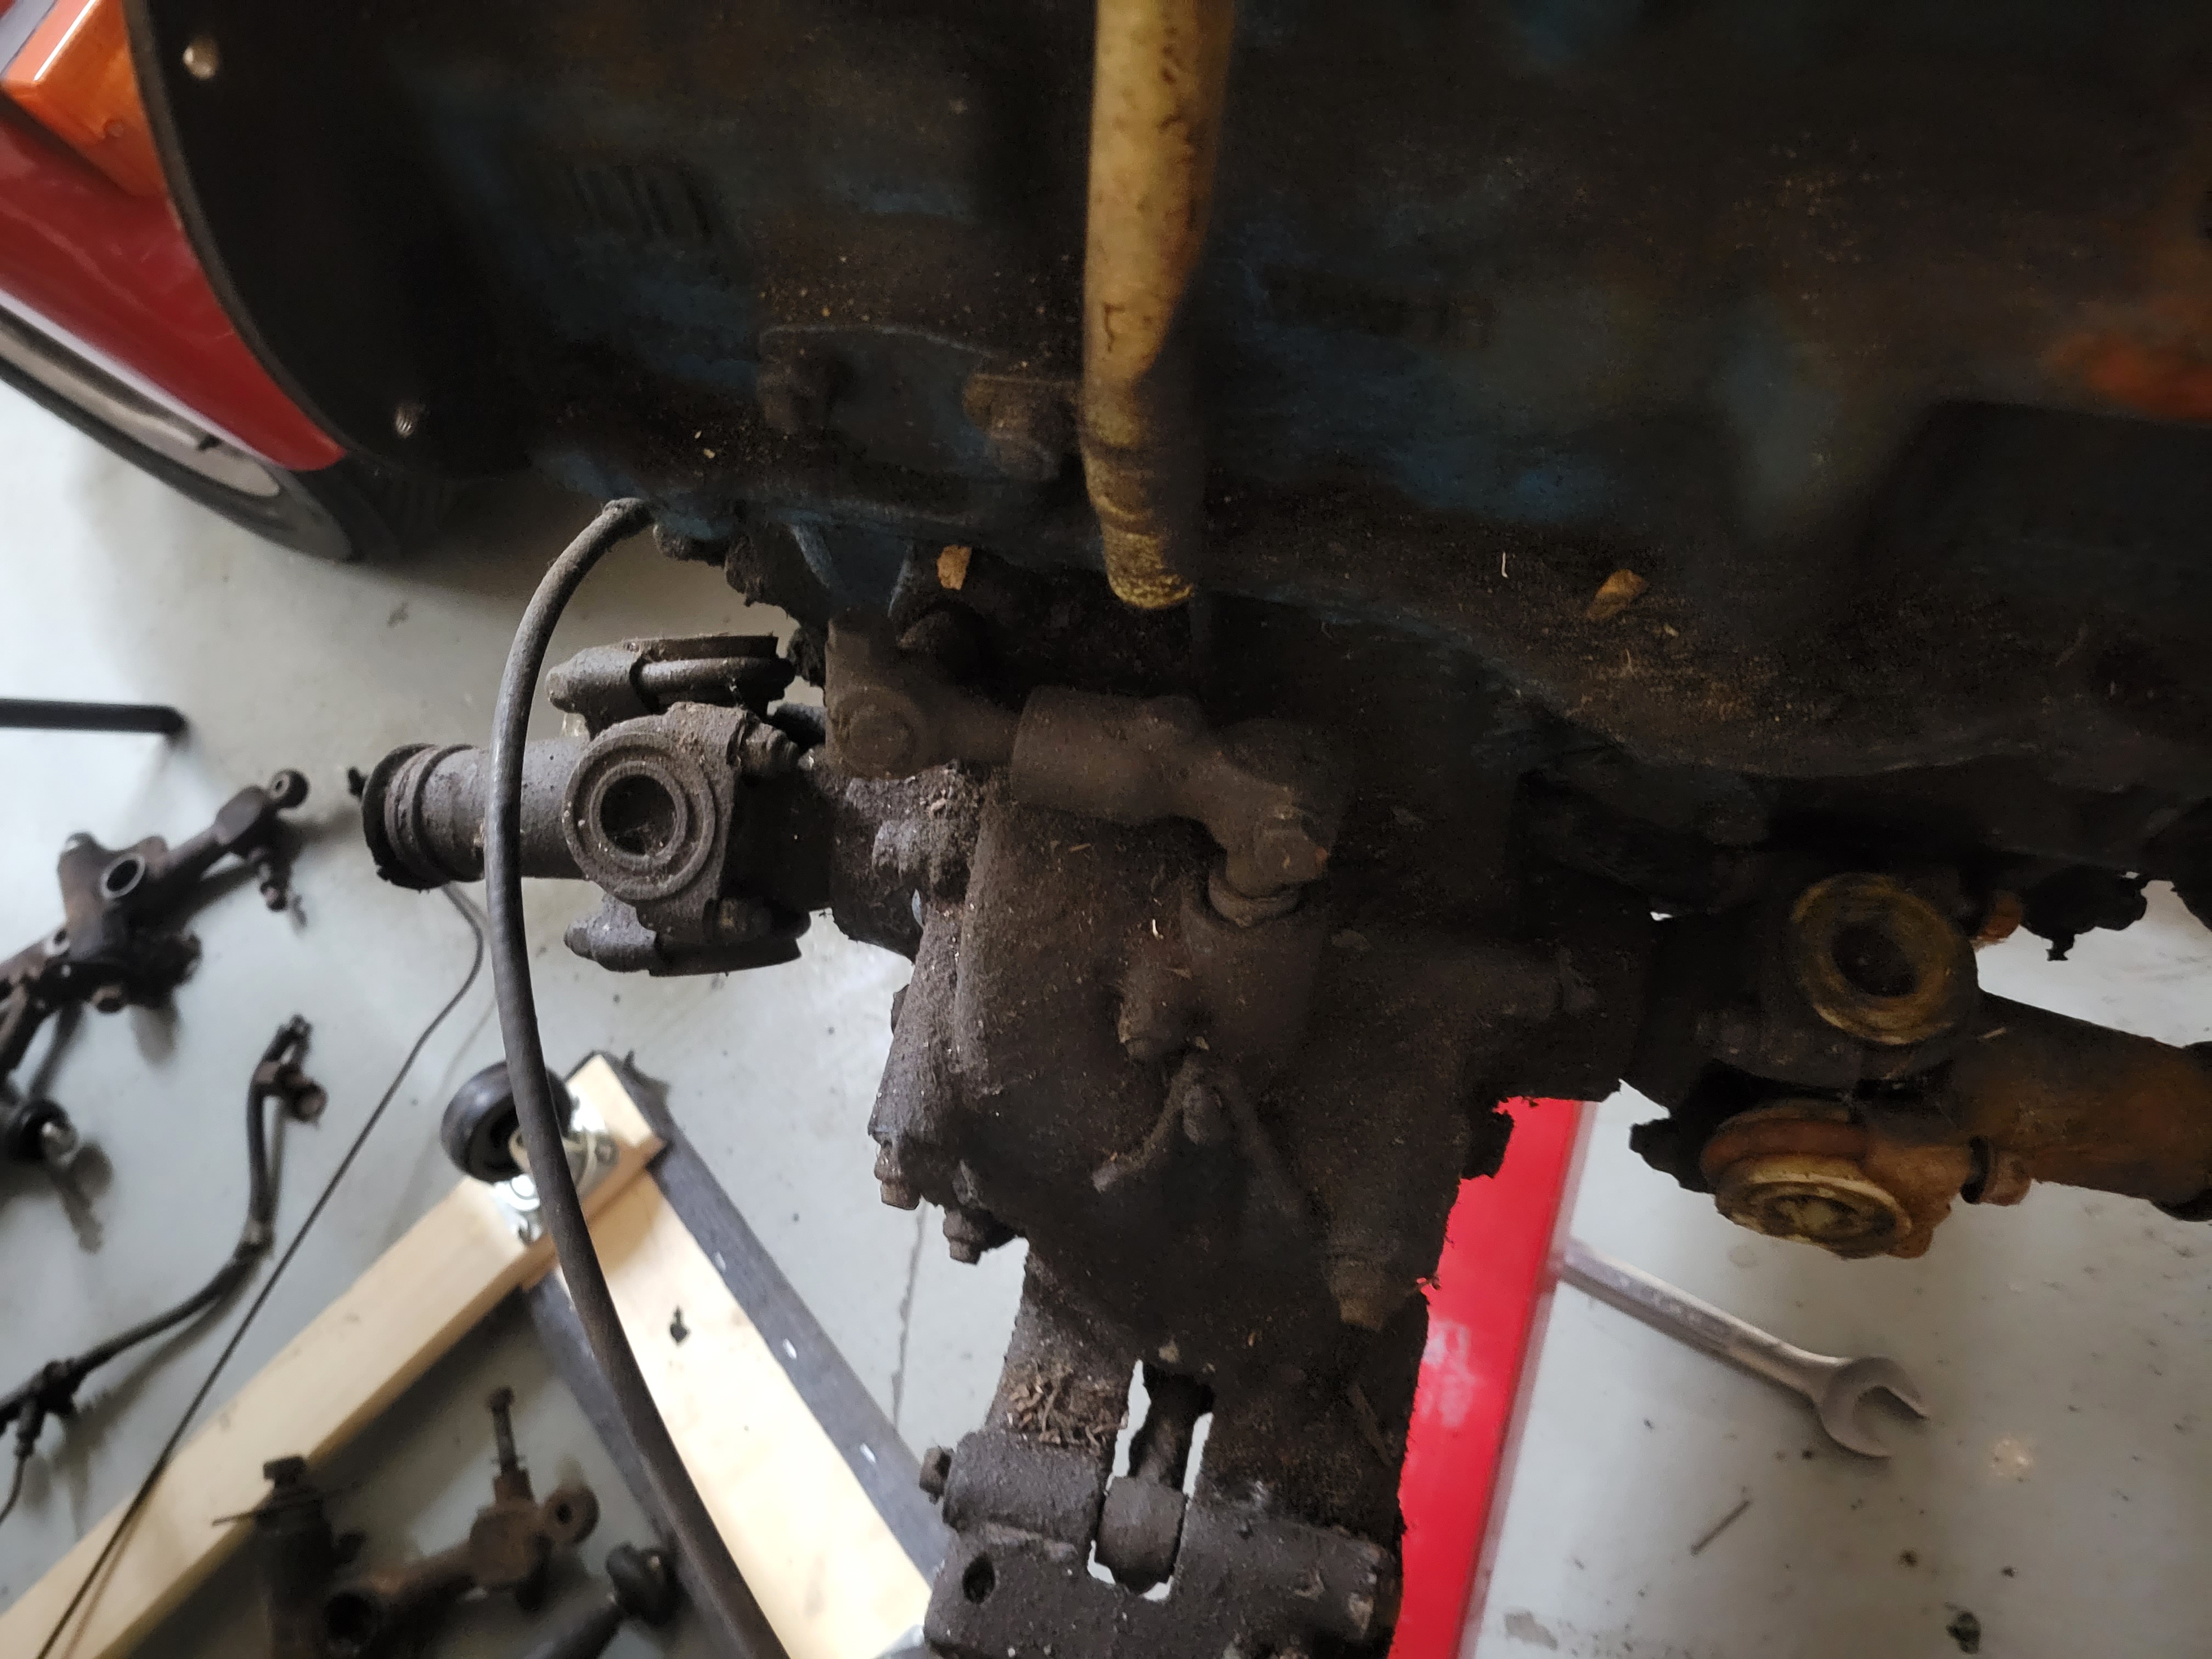
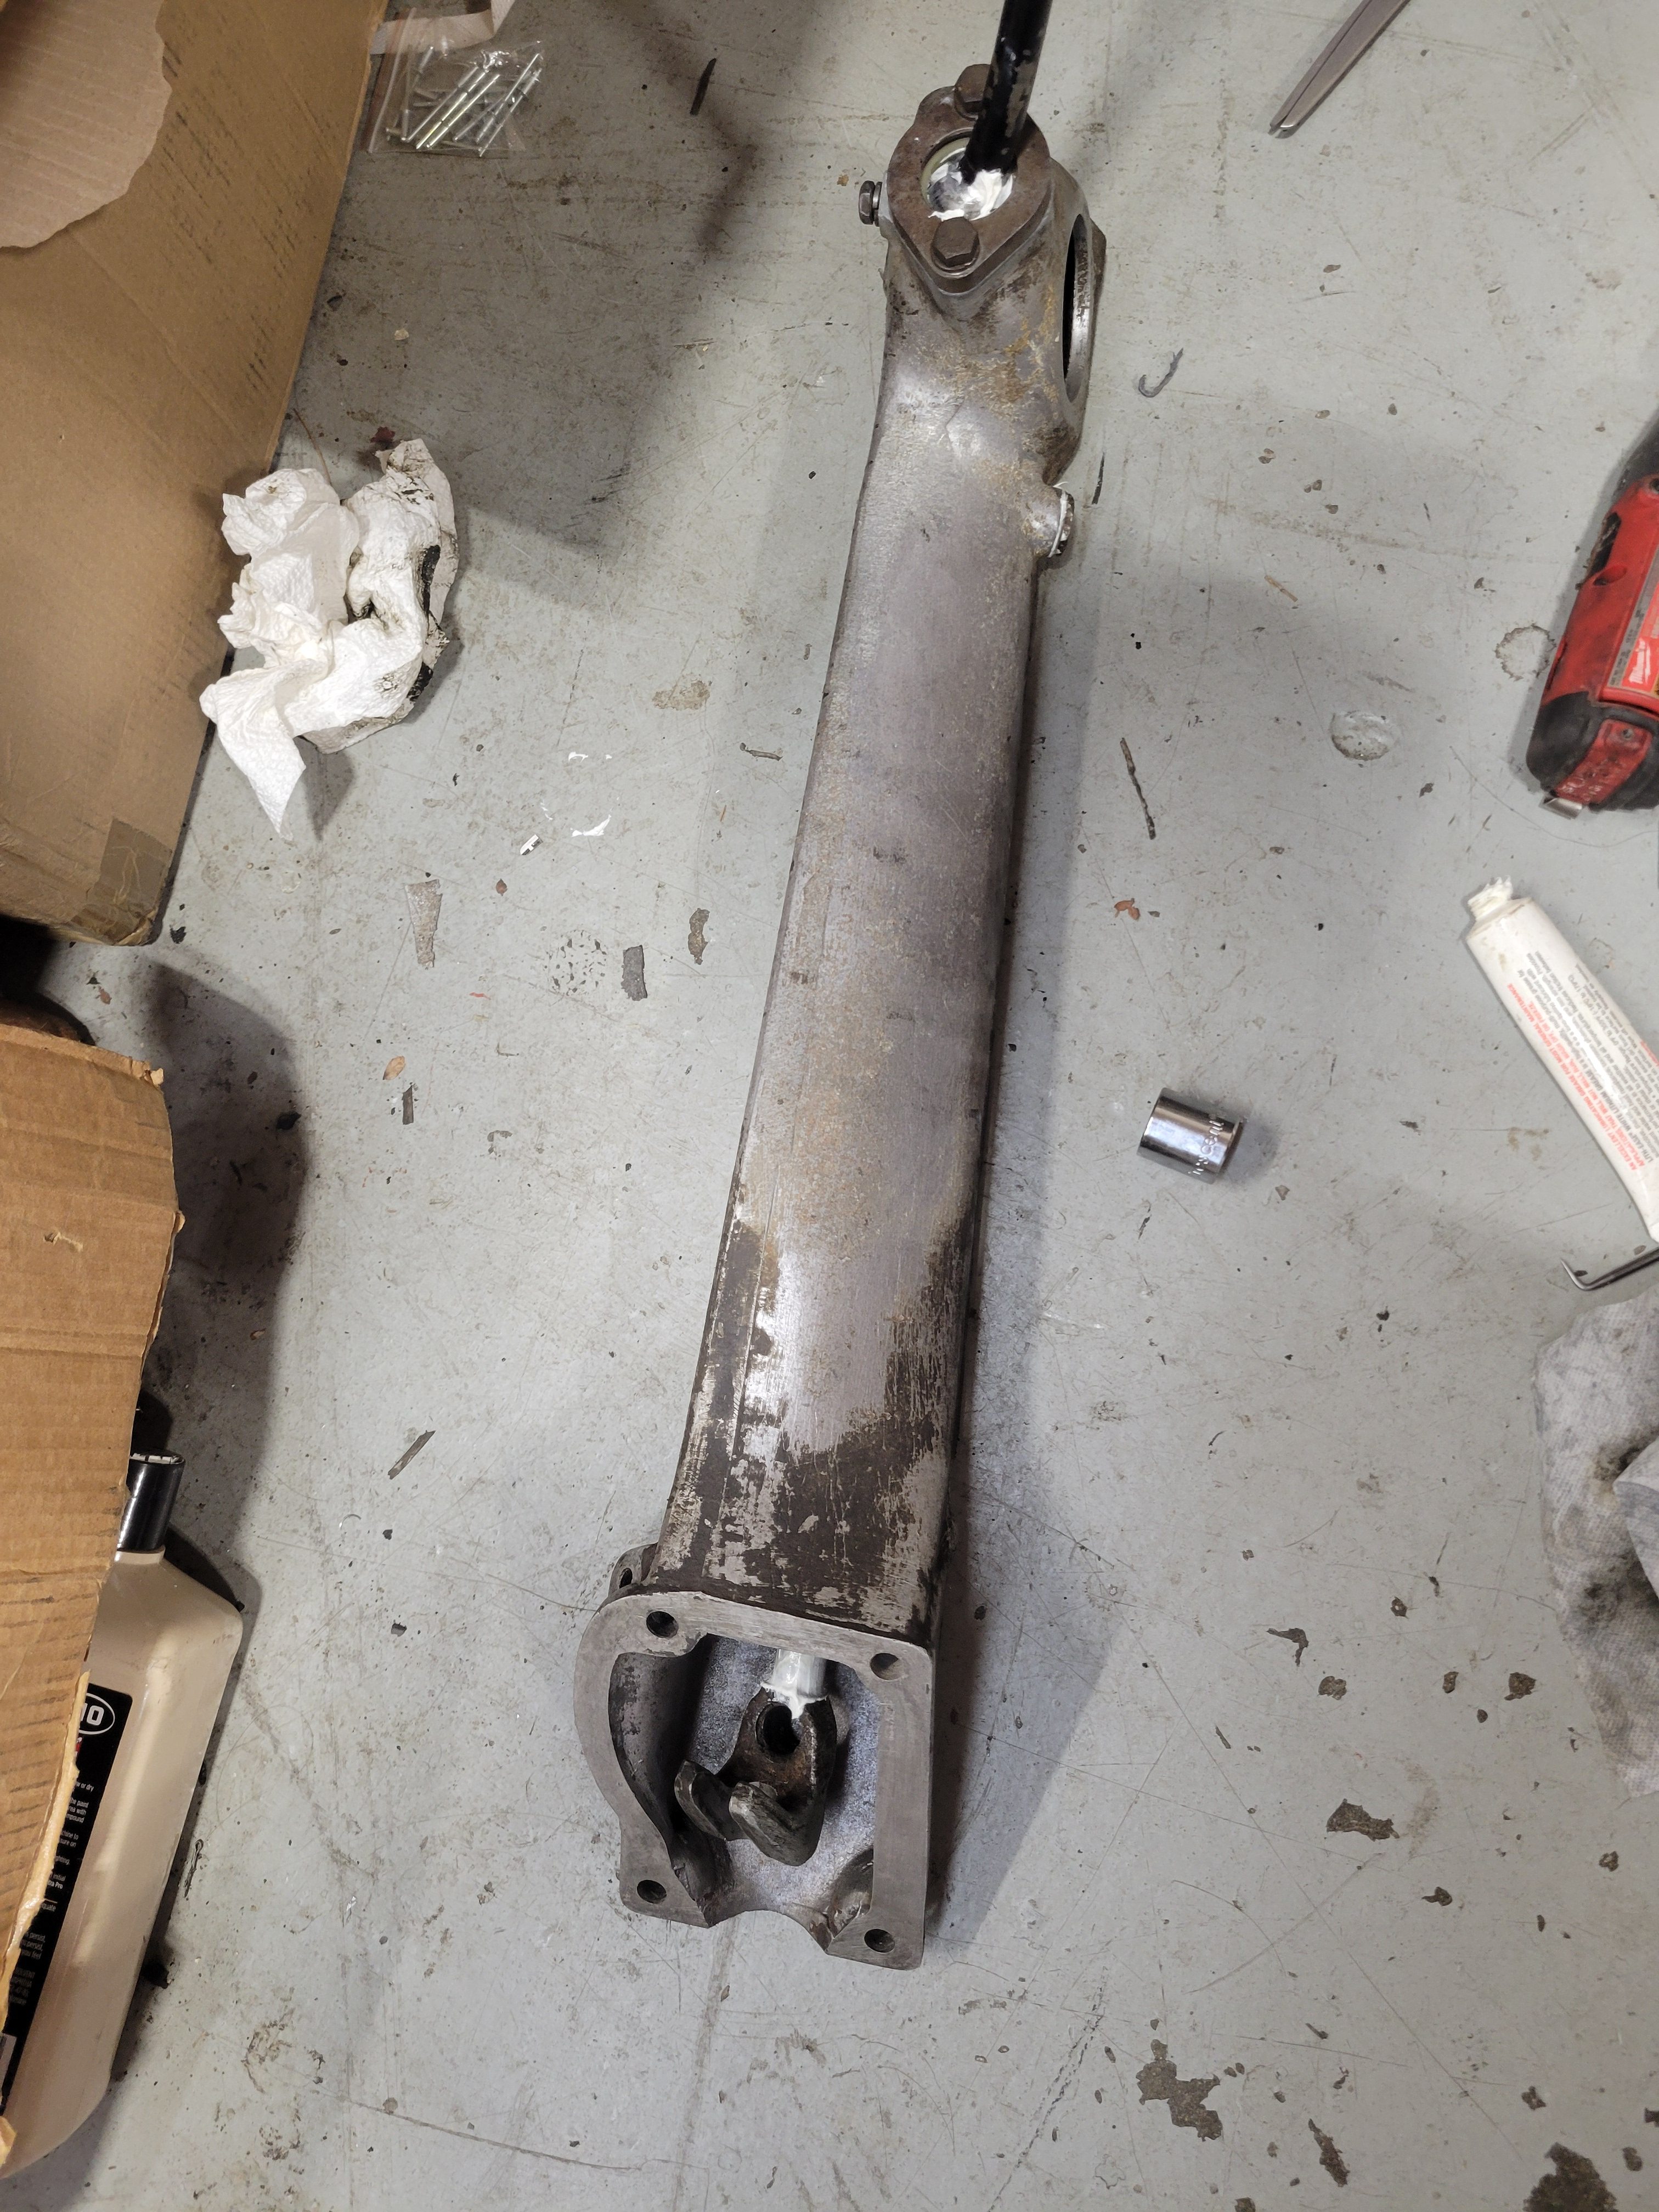
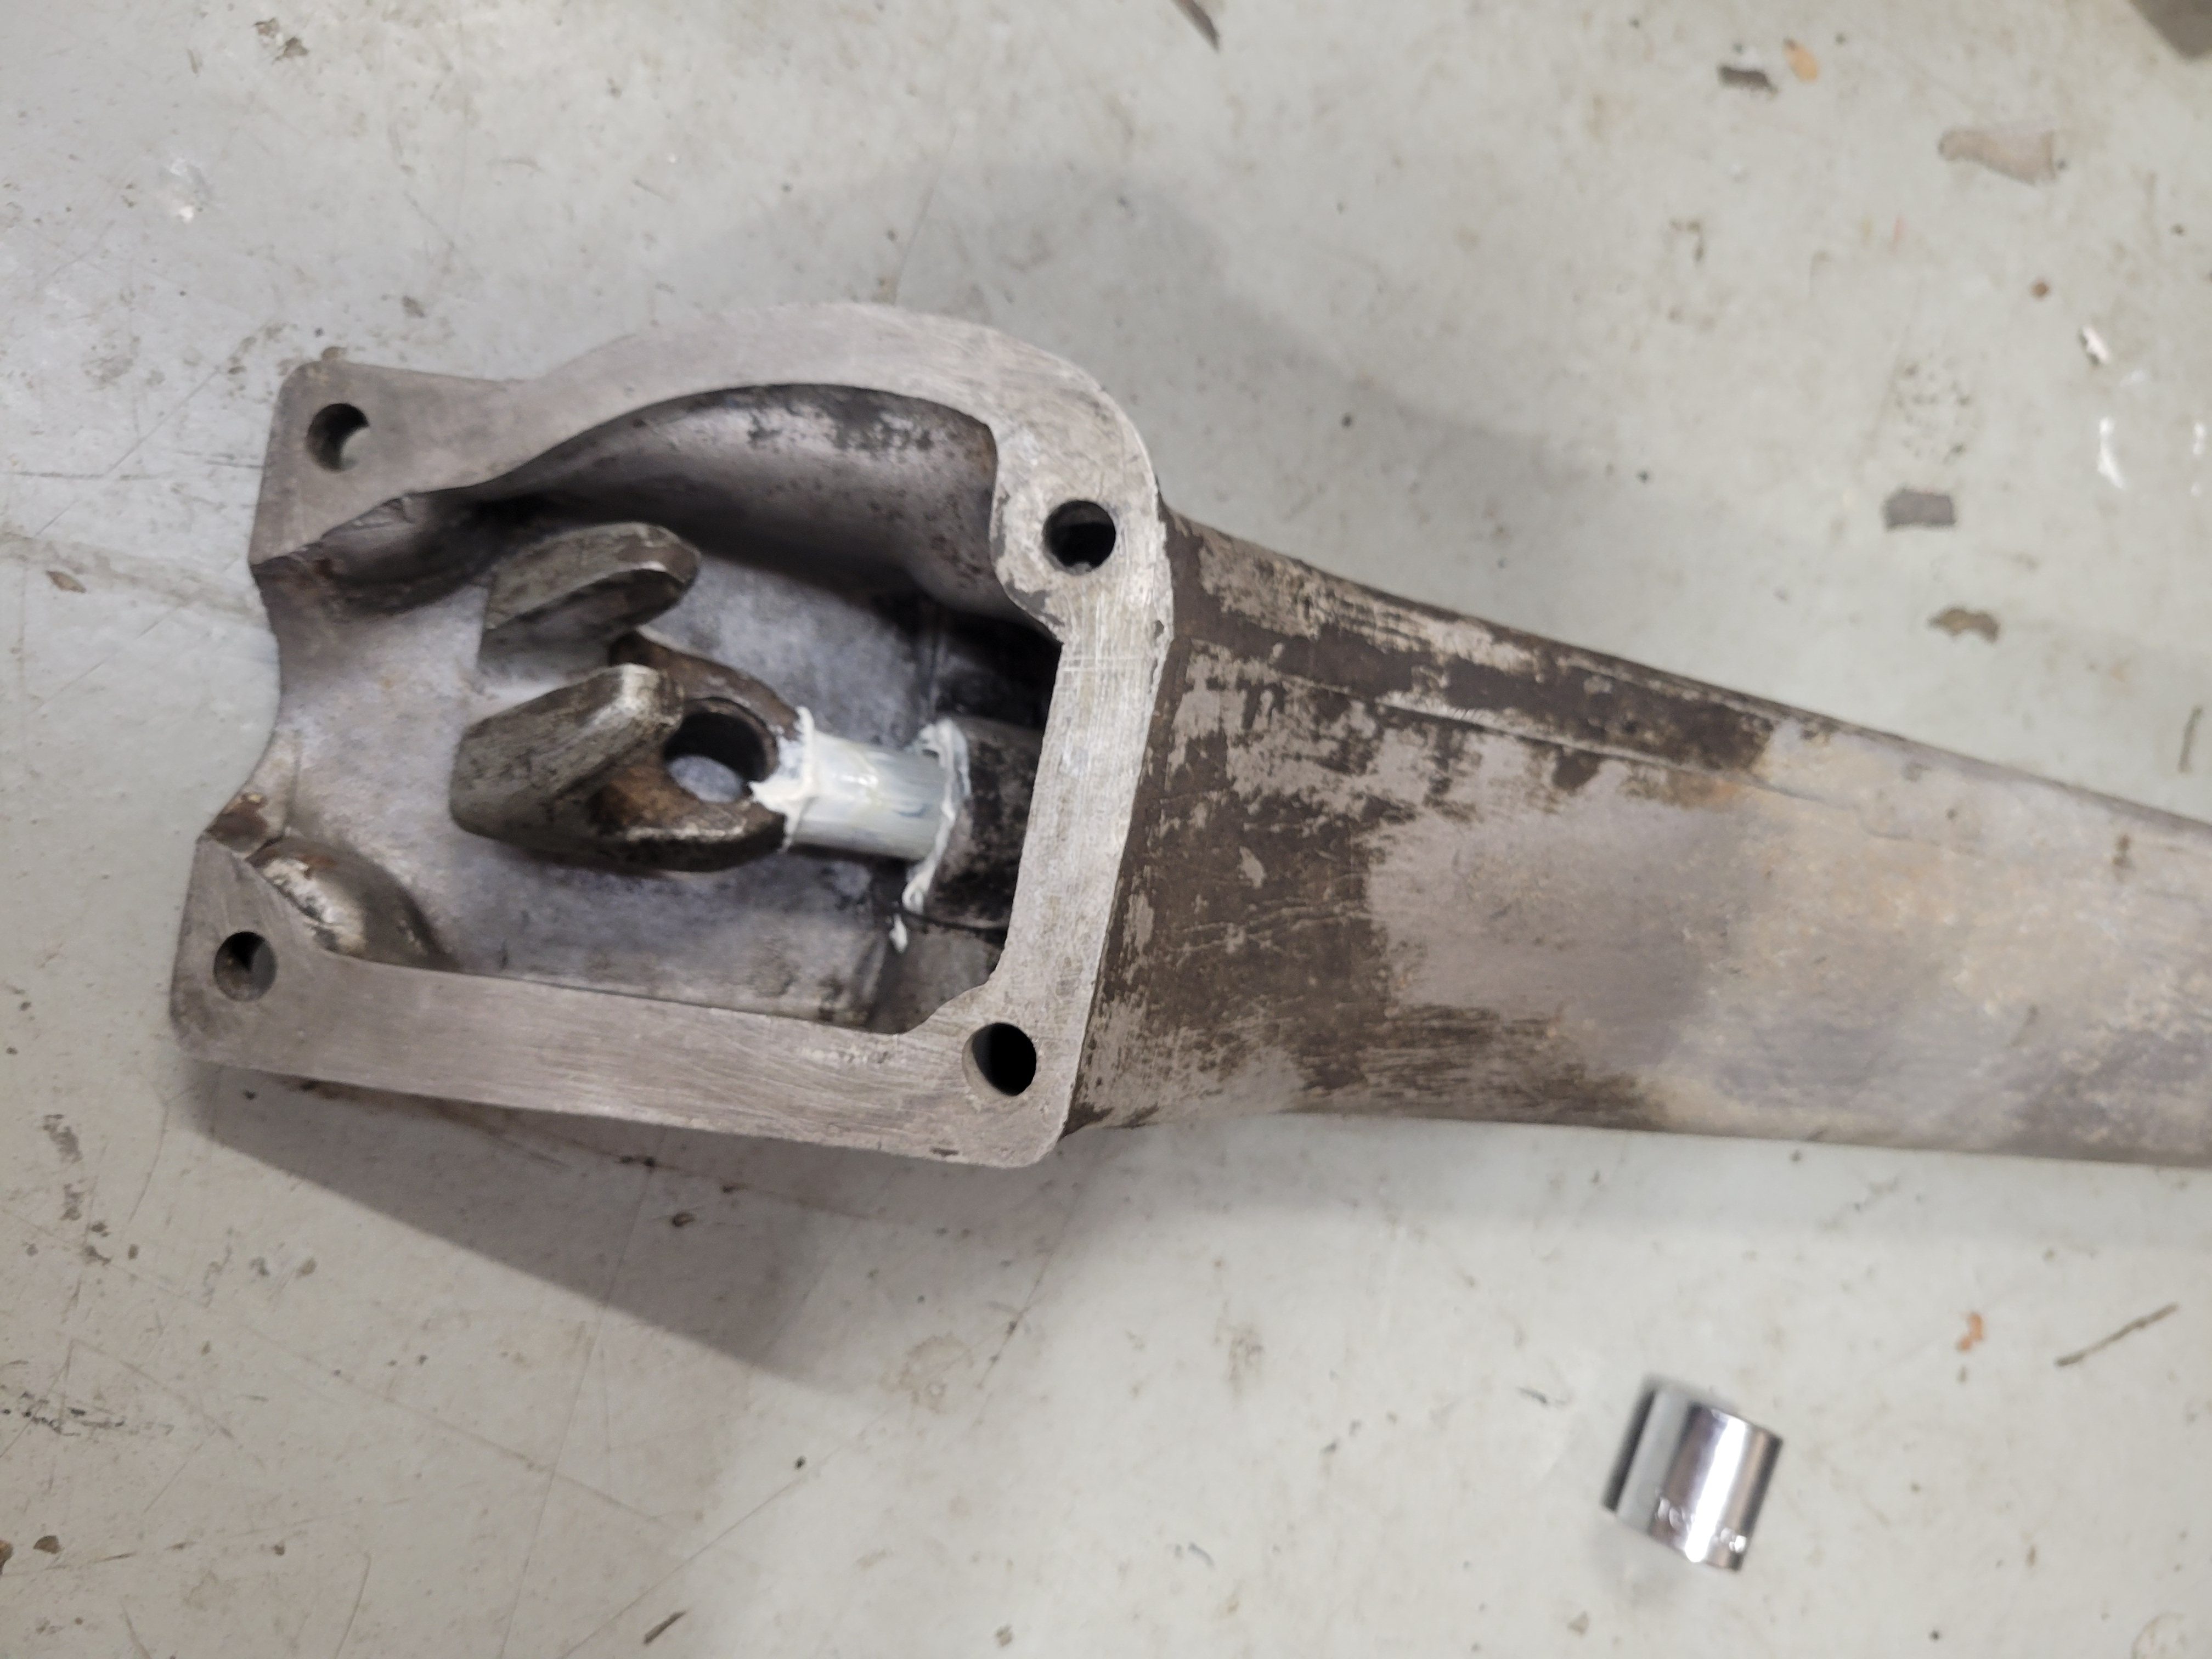
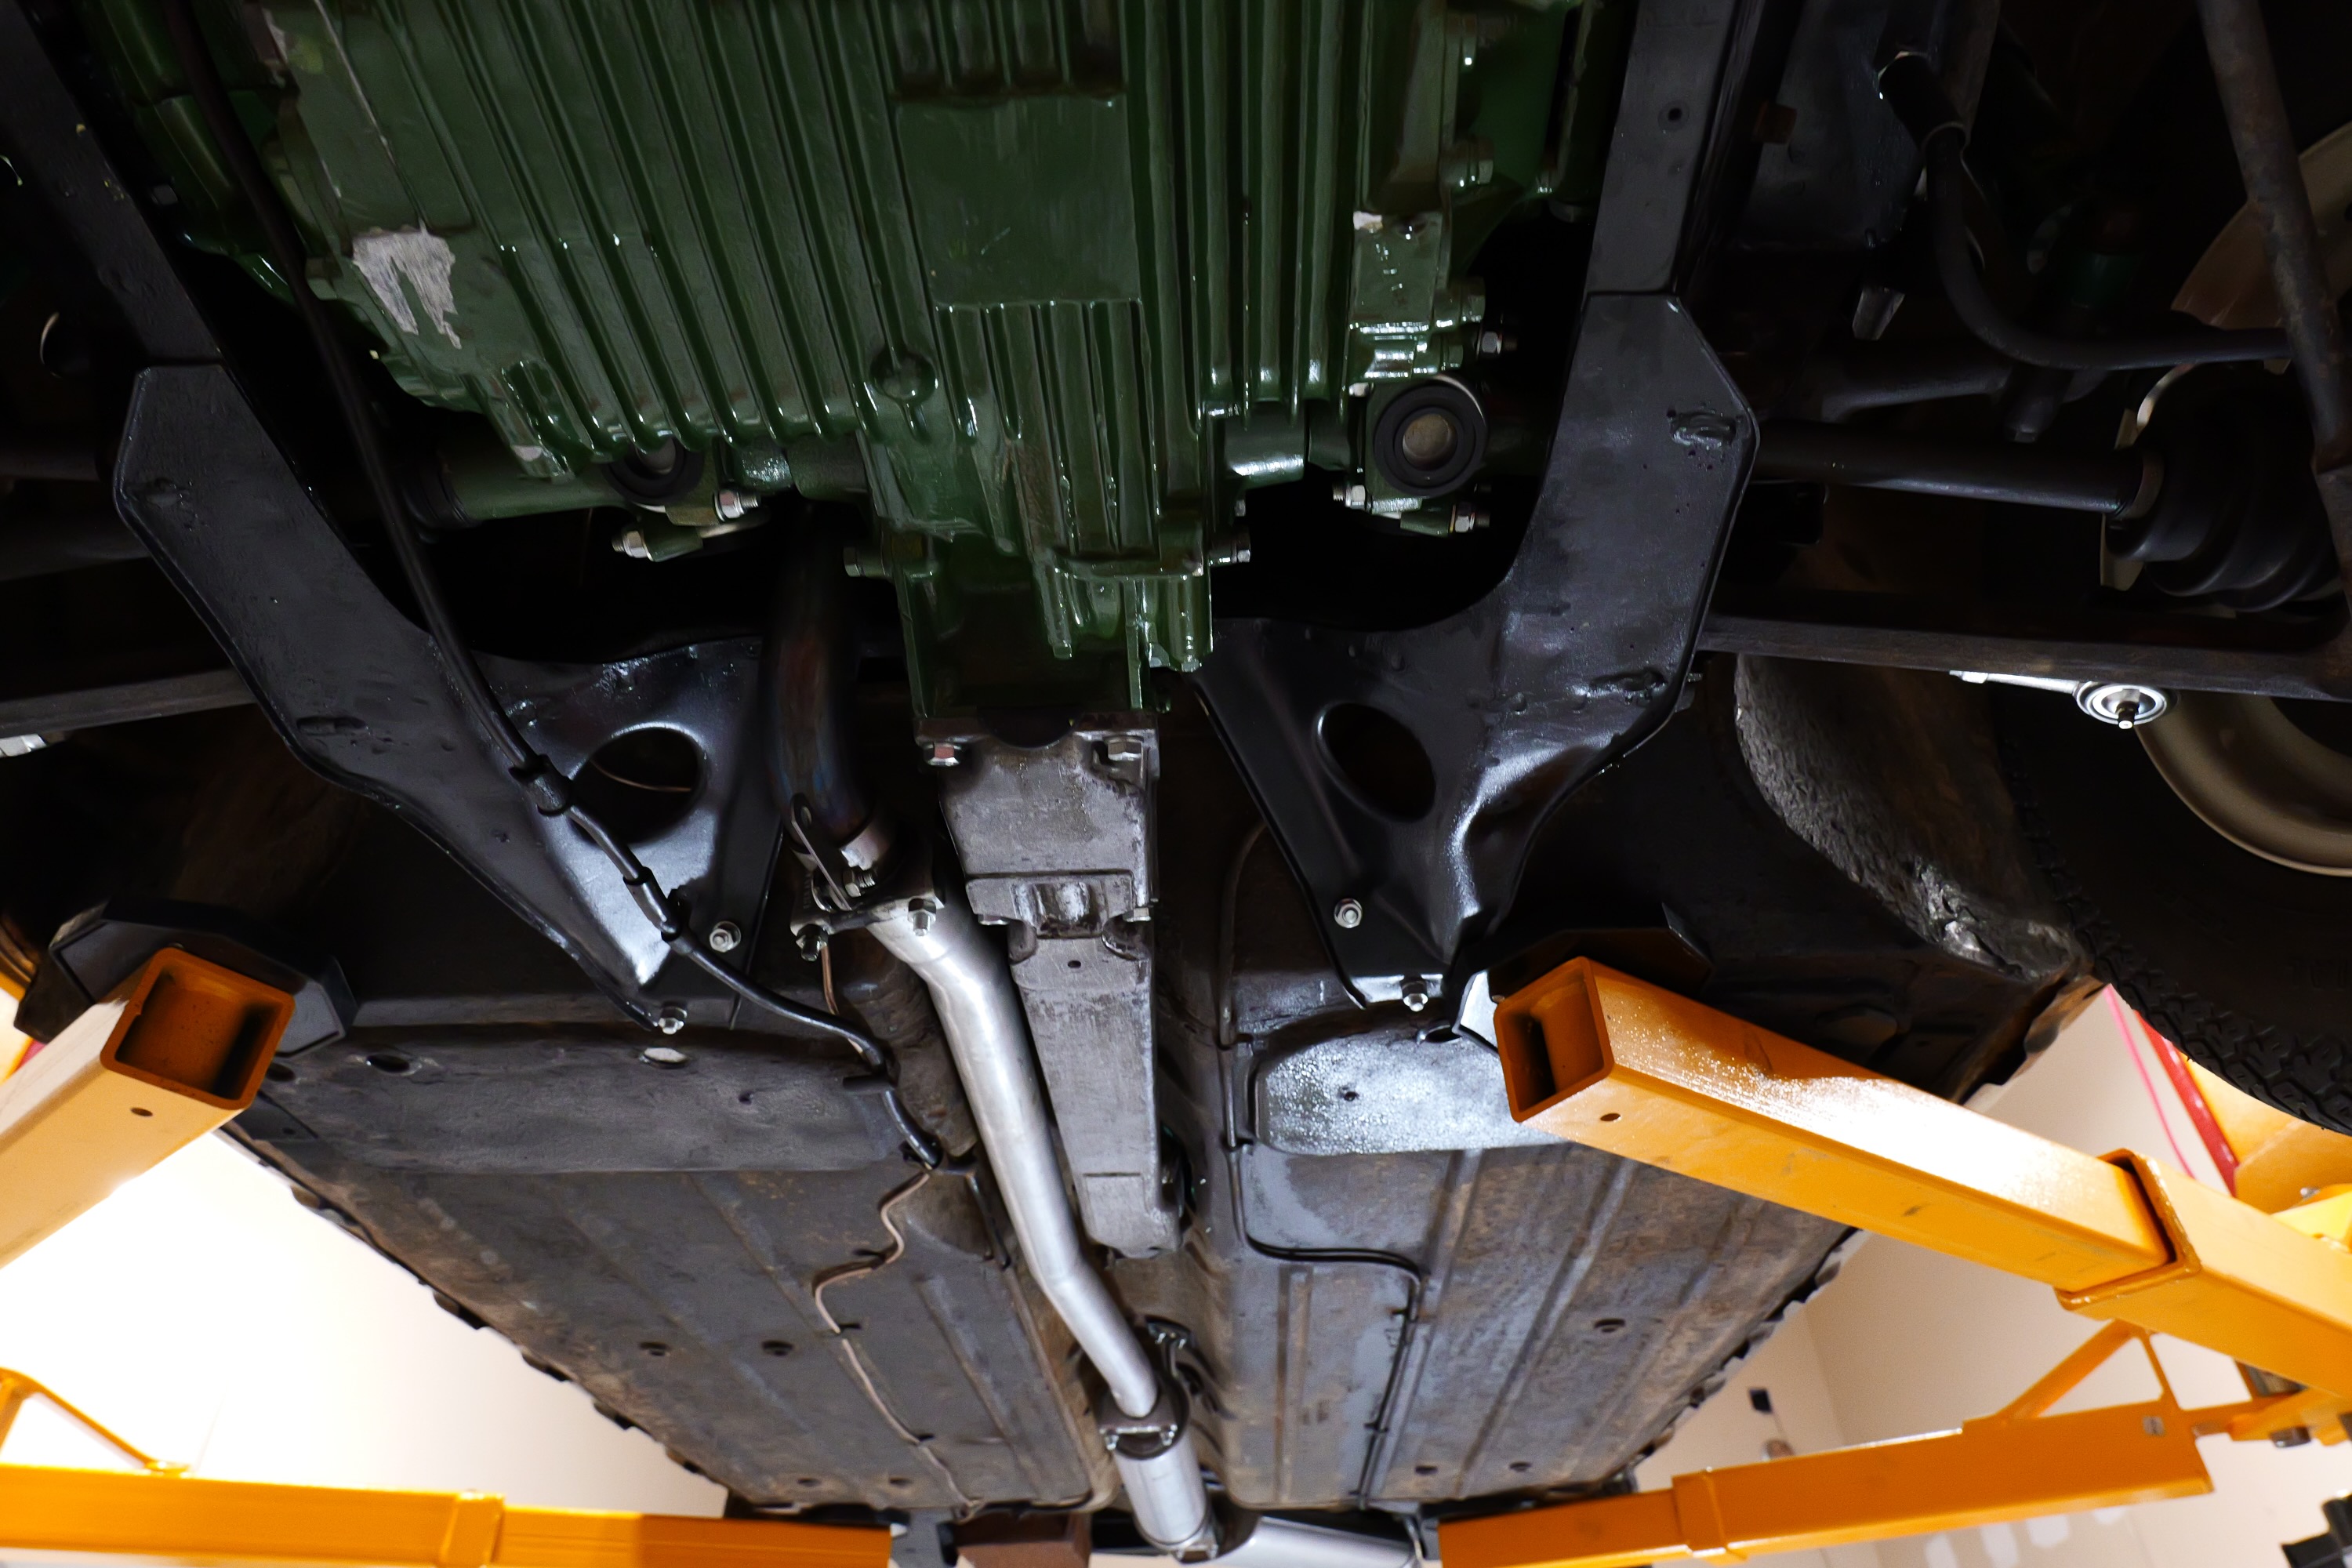
I will try my best to cover all the work I’ve done over the past 4 years, but I might miss a few things, given how long it’s taken to finish. So, I’ll start with the big things. I dropped the entire front subframe and drivetrain. The engine and transmission were removed from the subframe so that I could service the axles, replace seals, and repaint everything.
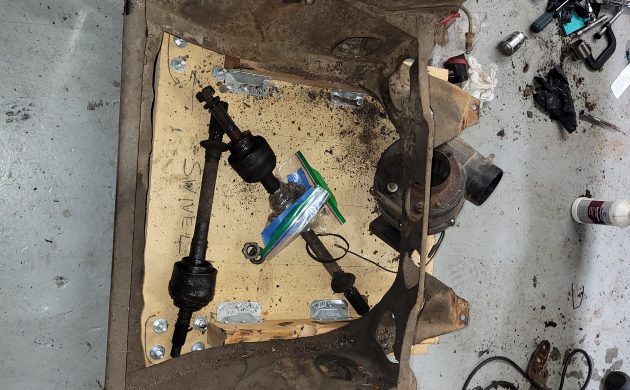
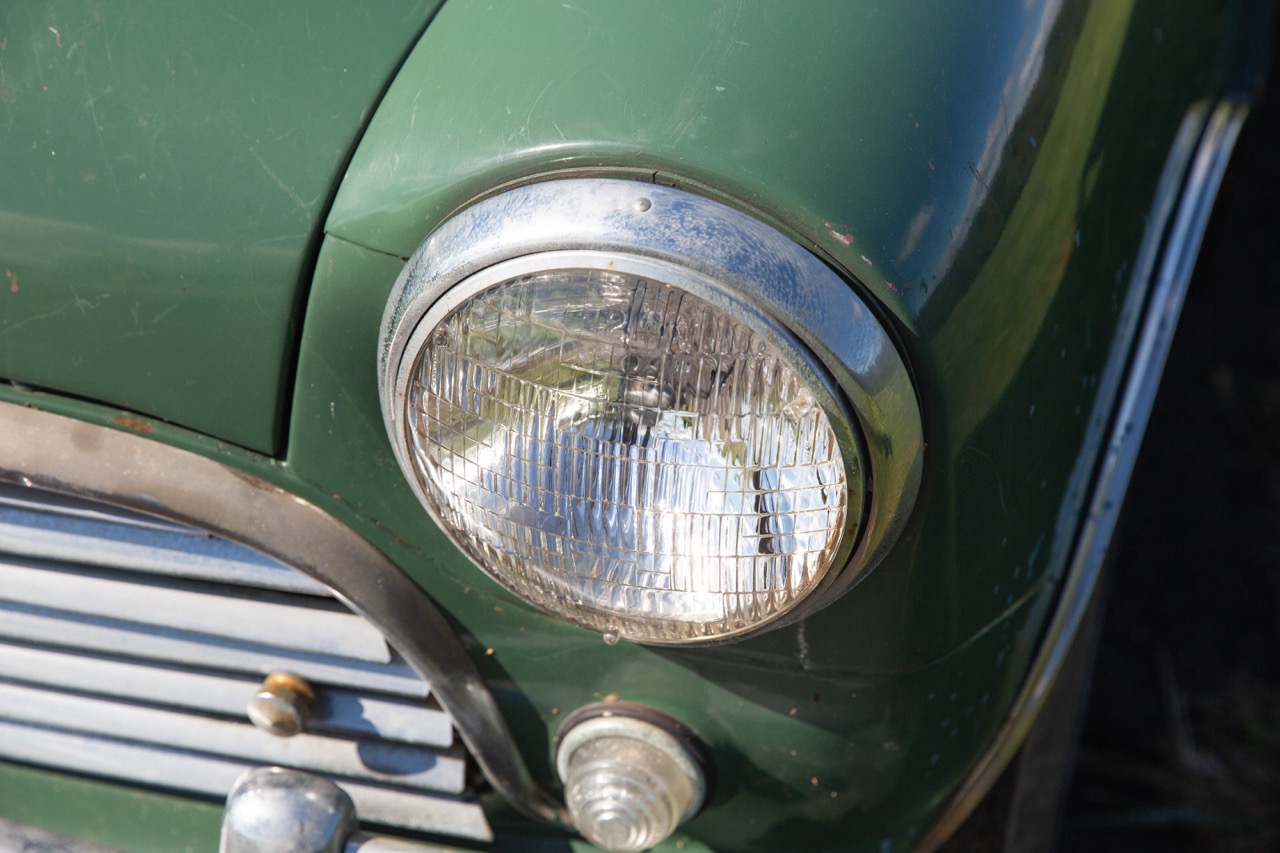
The subframe was in excellent condition, so I stripped everything off of it and repainted it with chassis paint. I did my best to save any original components I could, like the control arms, with the plan to replace only those items that really needed to be.
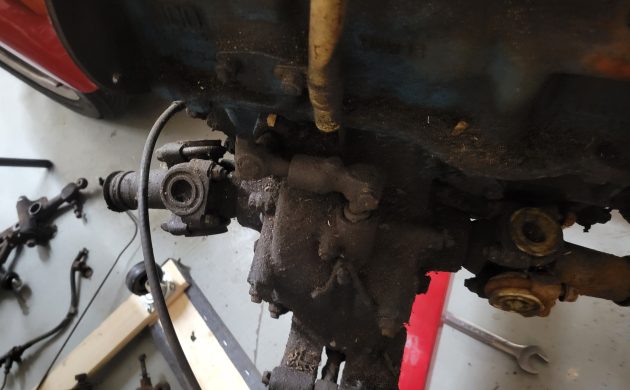
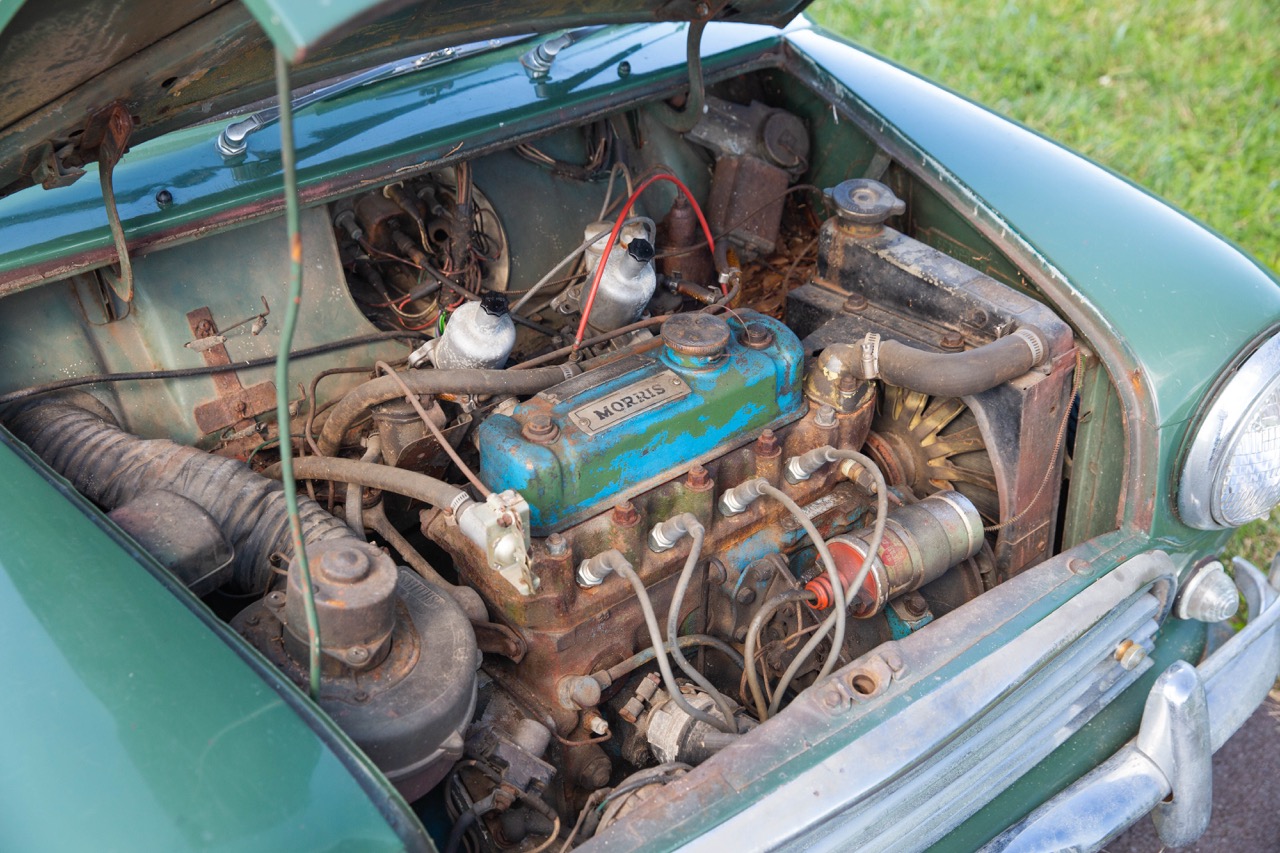
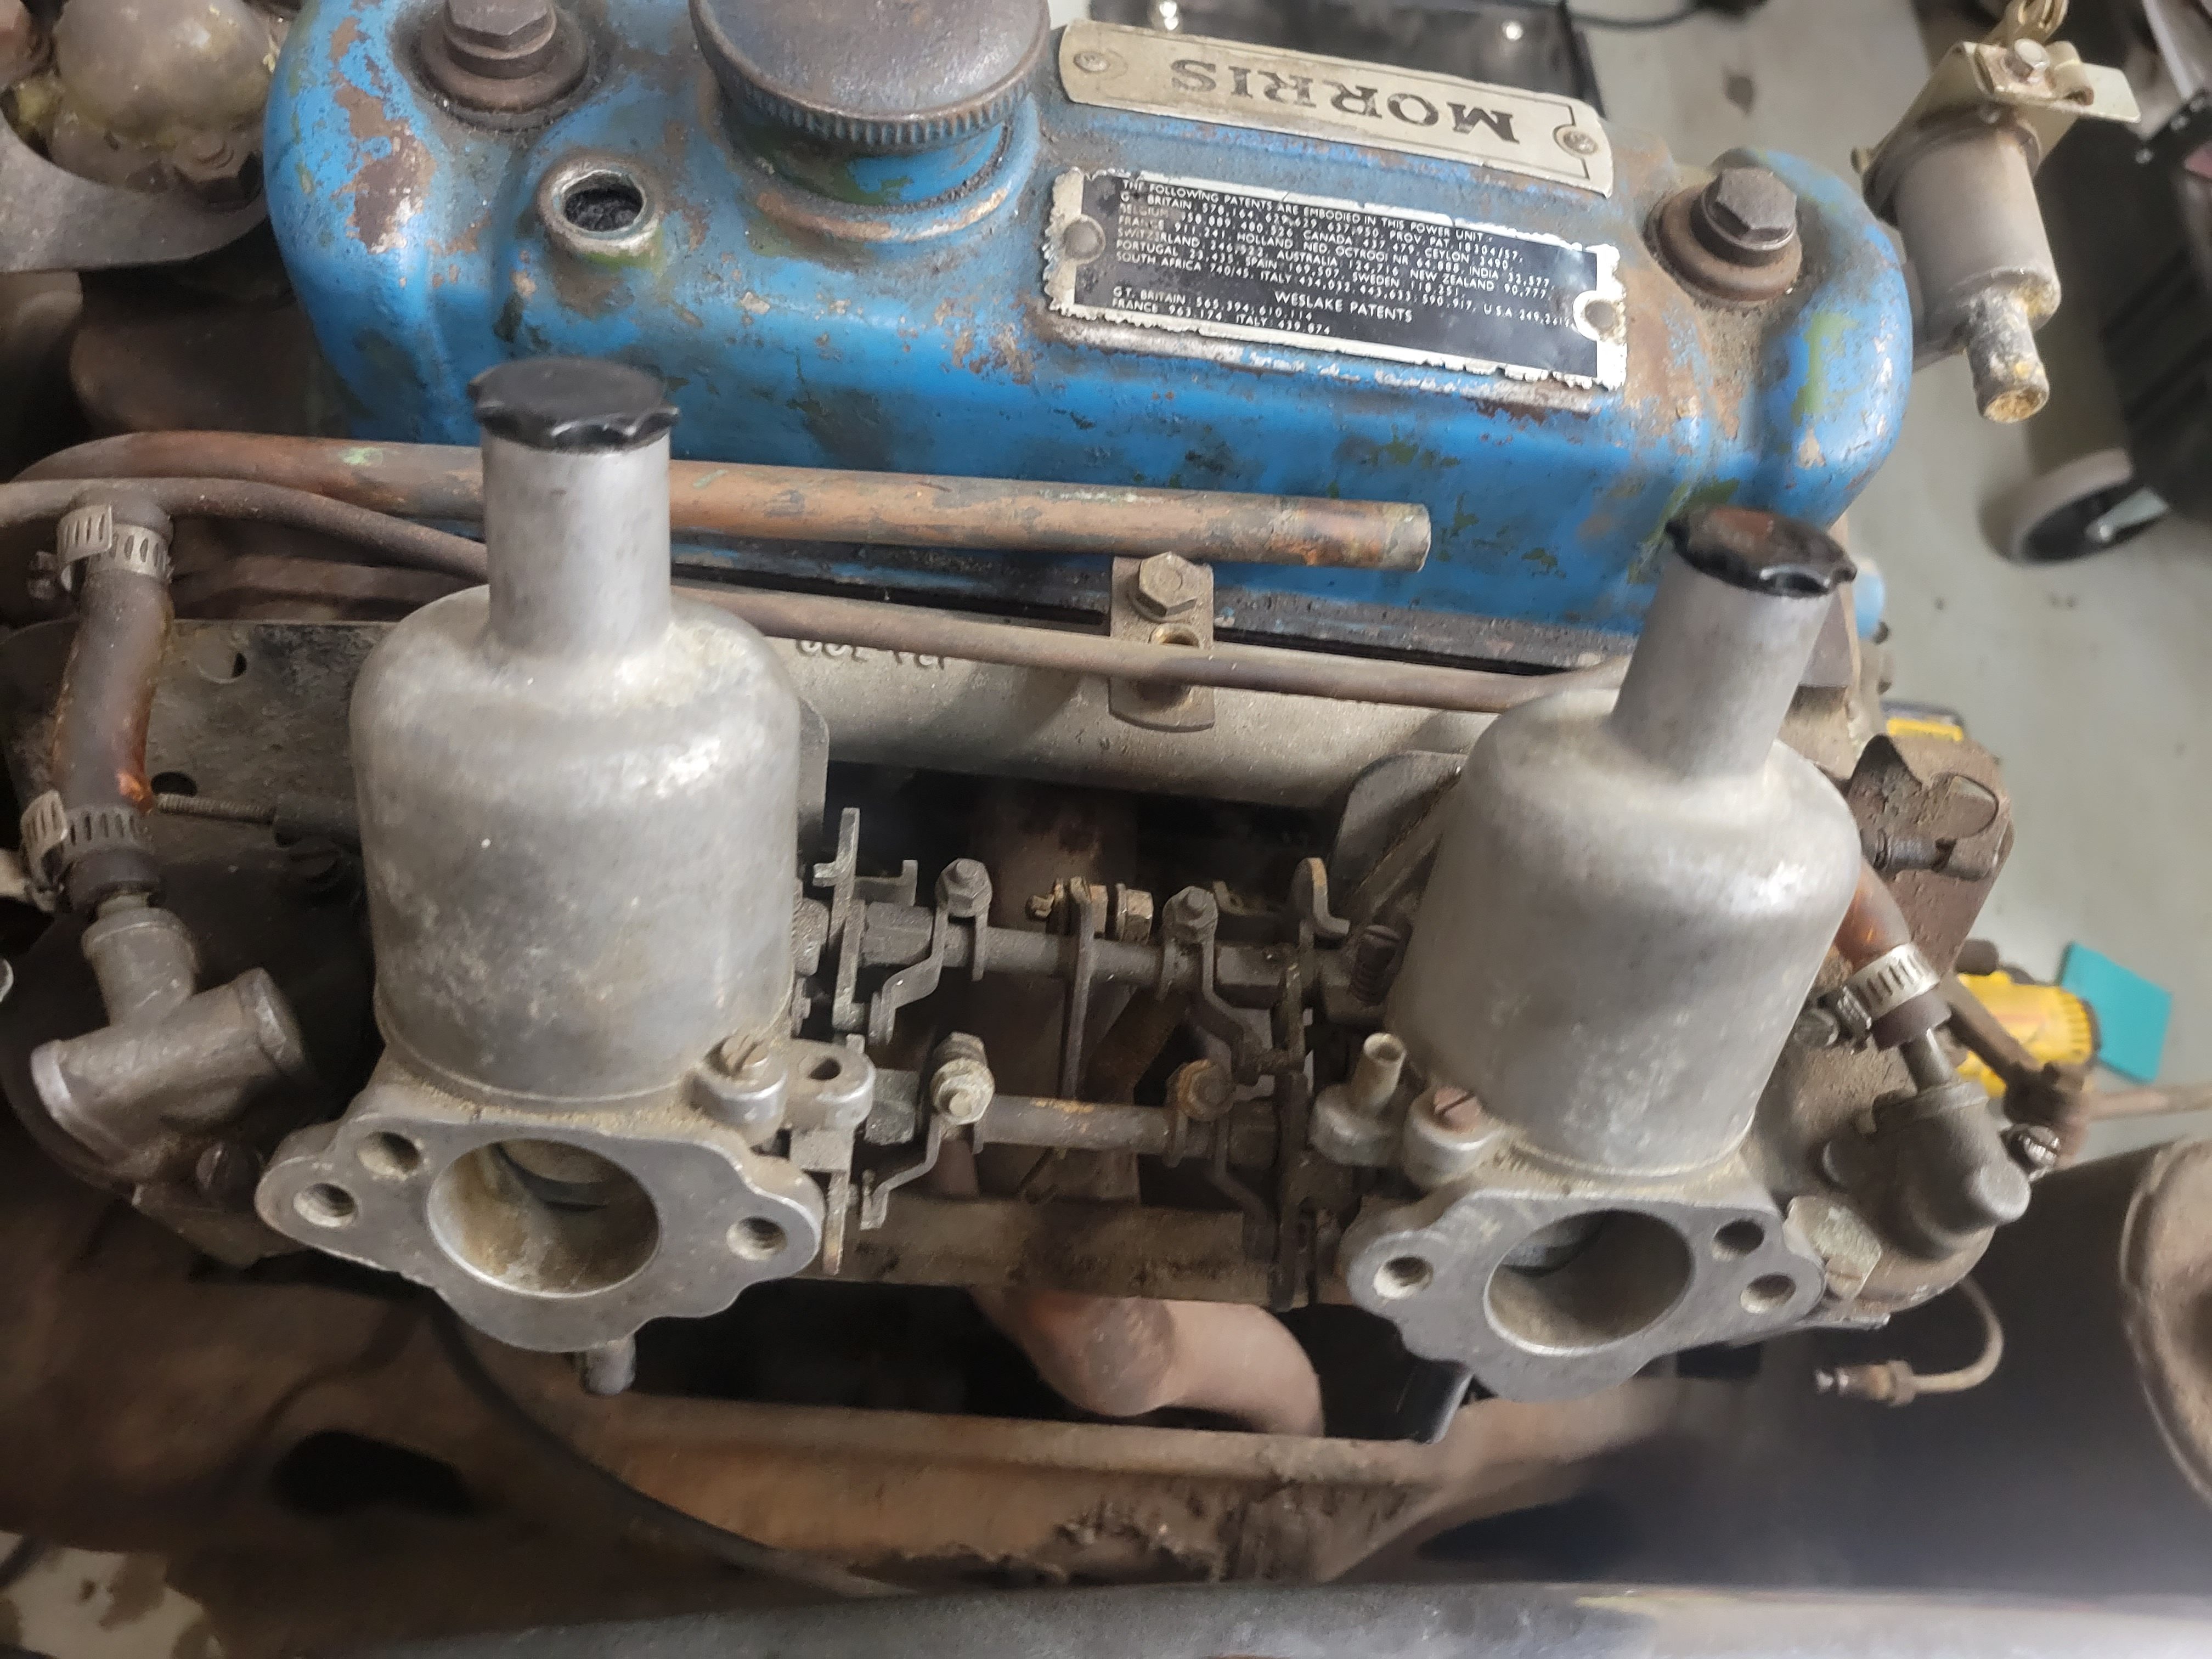
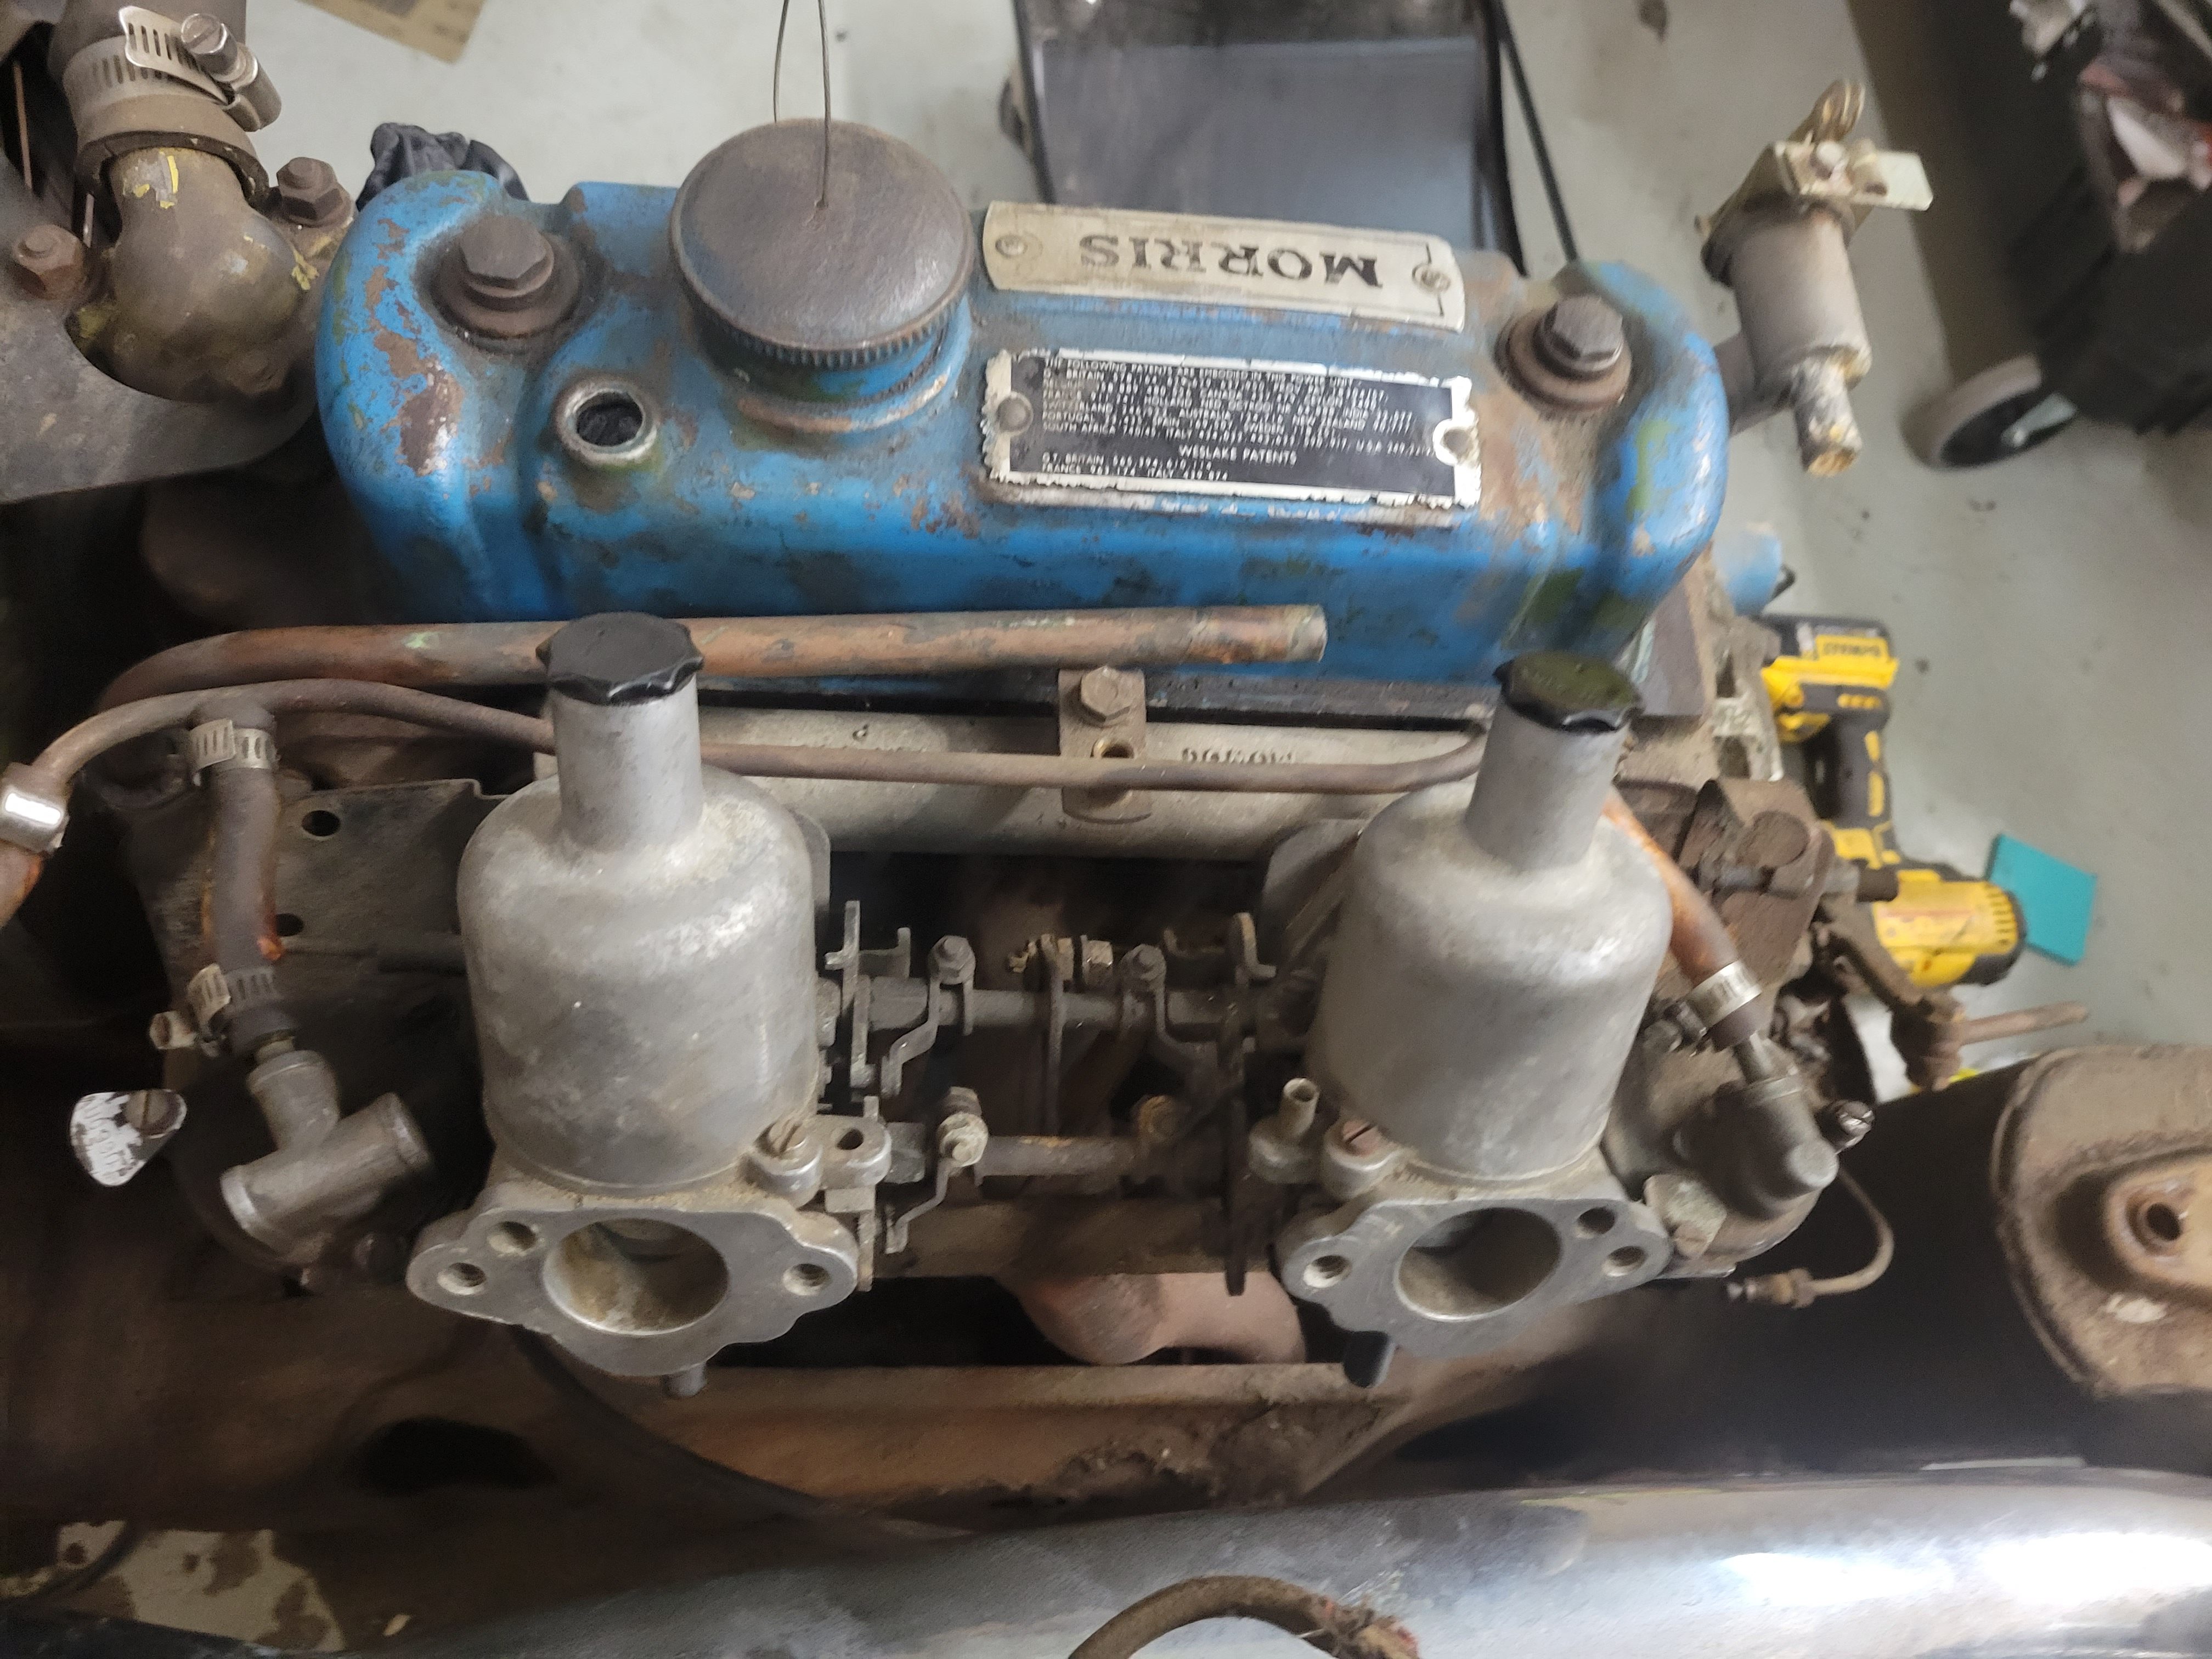
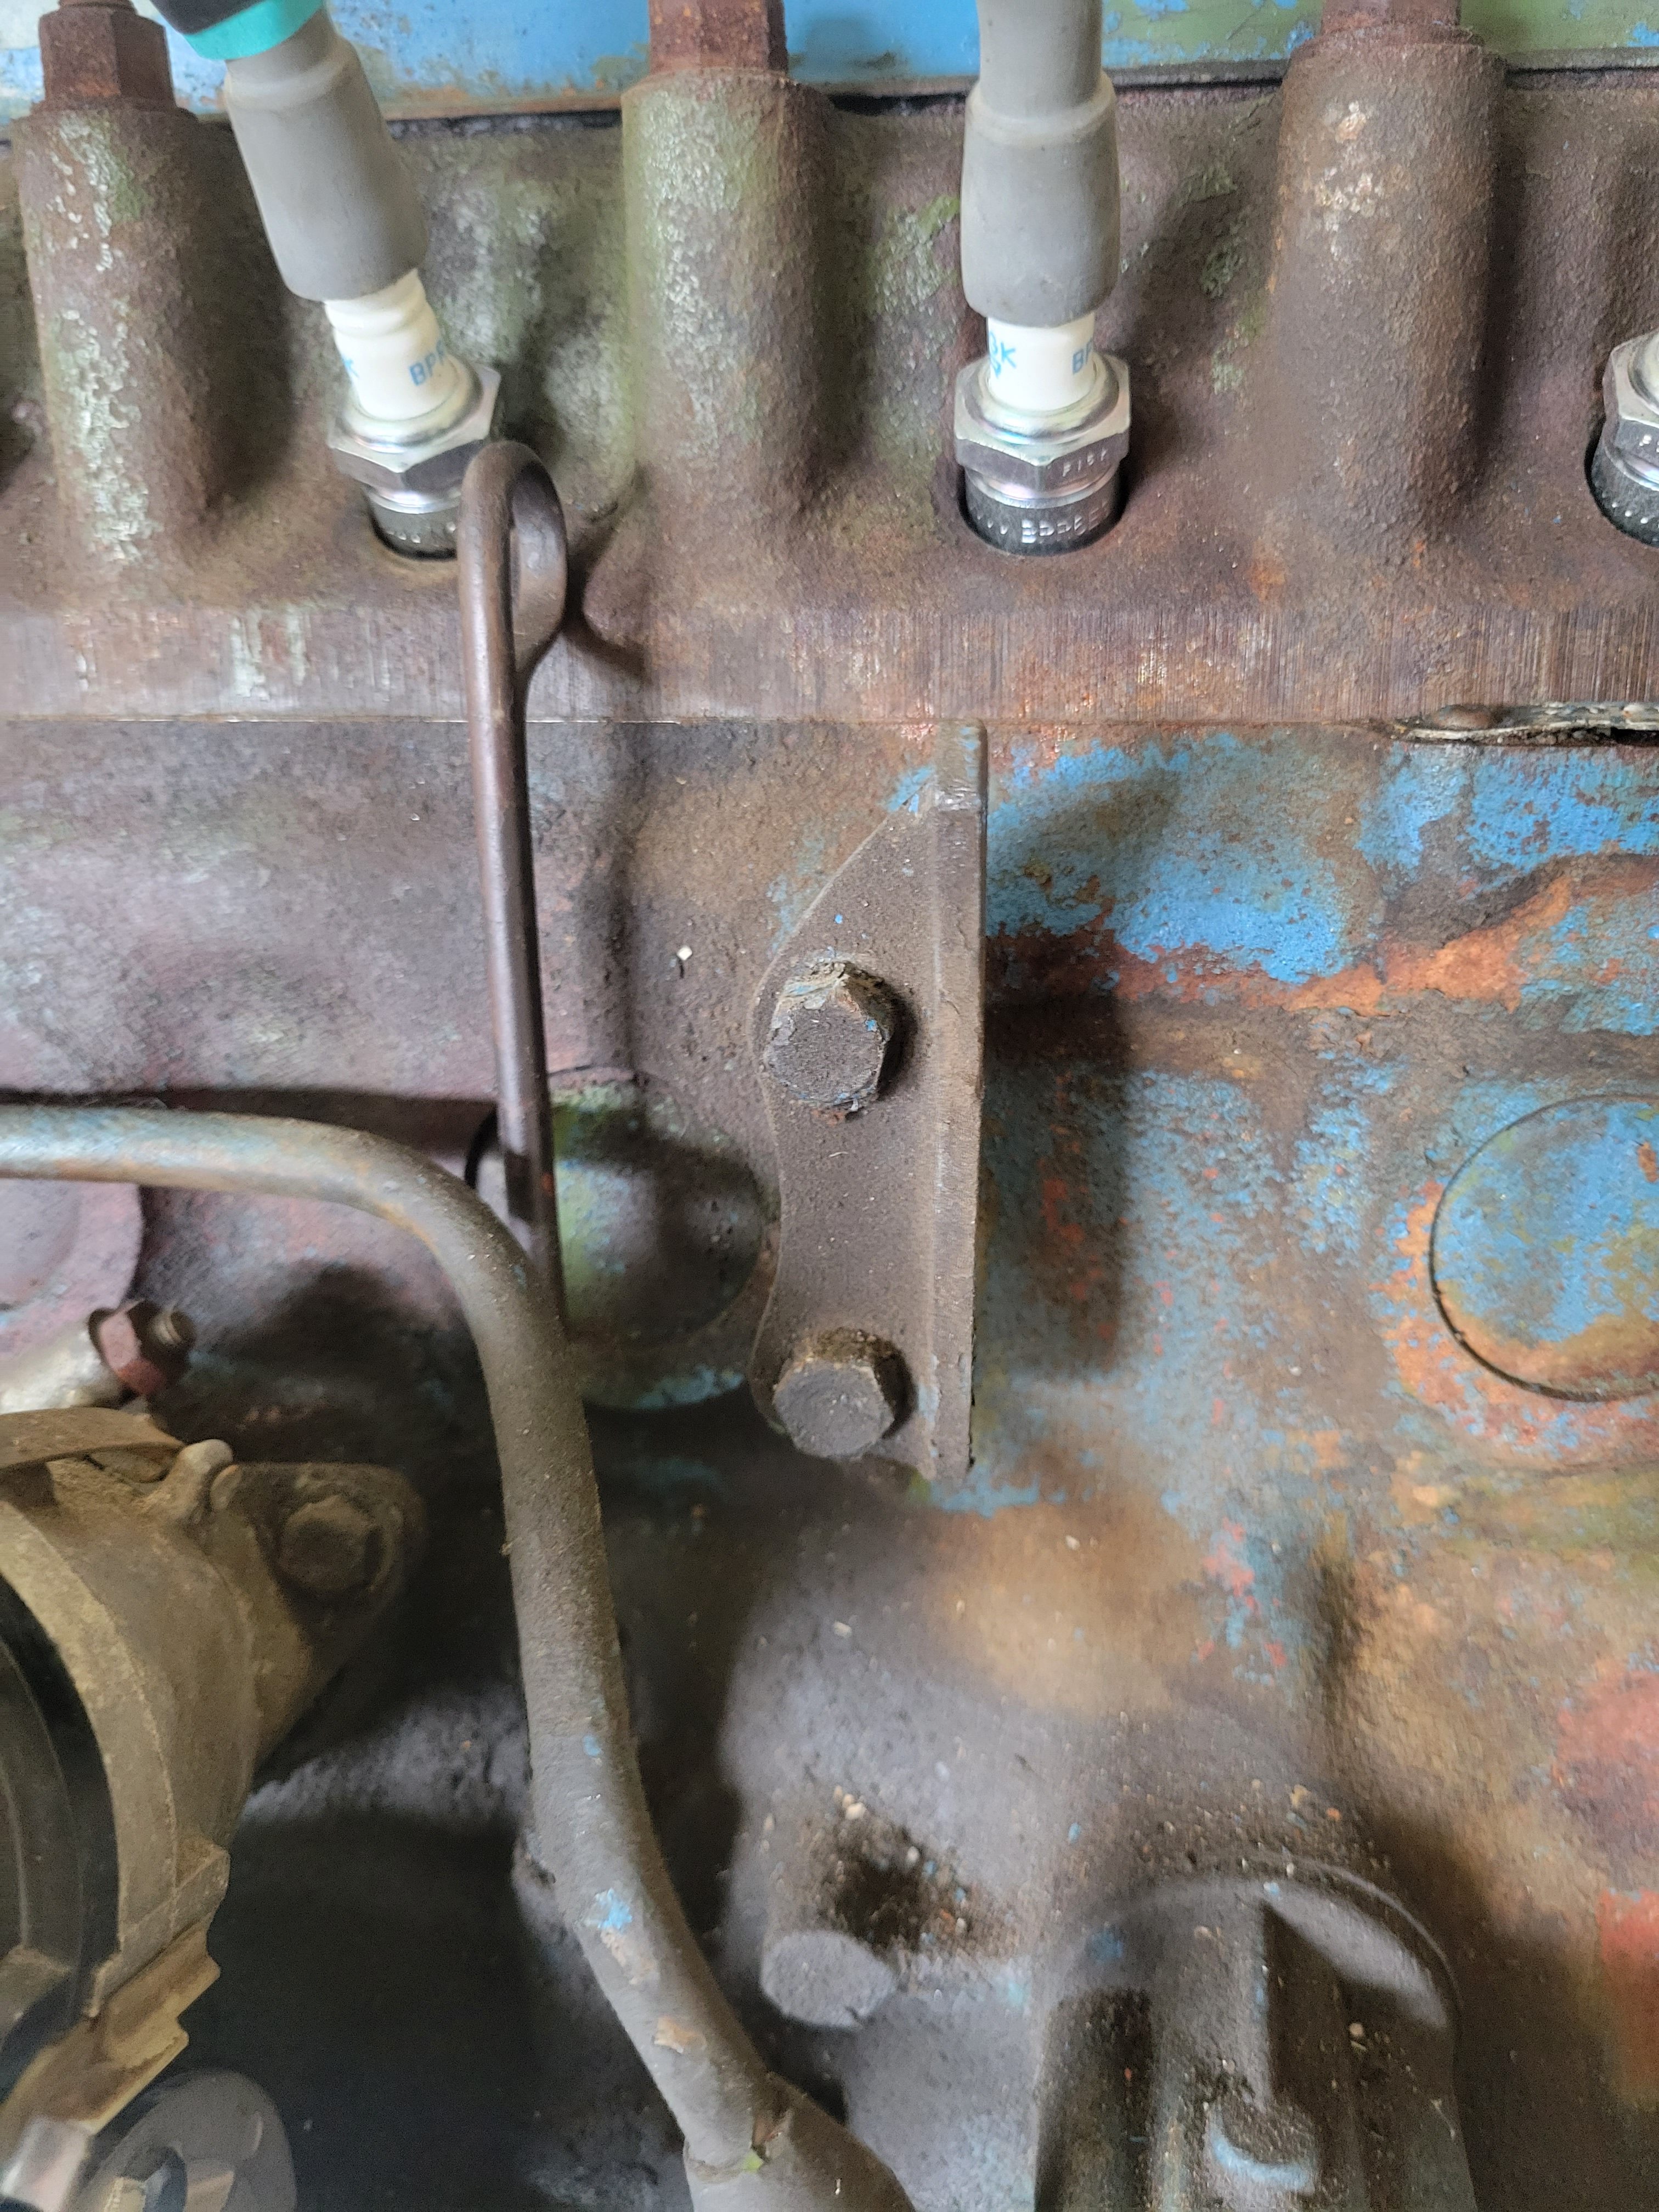
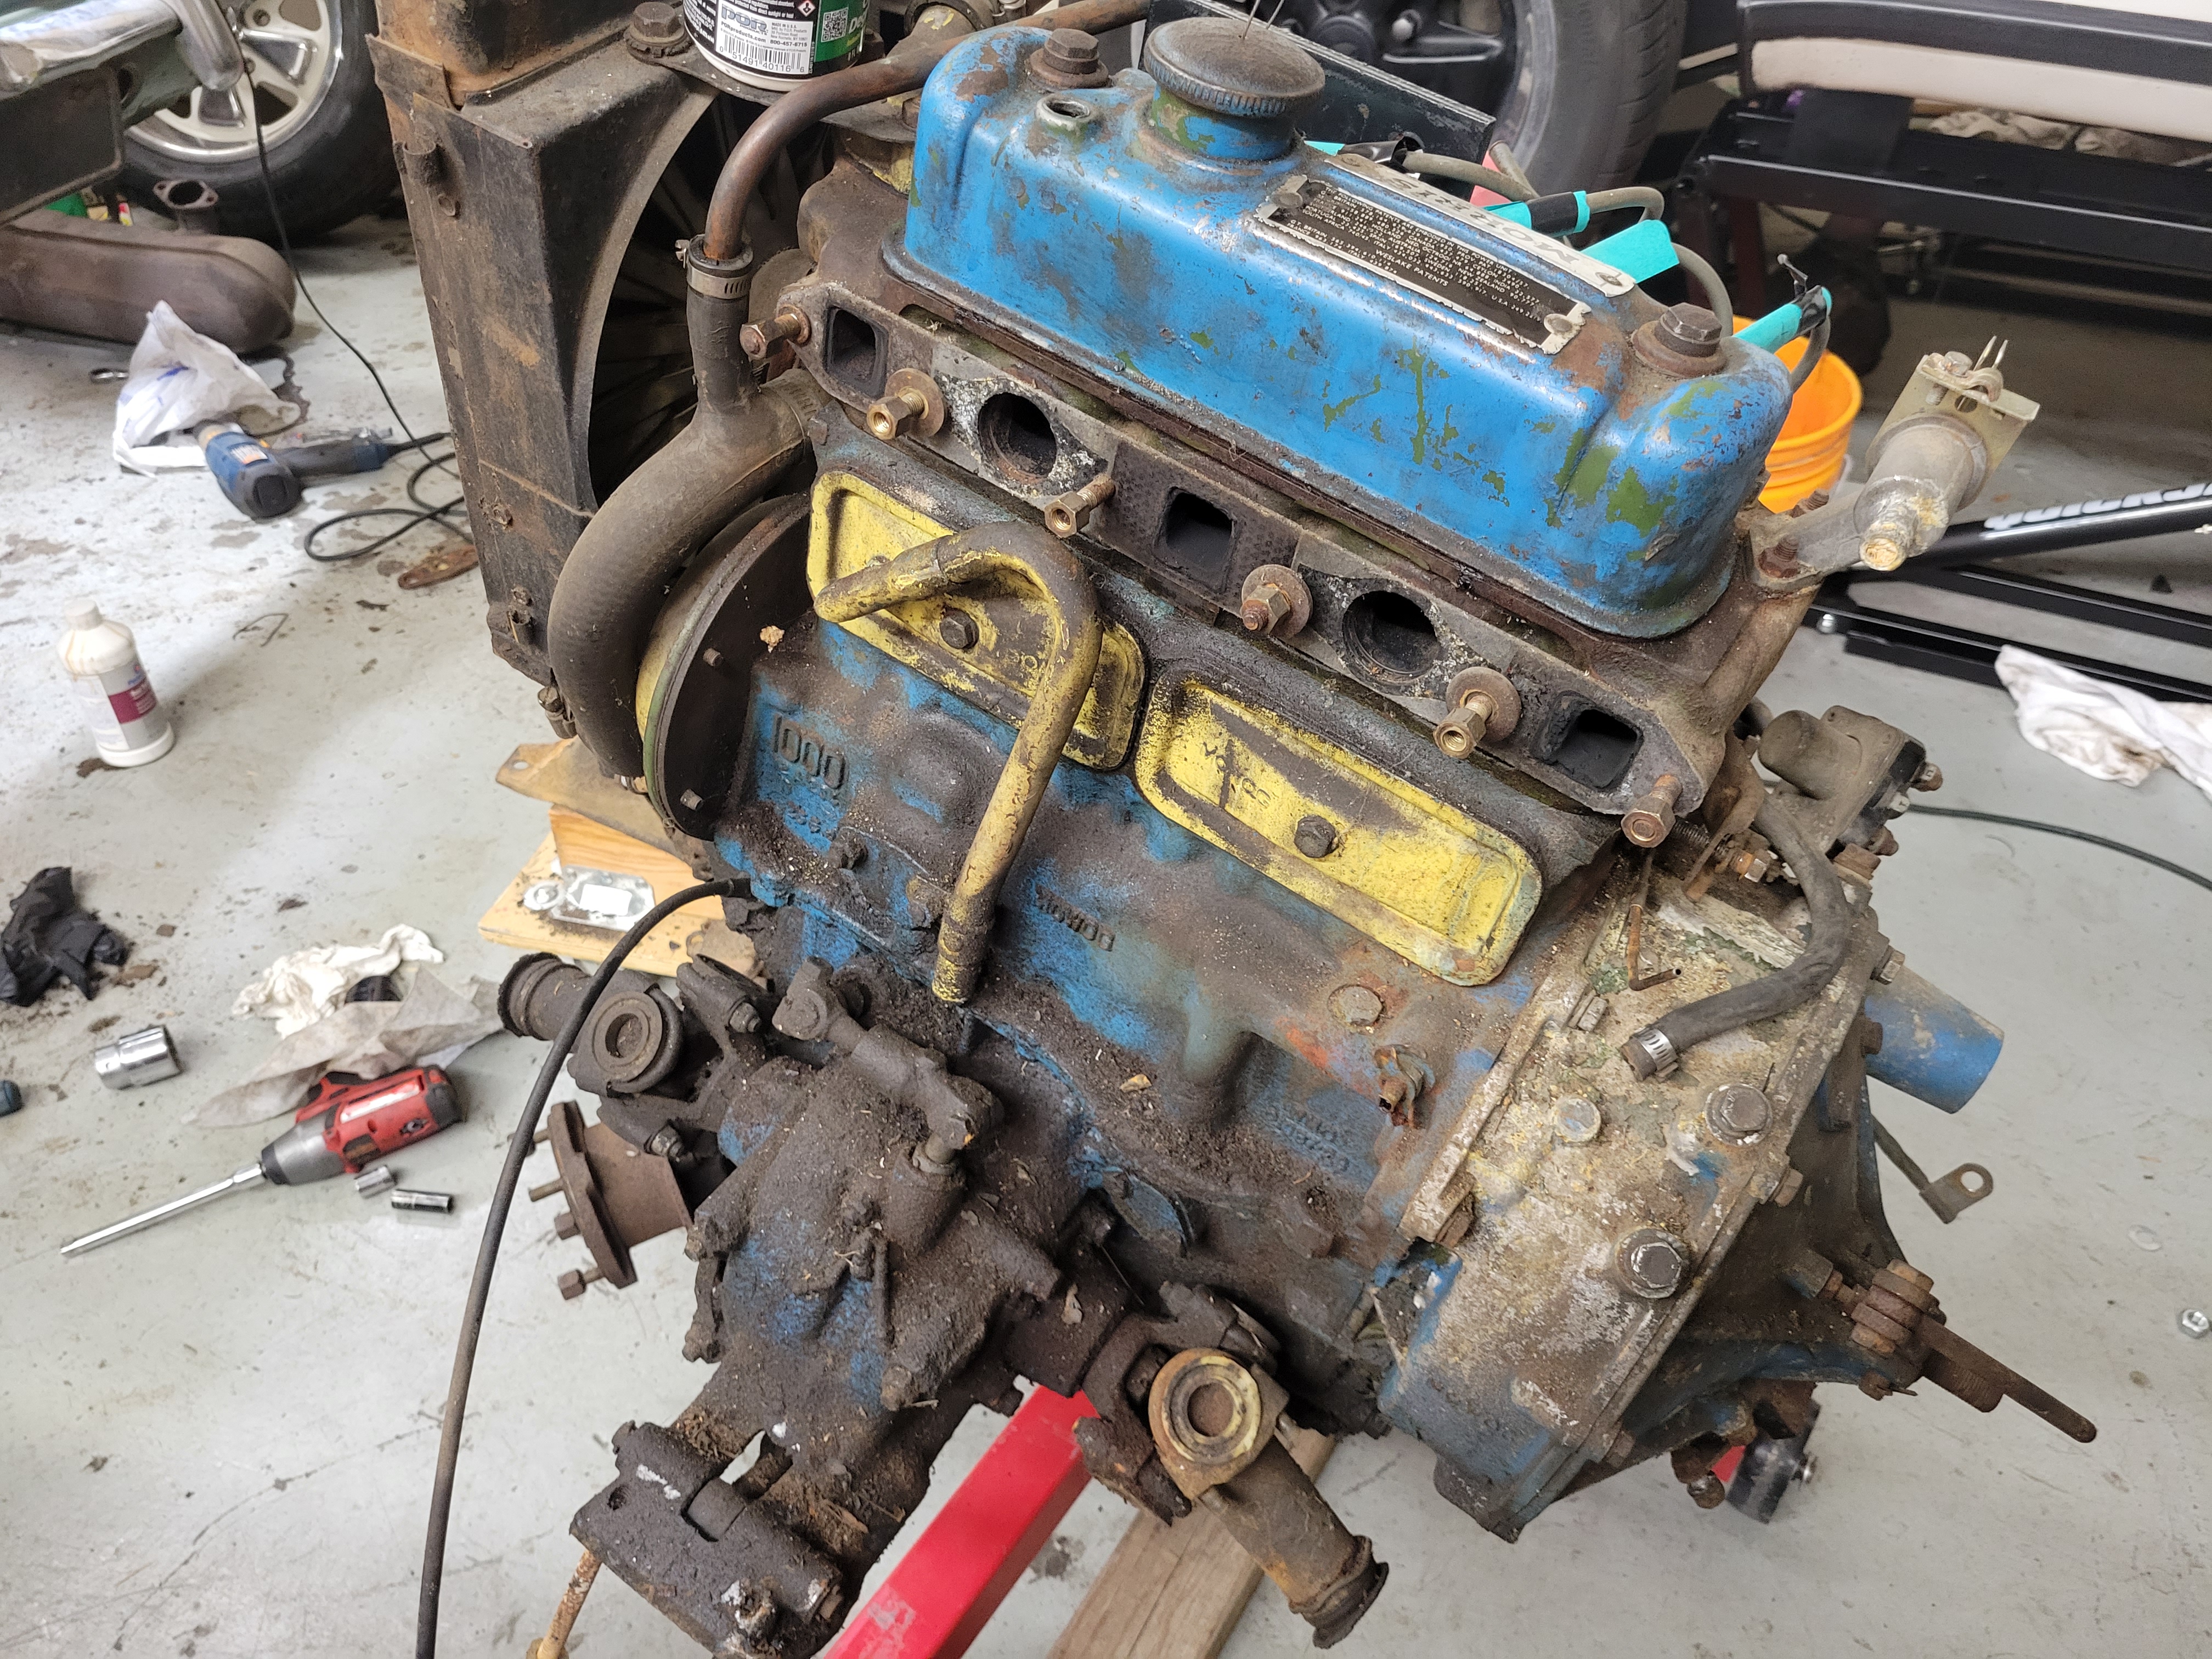
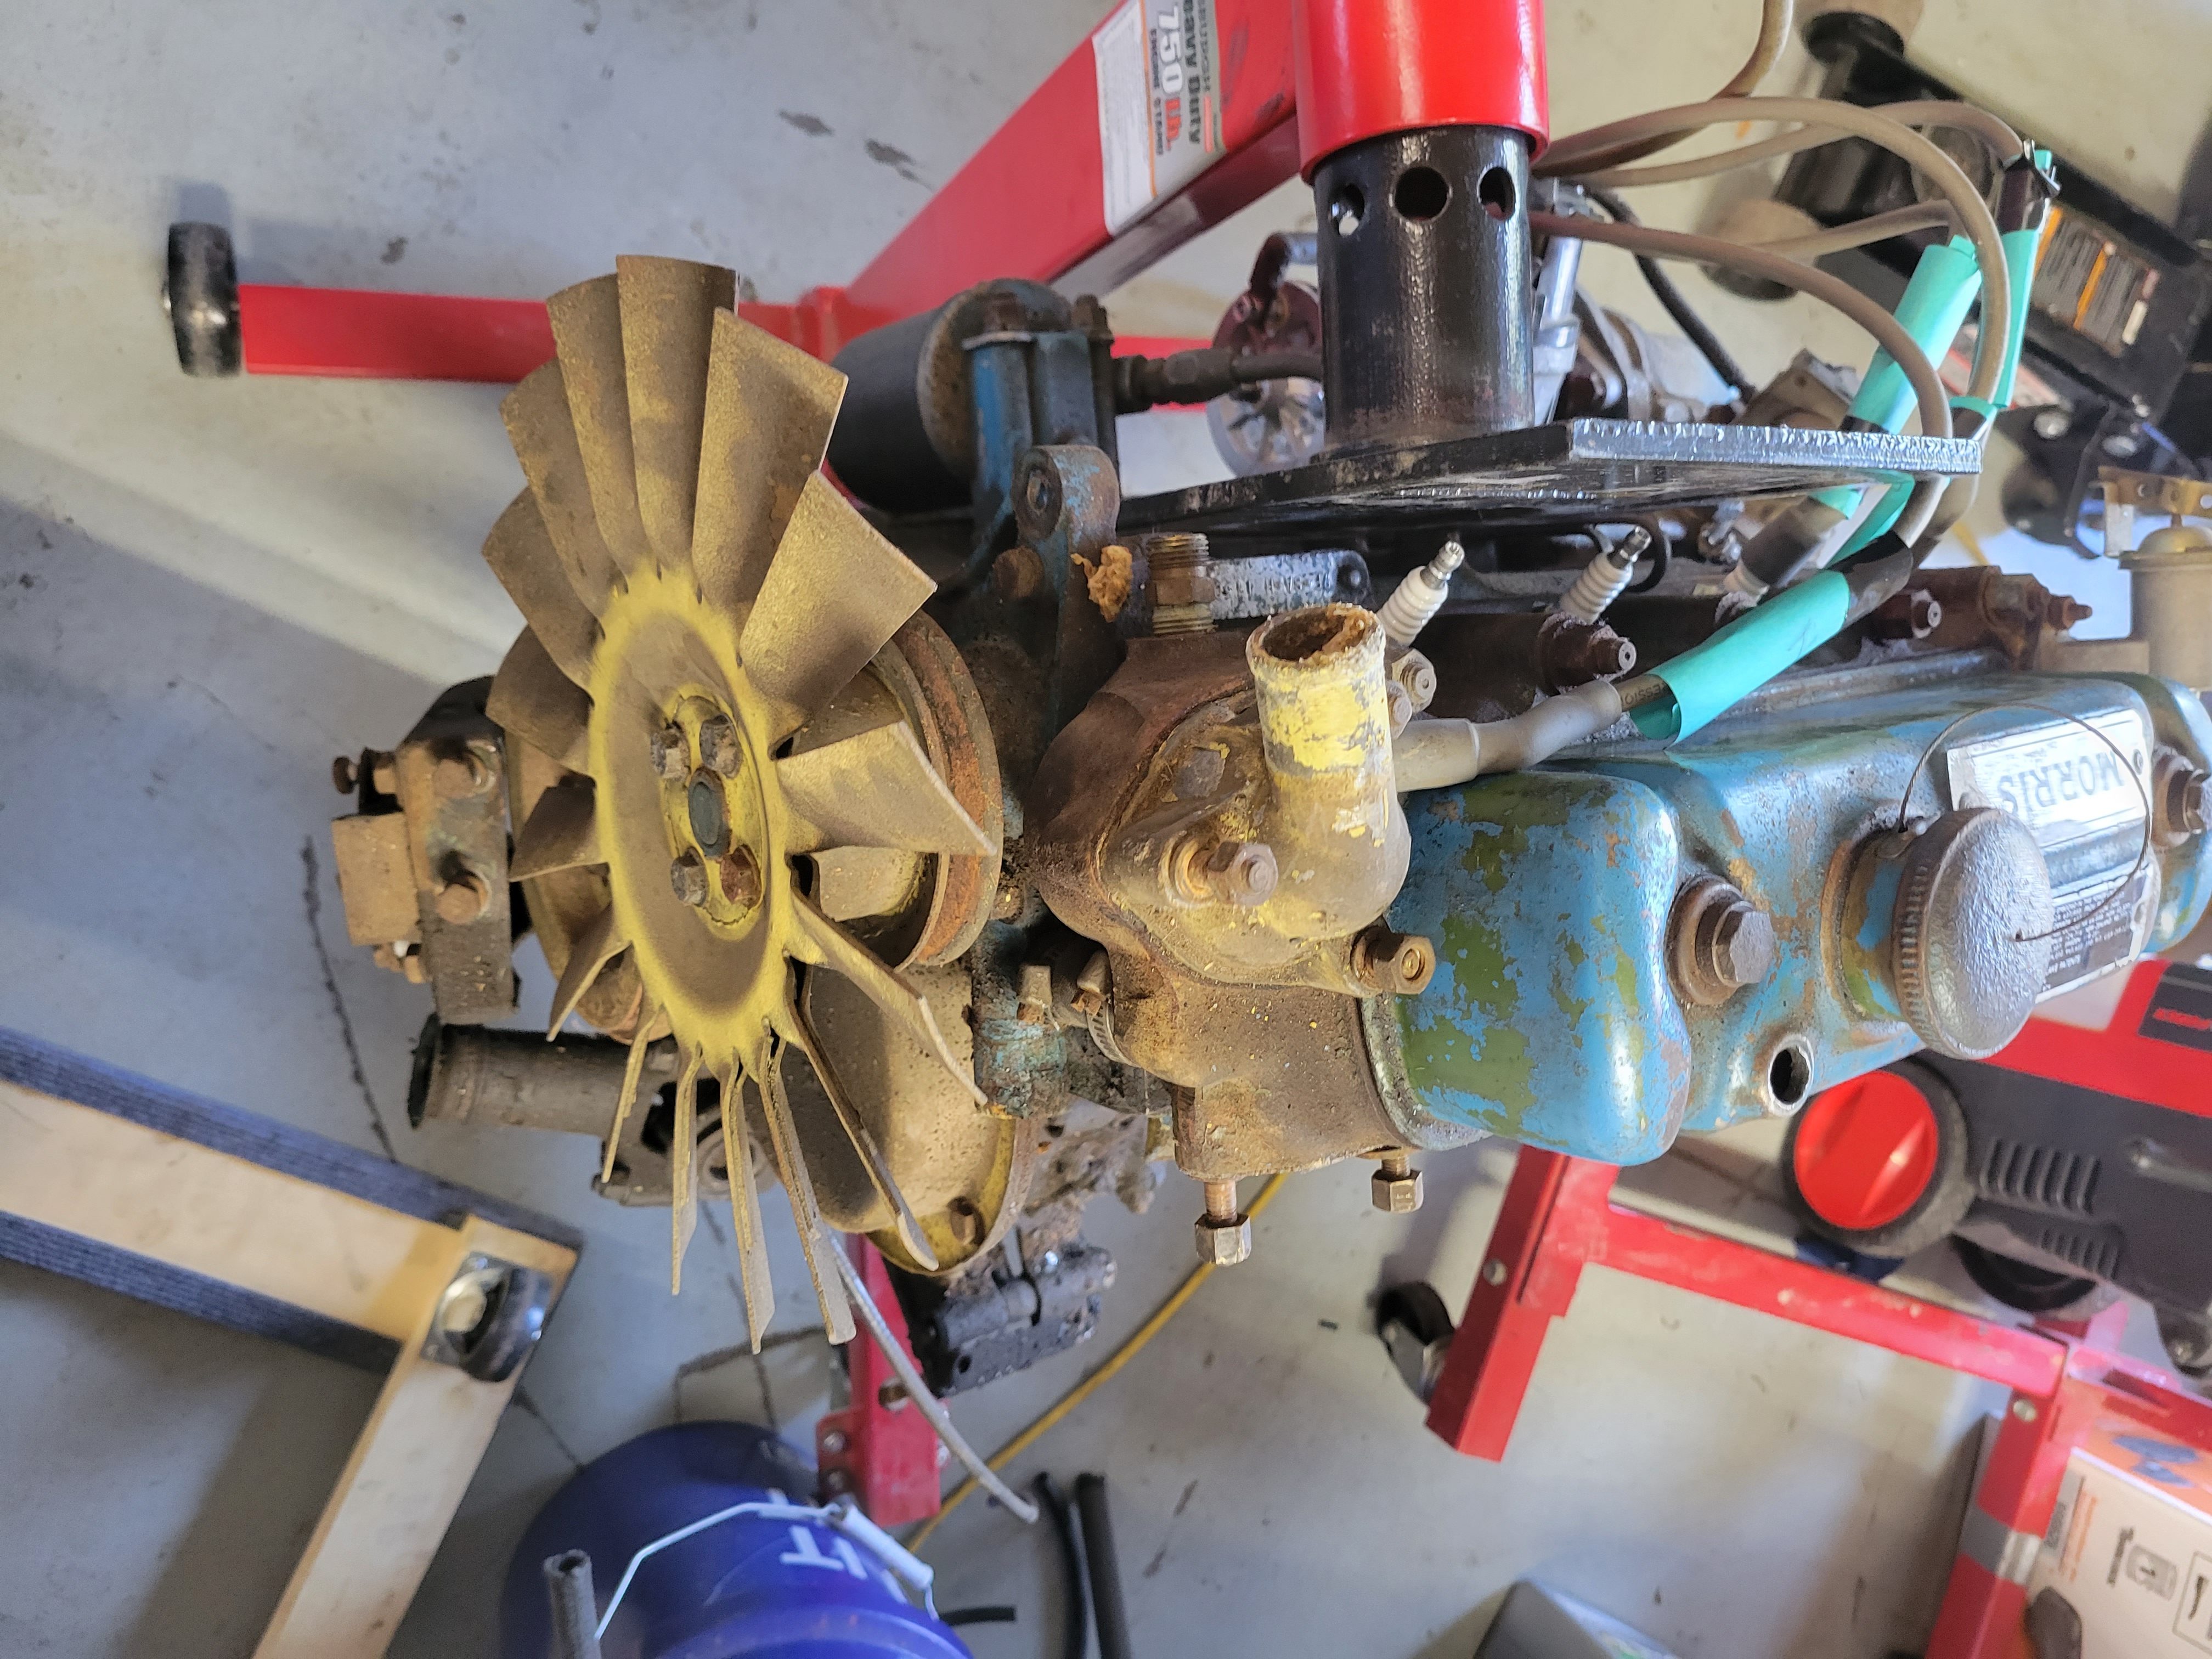
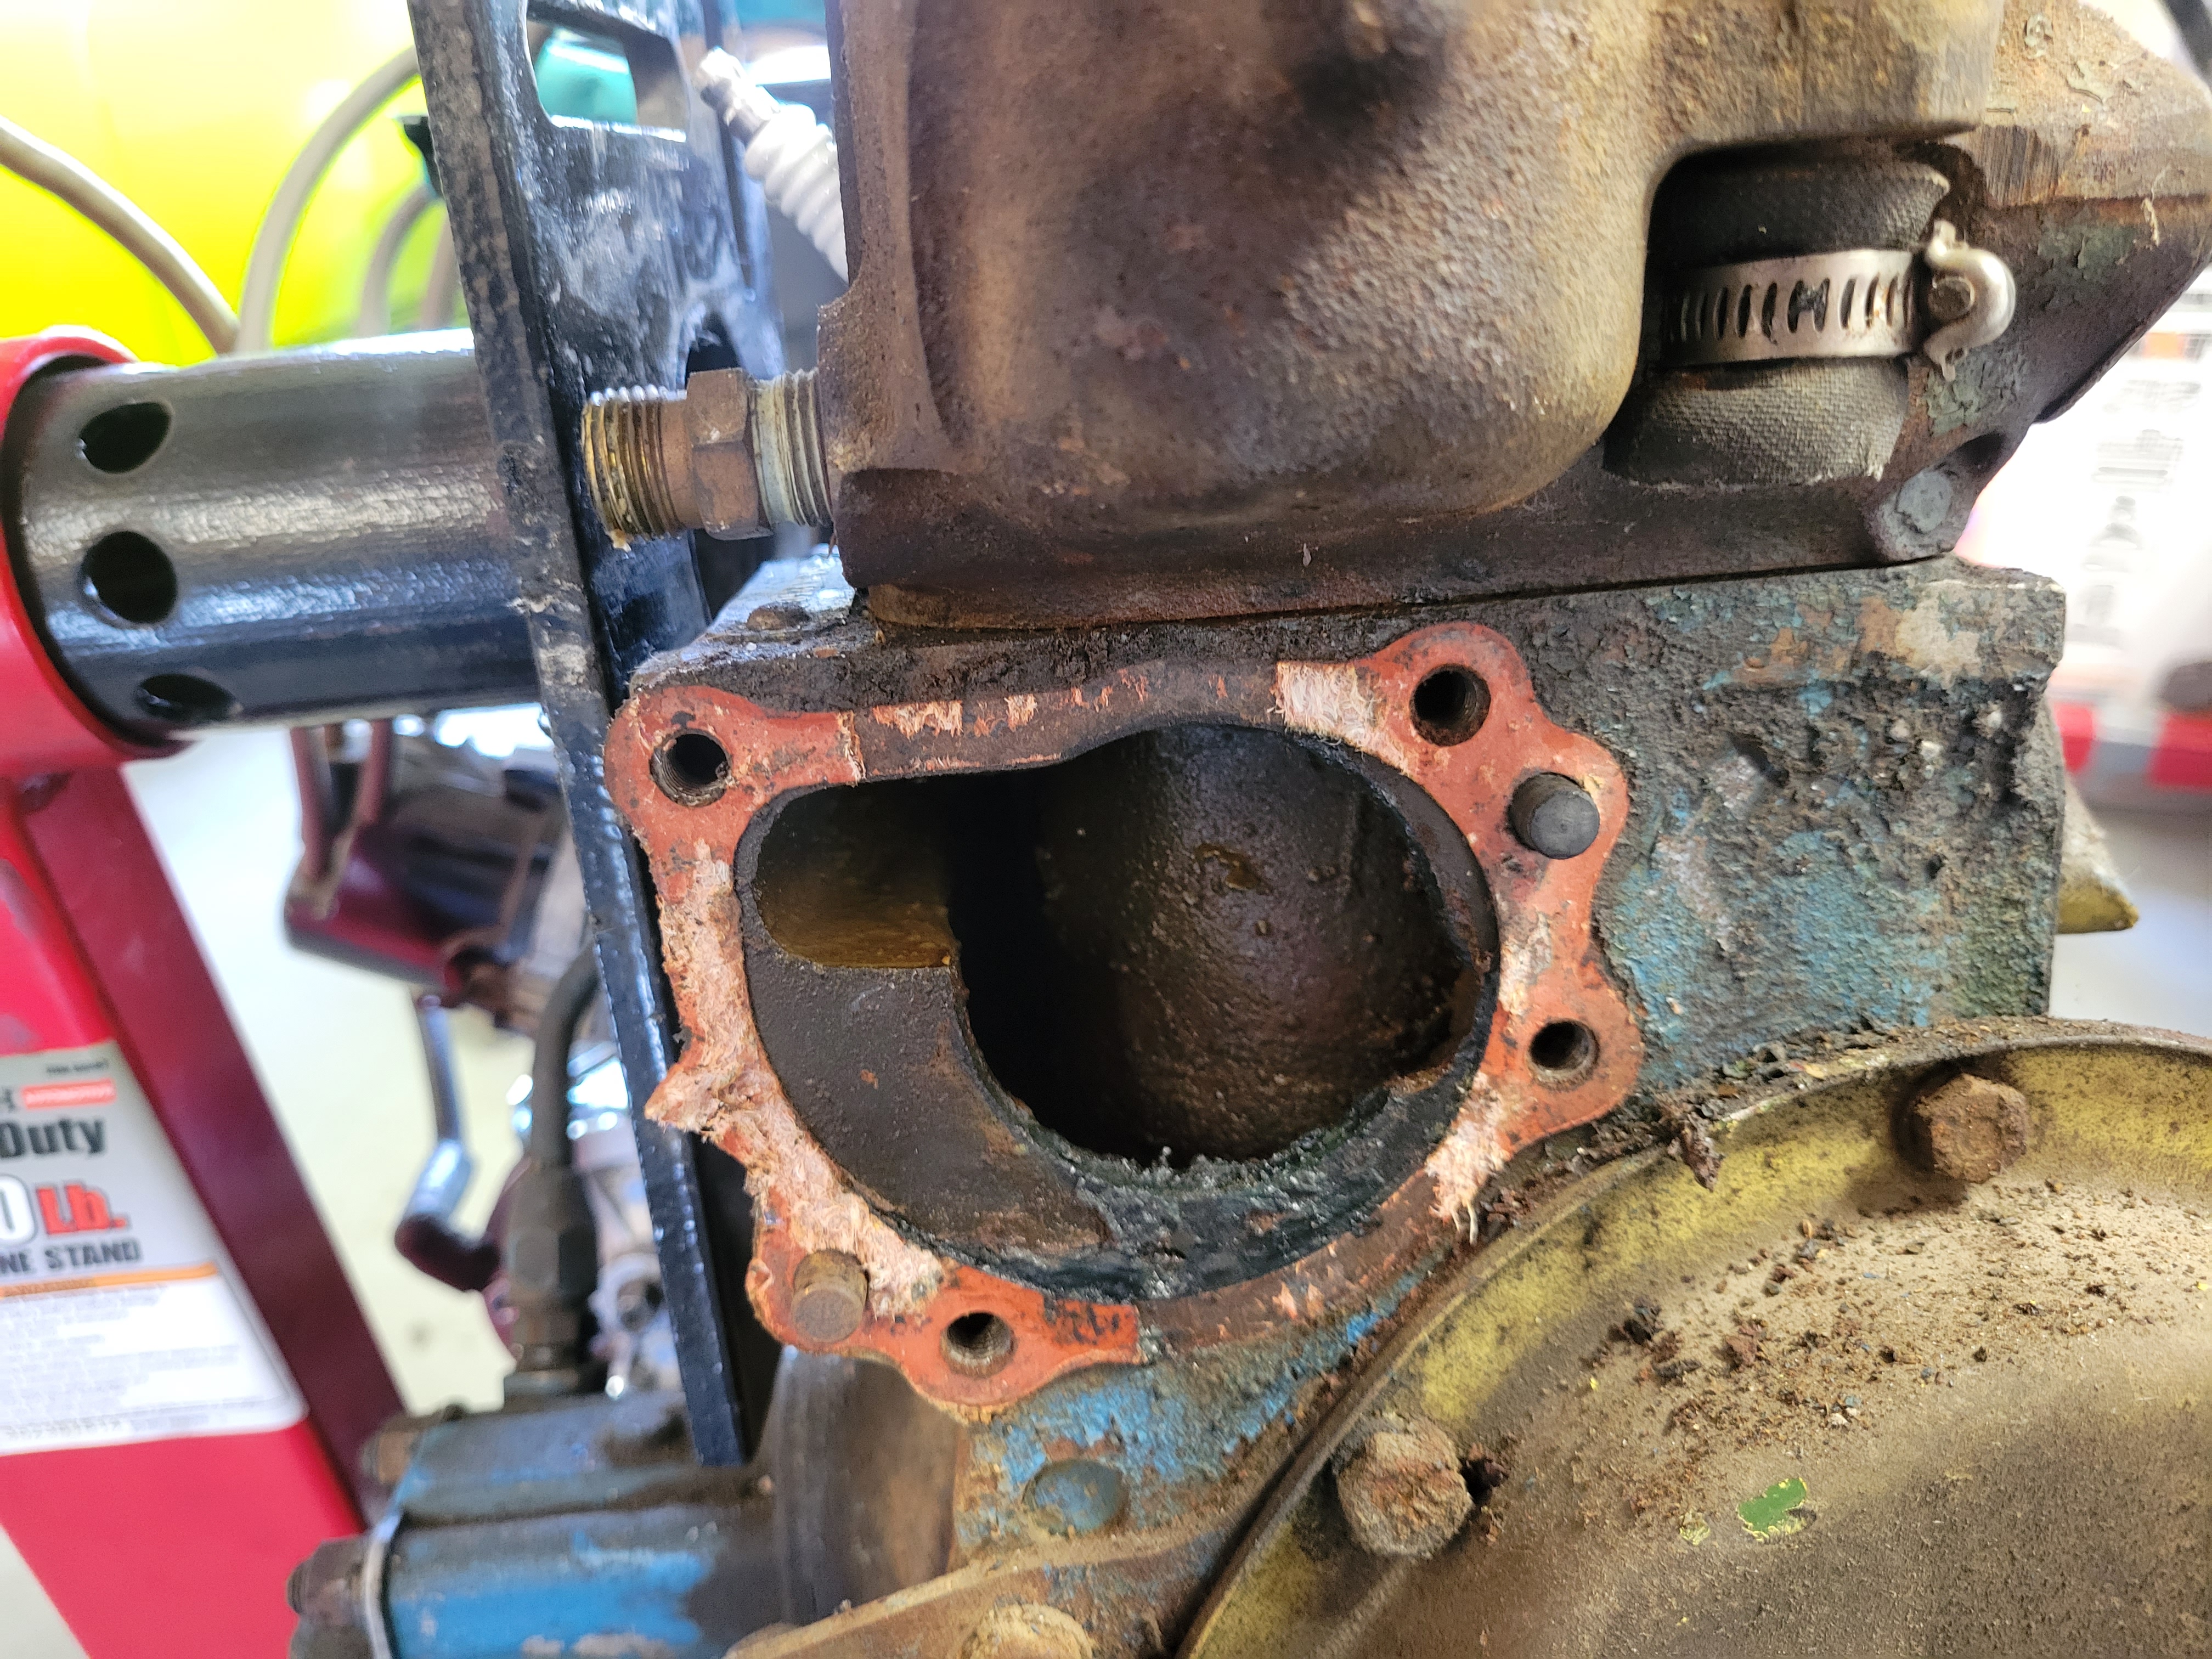
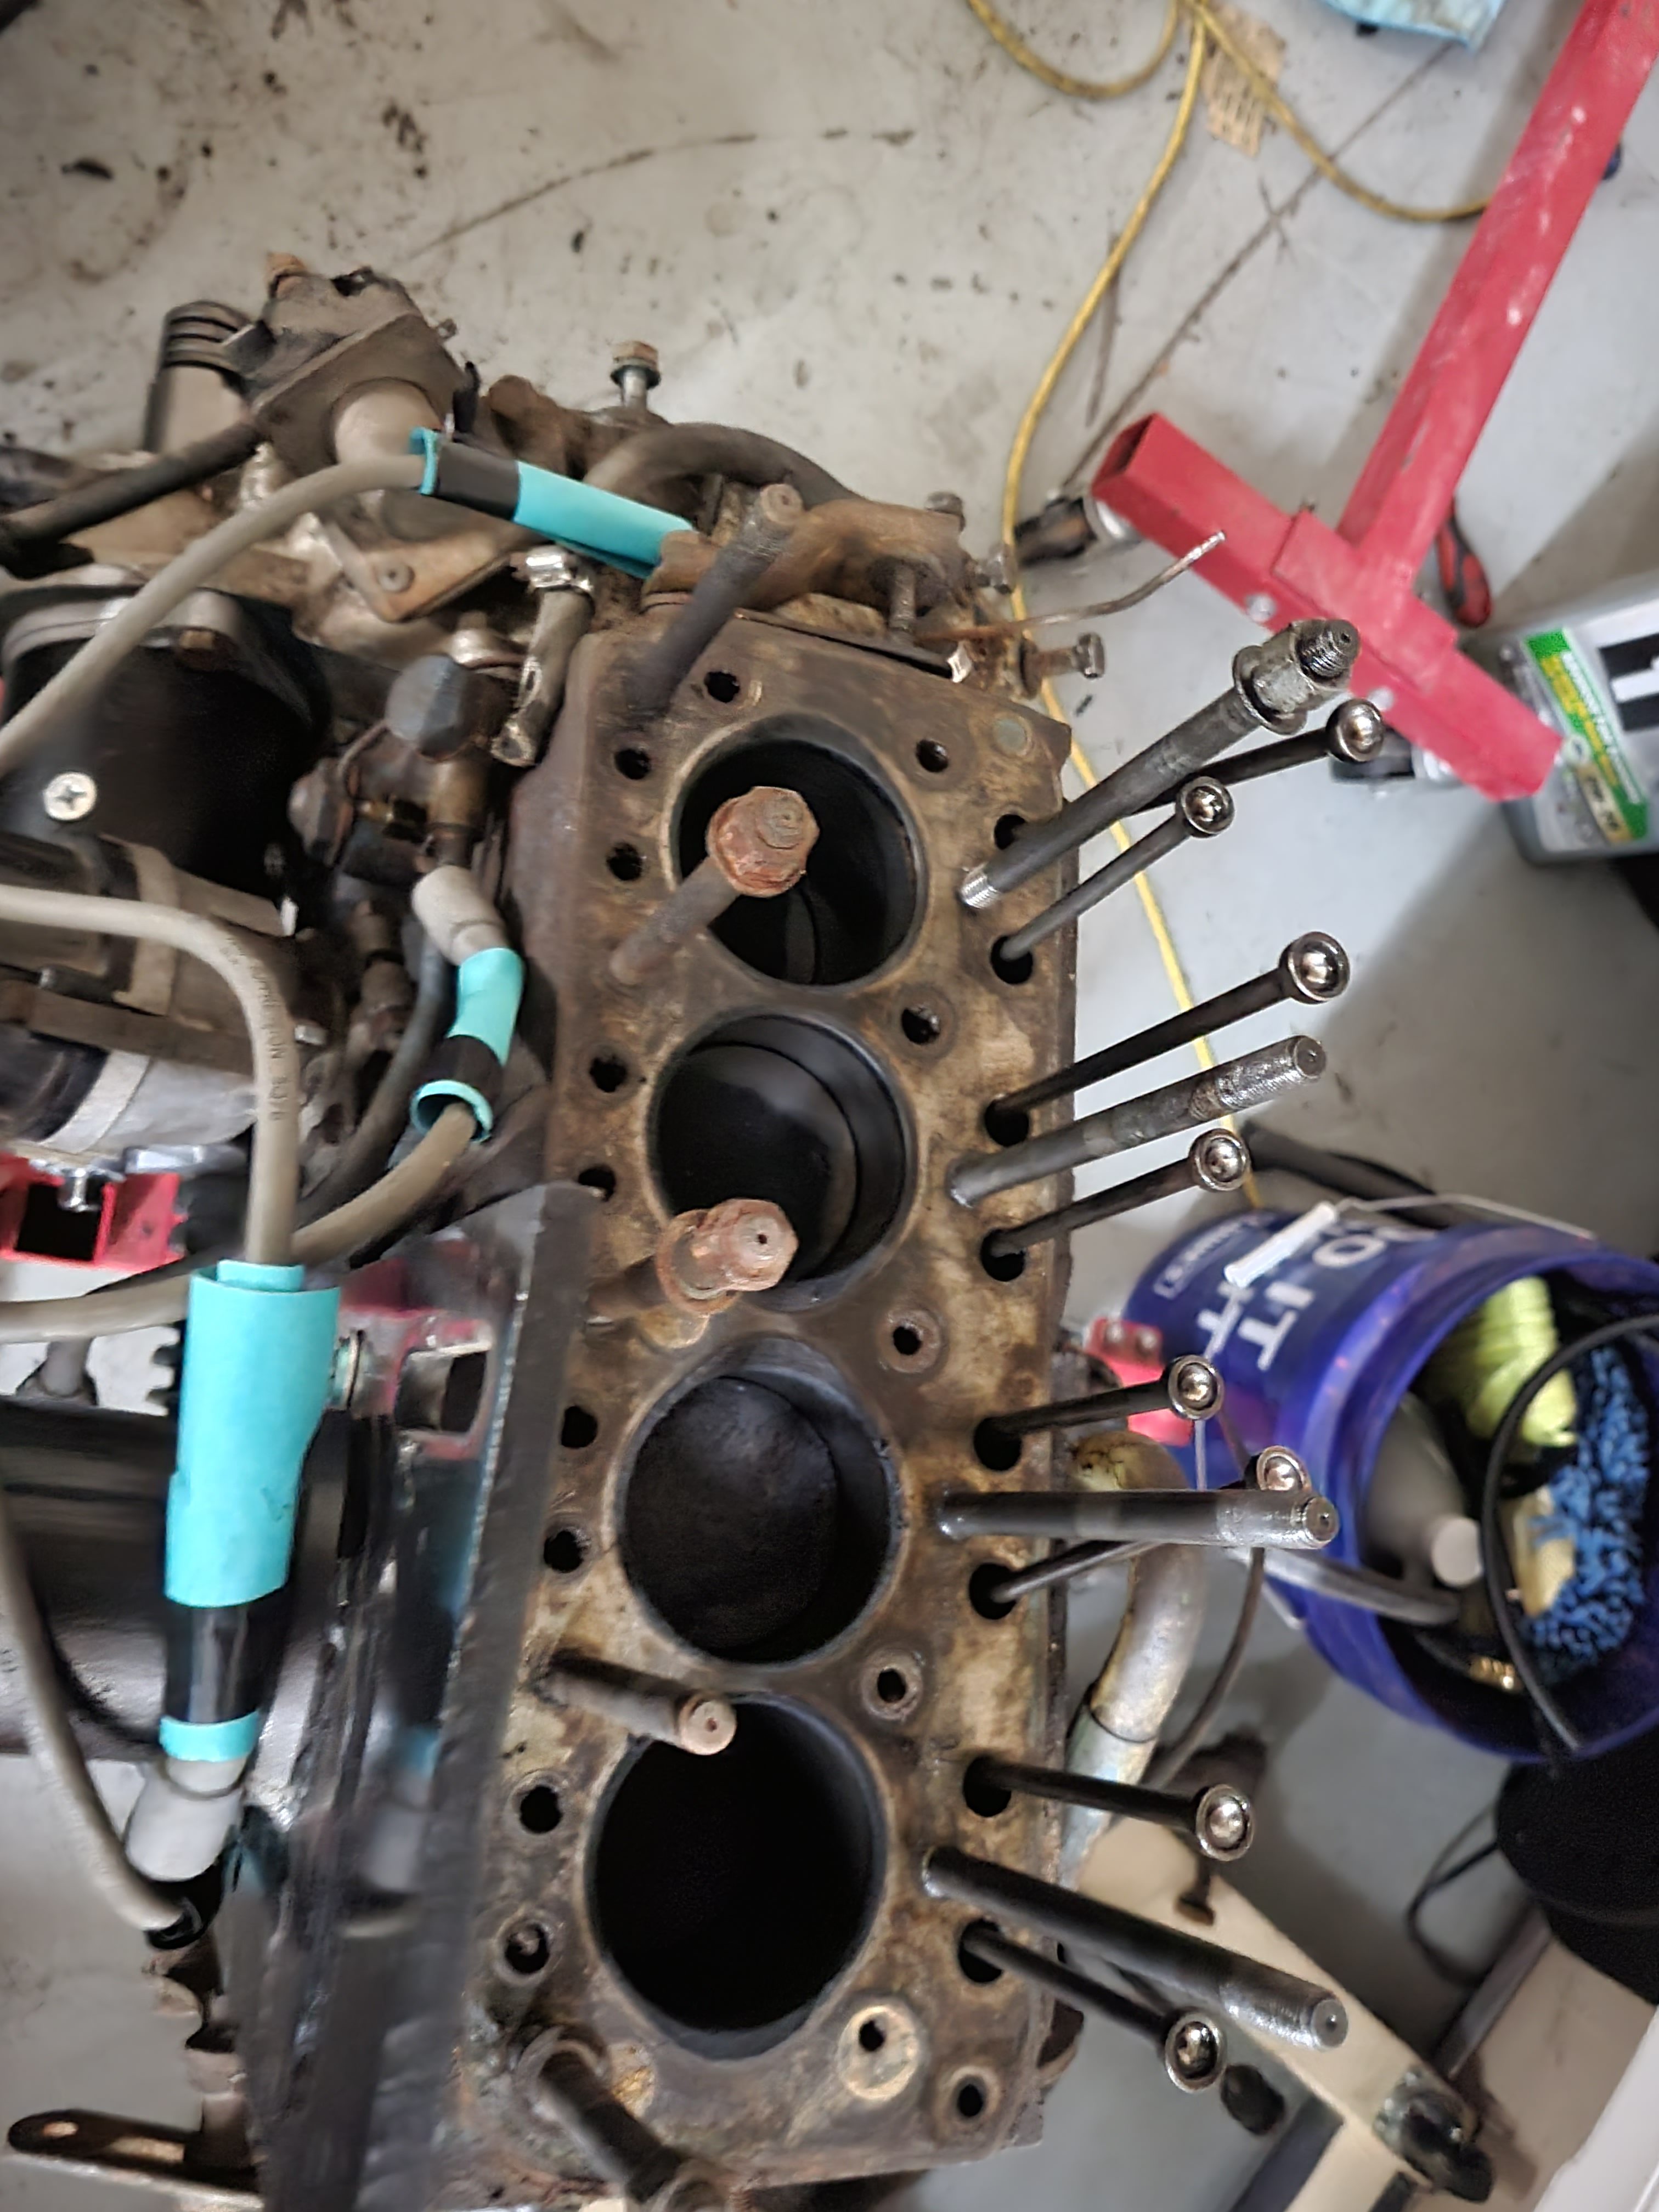
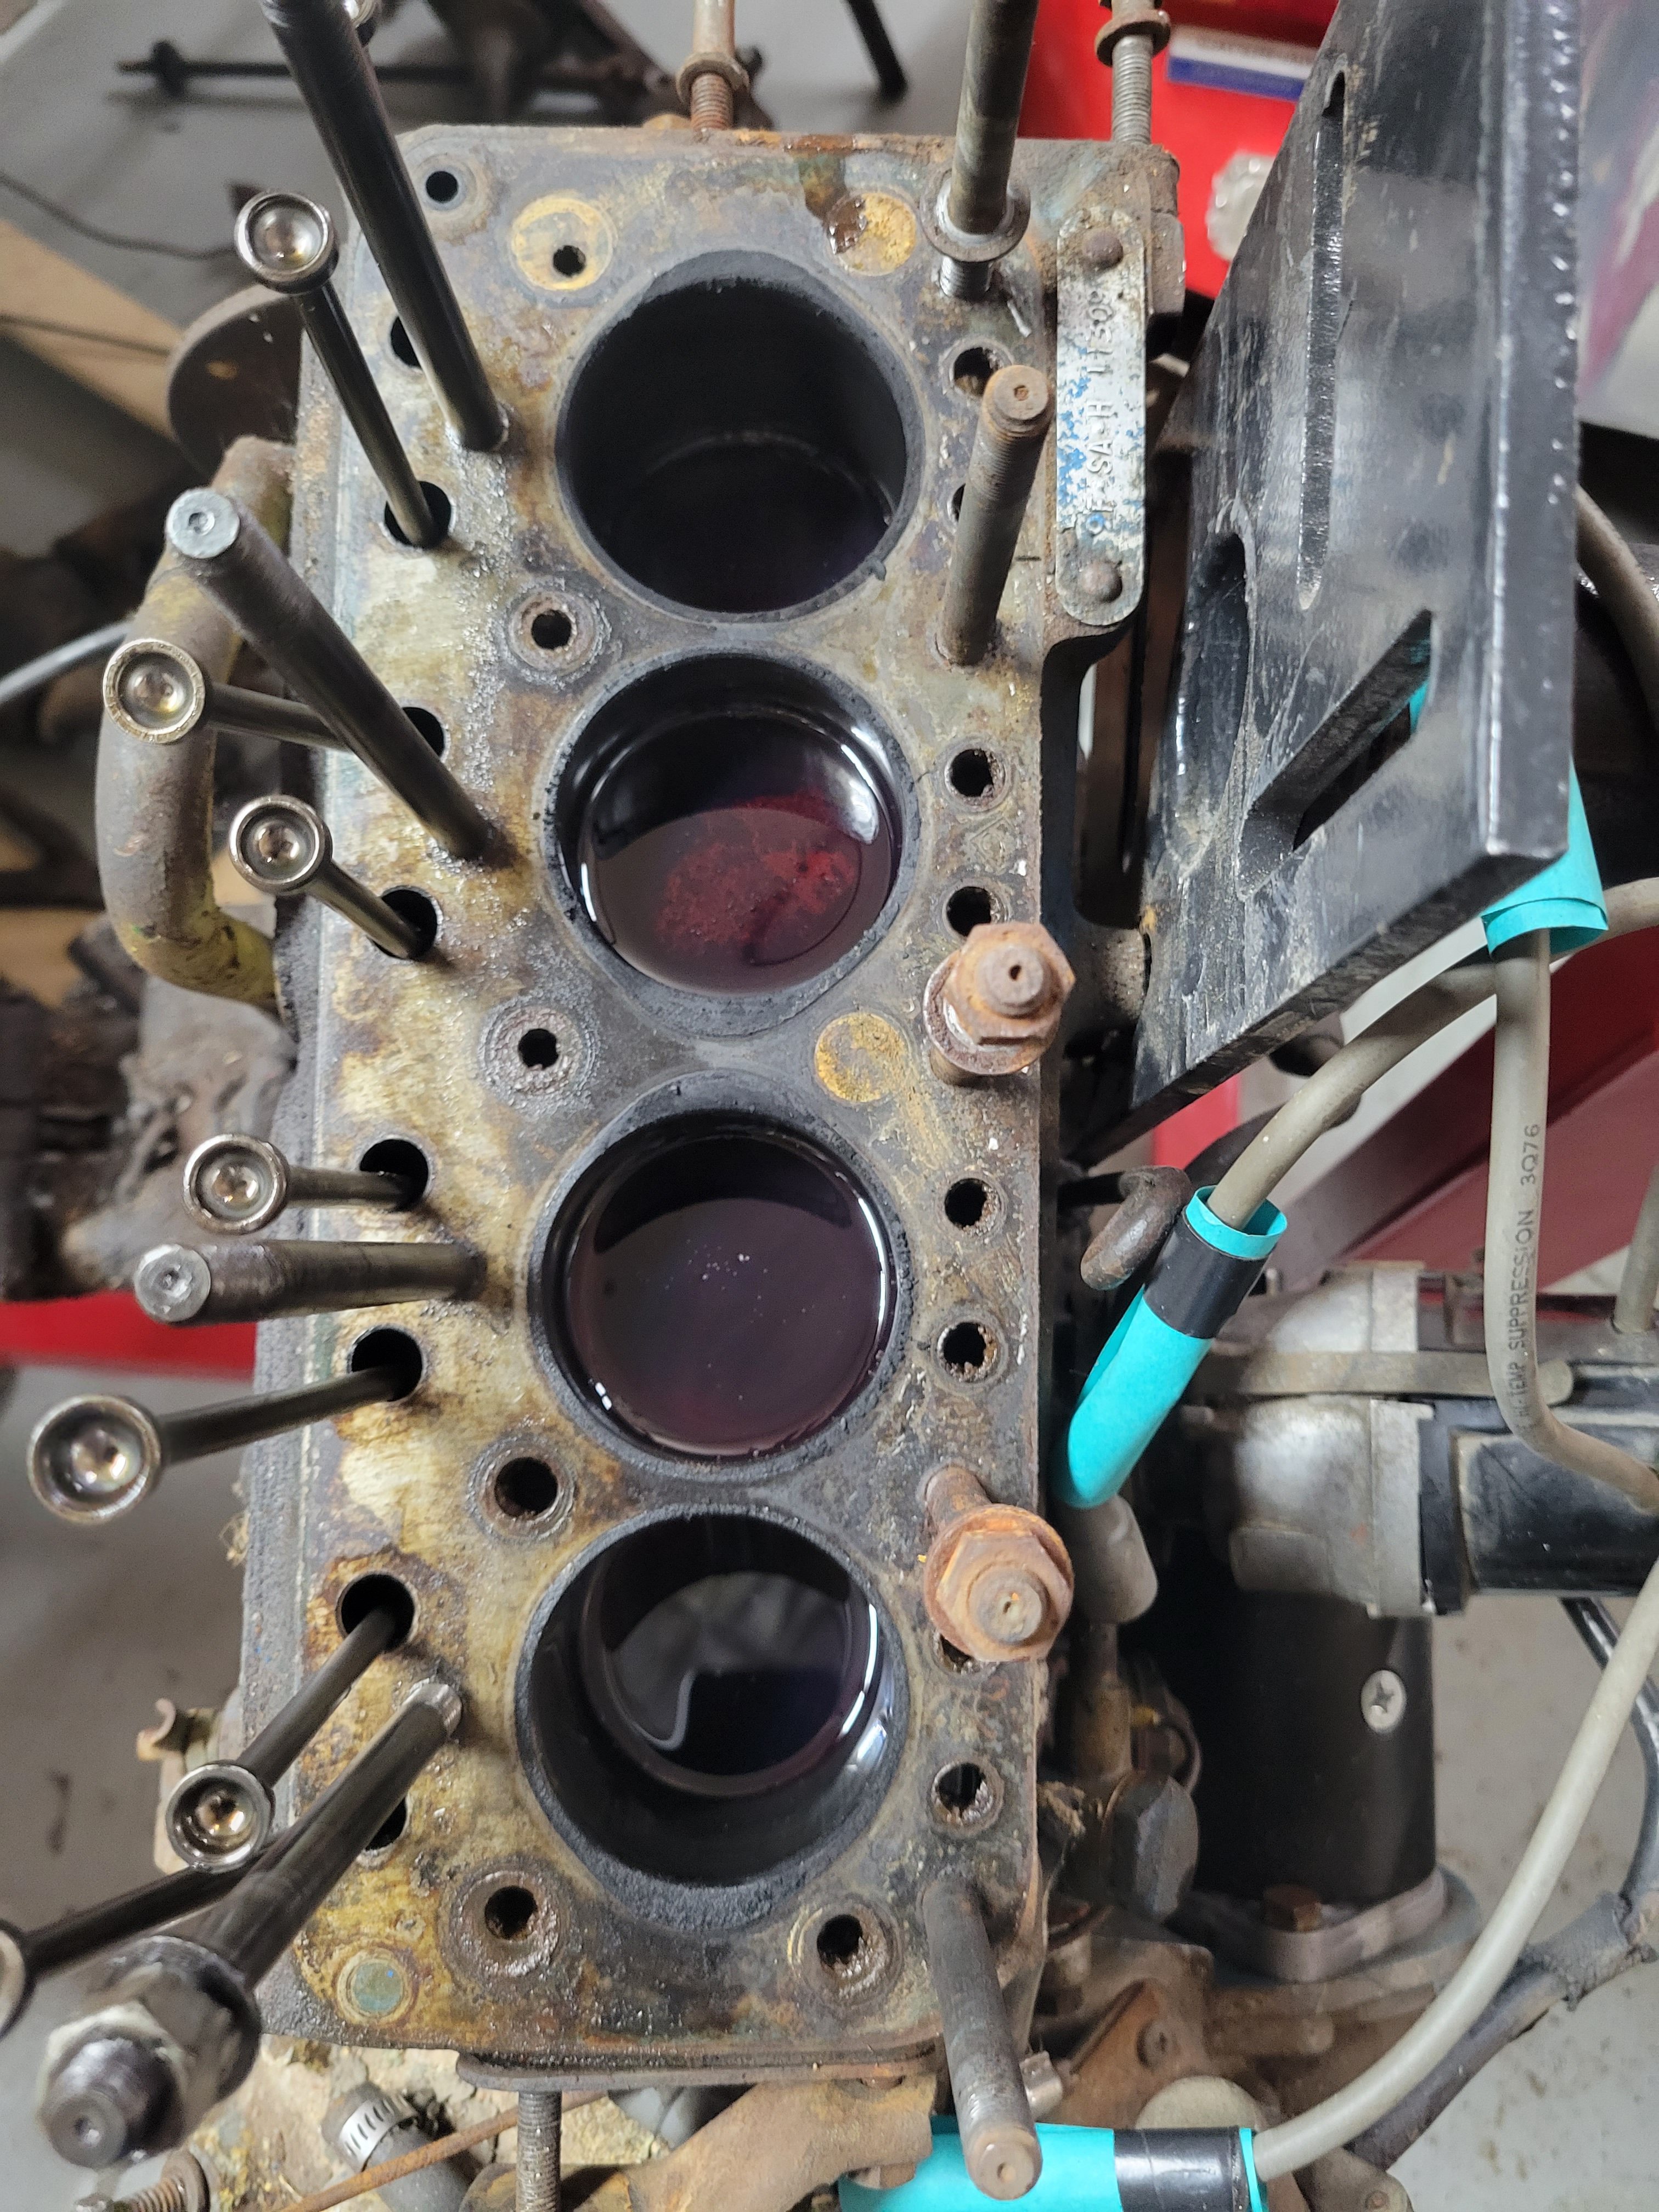
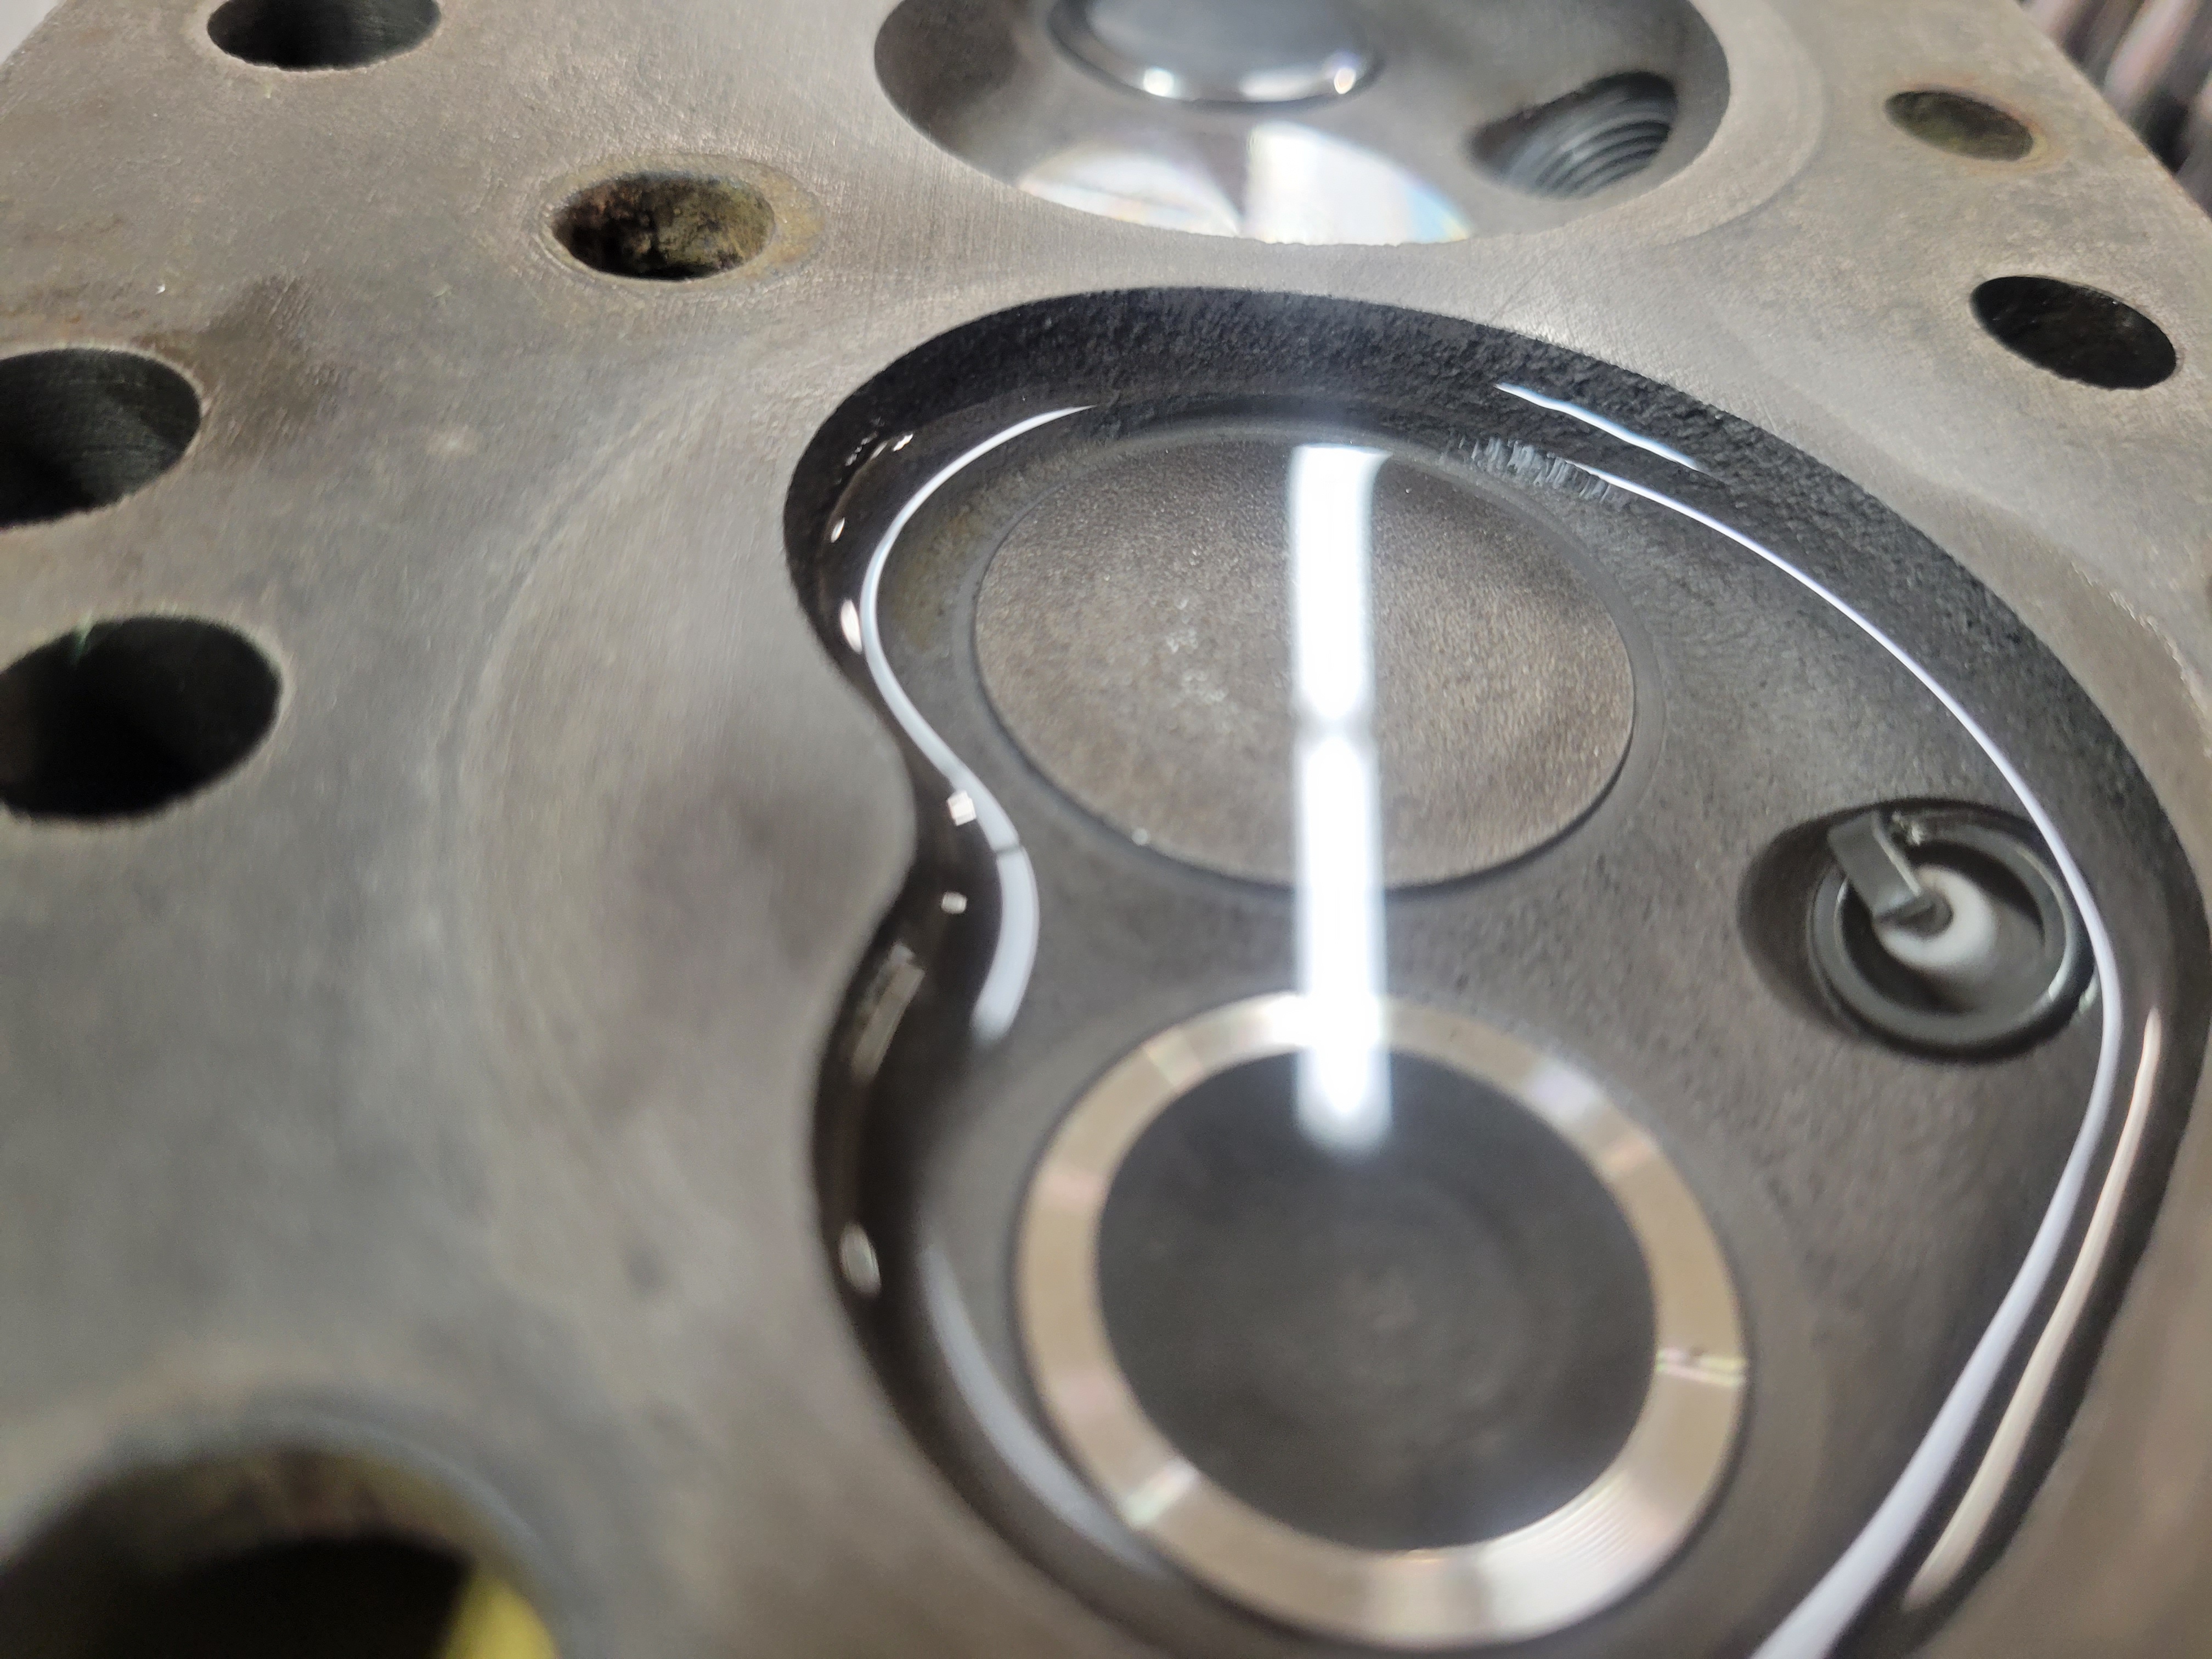
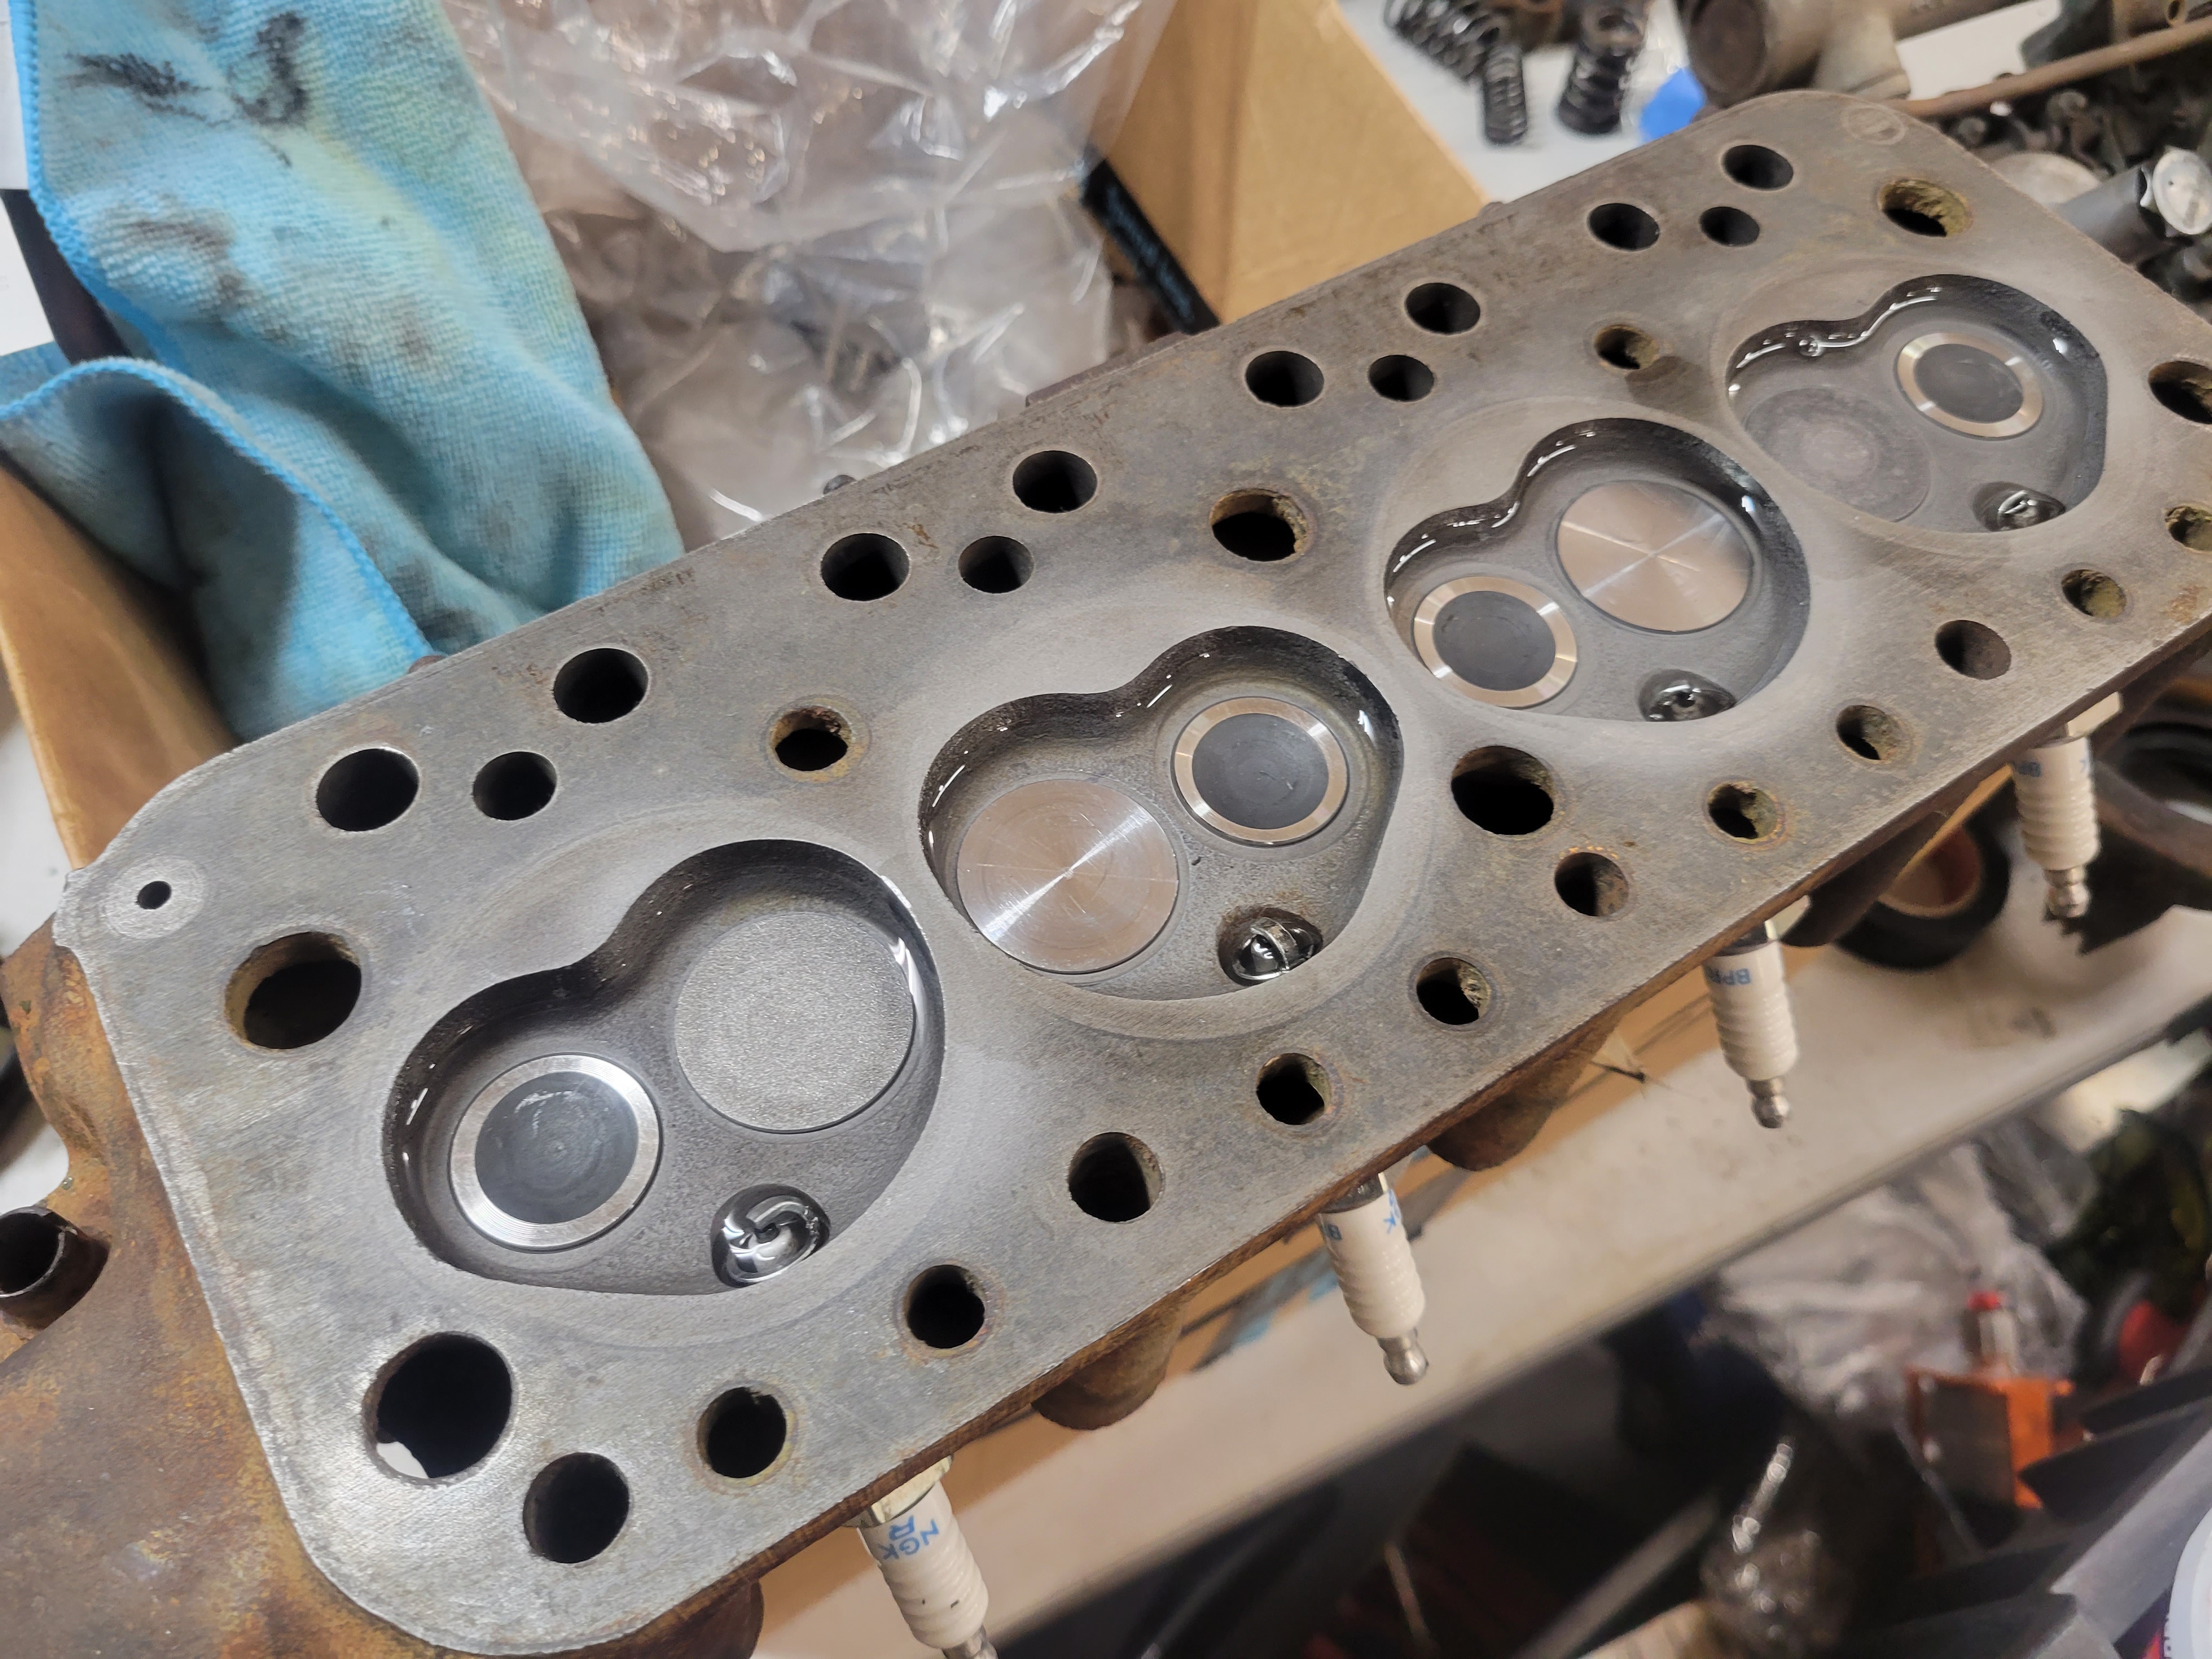
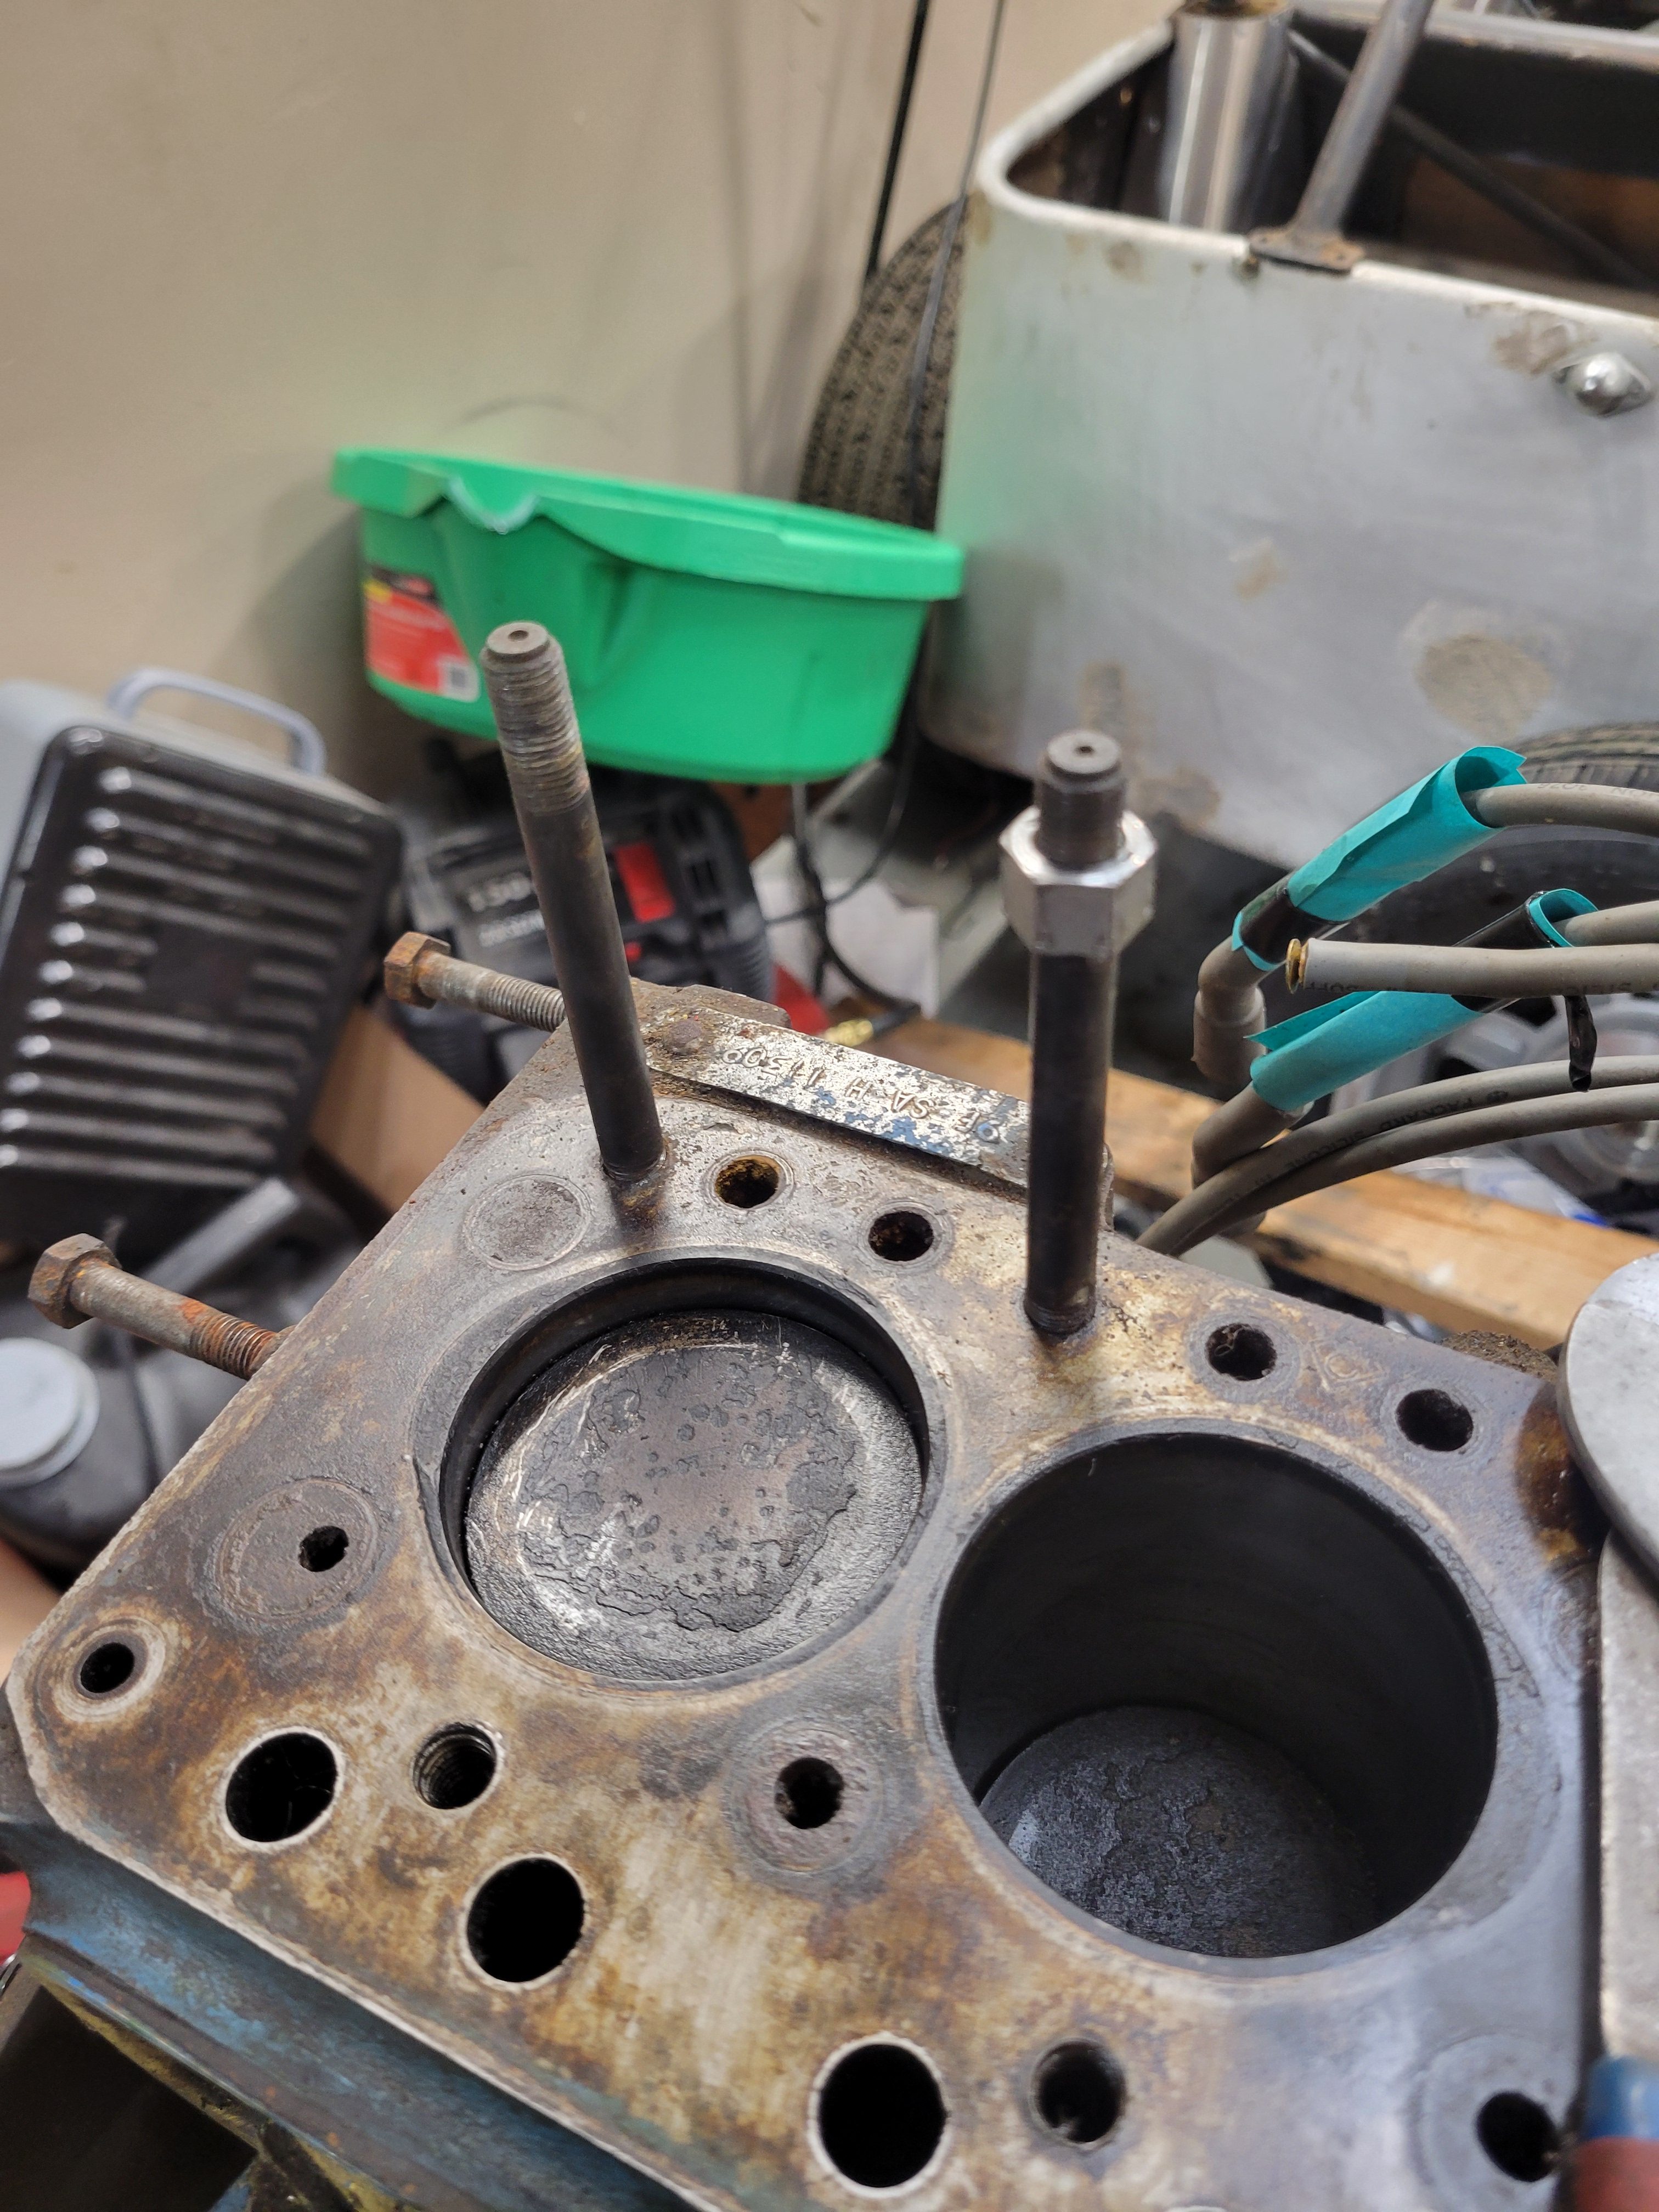
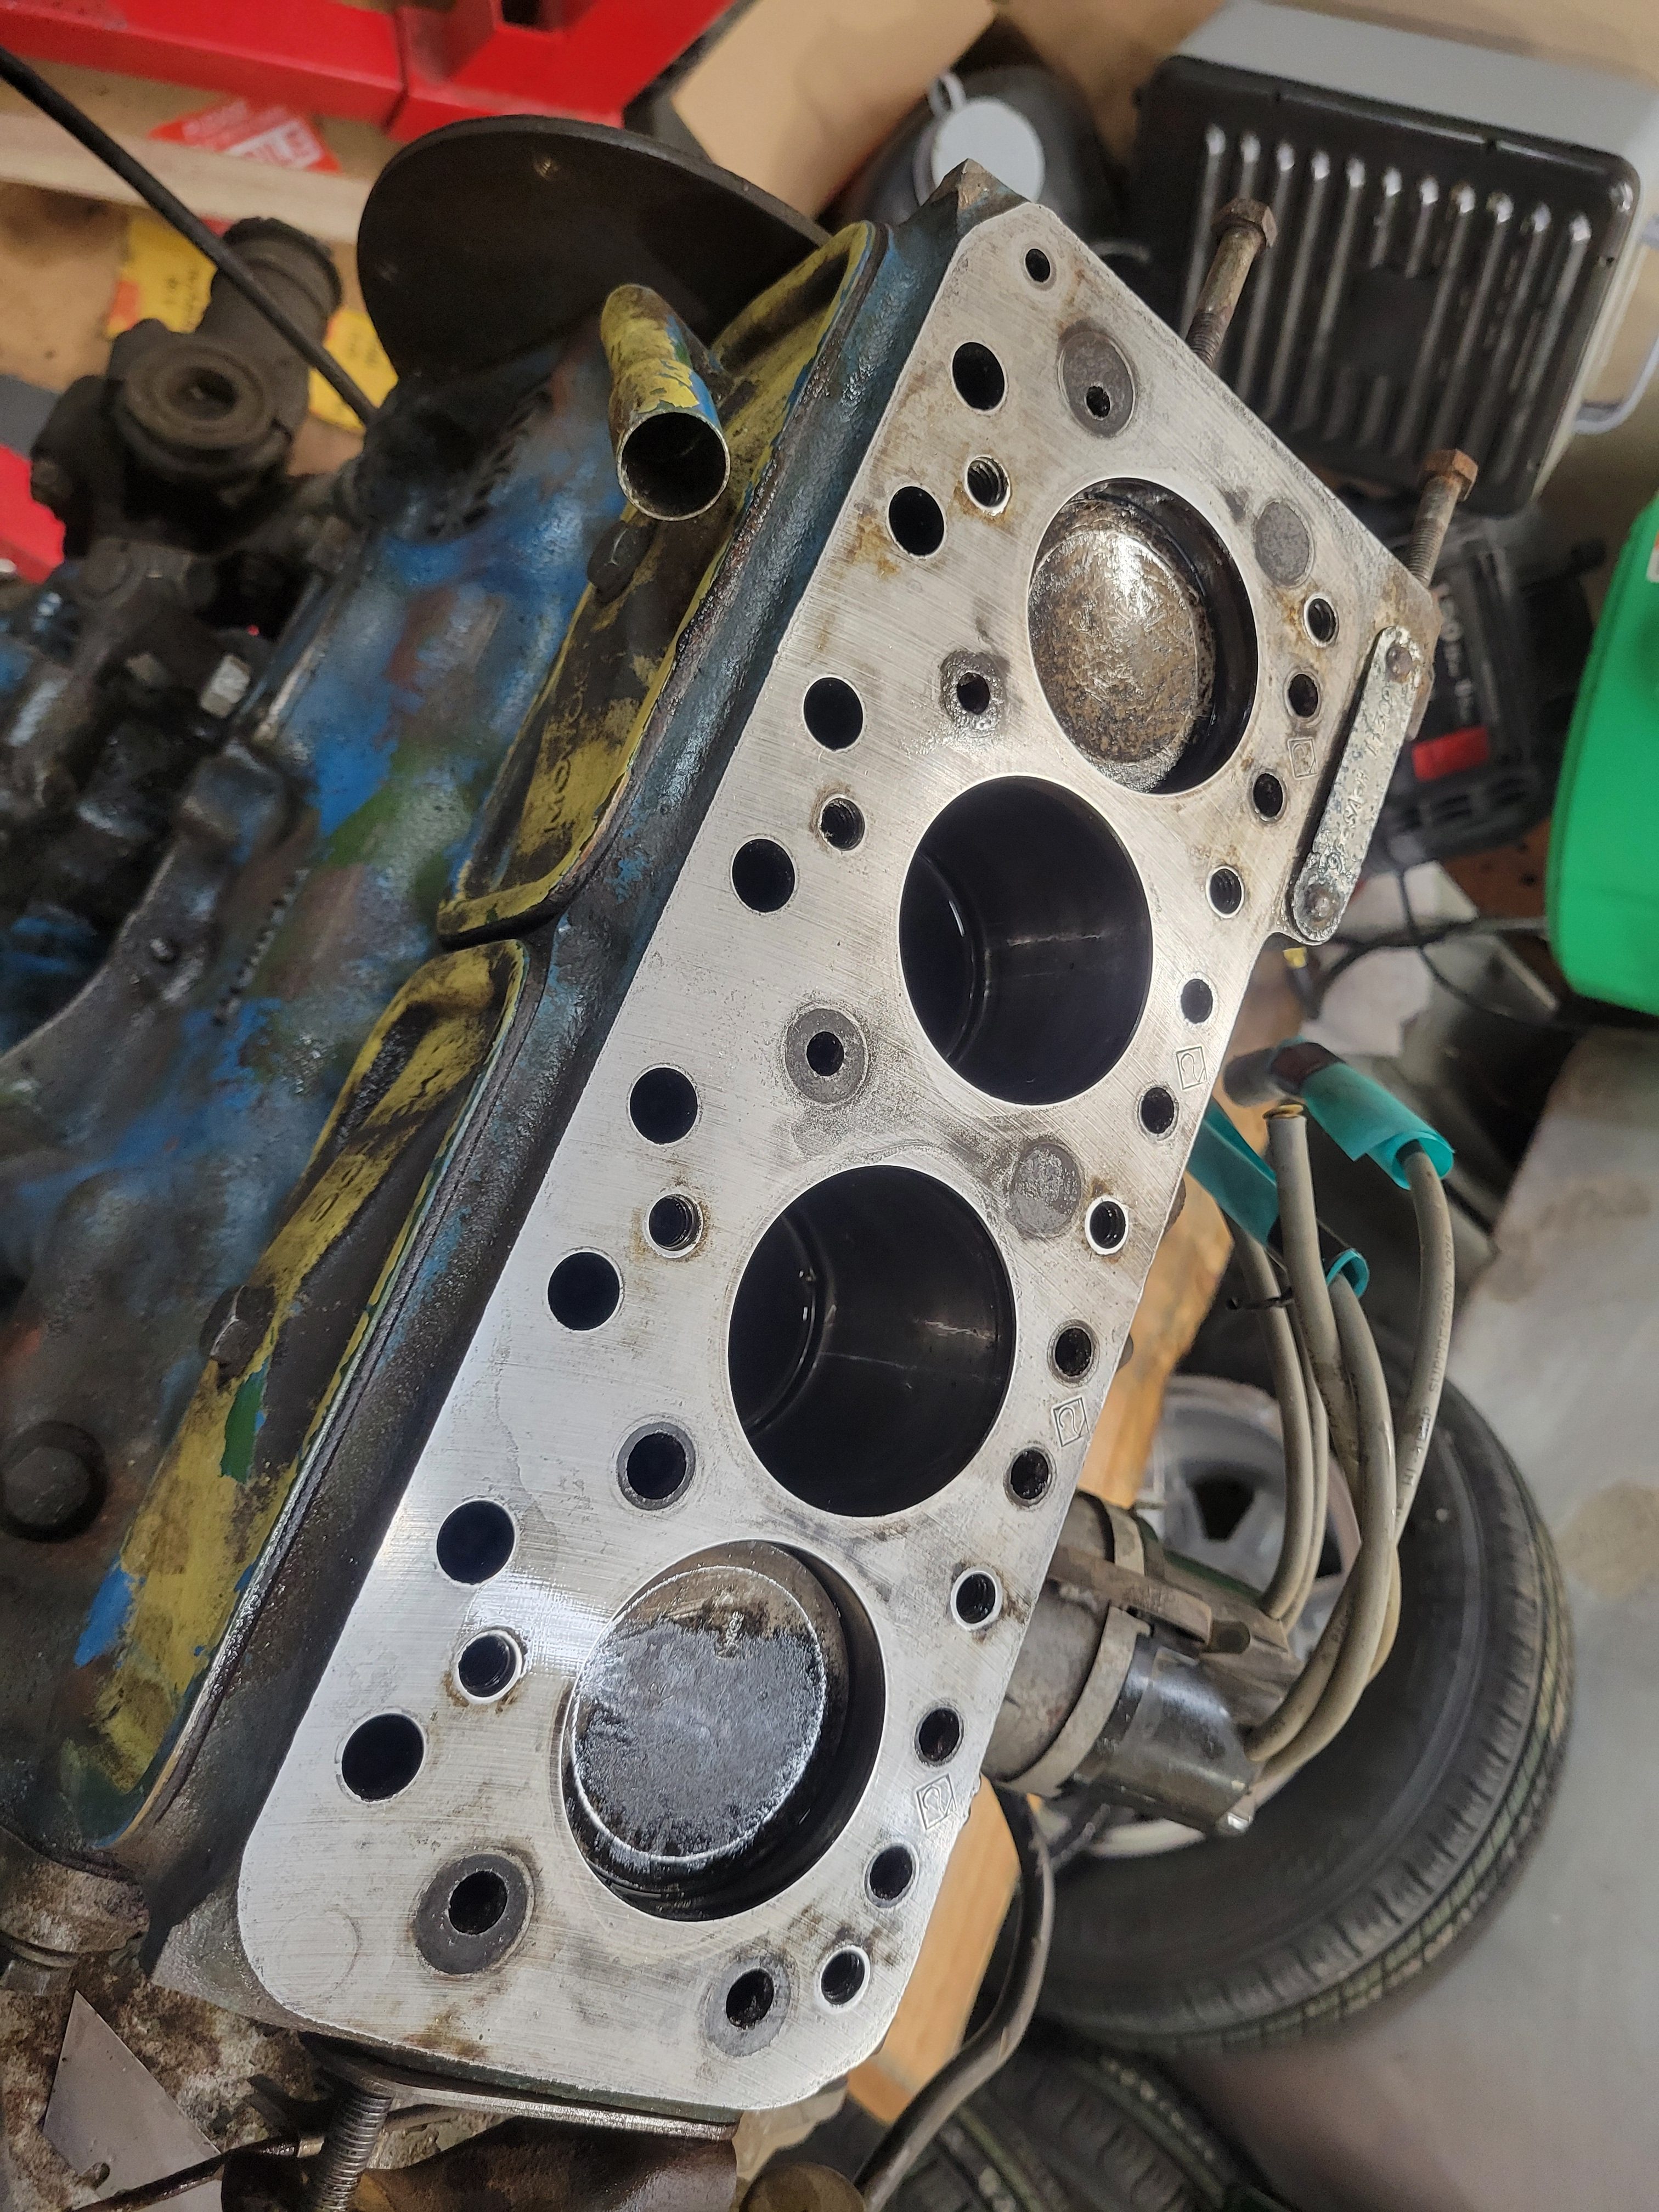
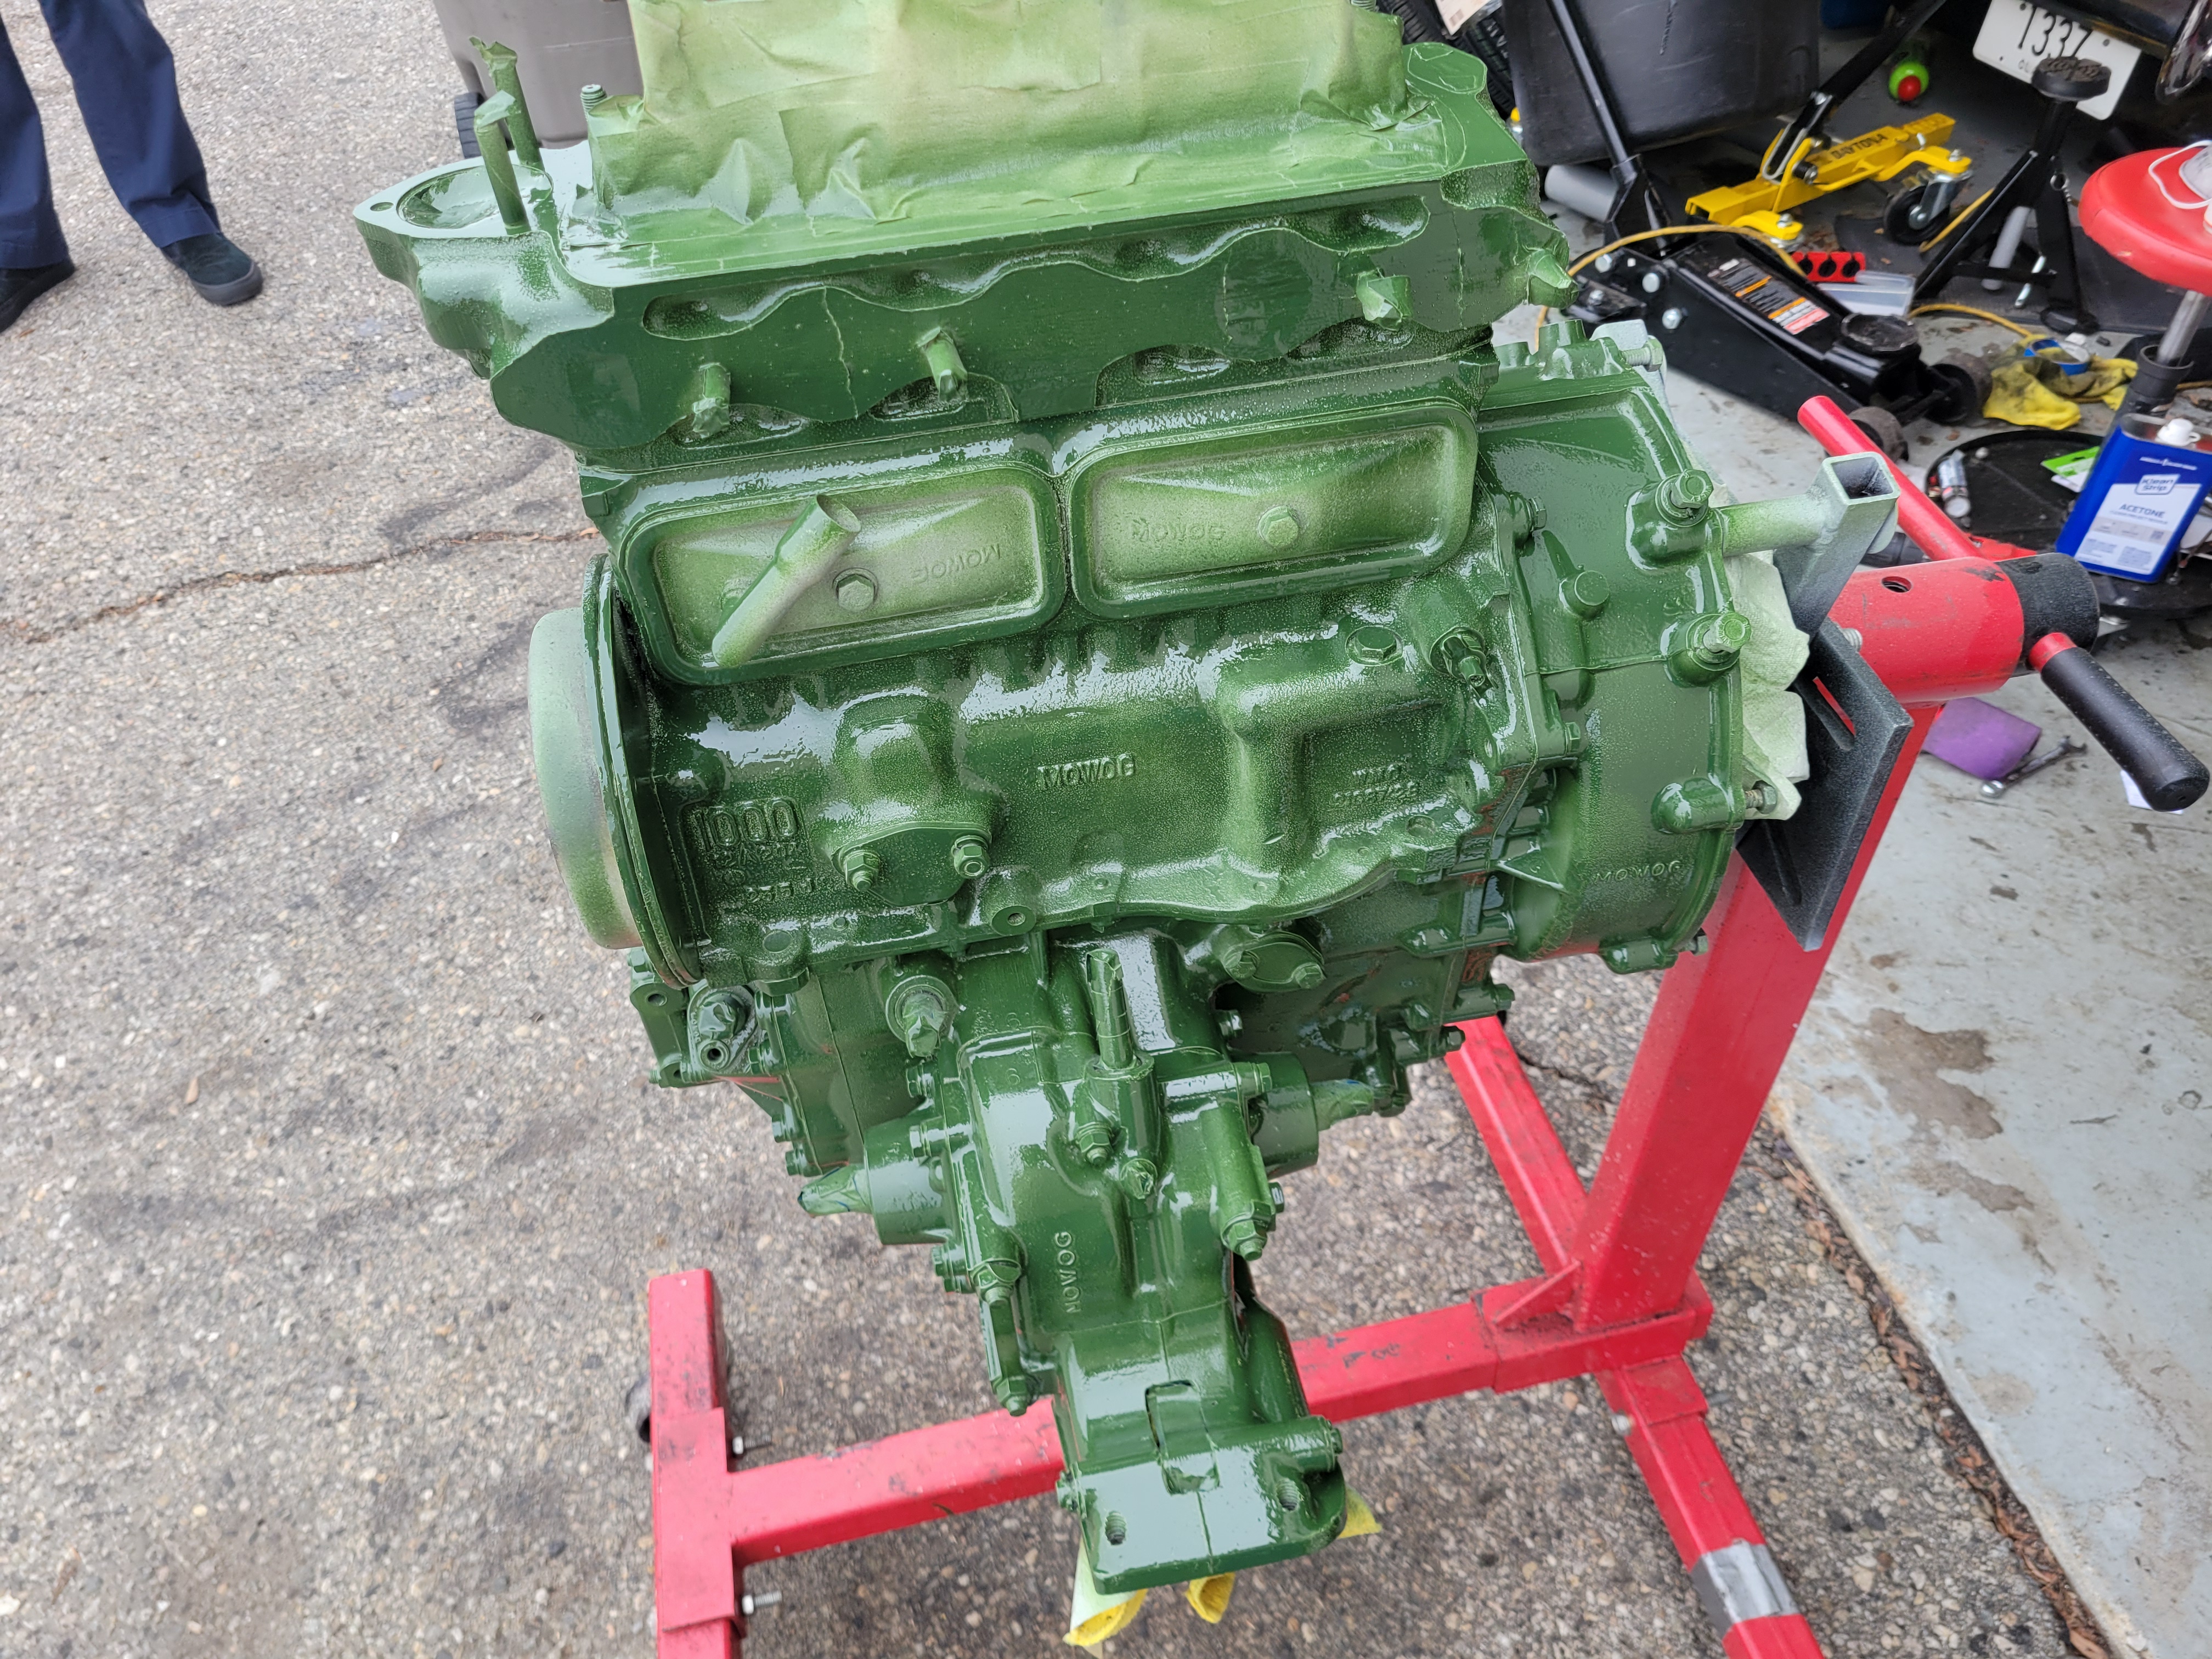
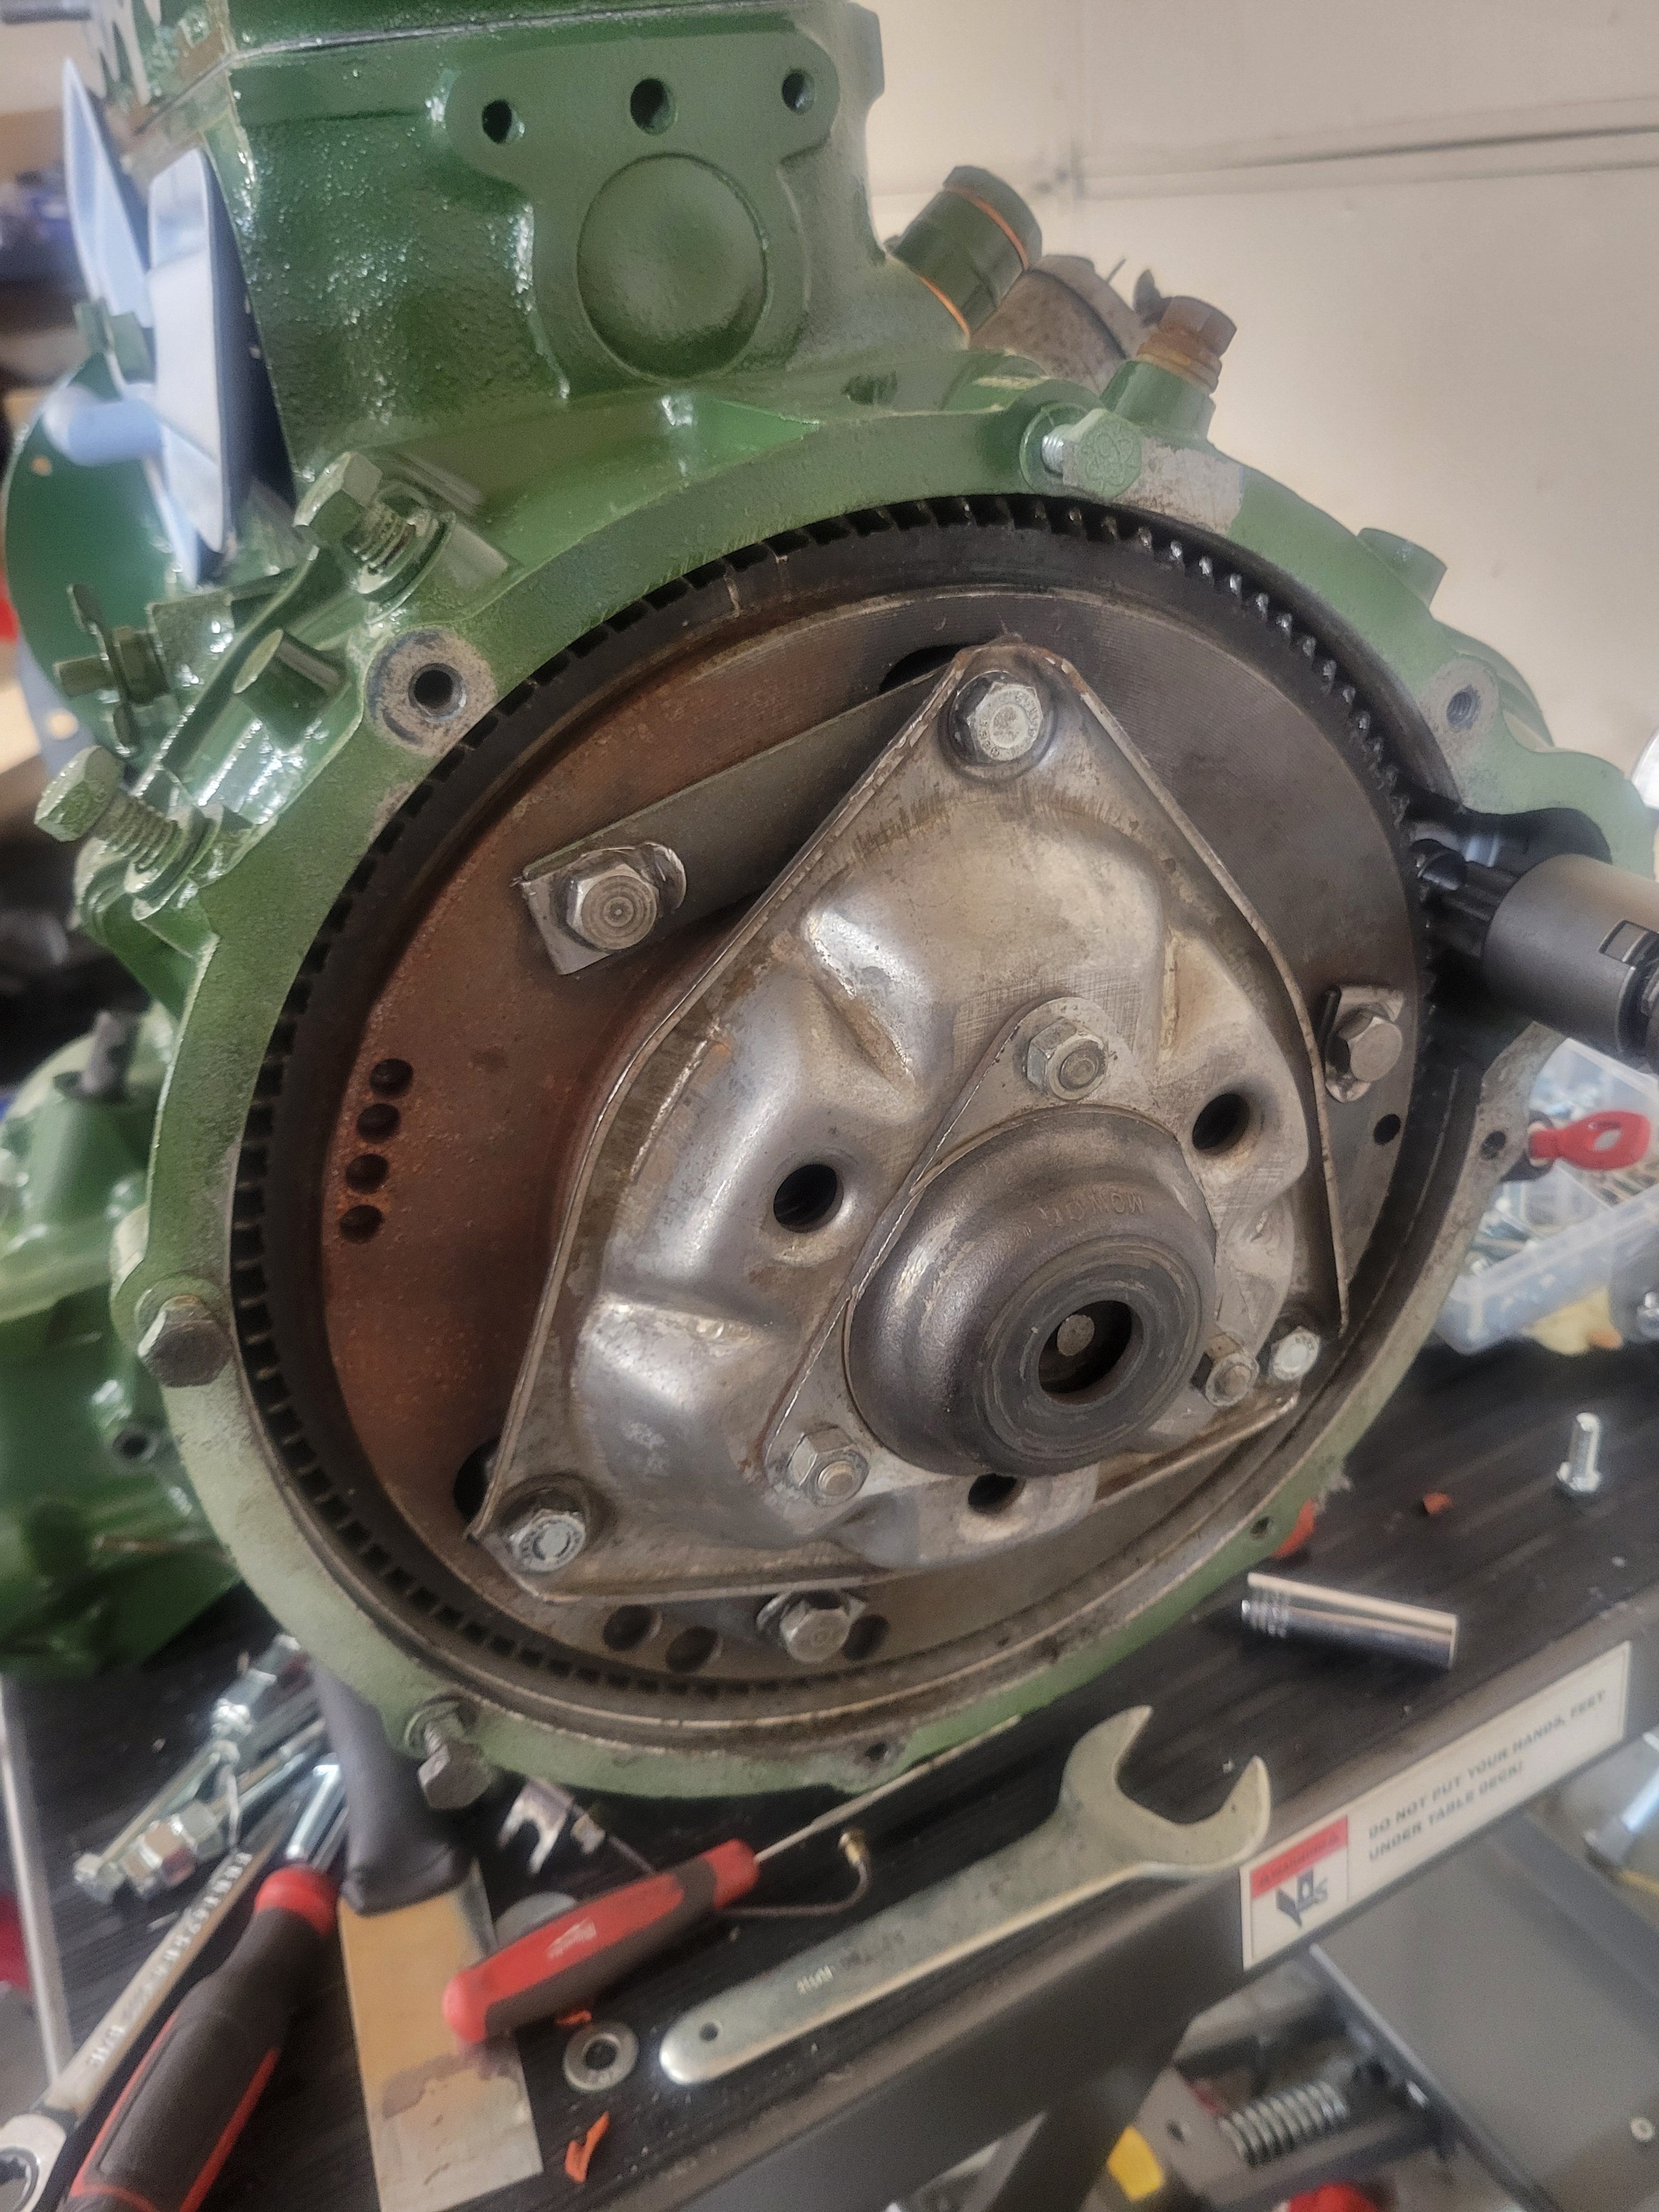
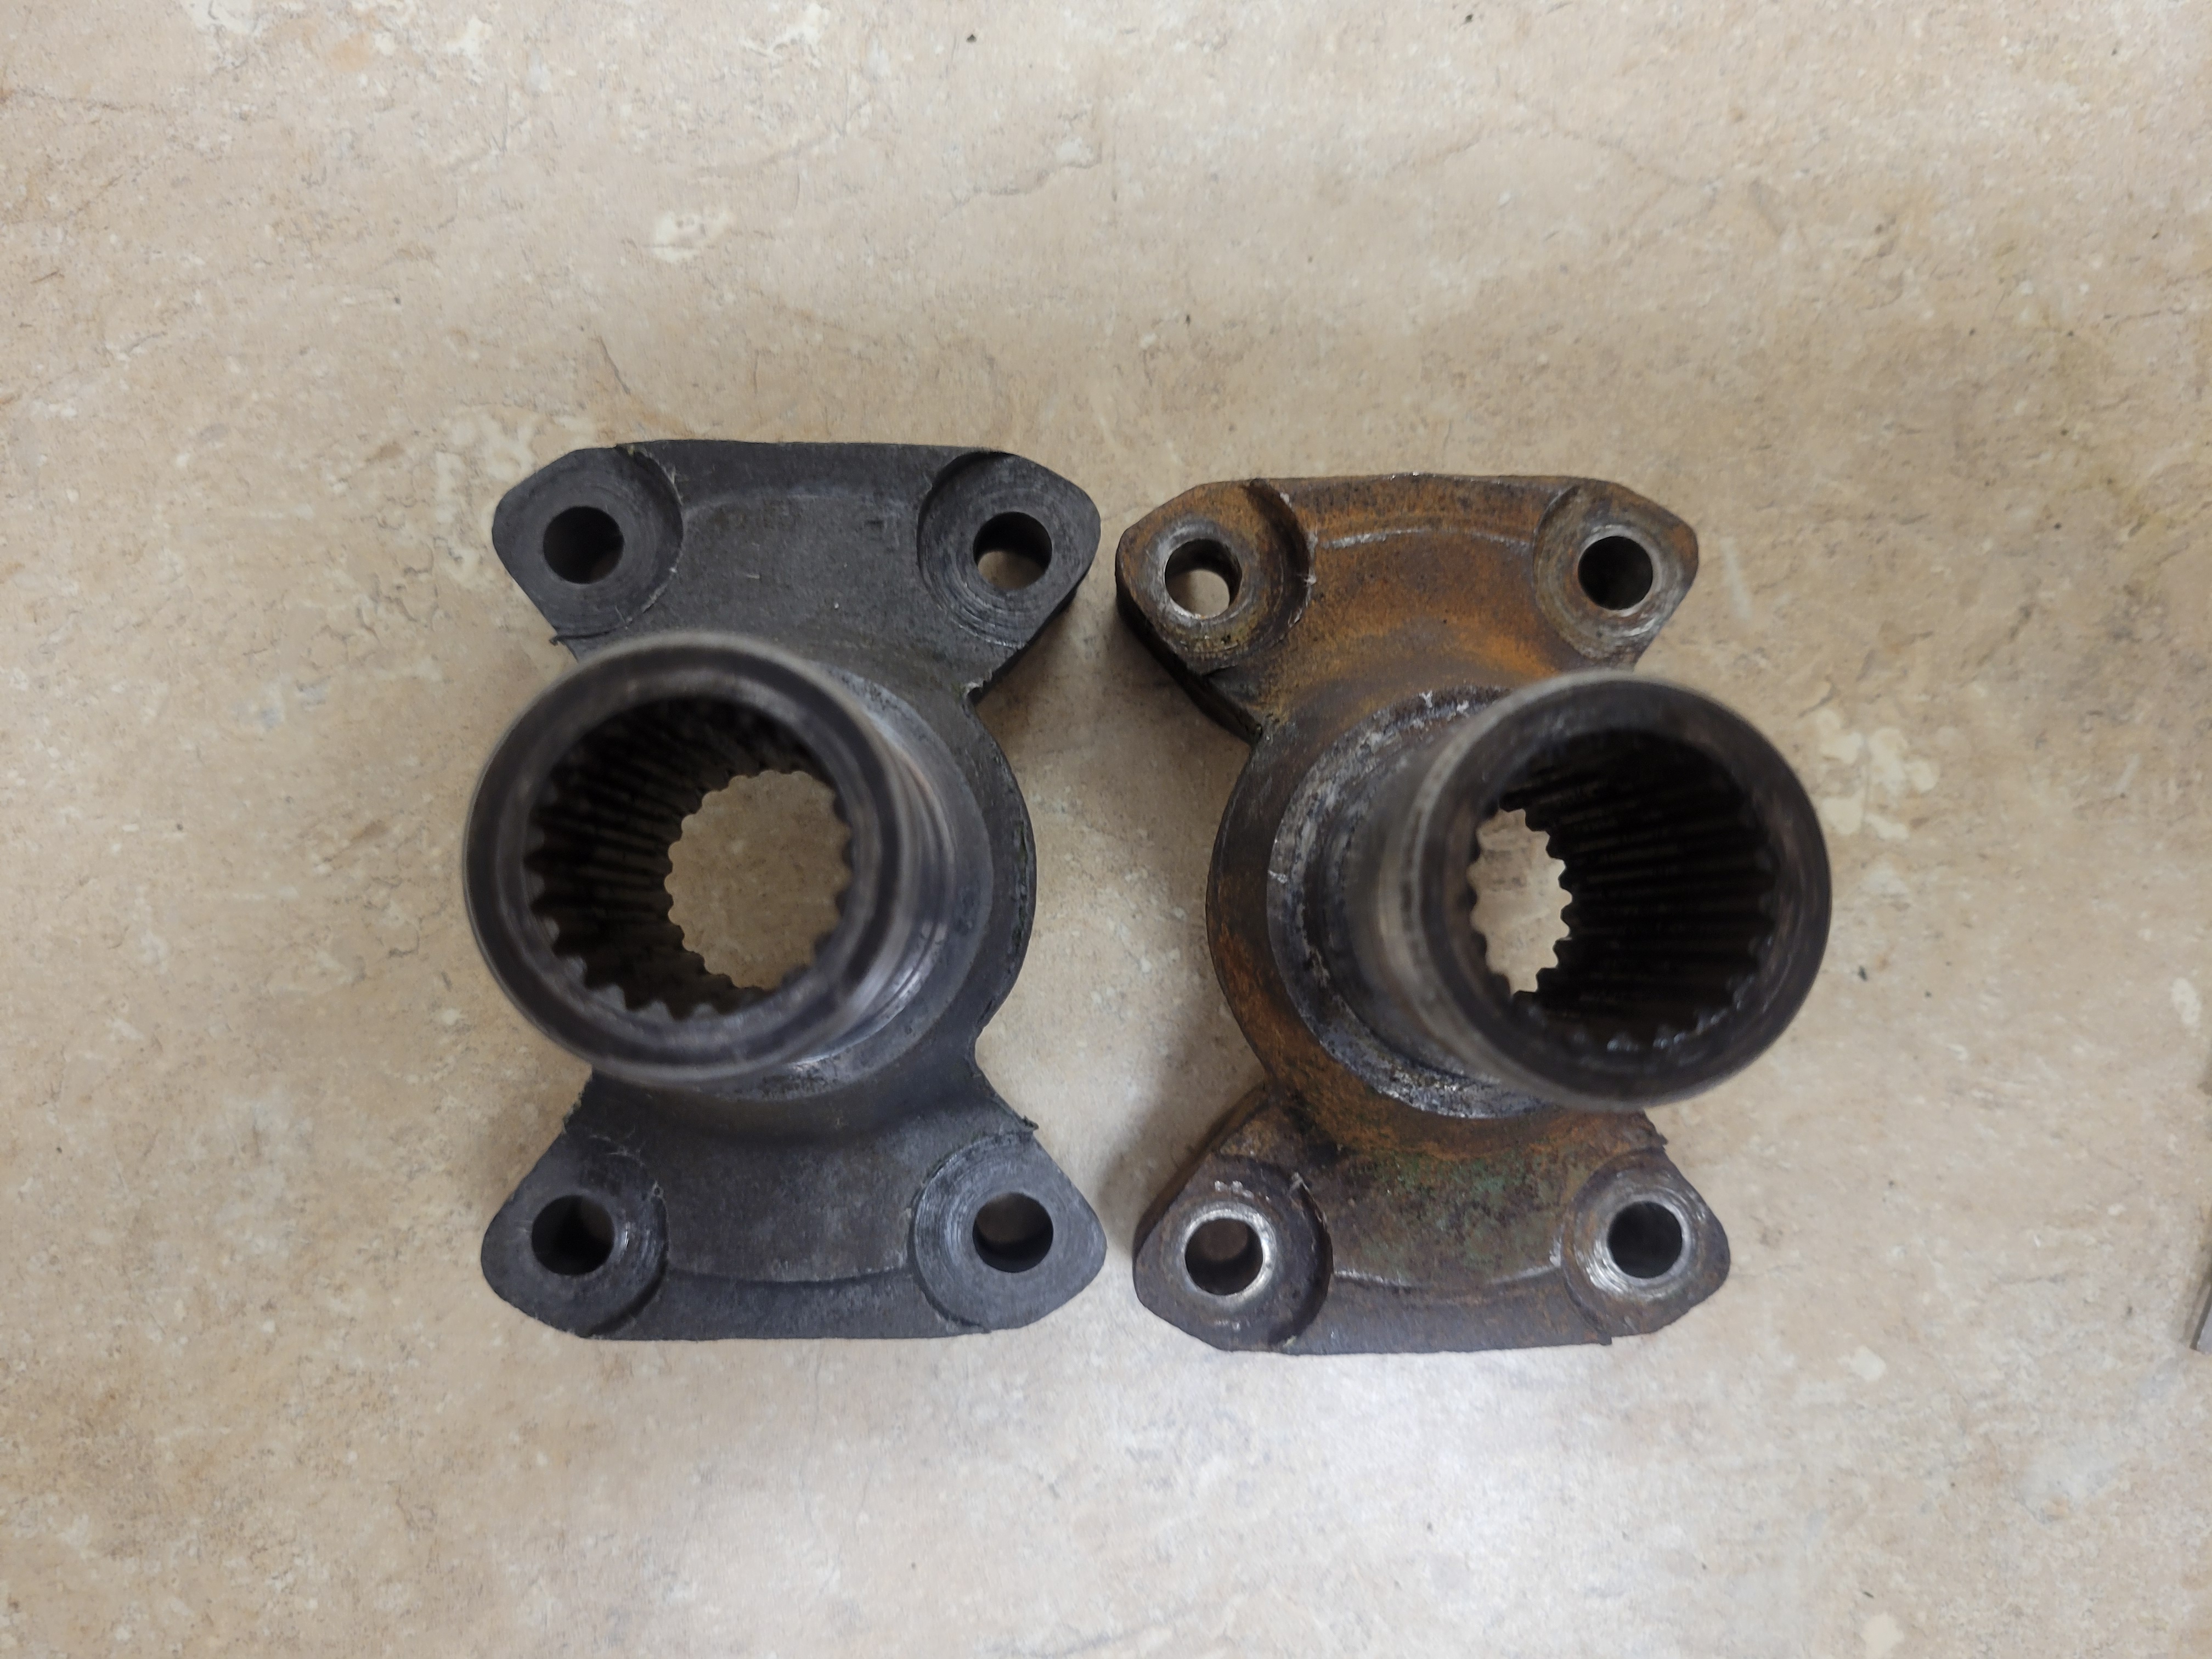
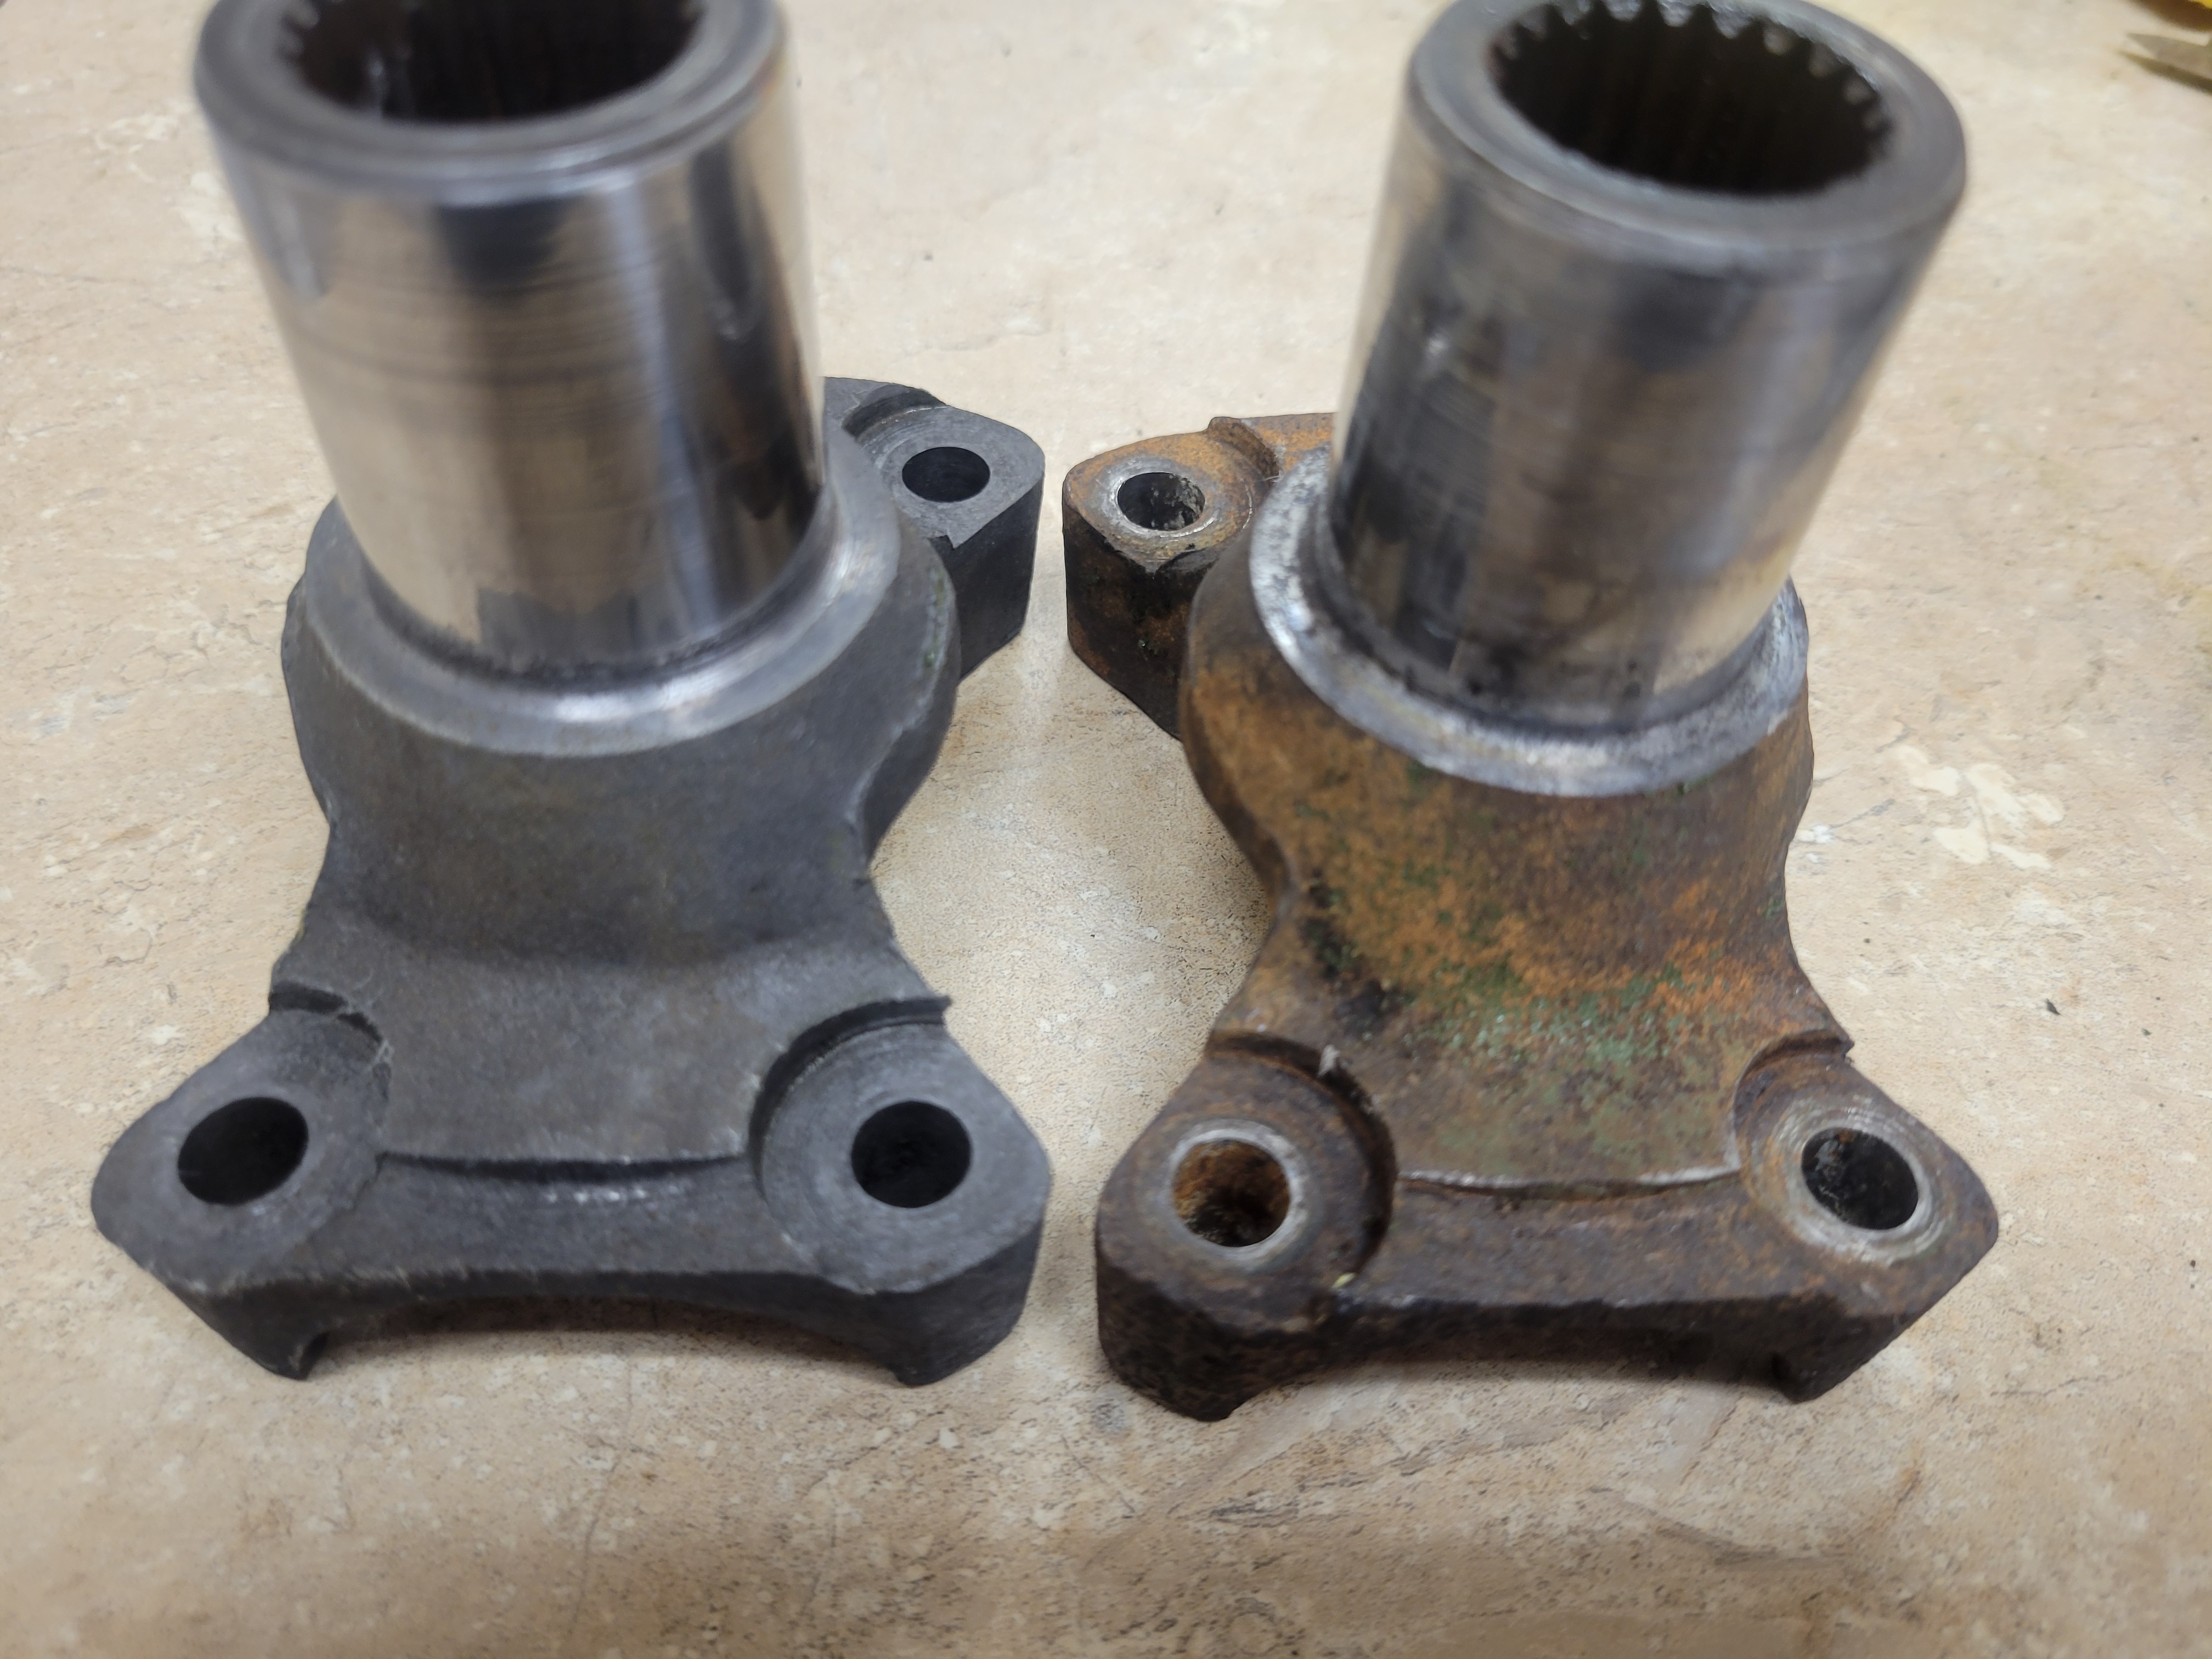
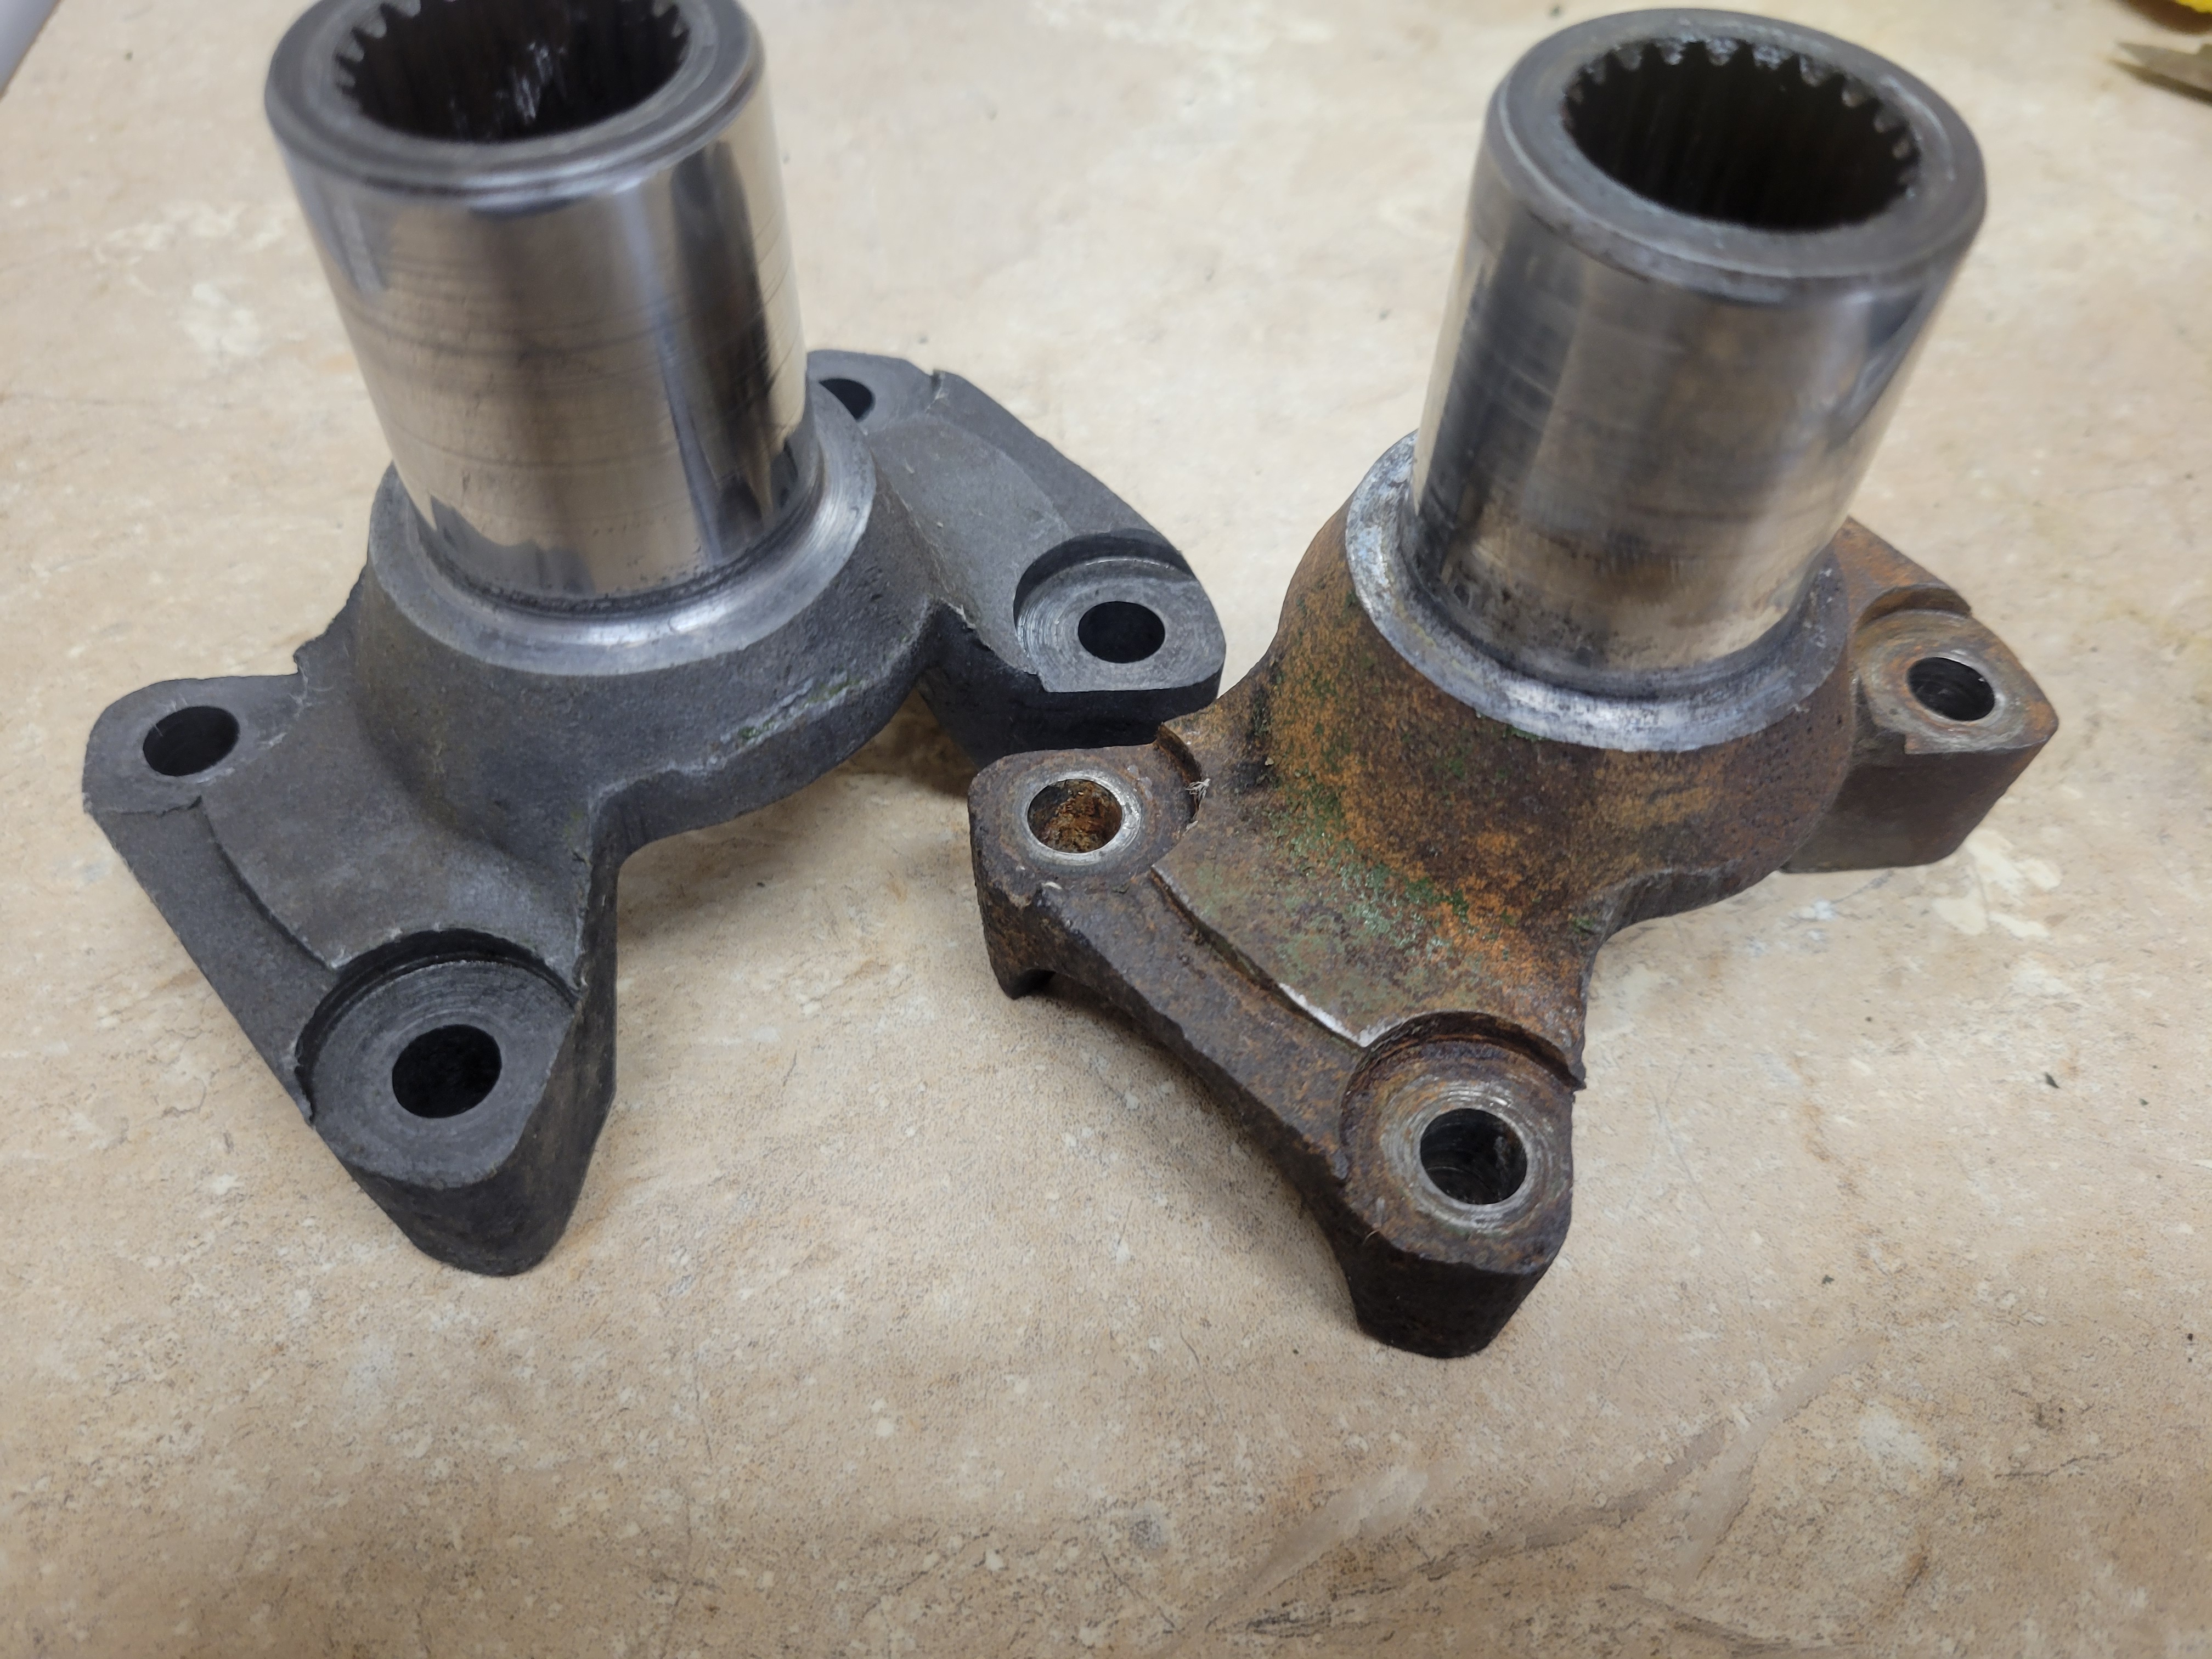
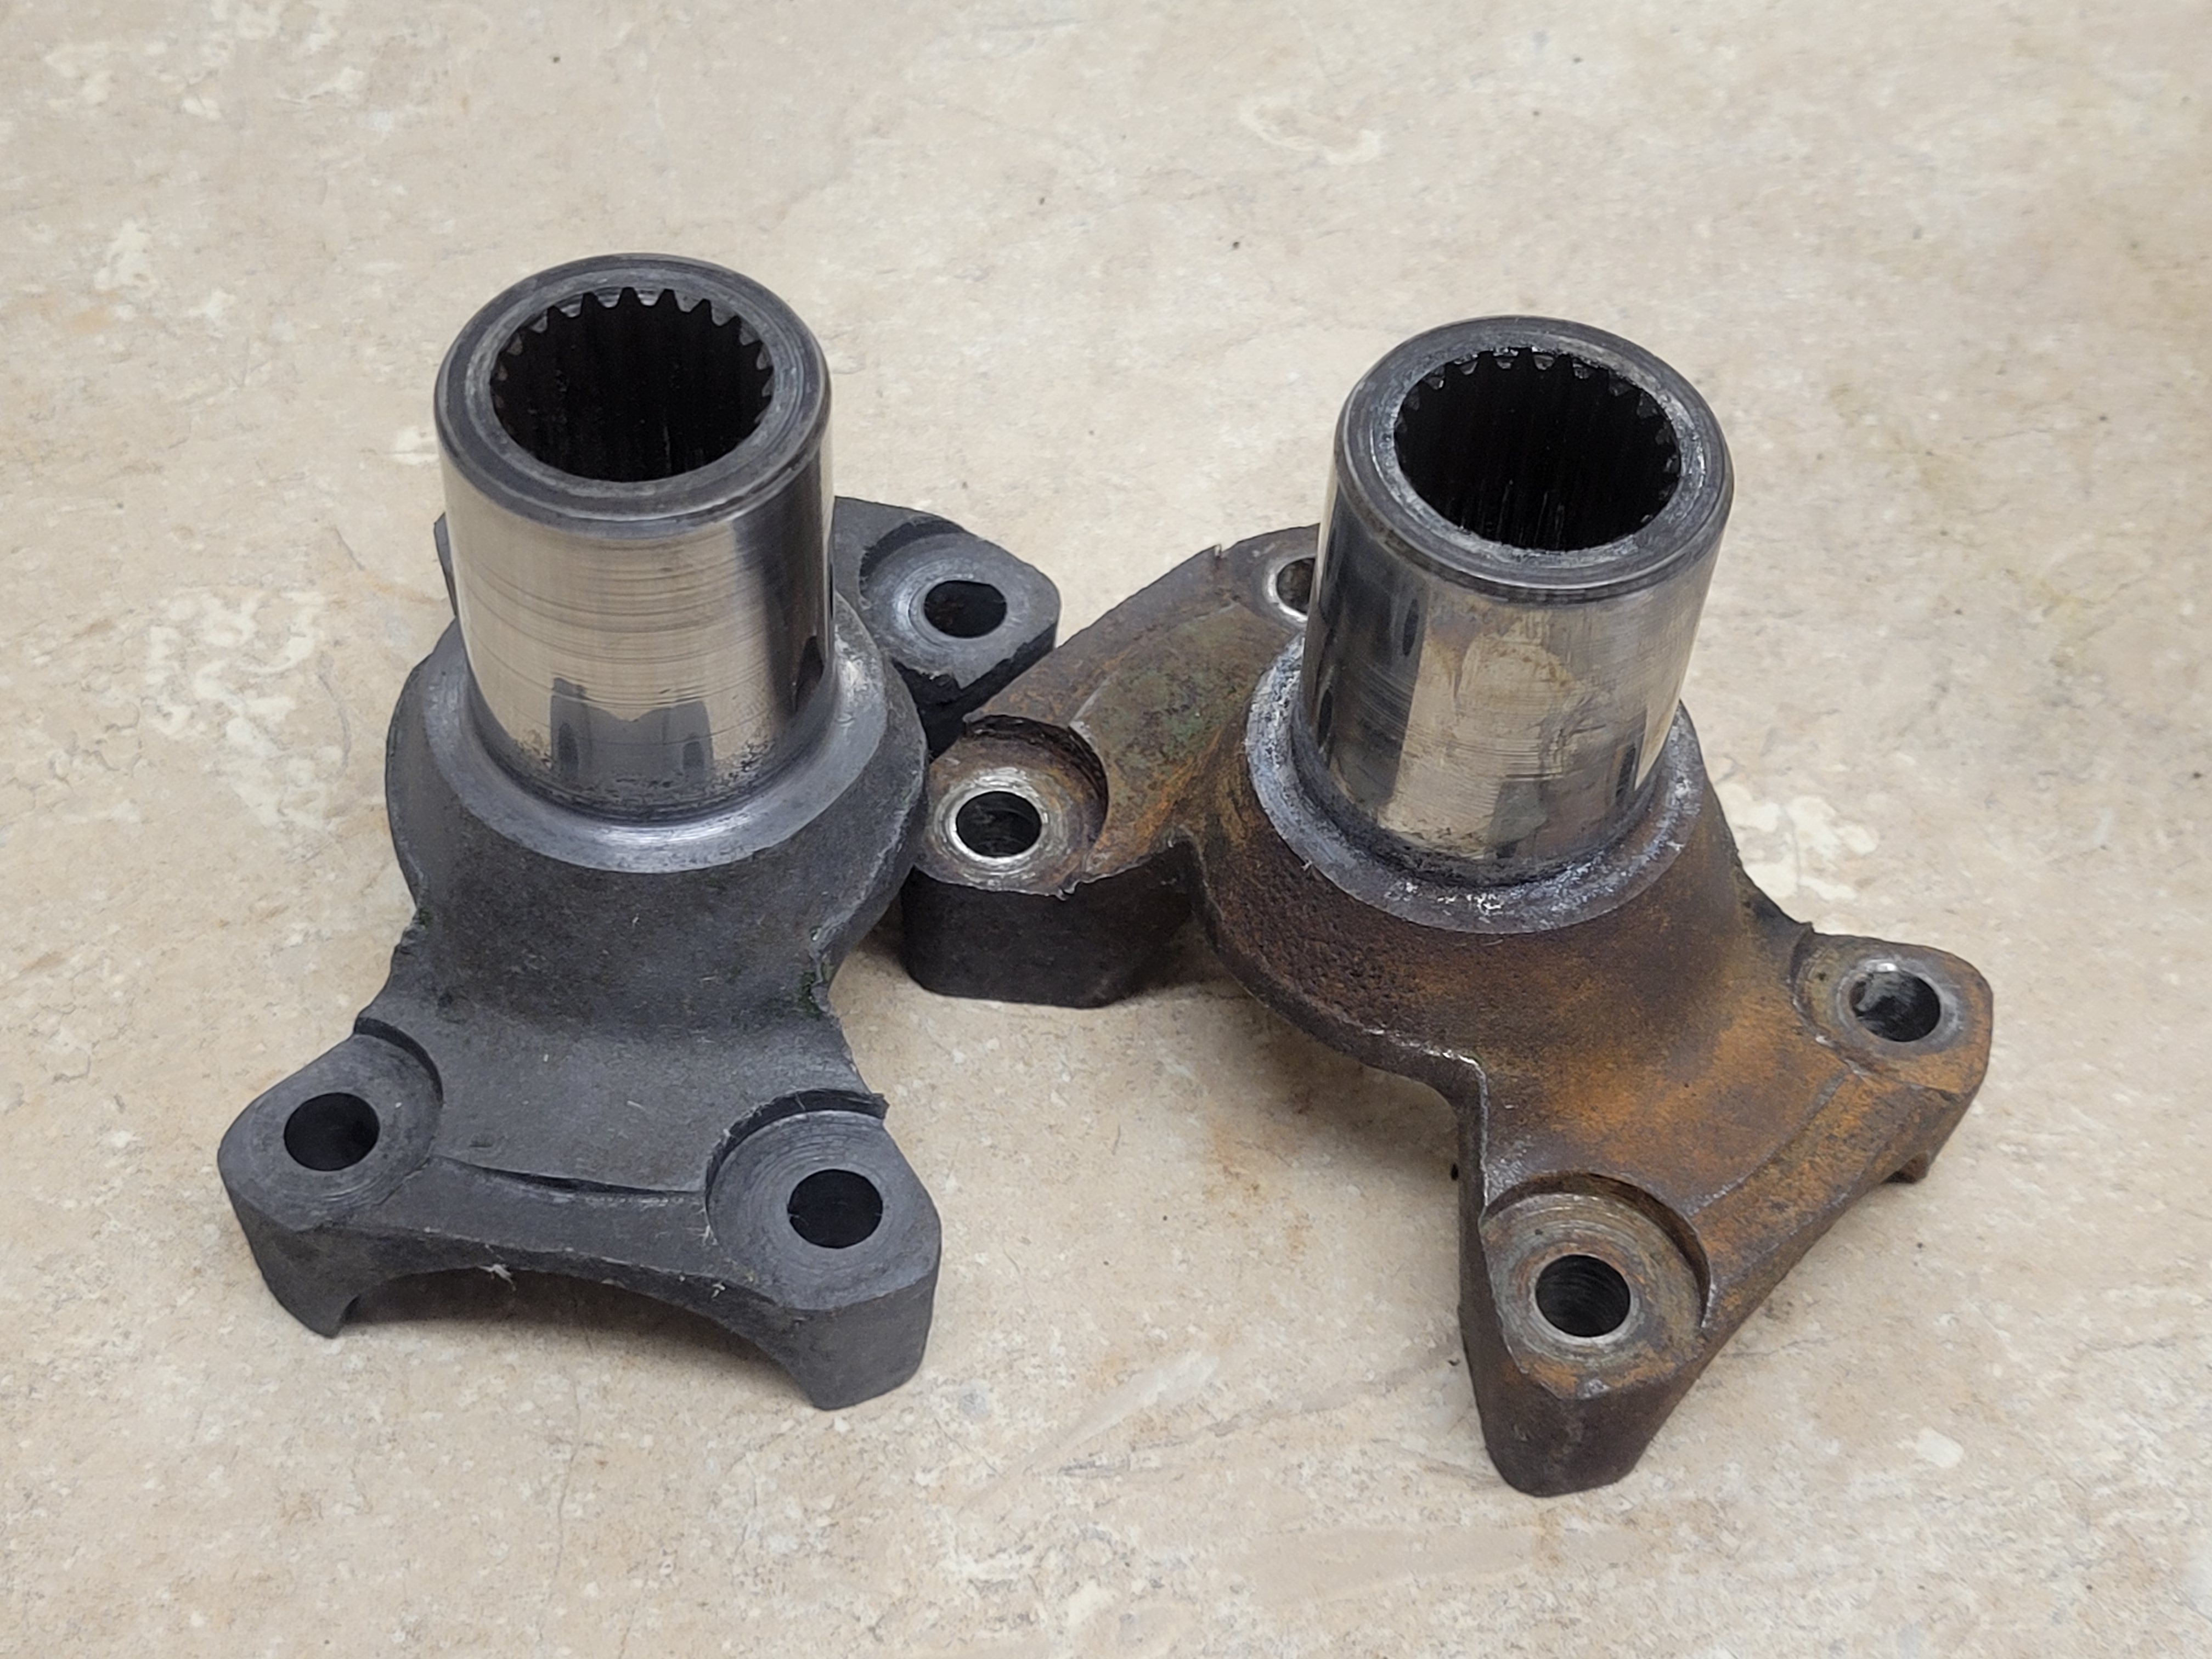
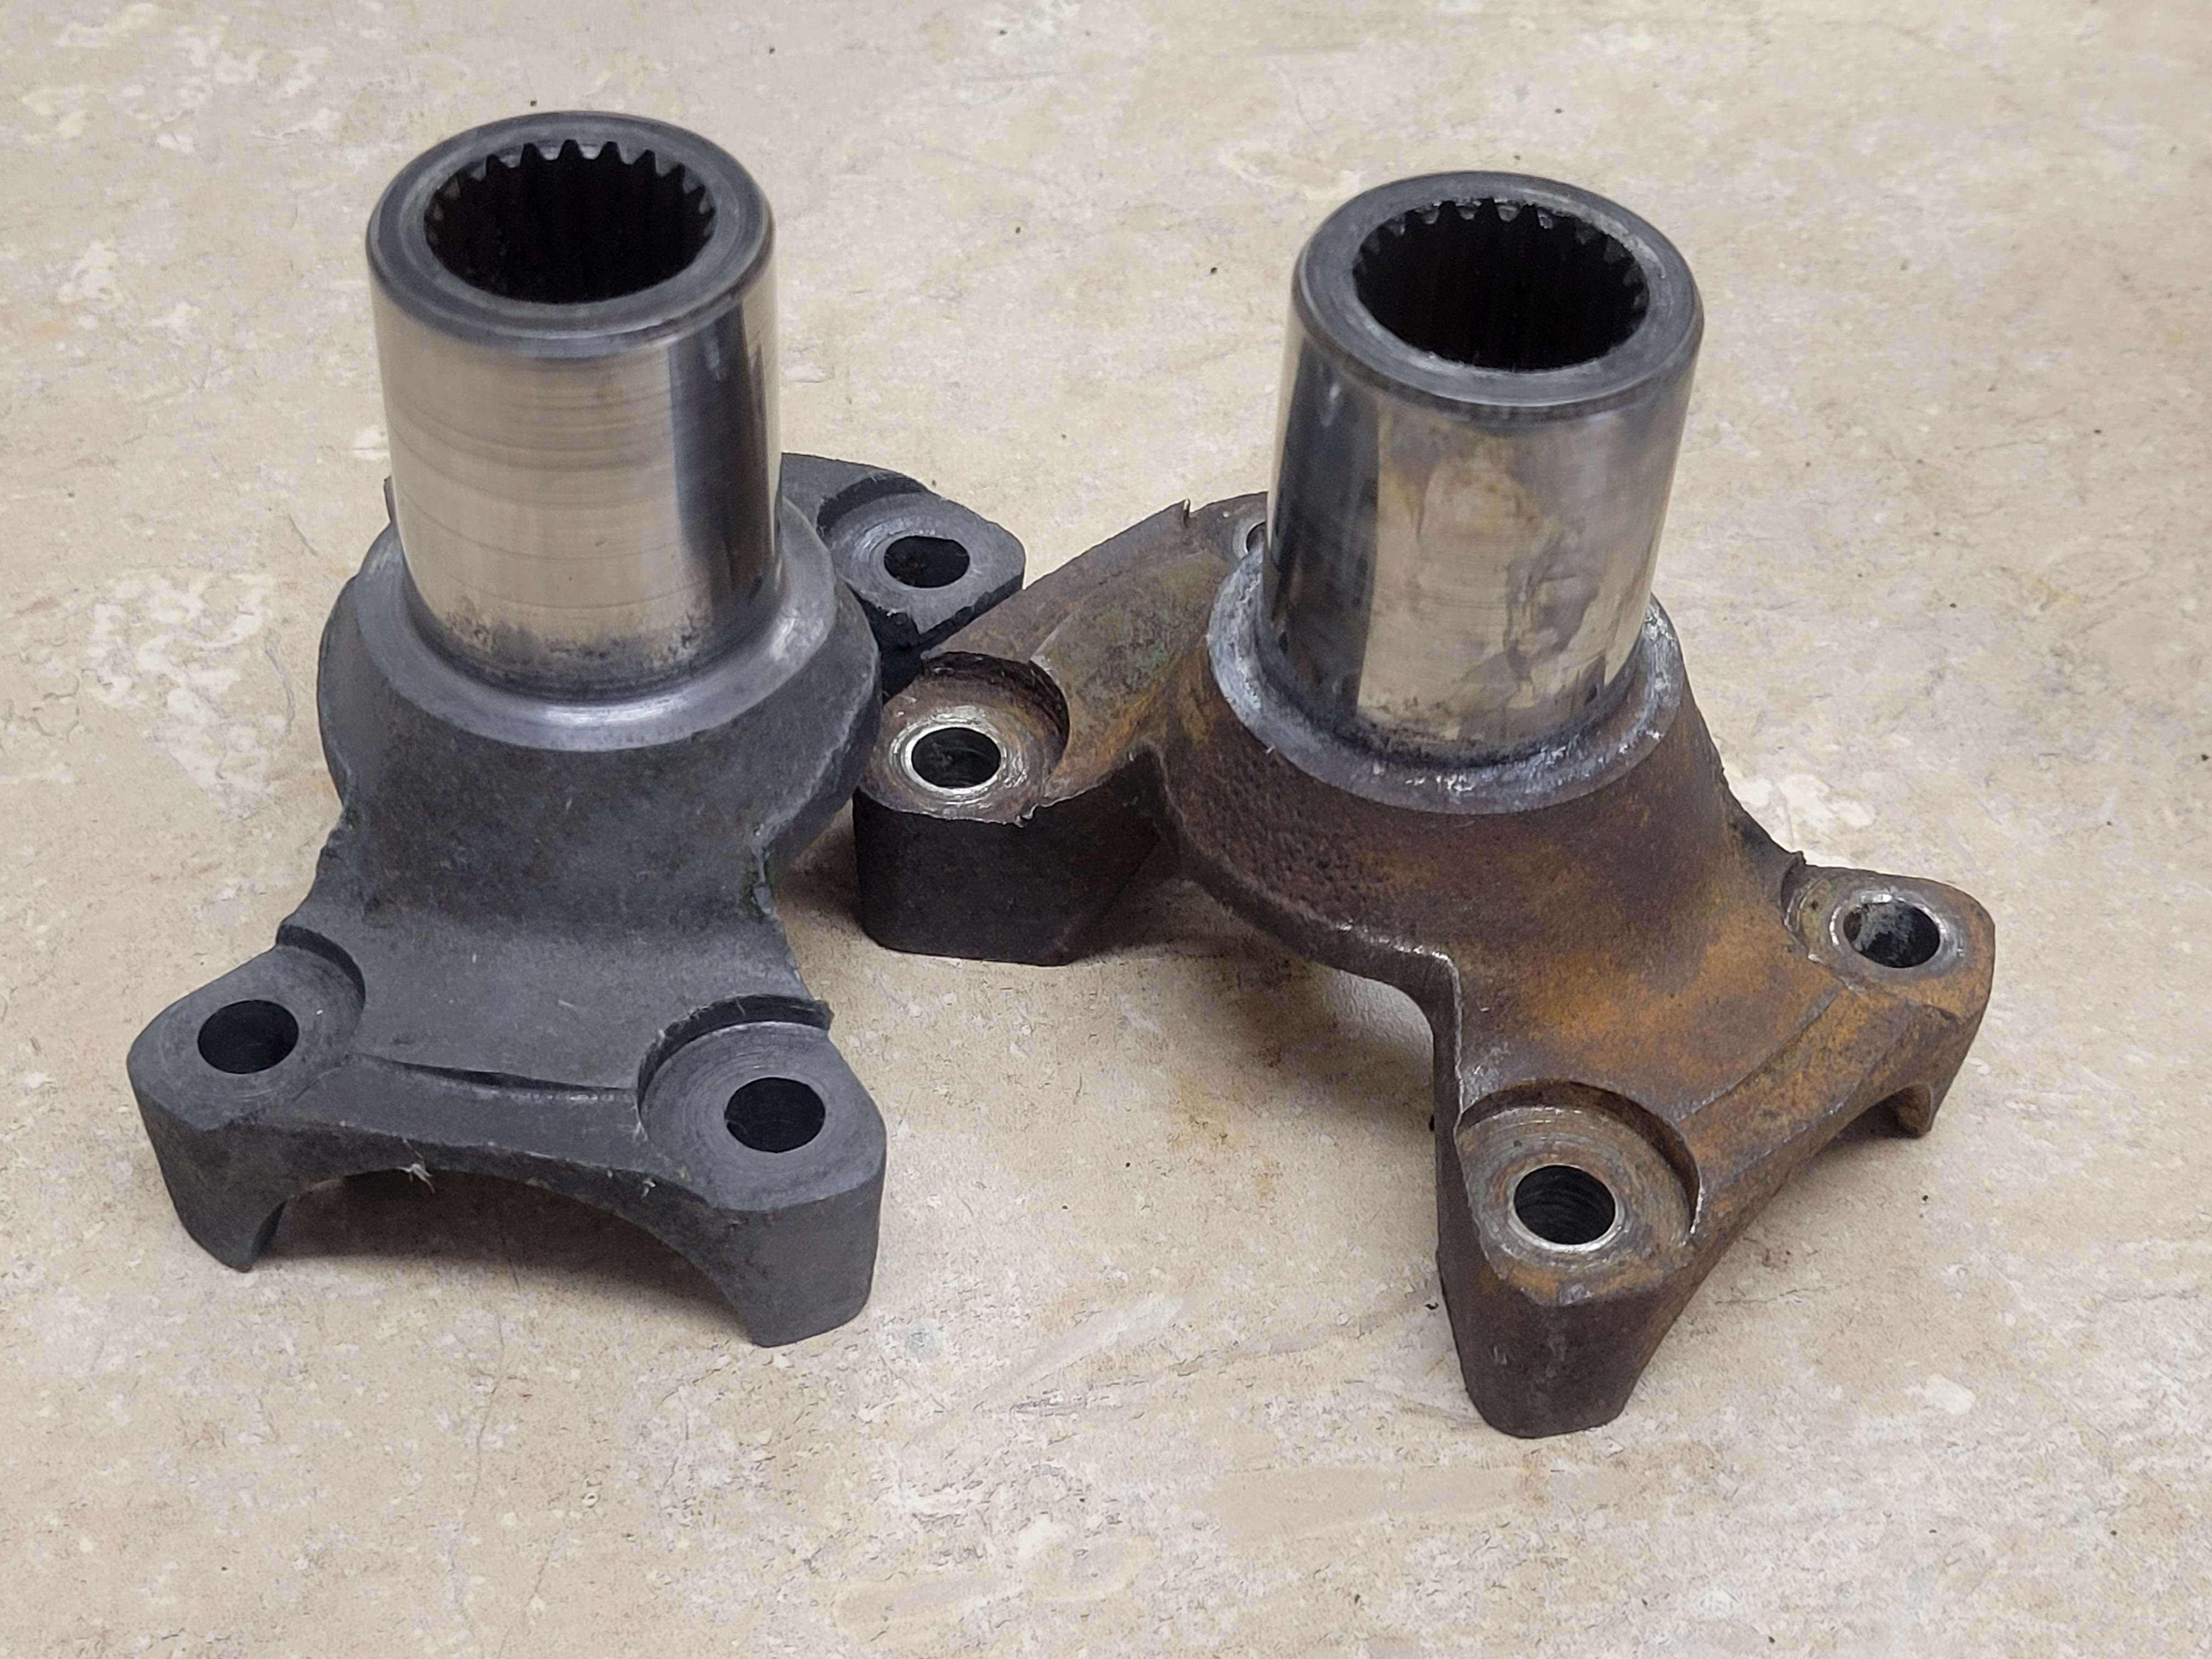
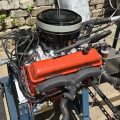
While the engine was out, it was decided to inspect and service the entire drivetrain. Since it’s a challenge to service the axles and input flanges with the engine in the car, or even in the subframe, I rebuilt the flanges and axle joints while it was out. As things were cleaned, they were repainted in two-part enamel paint in the correct Morris Motors green. I also removed all the auxiliary components and carefully degreased the engine and transmission. Prior to painting and reassembly, I performed a leak-down test and found that the center two exhaust valves were leaking, so I removed the cylinder head for machining. This sent us down an interesting road and accounted for nearly a year’s delay.

Once the head was off, I took it to a nearby cylinder head shop that specializes in race engines. They were confident they could rebuild it, but after several months, they admitted they couldn’t find the correct exhaust valve seats and offered to regrind the head. Since this engine was built to run on leaded fuel, we wanted hardened seats. I spent an afternoon calling parts suppliers and found the correct size. At this point, we weren’t feeling too confident about this particular shop, so I took the head and parts to a different shop.
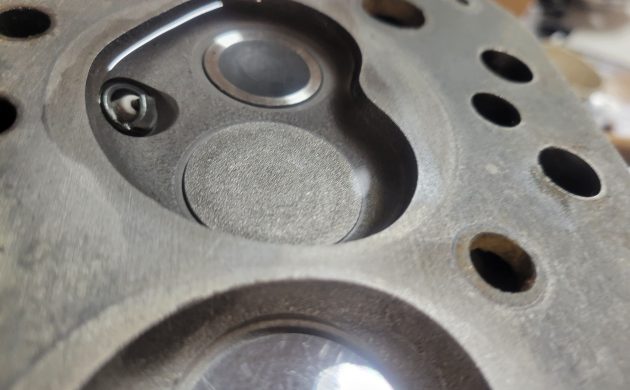
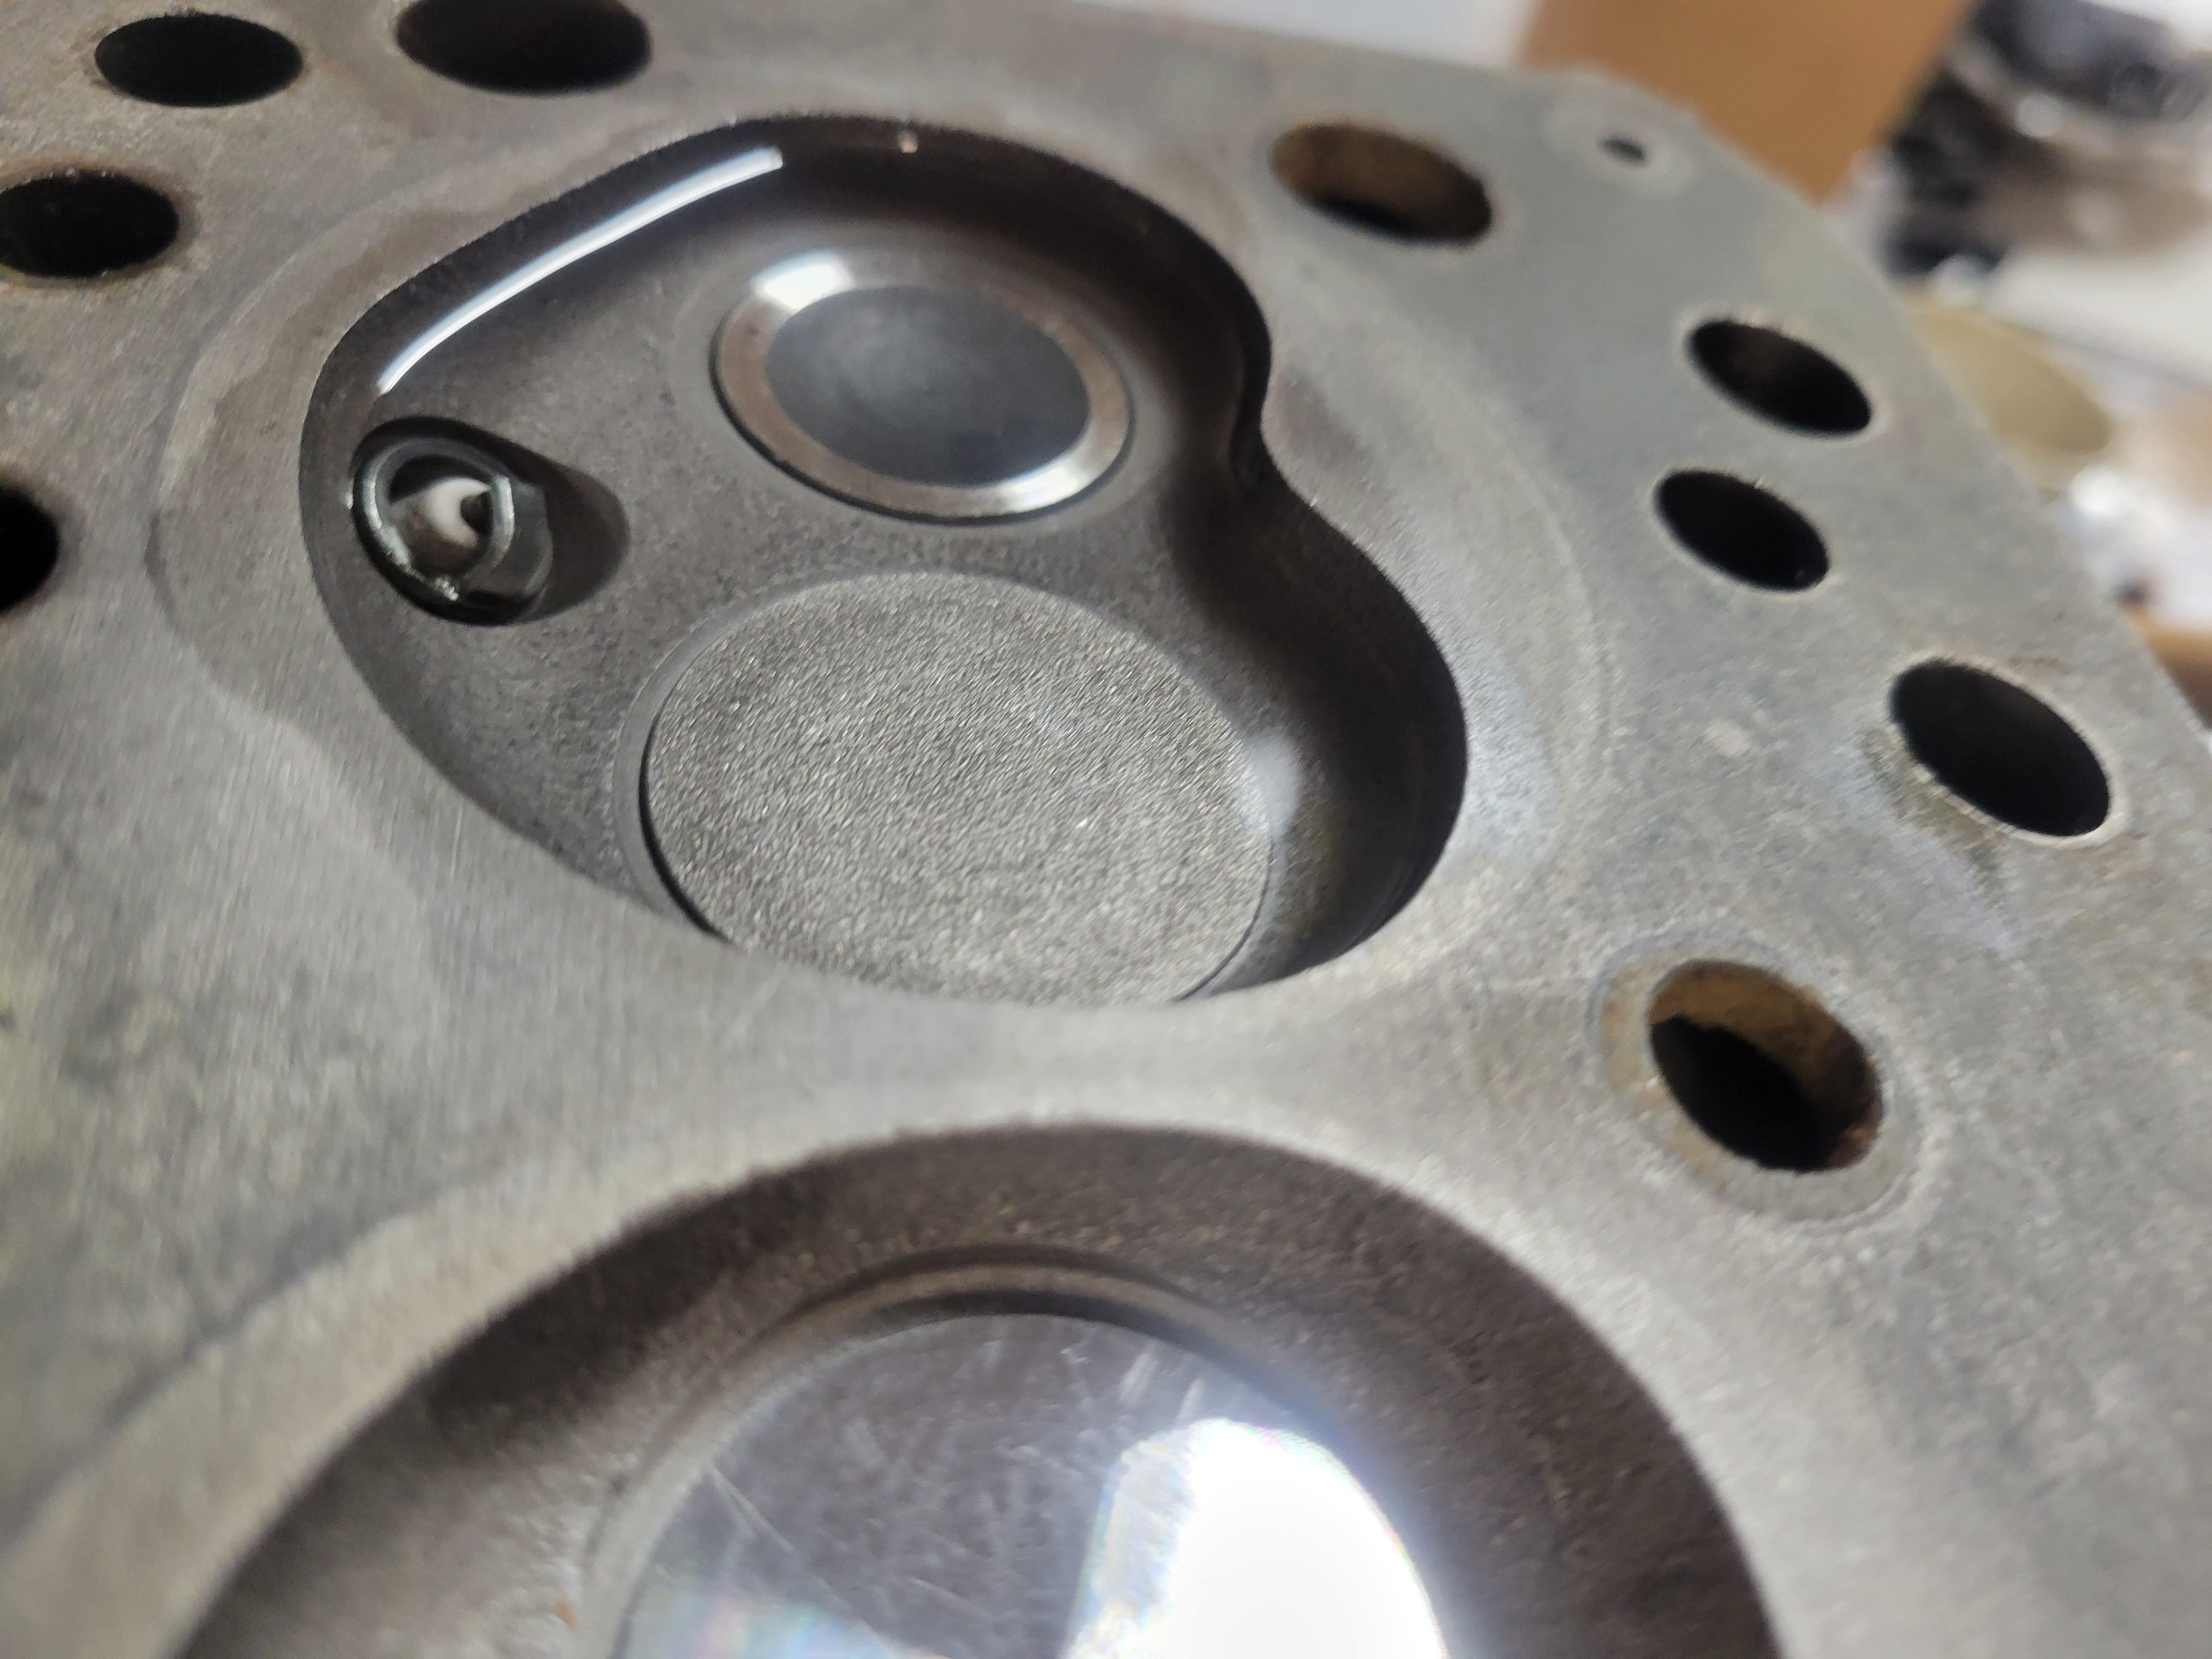
The next shop was willing to take the job on, but once the seats arrived, they admitted they lacked the correct-sized tool to cut them. They contacted their tool supplier, who promised to deliver the needed tool in a few weeks. Fast forward several more months, and the tool supplier admitted that the tool had to be made in England and would take up to a year to deliver. This shop suggested we check with one of the other cylinder head shops in town that uses a different tool supplier. That shop would have to order the tool too, but it would arrive in a few weeks. Well, several months later, the tool finally arrived, so I dropped the head off, and they got to work. They cleaned the head, decked it, cut and installed the new hardened valve seats, new valve guides, and installed new valves with new springs and retainers.

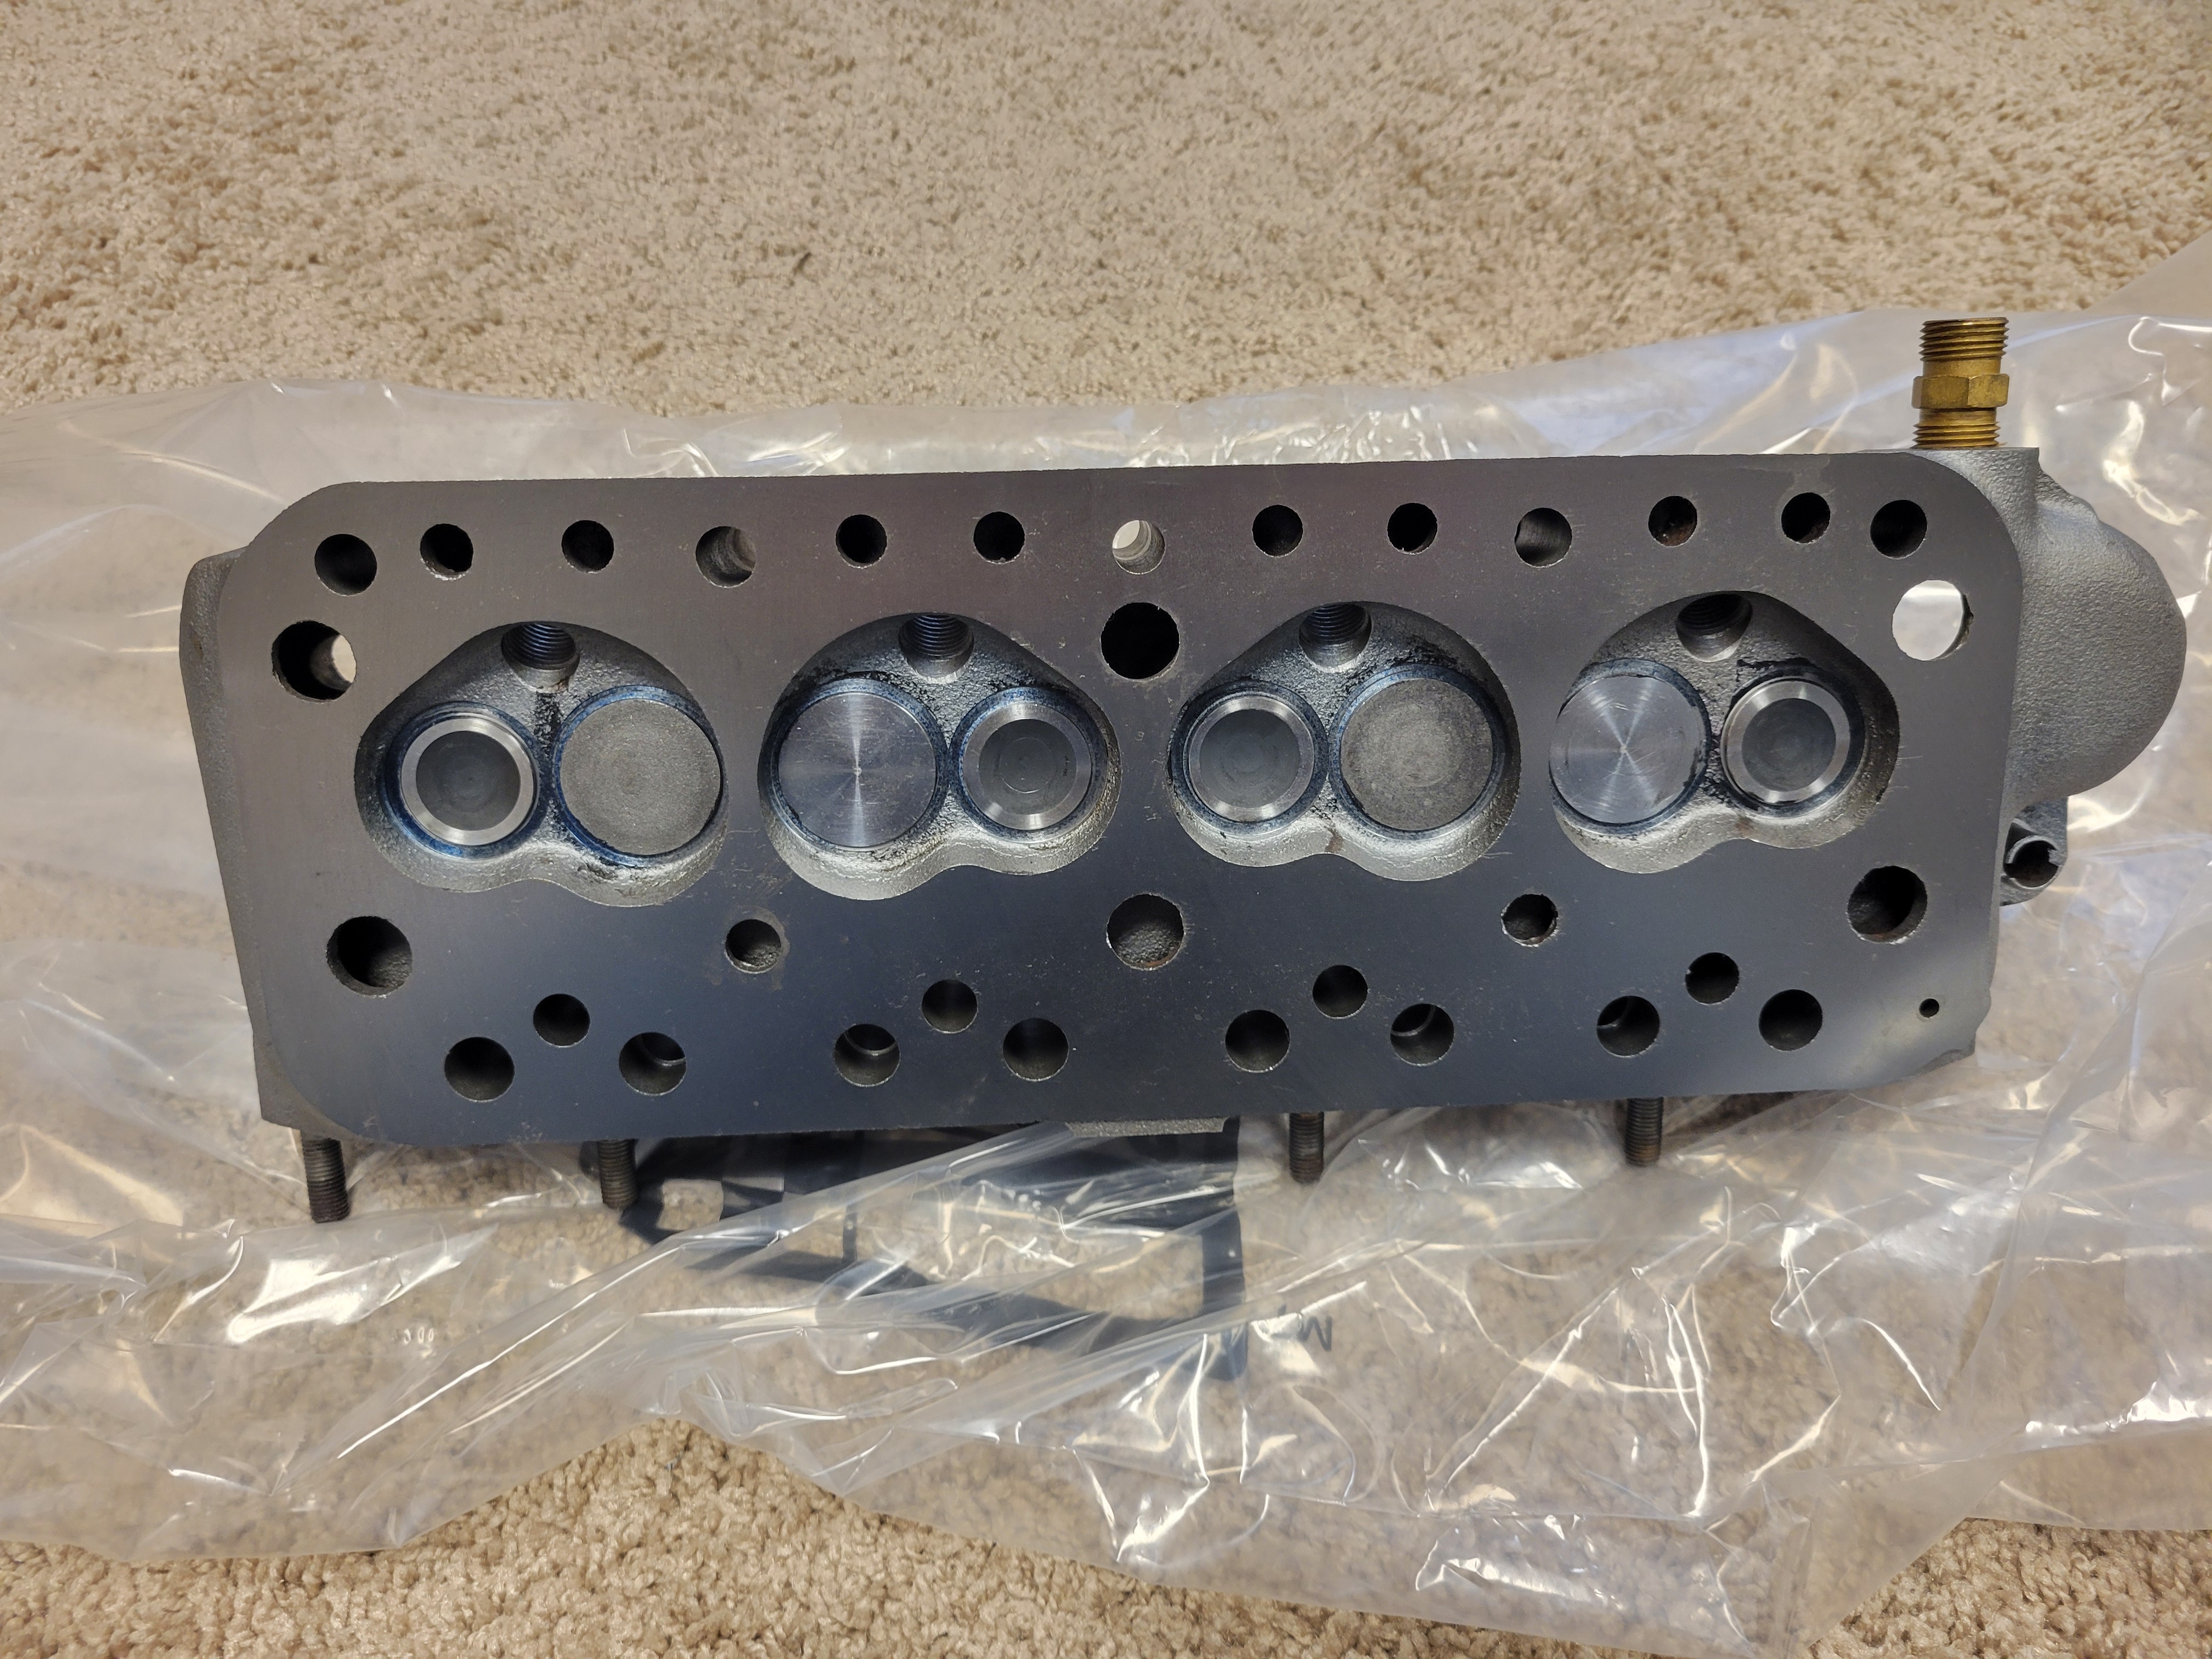
The finished product was honestly worth the wait. It turned out beautifully and can now run on unleaded gas. Before putting the valvetrain together, I degreased the head and primed it. Once the paint had cured, I finished assembling the head and reinstalled it on the block using a new head gasket and studs. Once it was together, I performed another leak-down test, and the numbers were good.
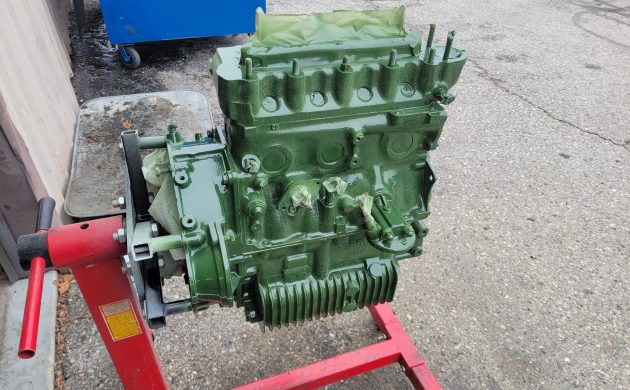
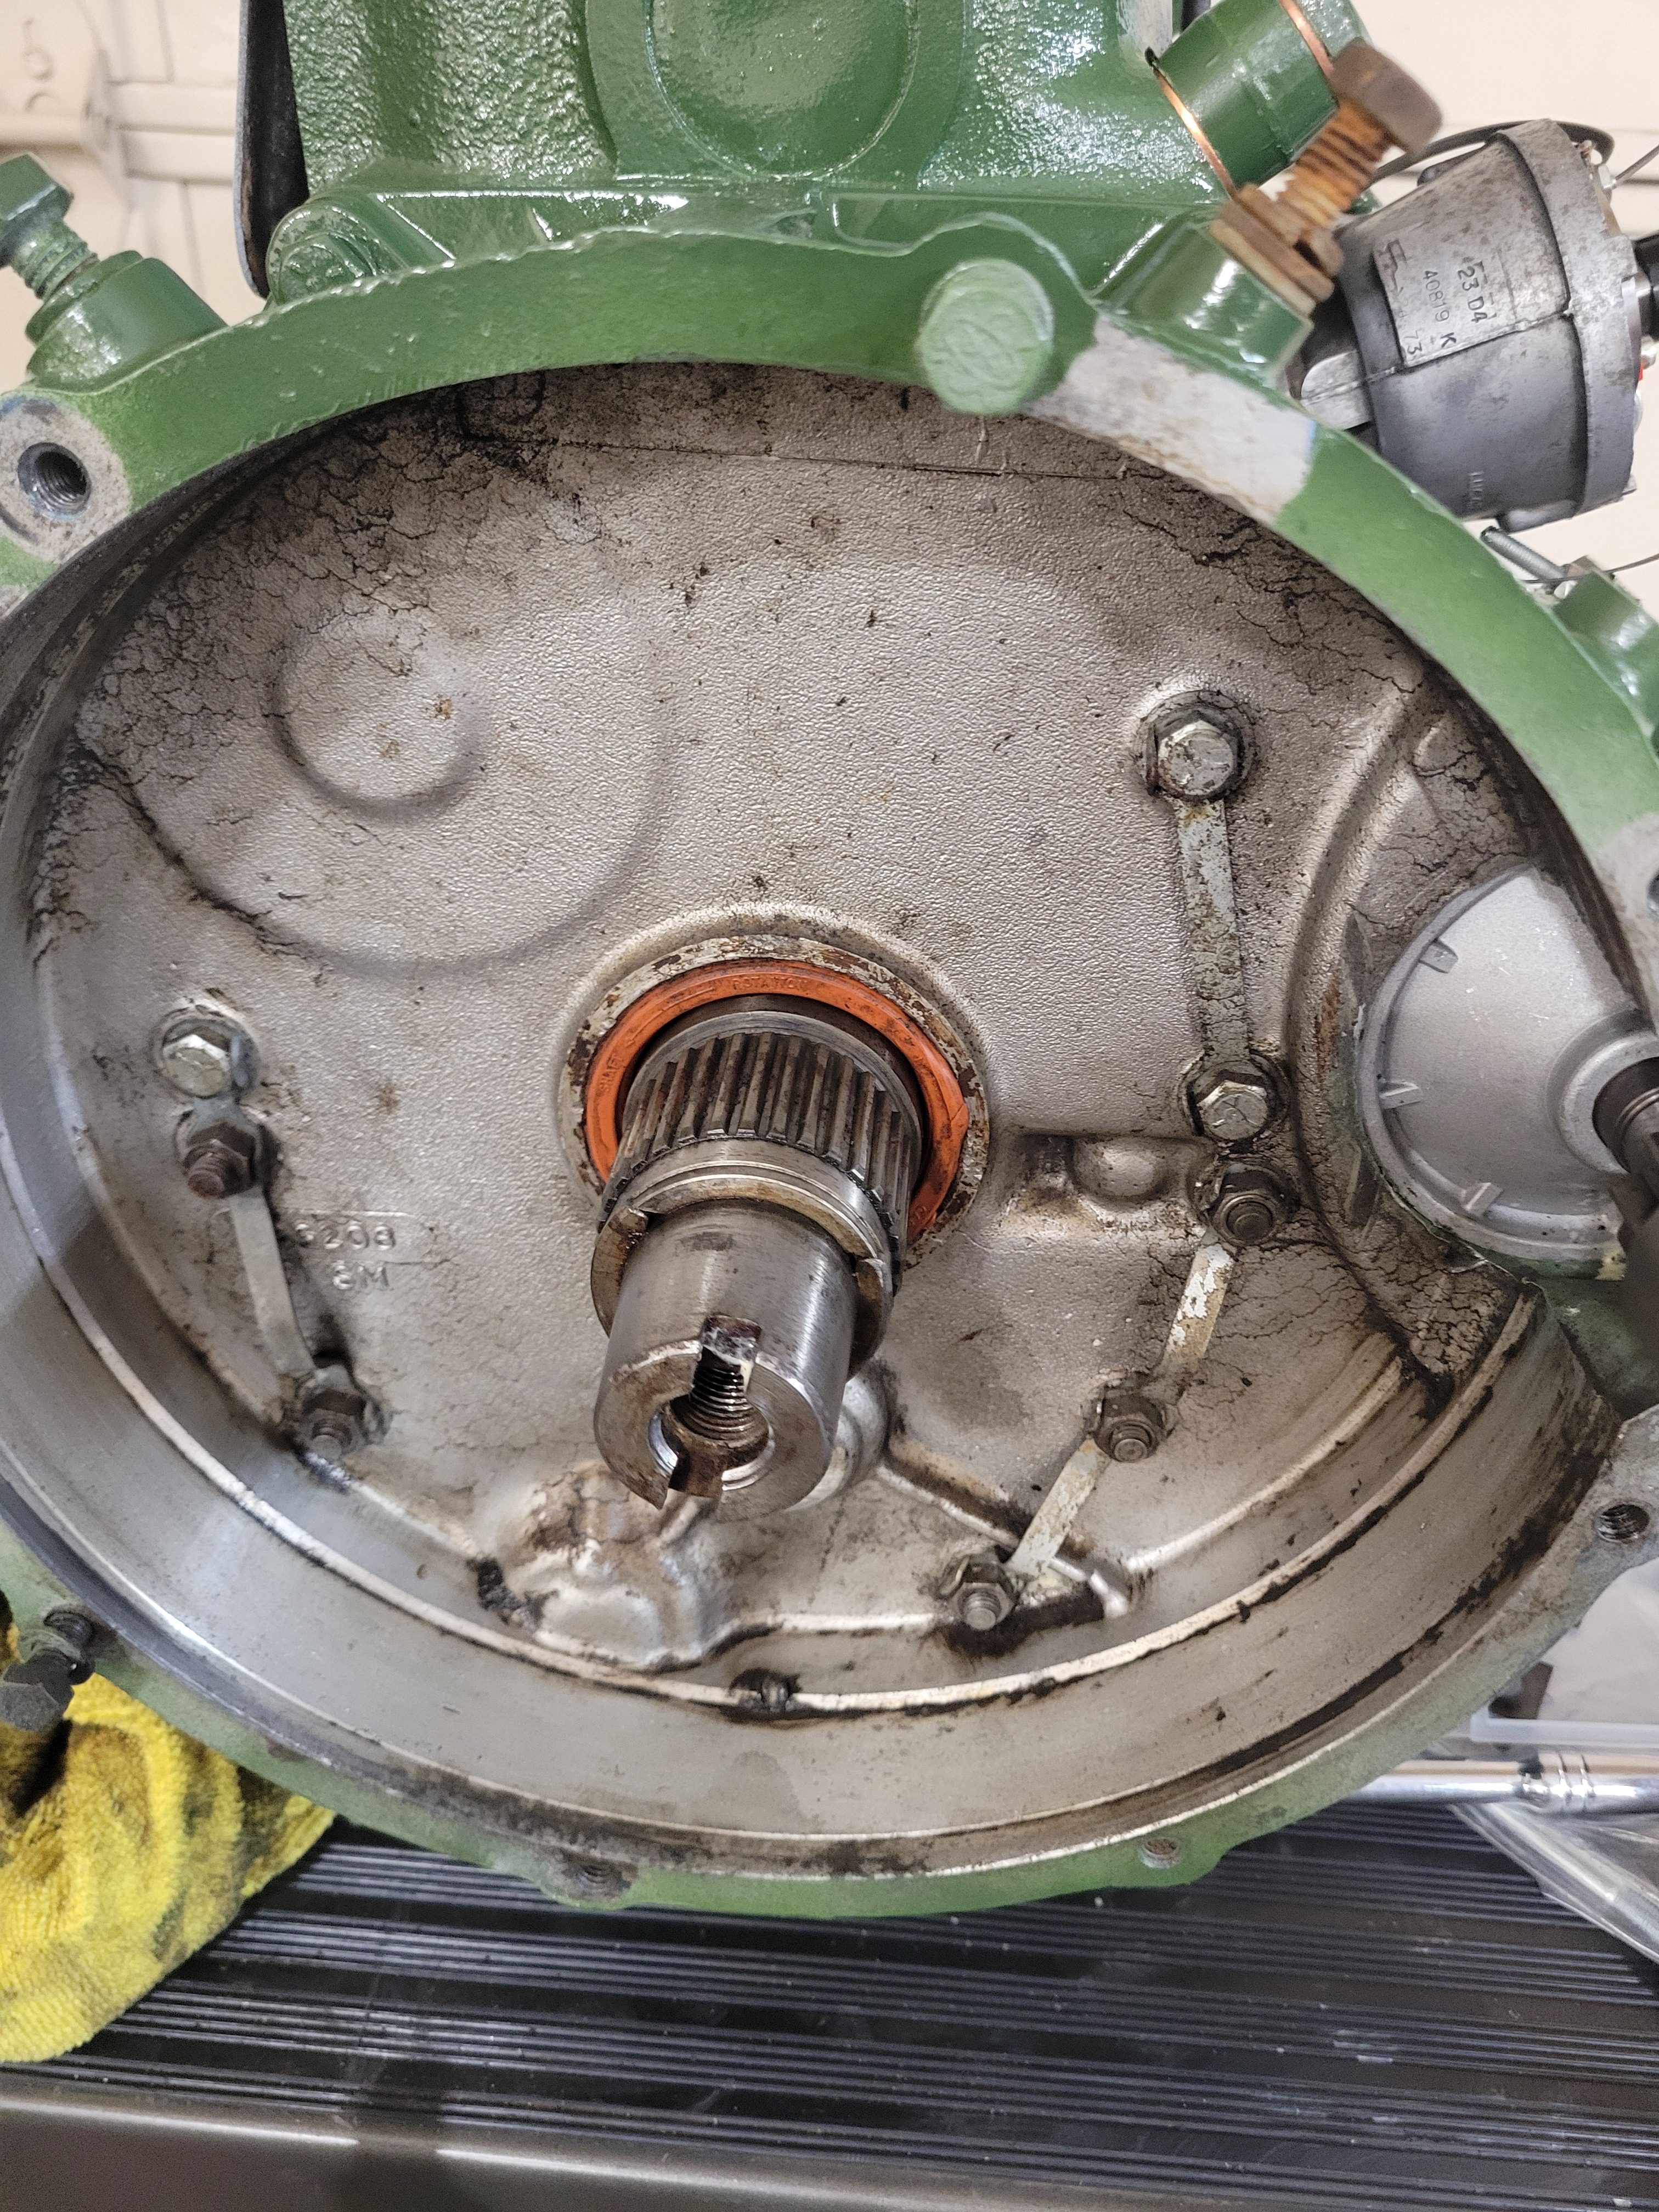
I did a final degreasing and painted the entire engine. After several coats of paint and a few days of curing, it was ready for a new rear main seal, clutch, flywheel, and throwout bearing. With those in and the clutch cover on, it was ready to go back into the subframe, which proved trickier than expected. I was working alone that day, so getting the axles guided into the frame as I lowered the engine into the cradle was interesting, but I got it done without scratching anything or losing a finger (win-win, right!).
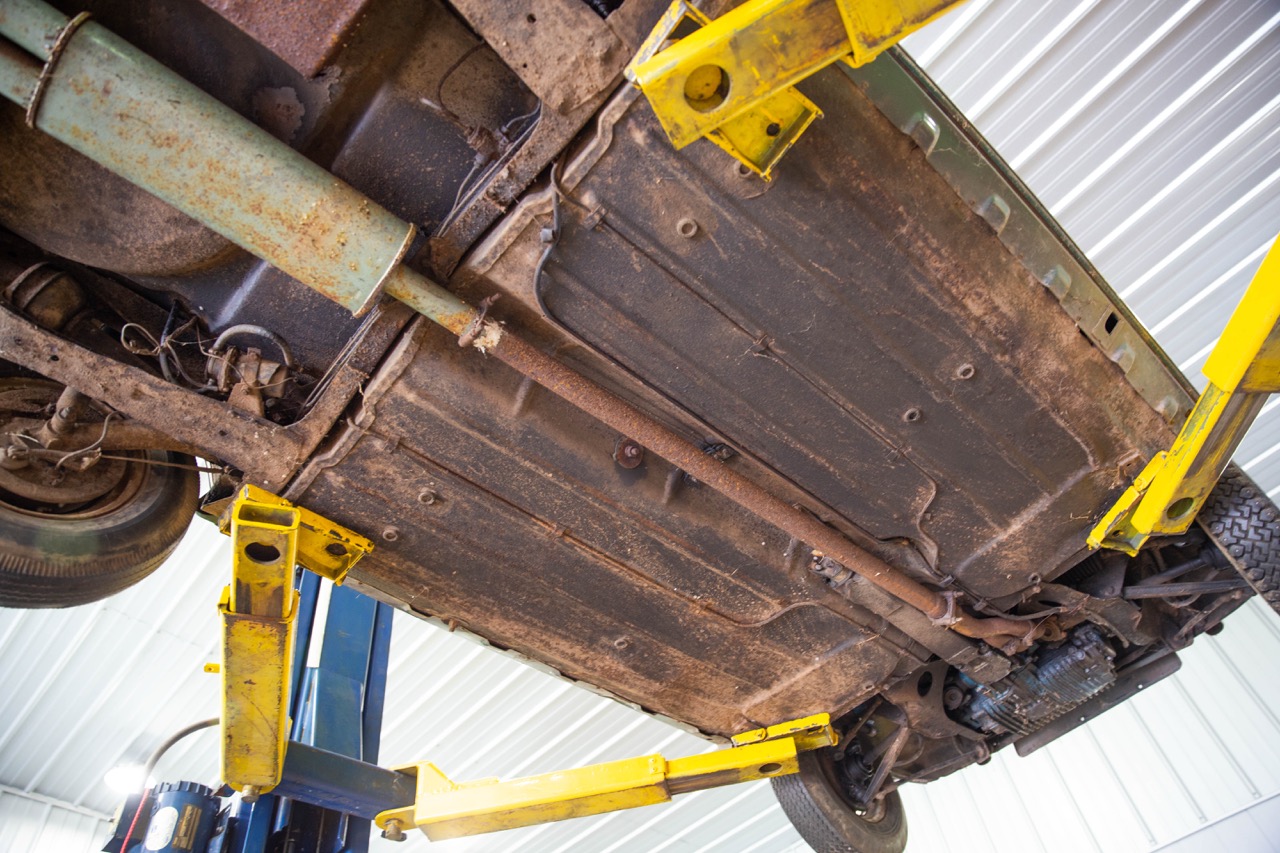
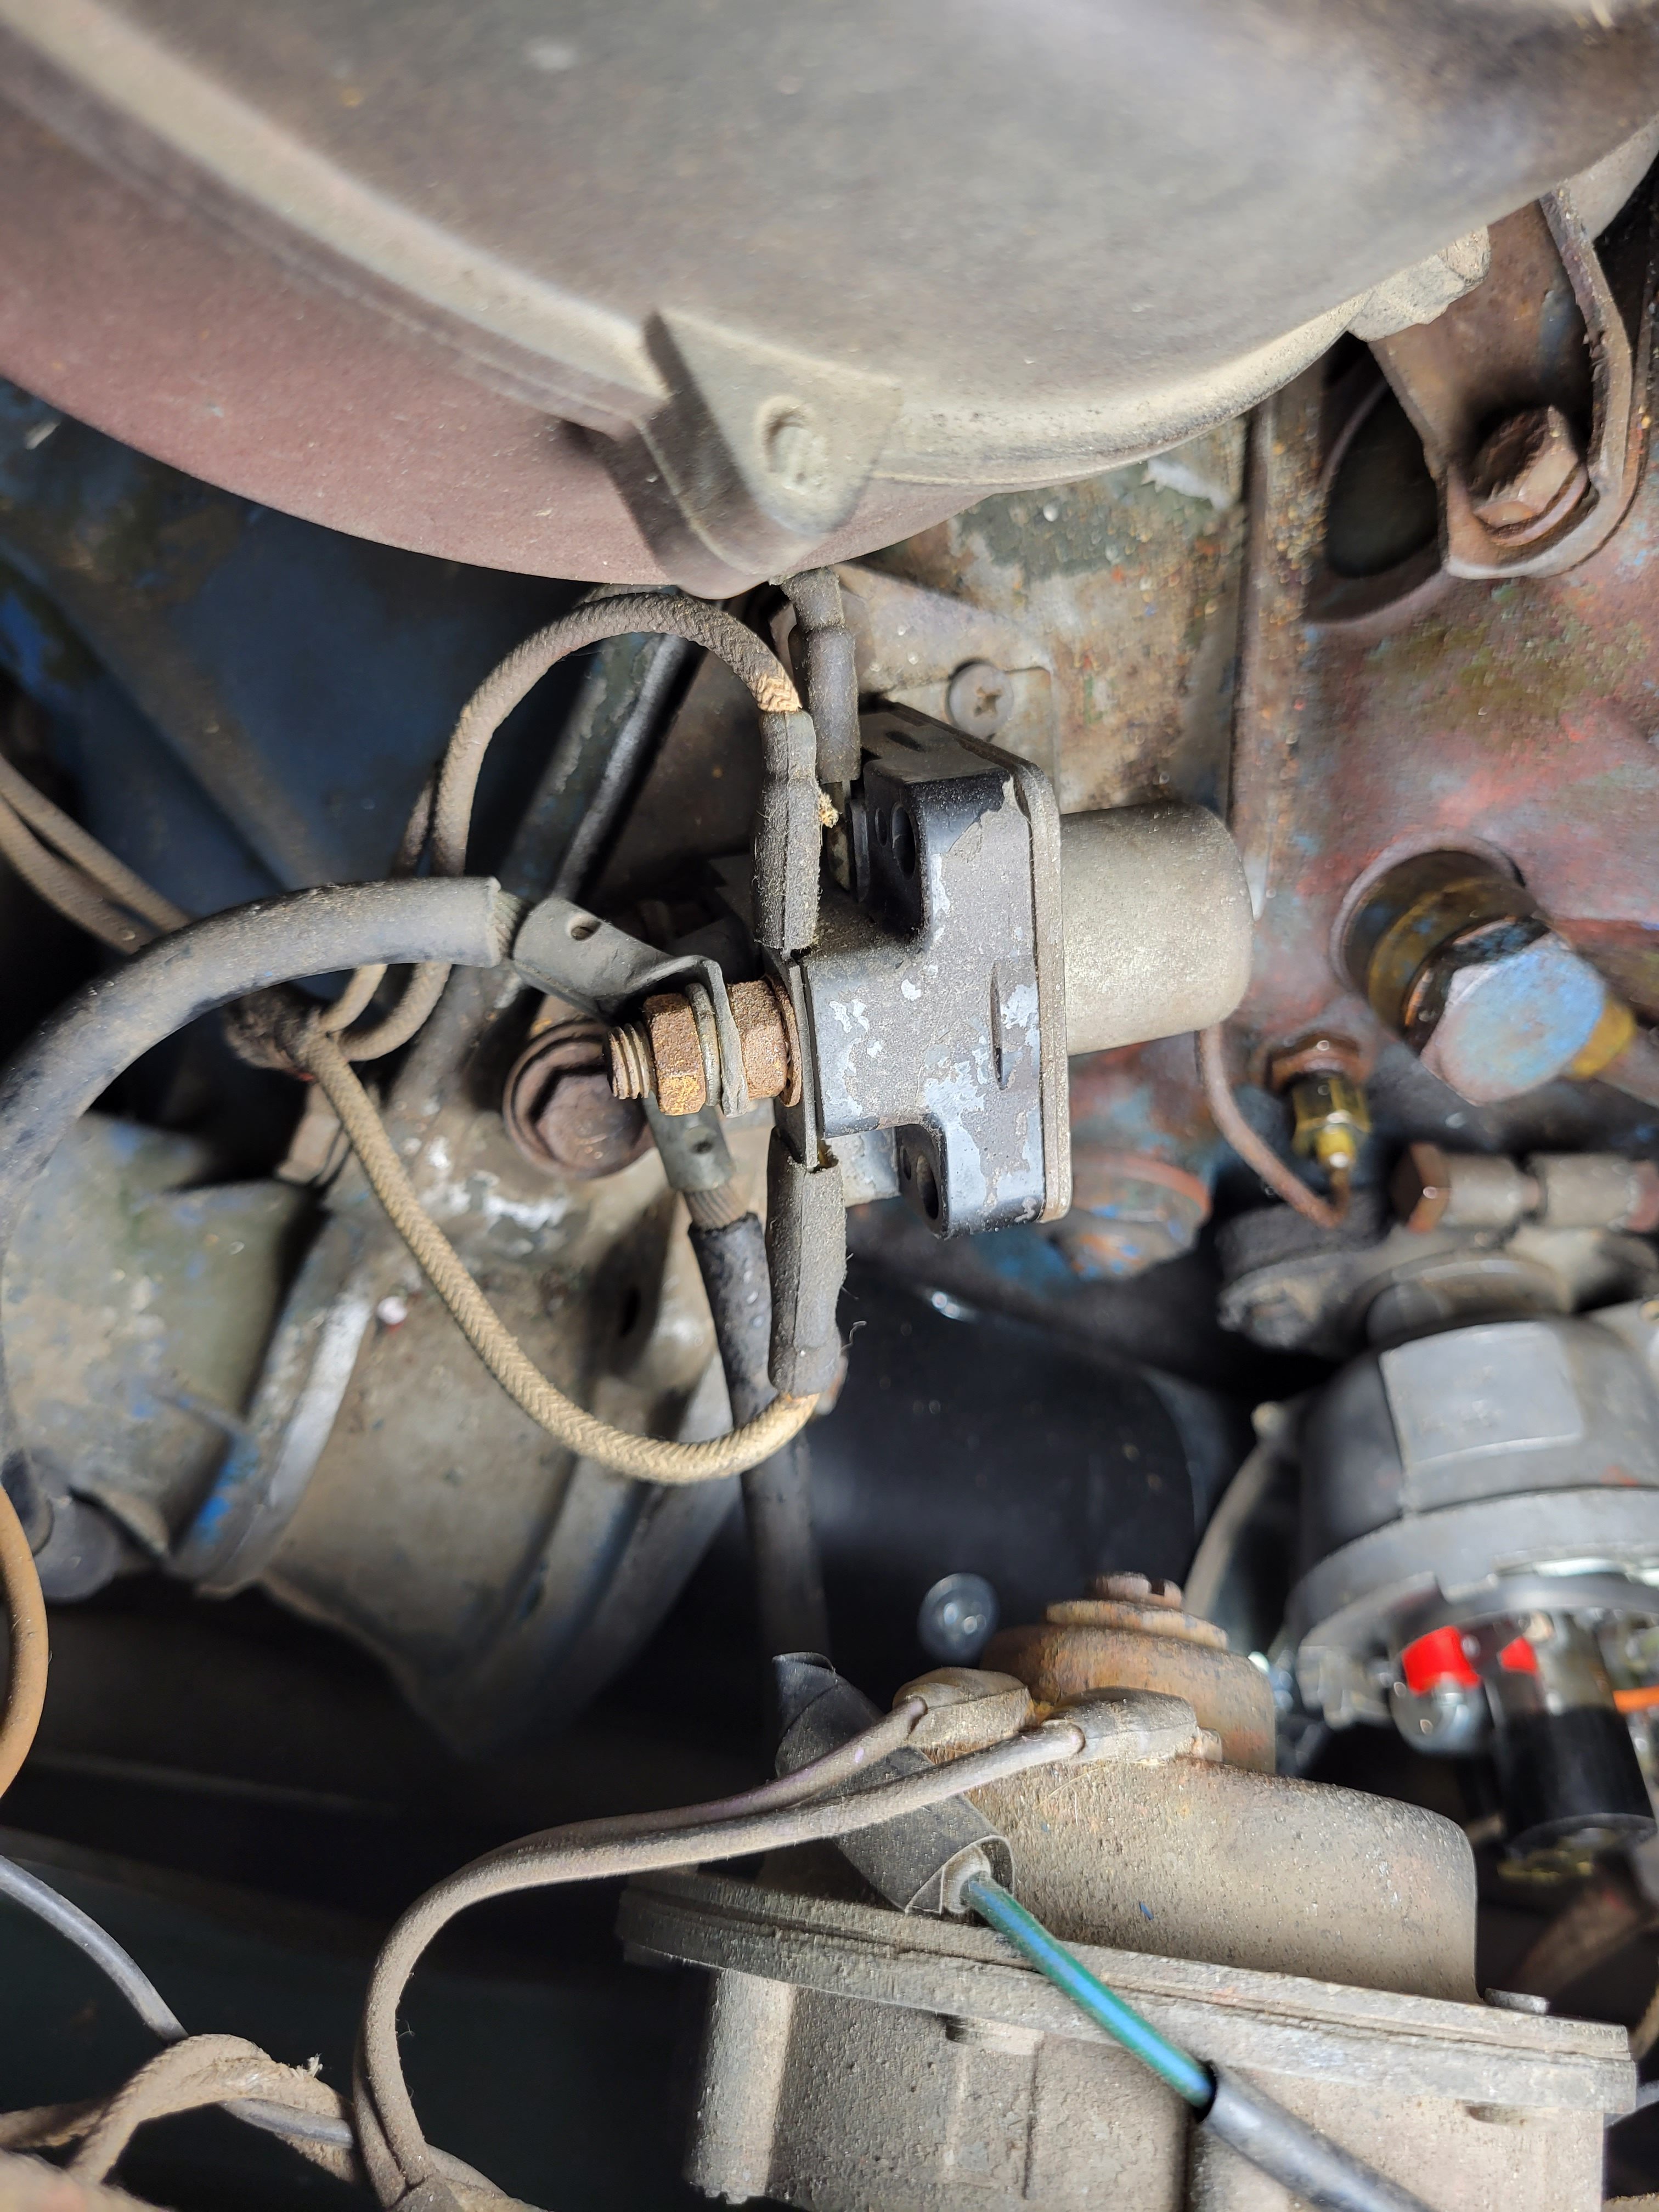
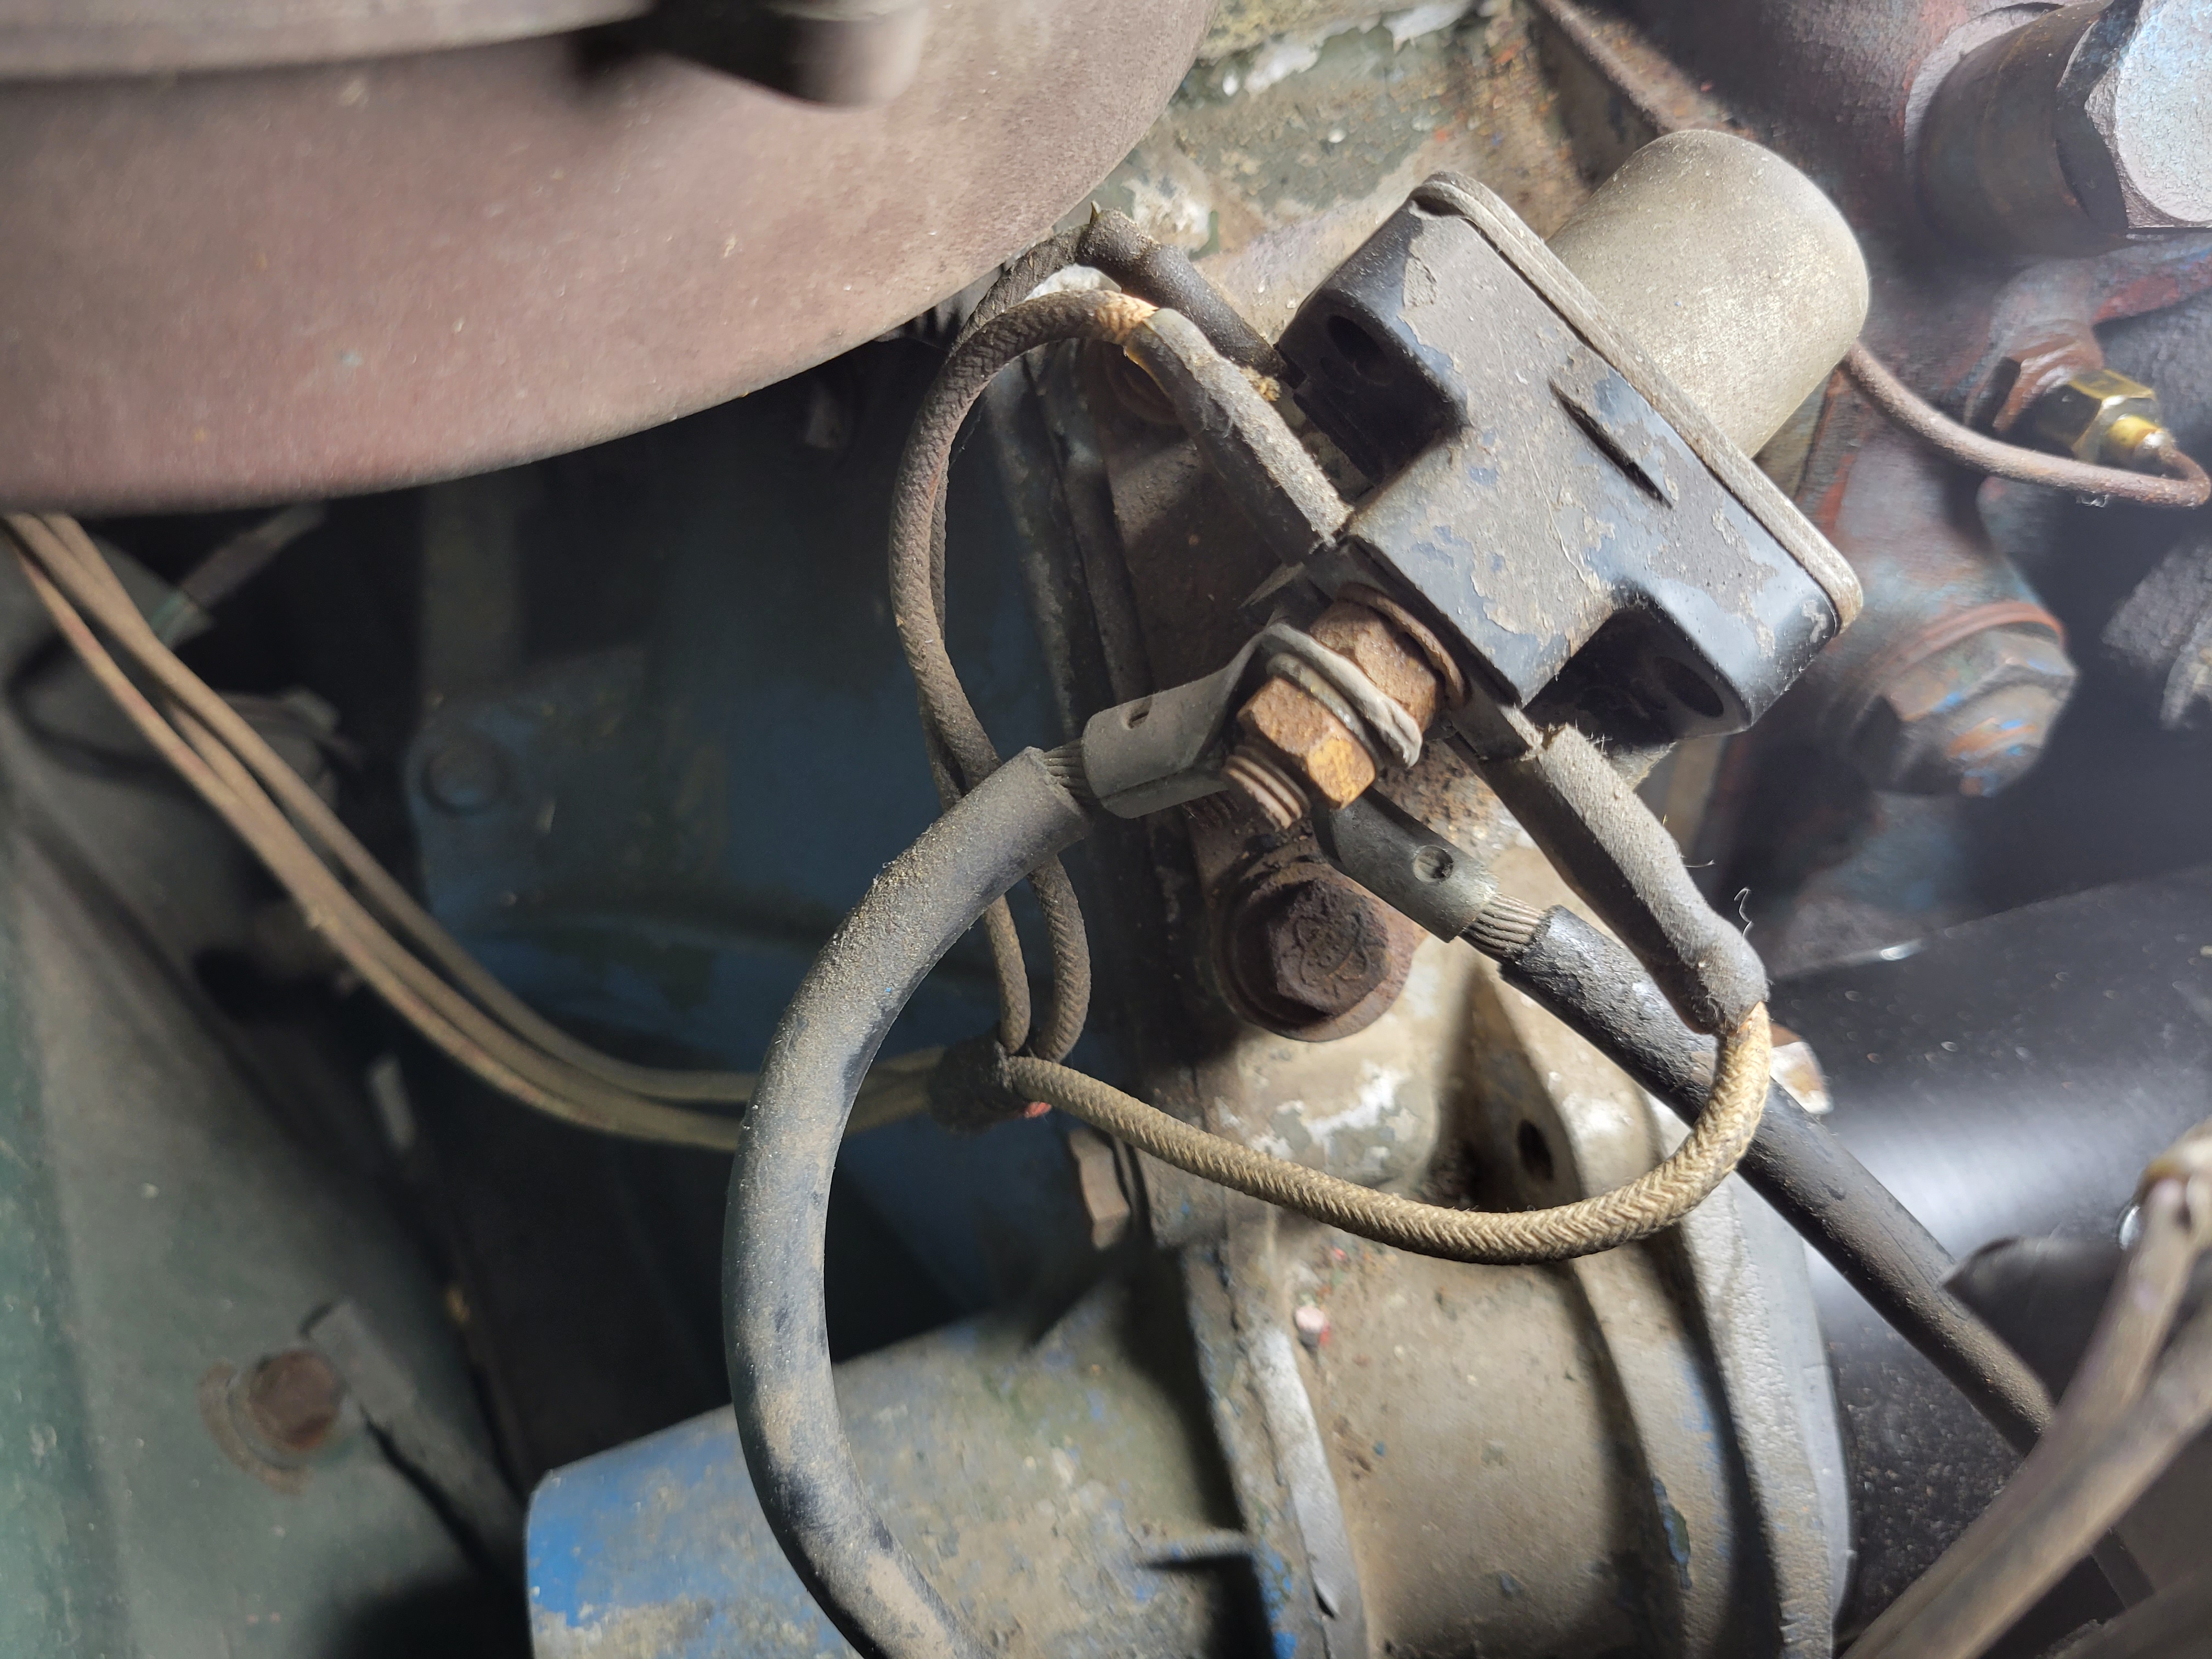
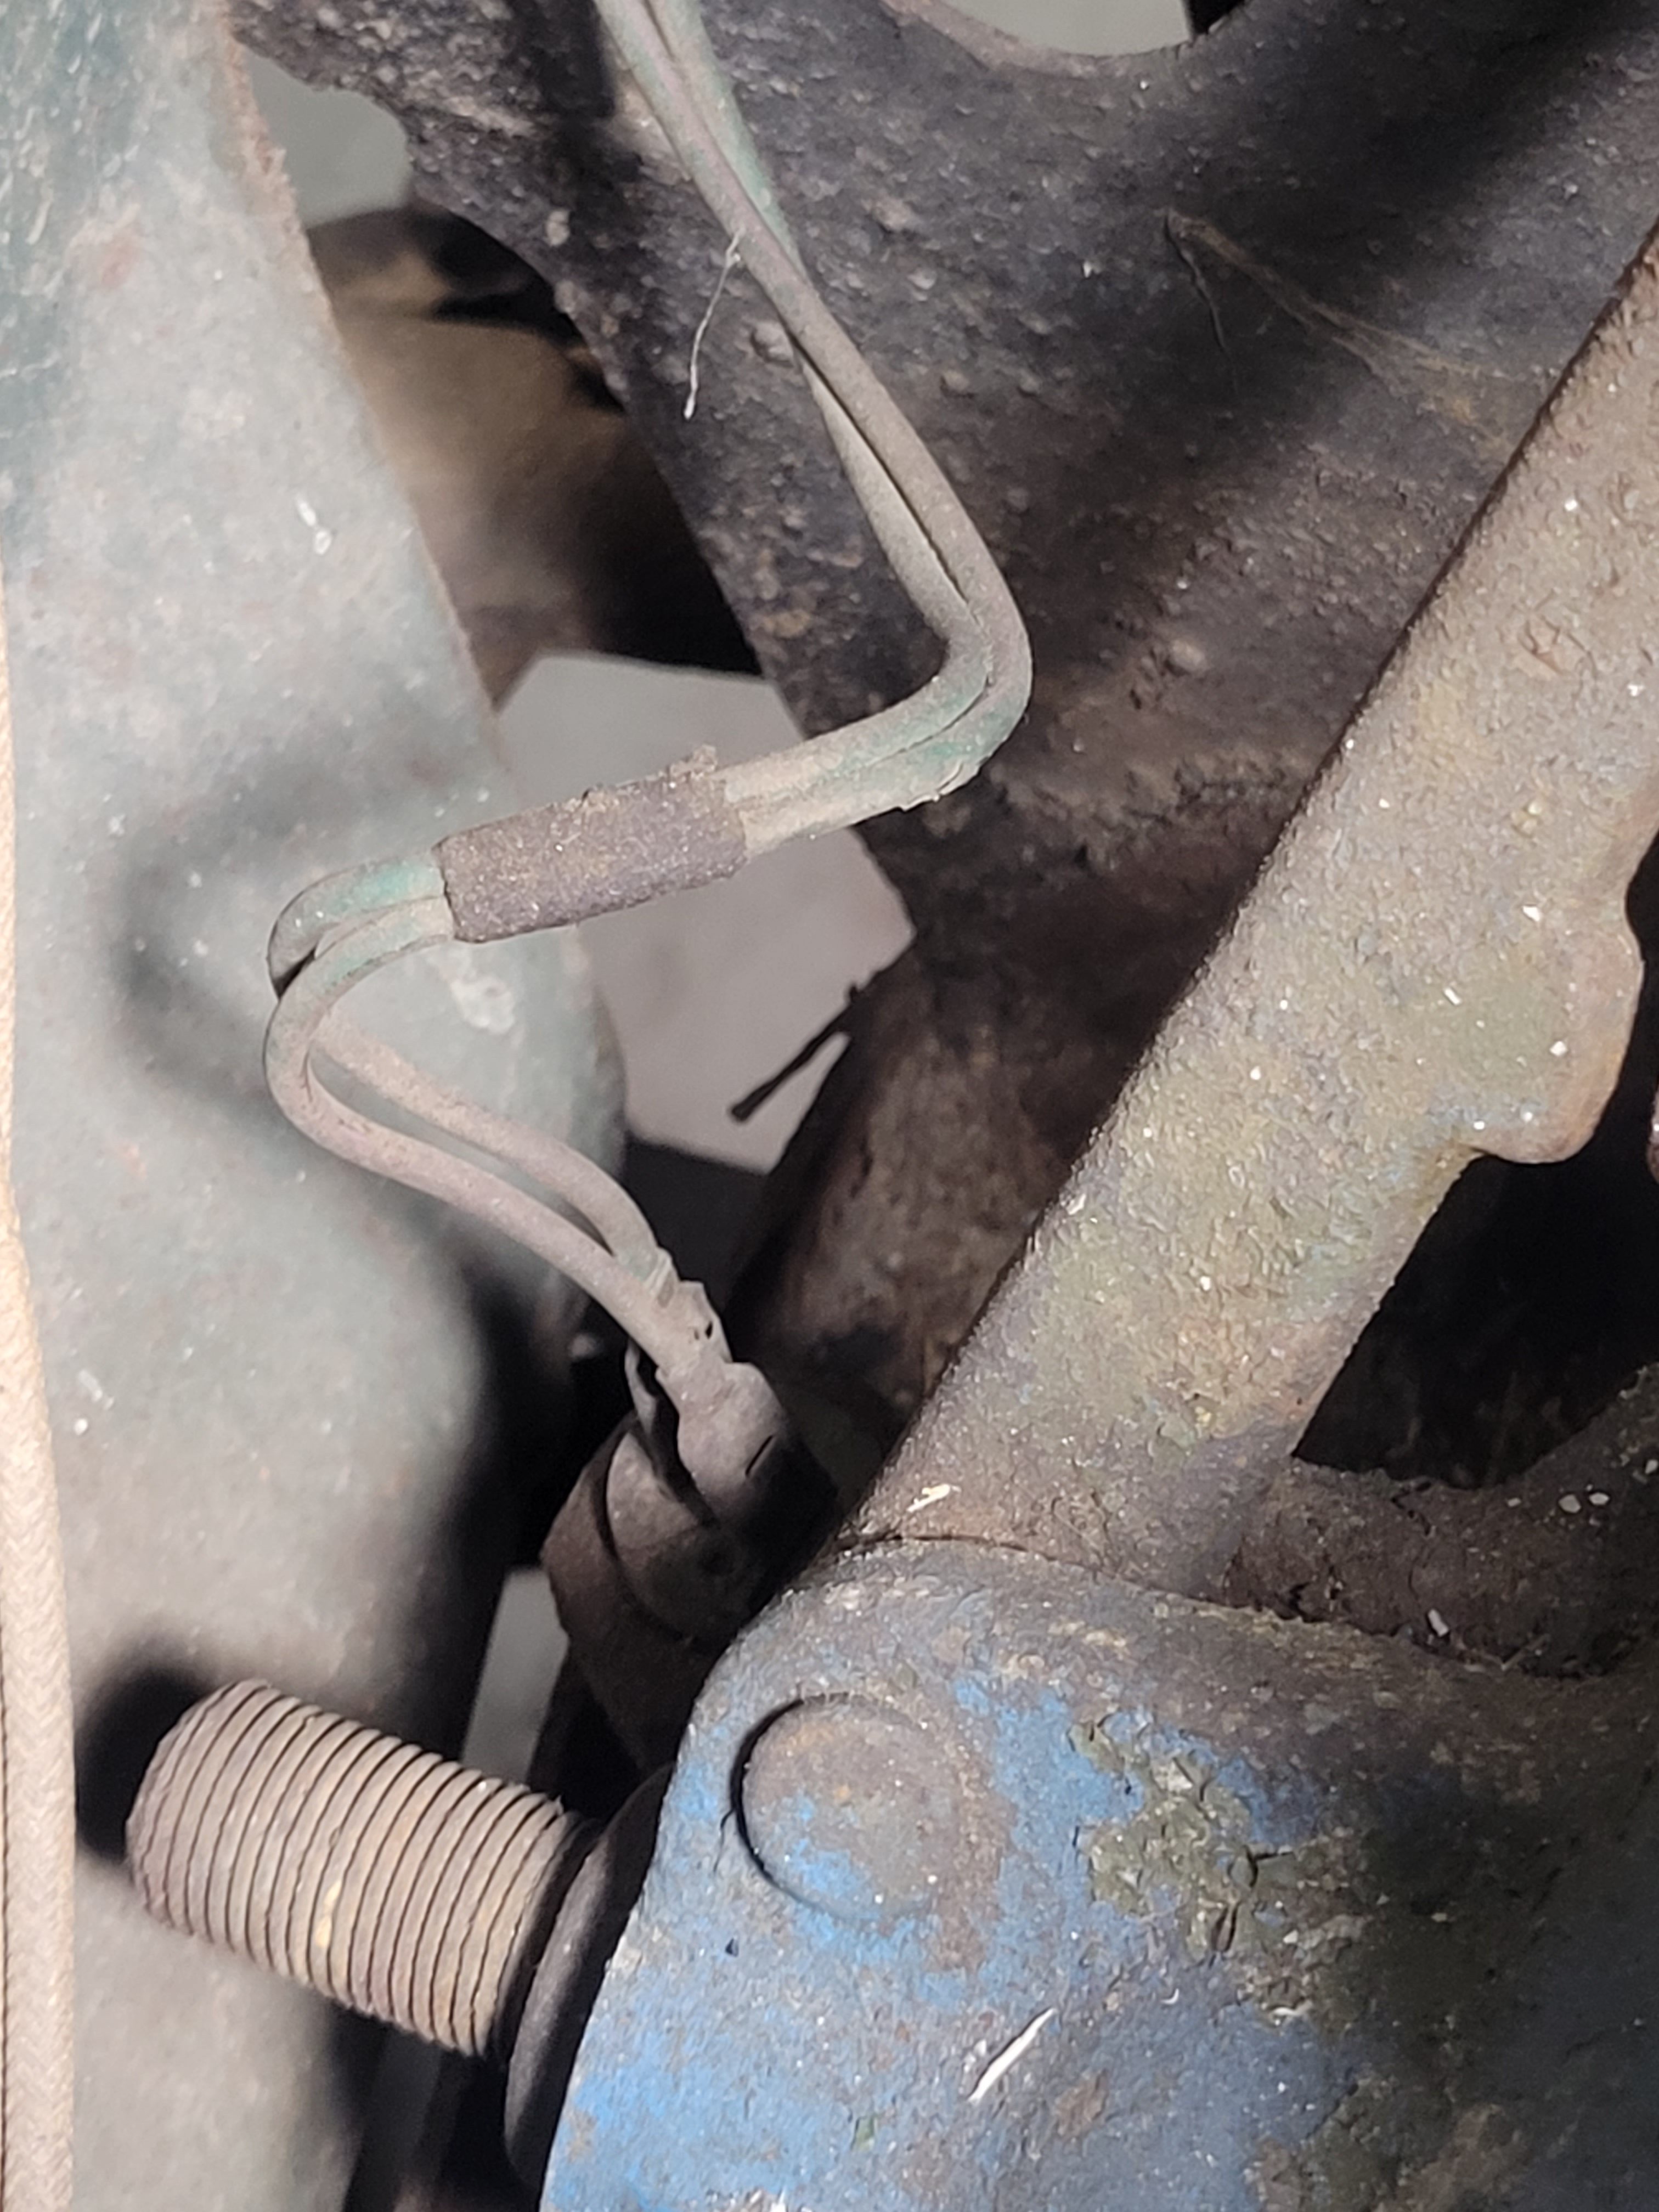
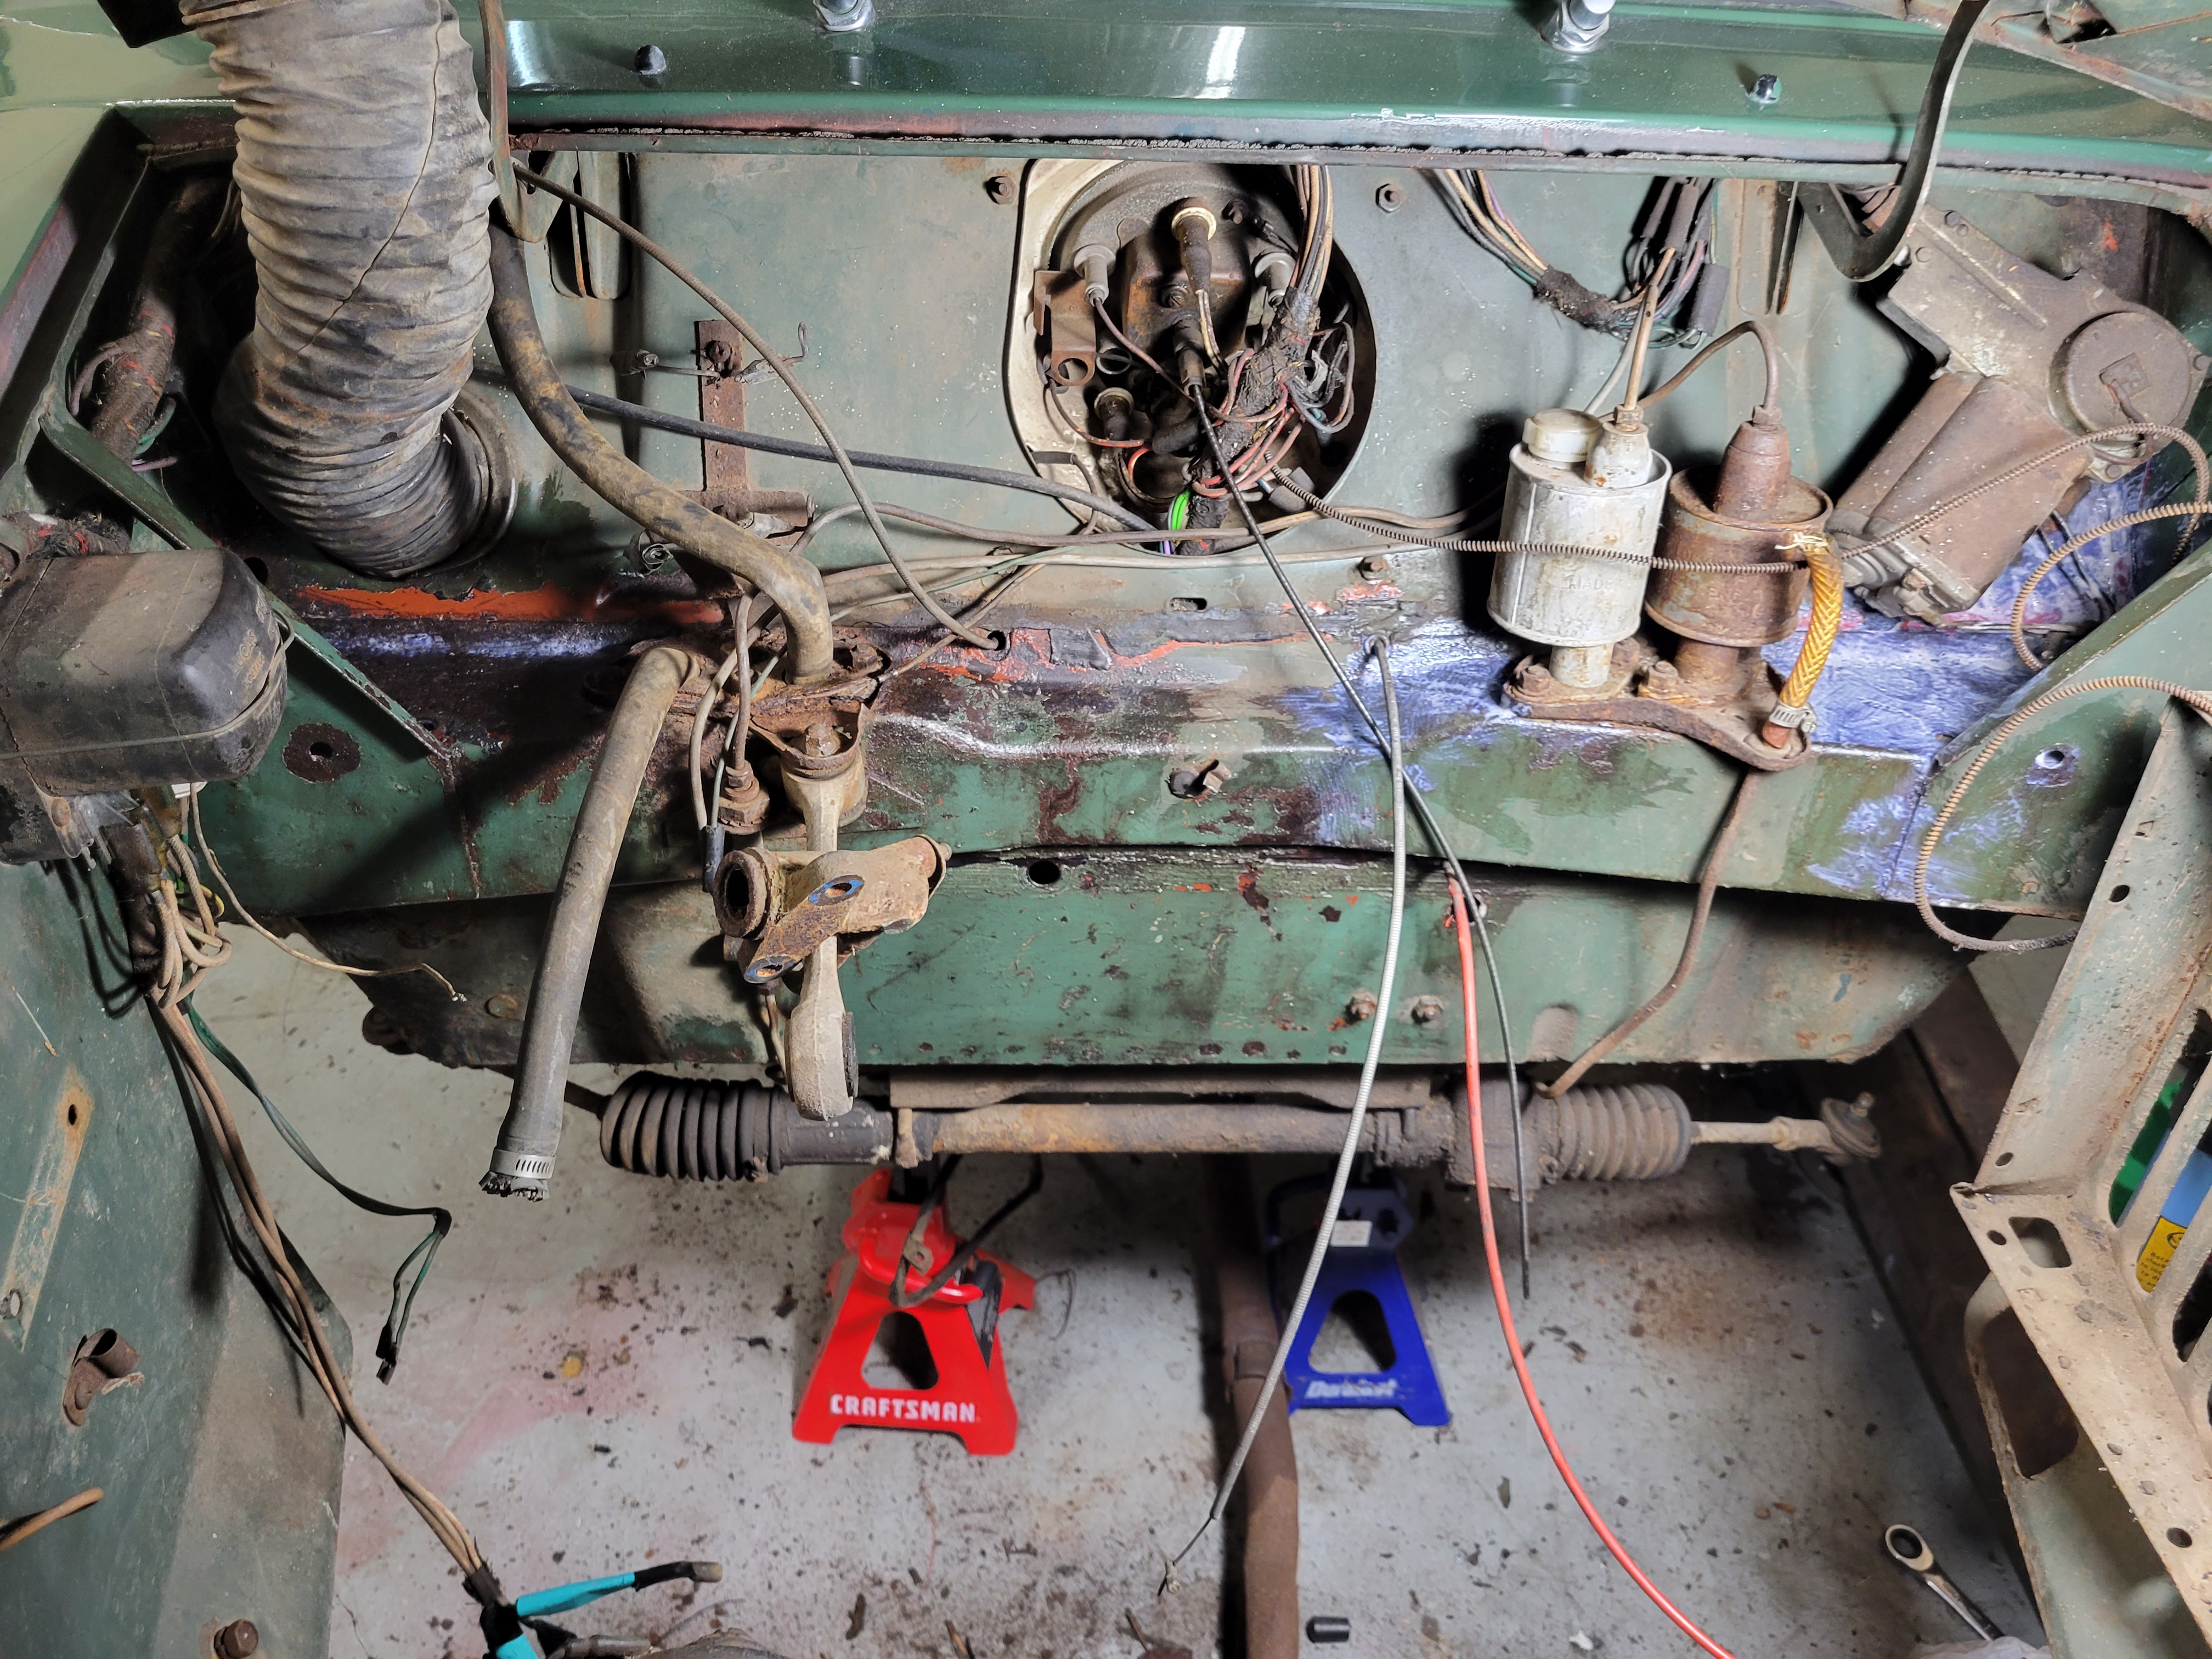
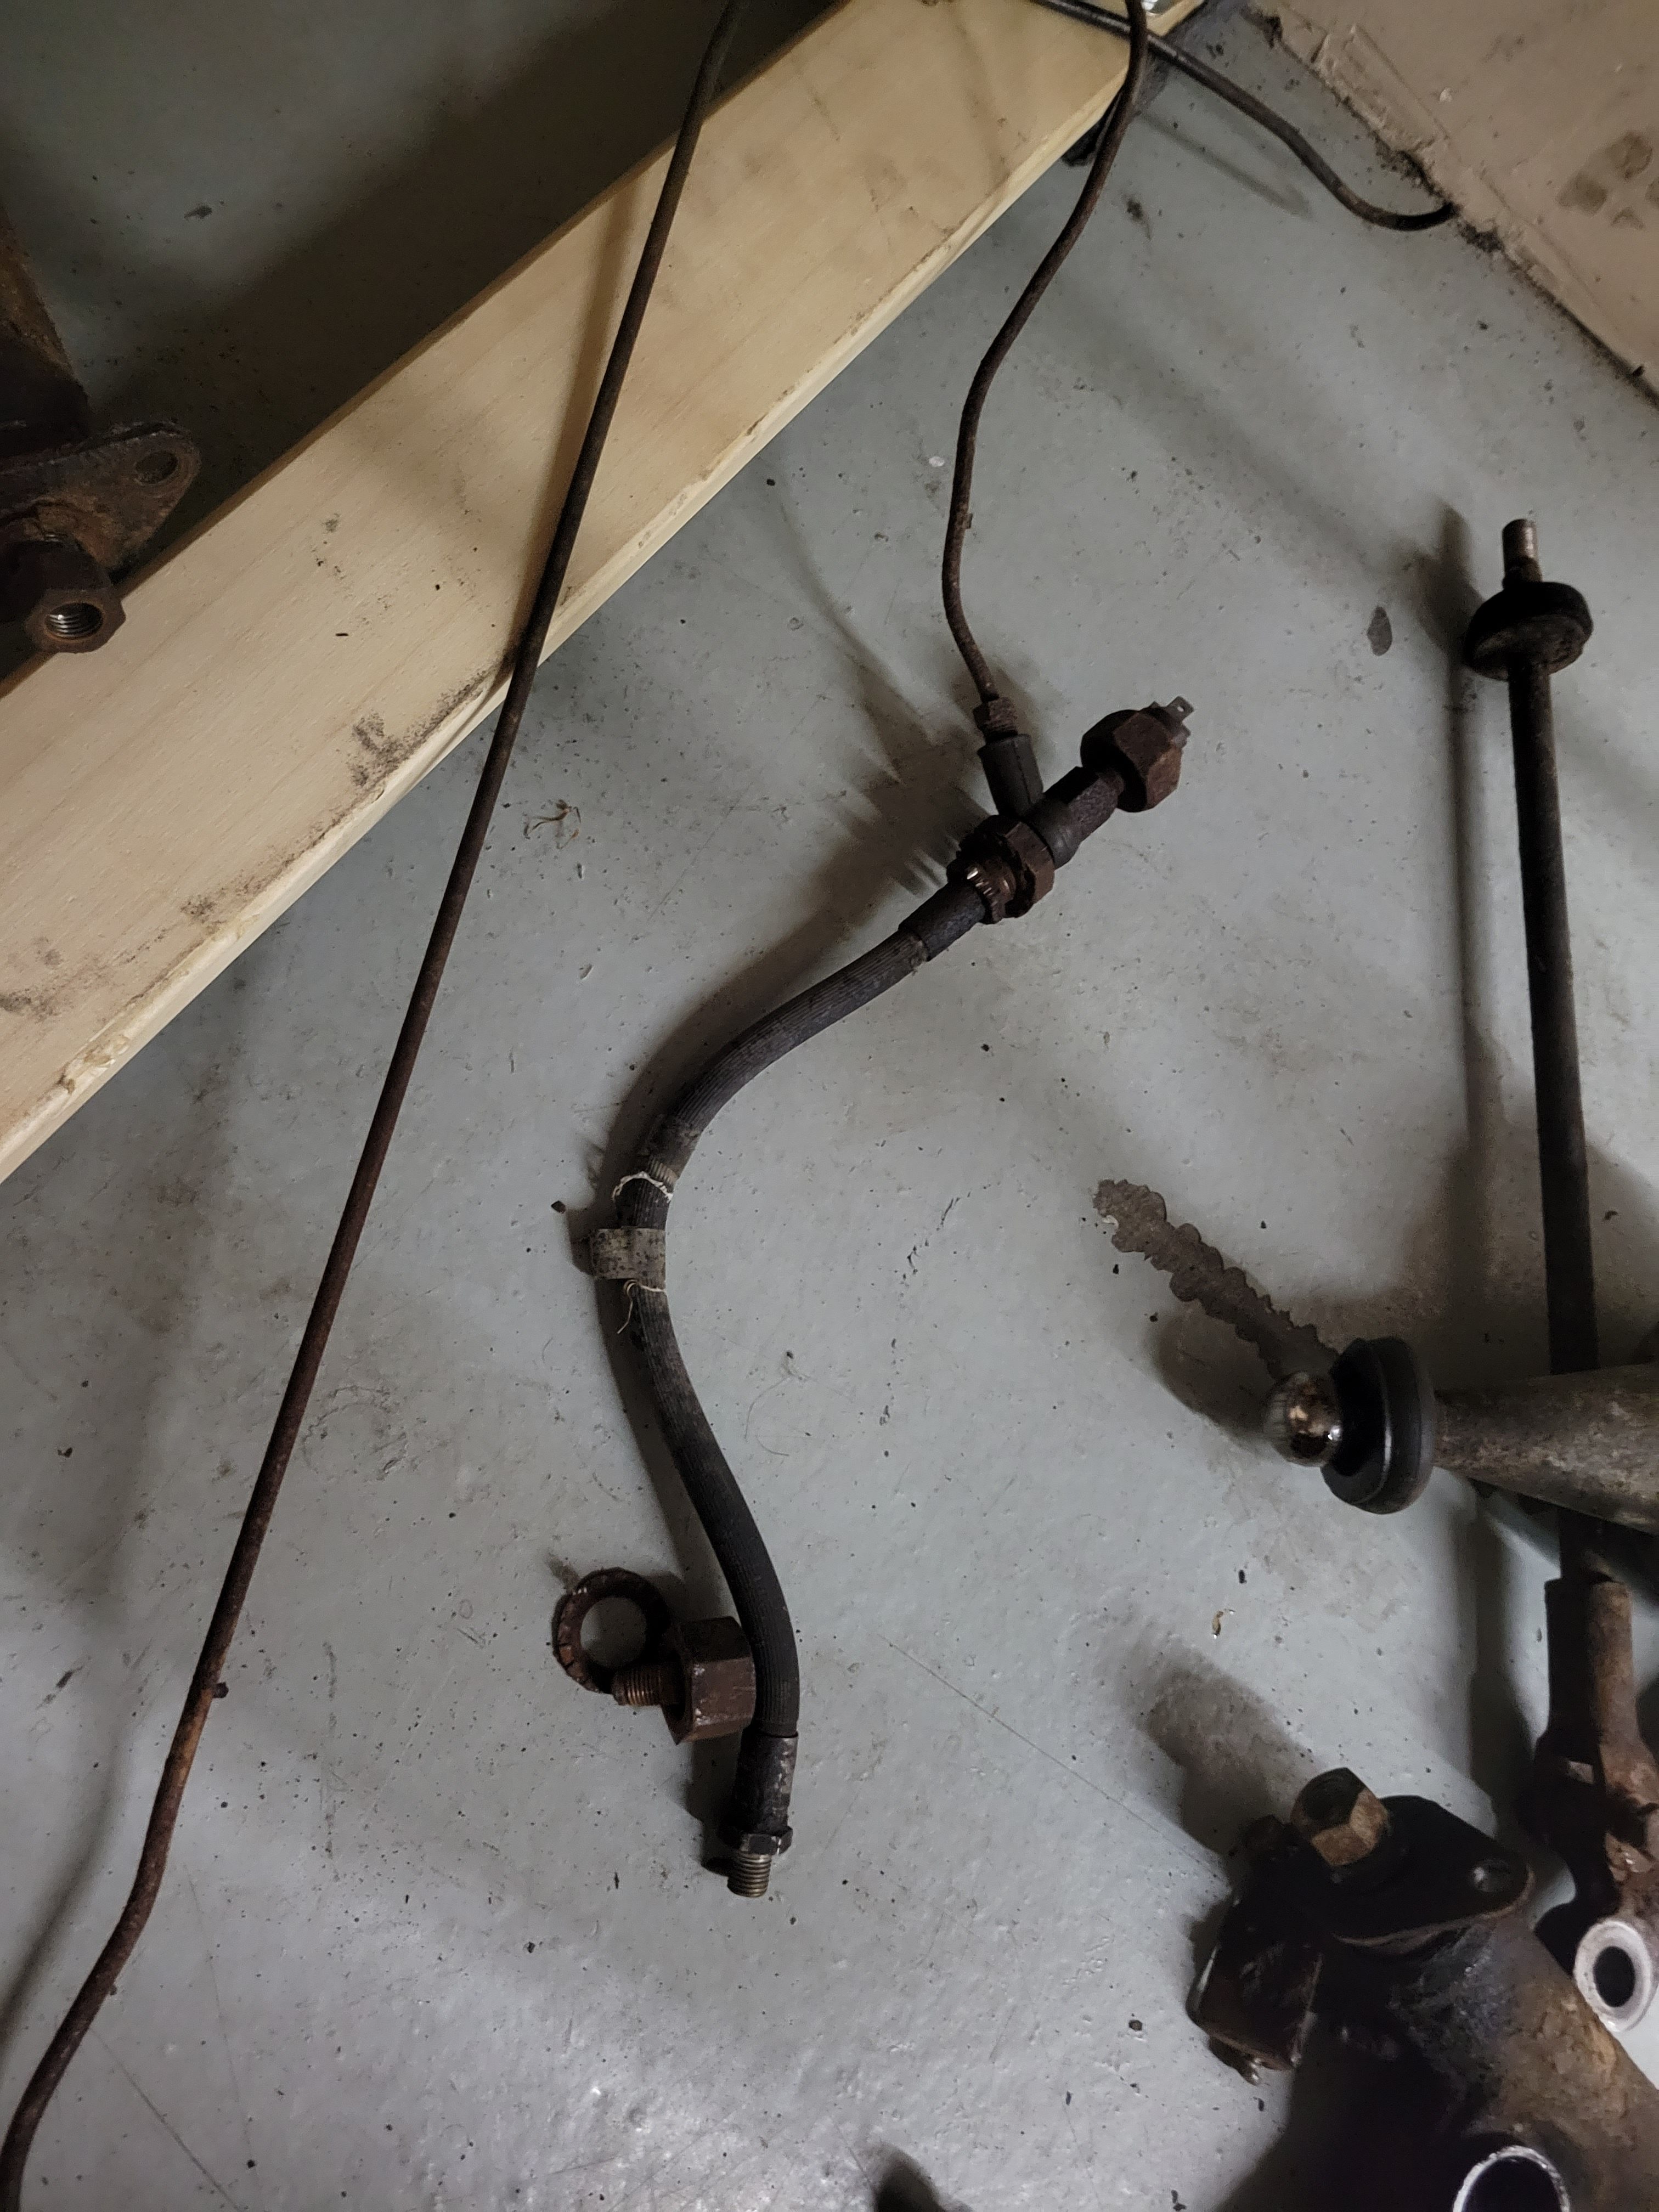
With all these delays, I had had plenty of time to bench-test parts like the starter, alternator, and radiator, all of which were bad, so new units from England were already on the shelf waiting to be installed. Since all the parts were ready to go, assembly proceeded smoothly. Prior to bolting the subframe and drivetrain together, I installed new copper hardlines for the front brakes and new hoses. I also cleaned up the firewall and installed new master brake and clutch cylinders. With that done, everything was bolted together using new mounts, rubber-bits, and hardware. Reinstalling the drivetrain went smoothly until I realized the brake line to the rear brakes can only be replaced with the engine out, so I lowered the engine back down and replaced it. Finally, the engine was back in.
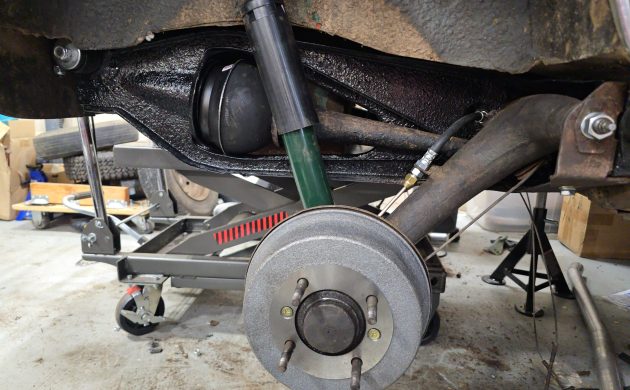
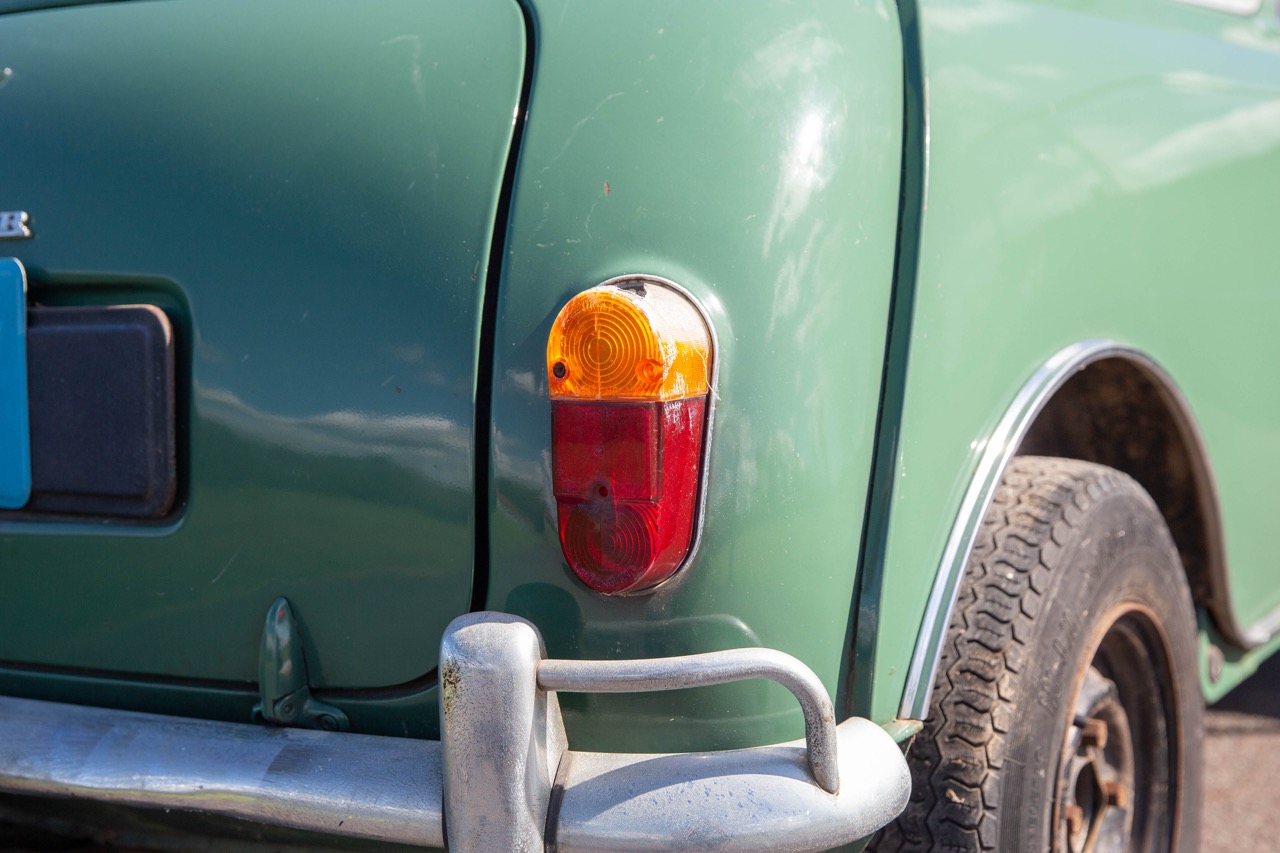
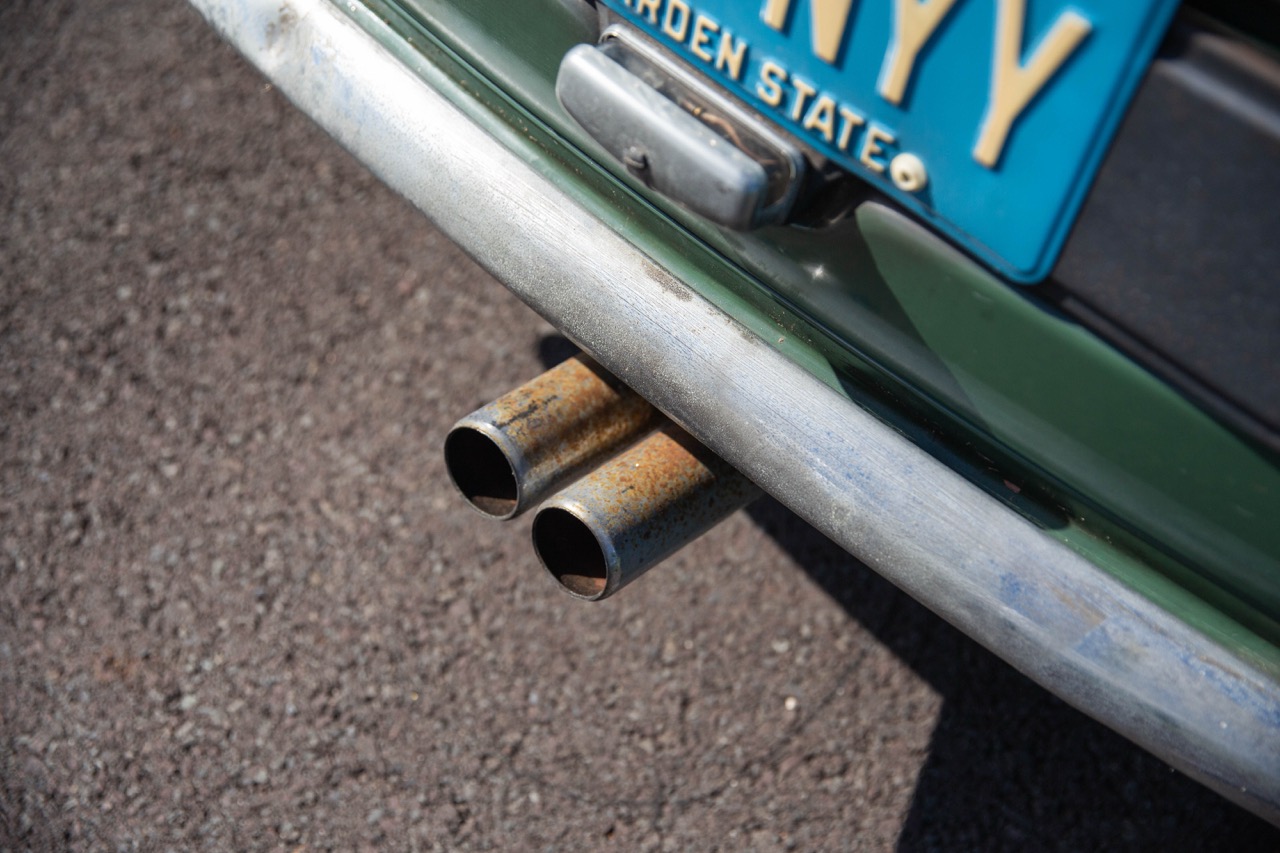
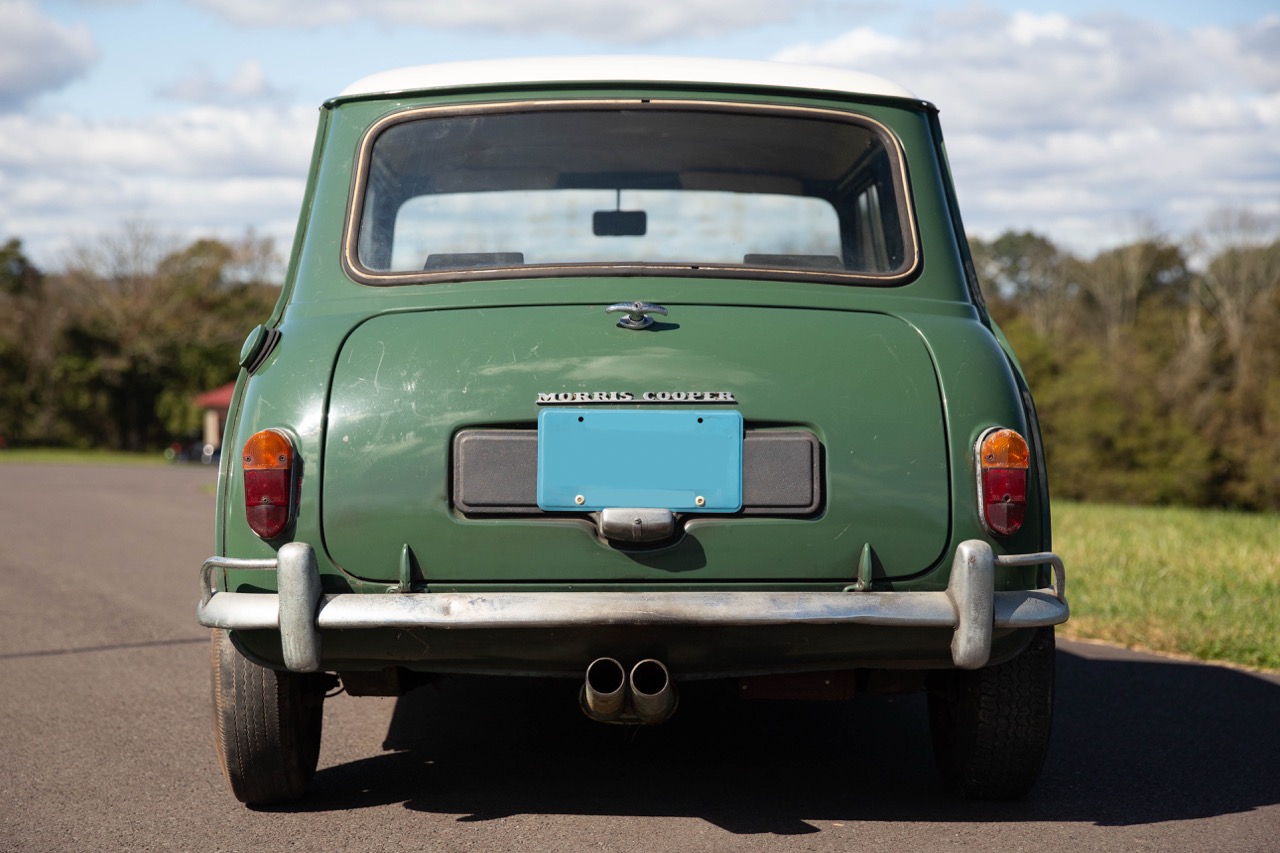
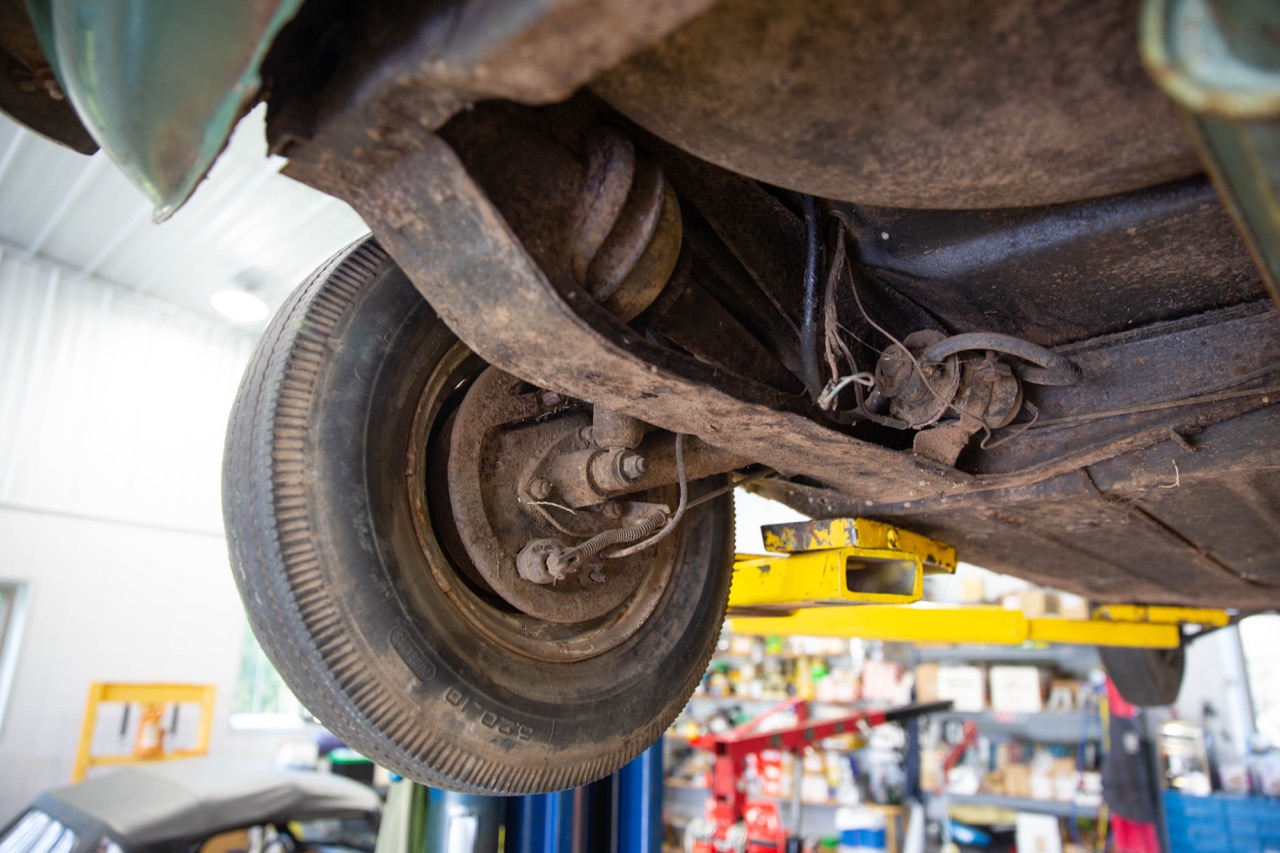
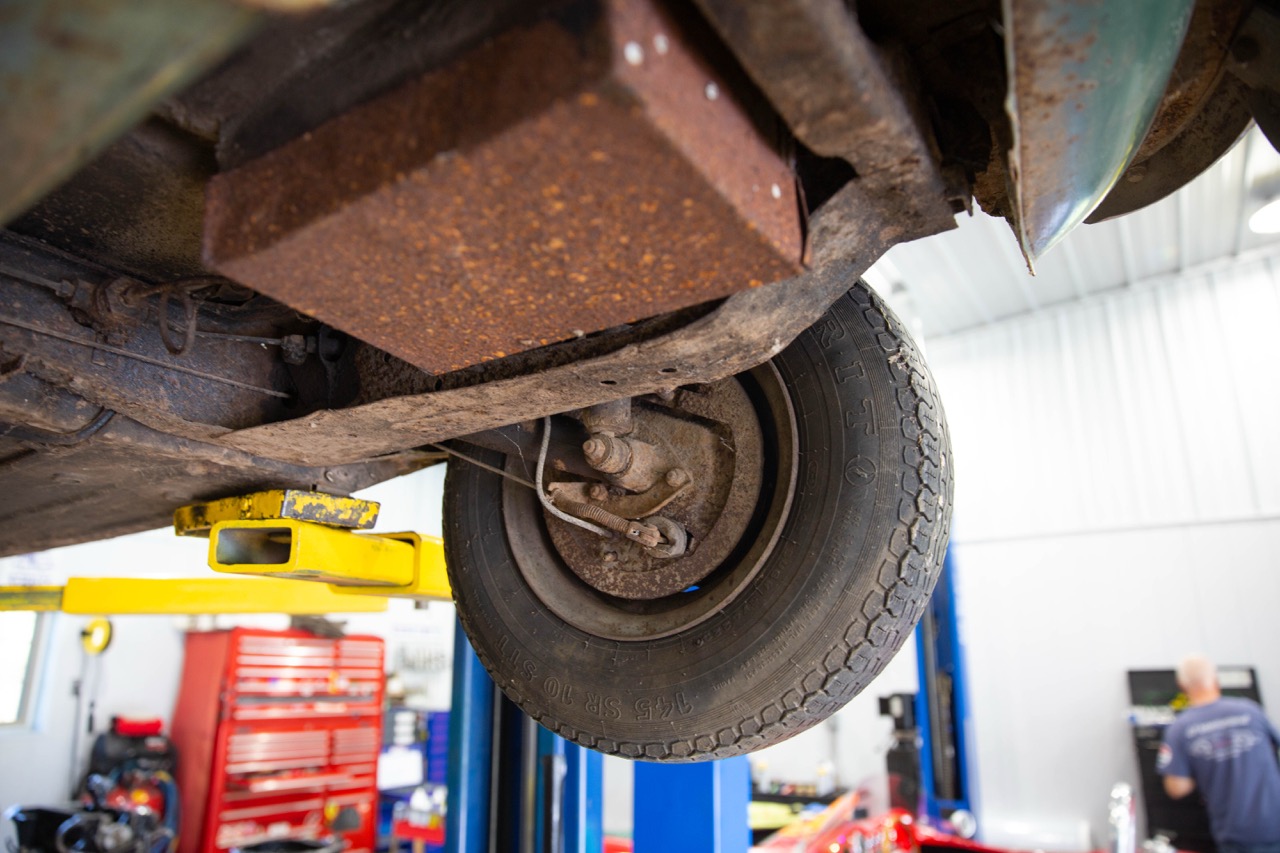
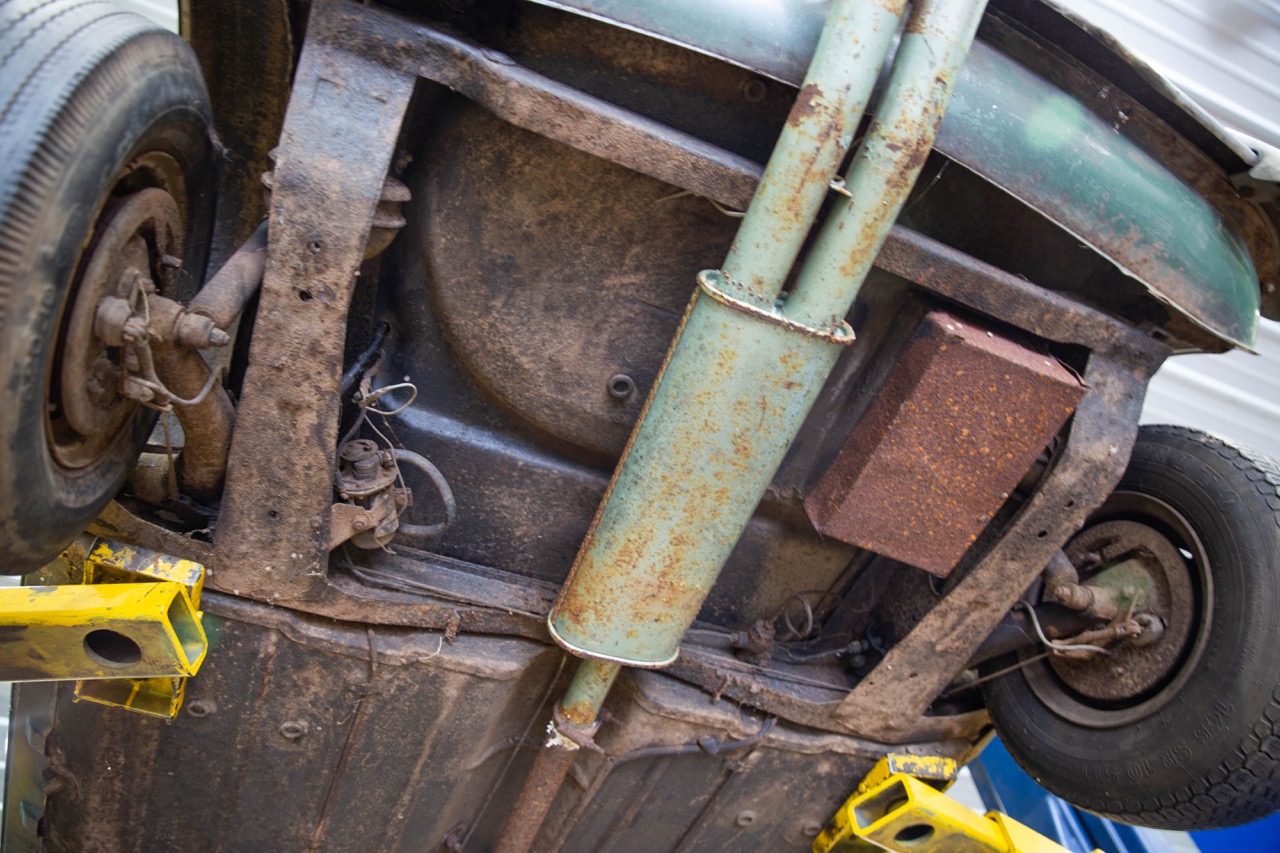
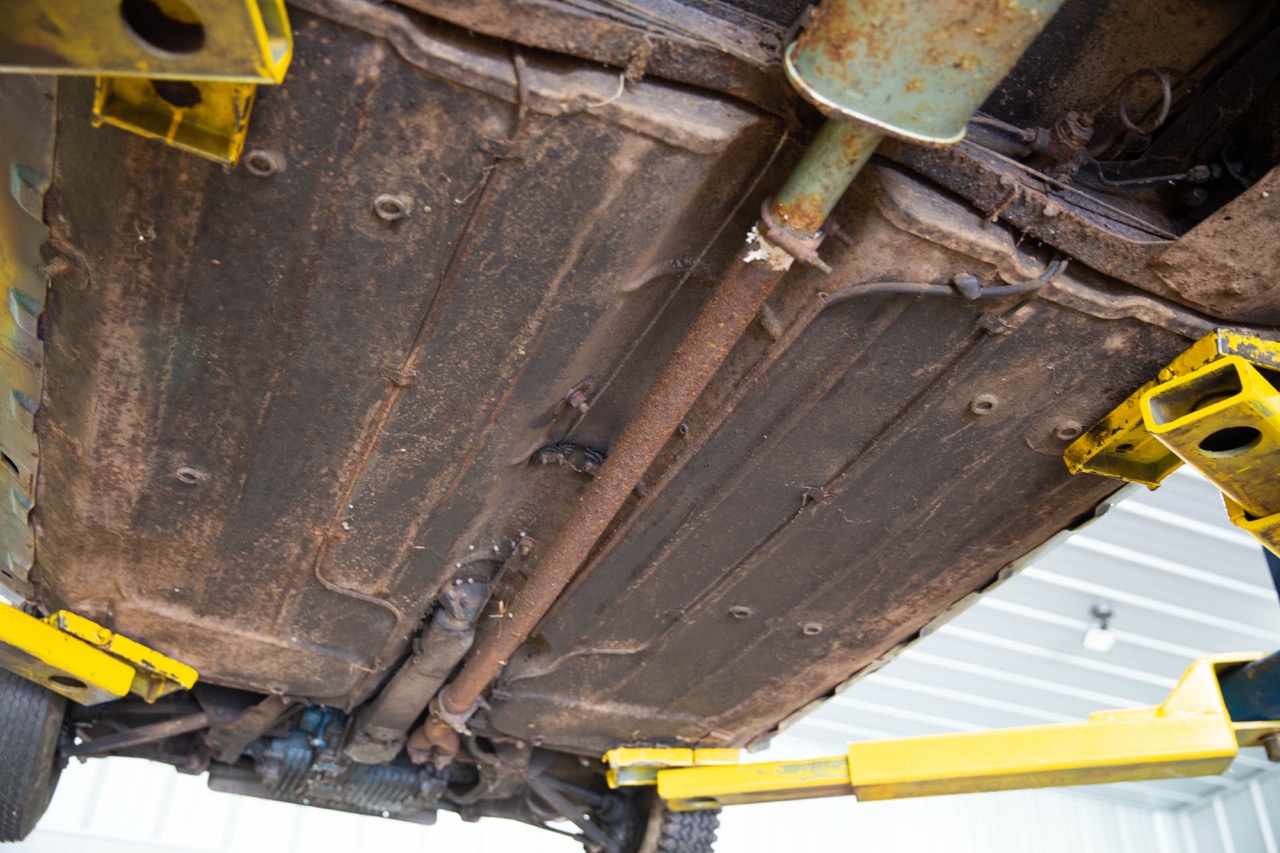
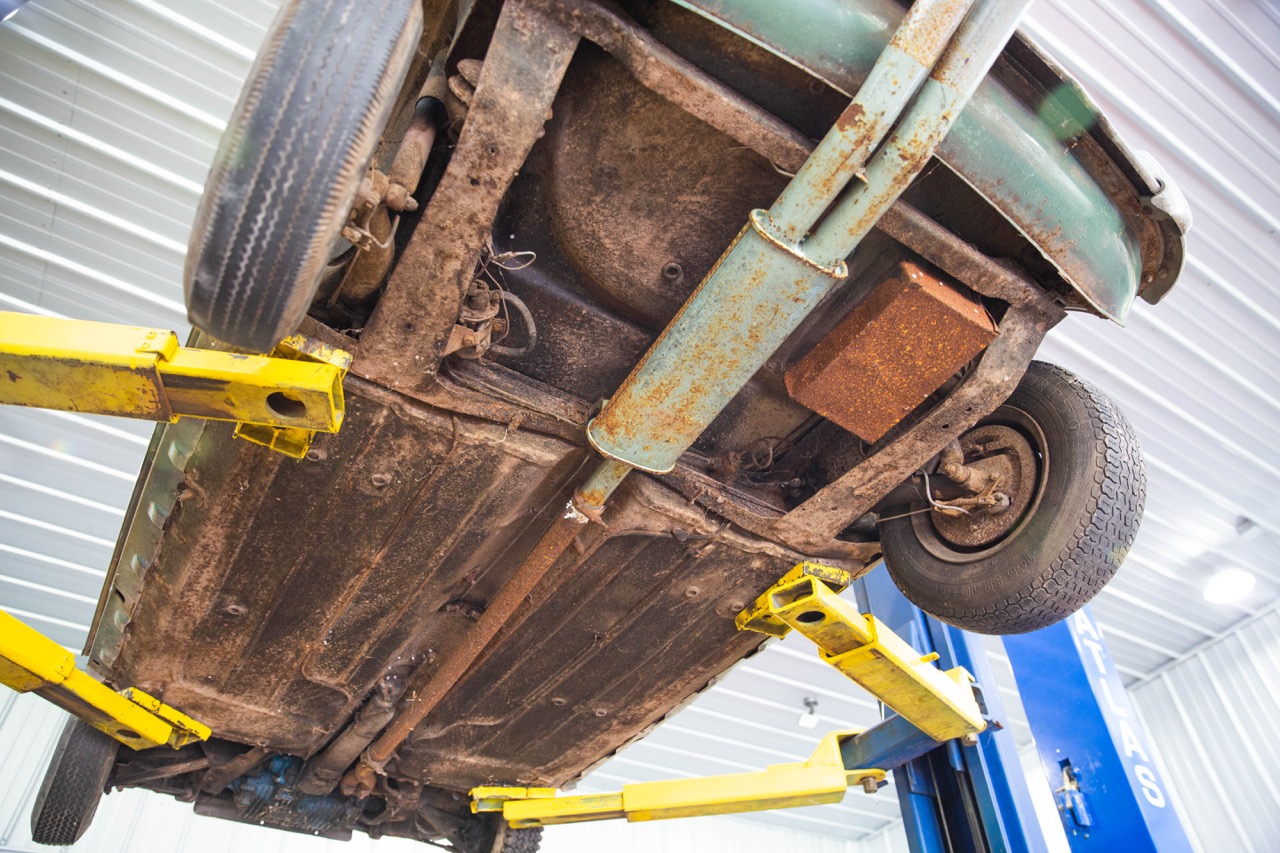
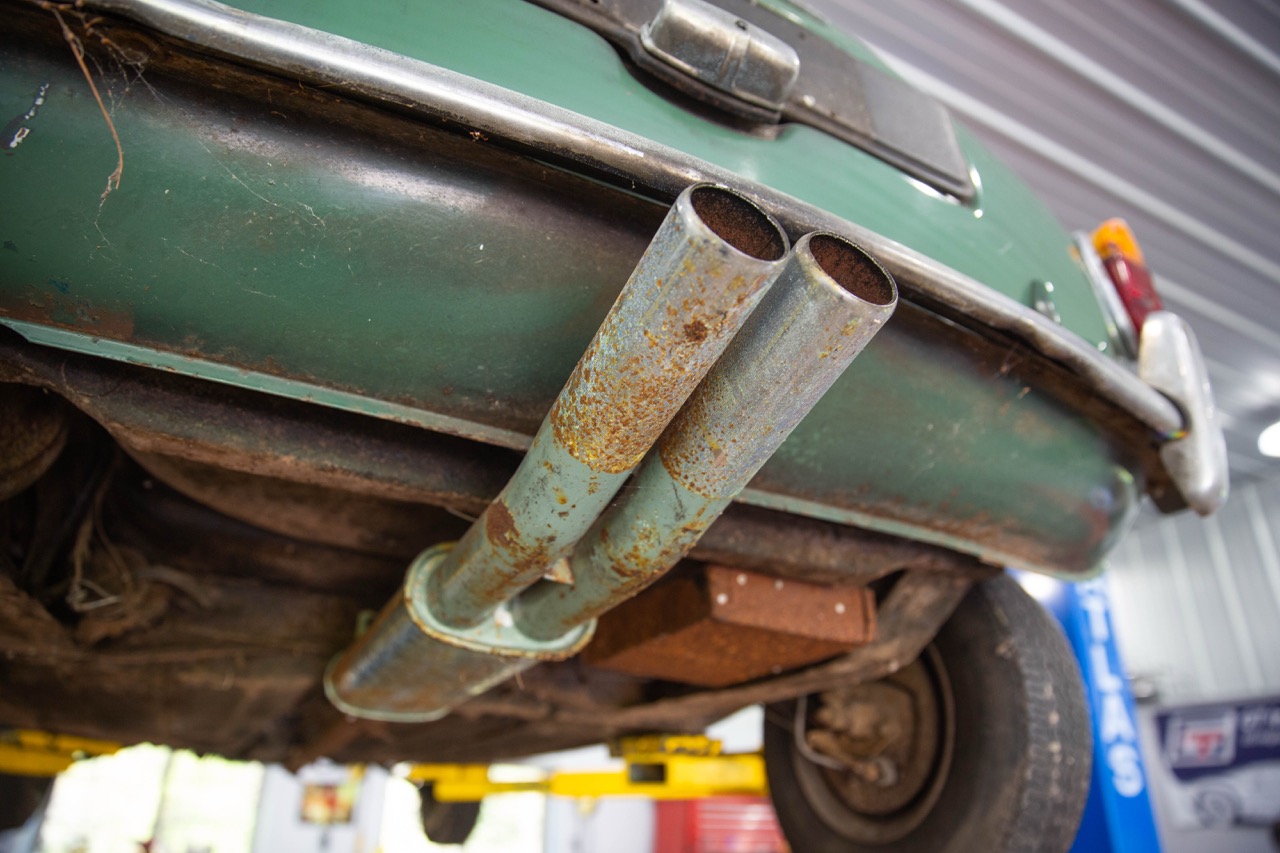
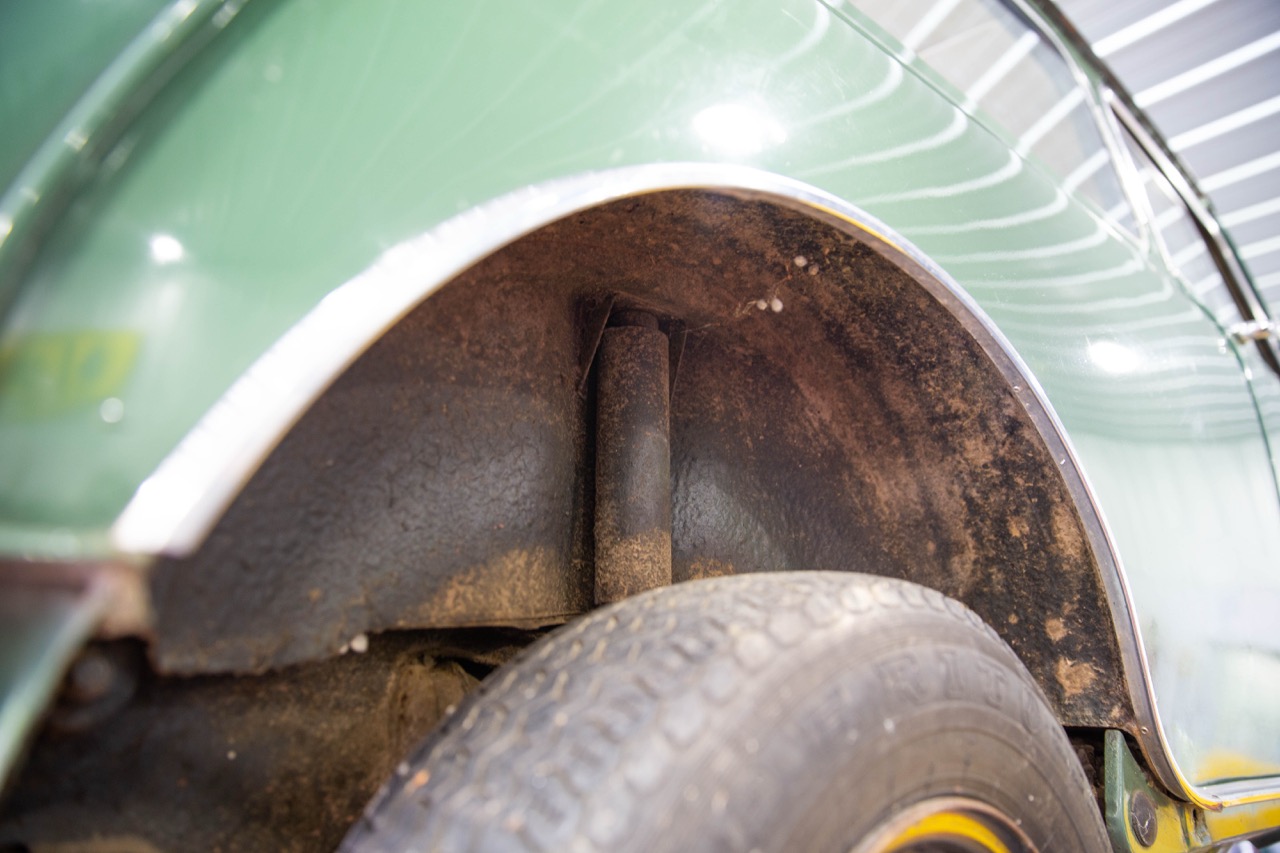
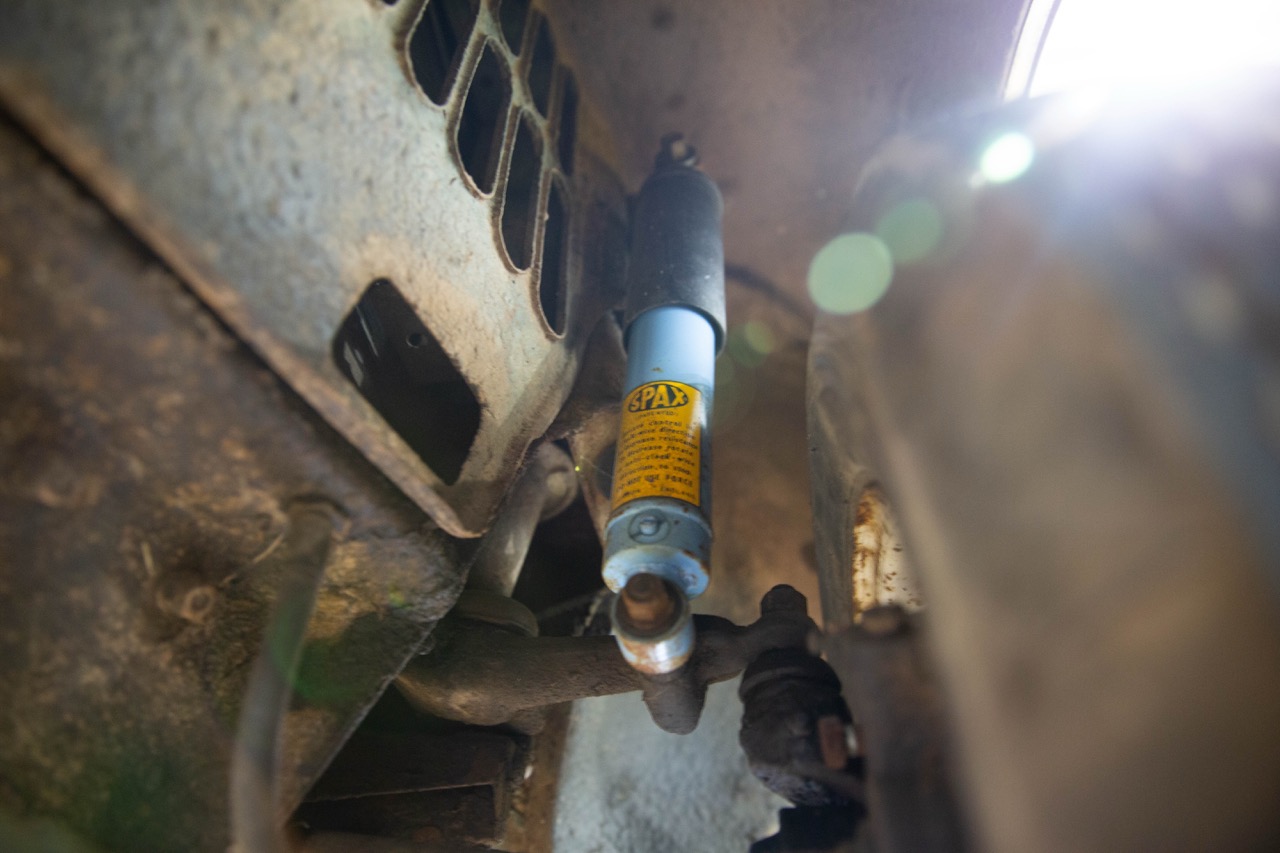
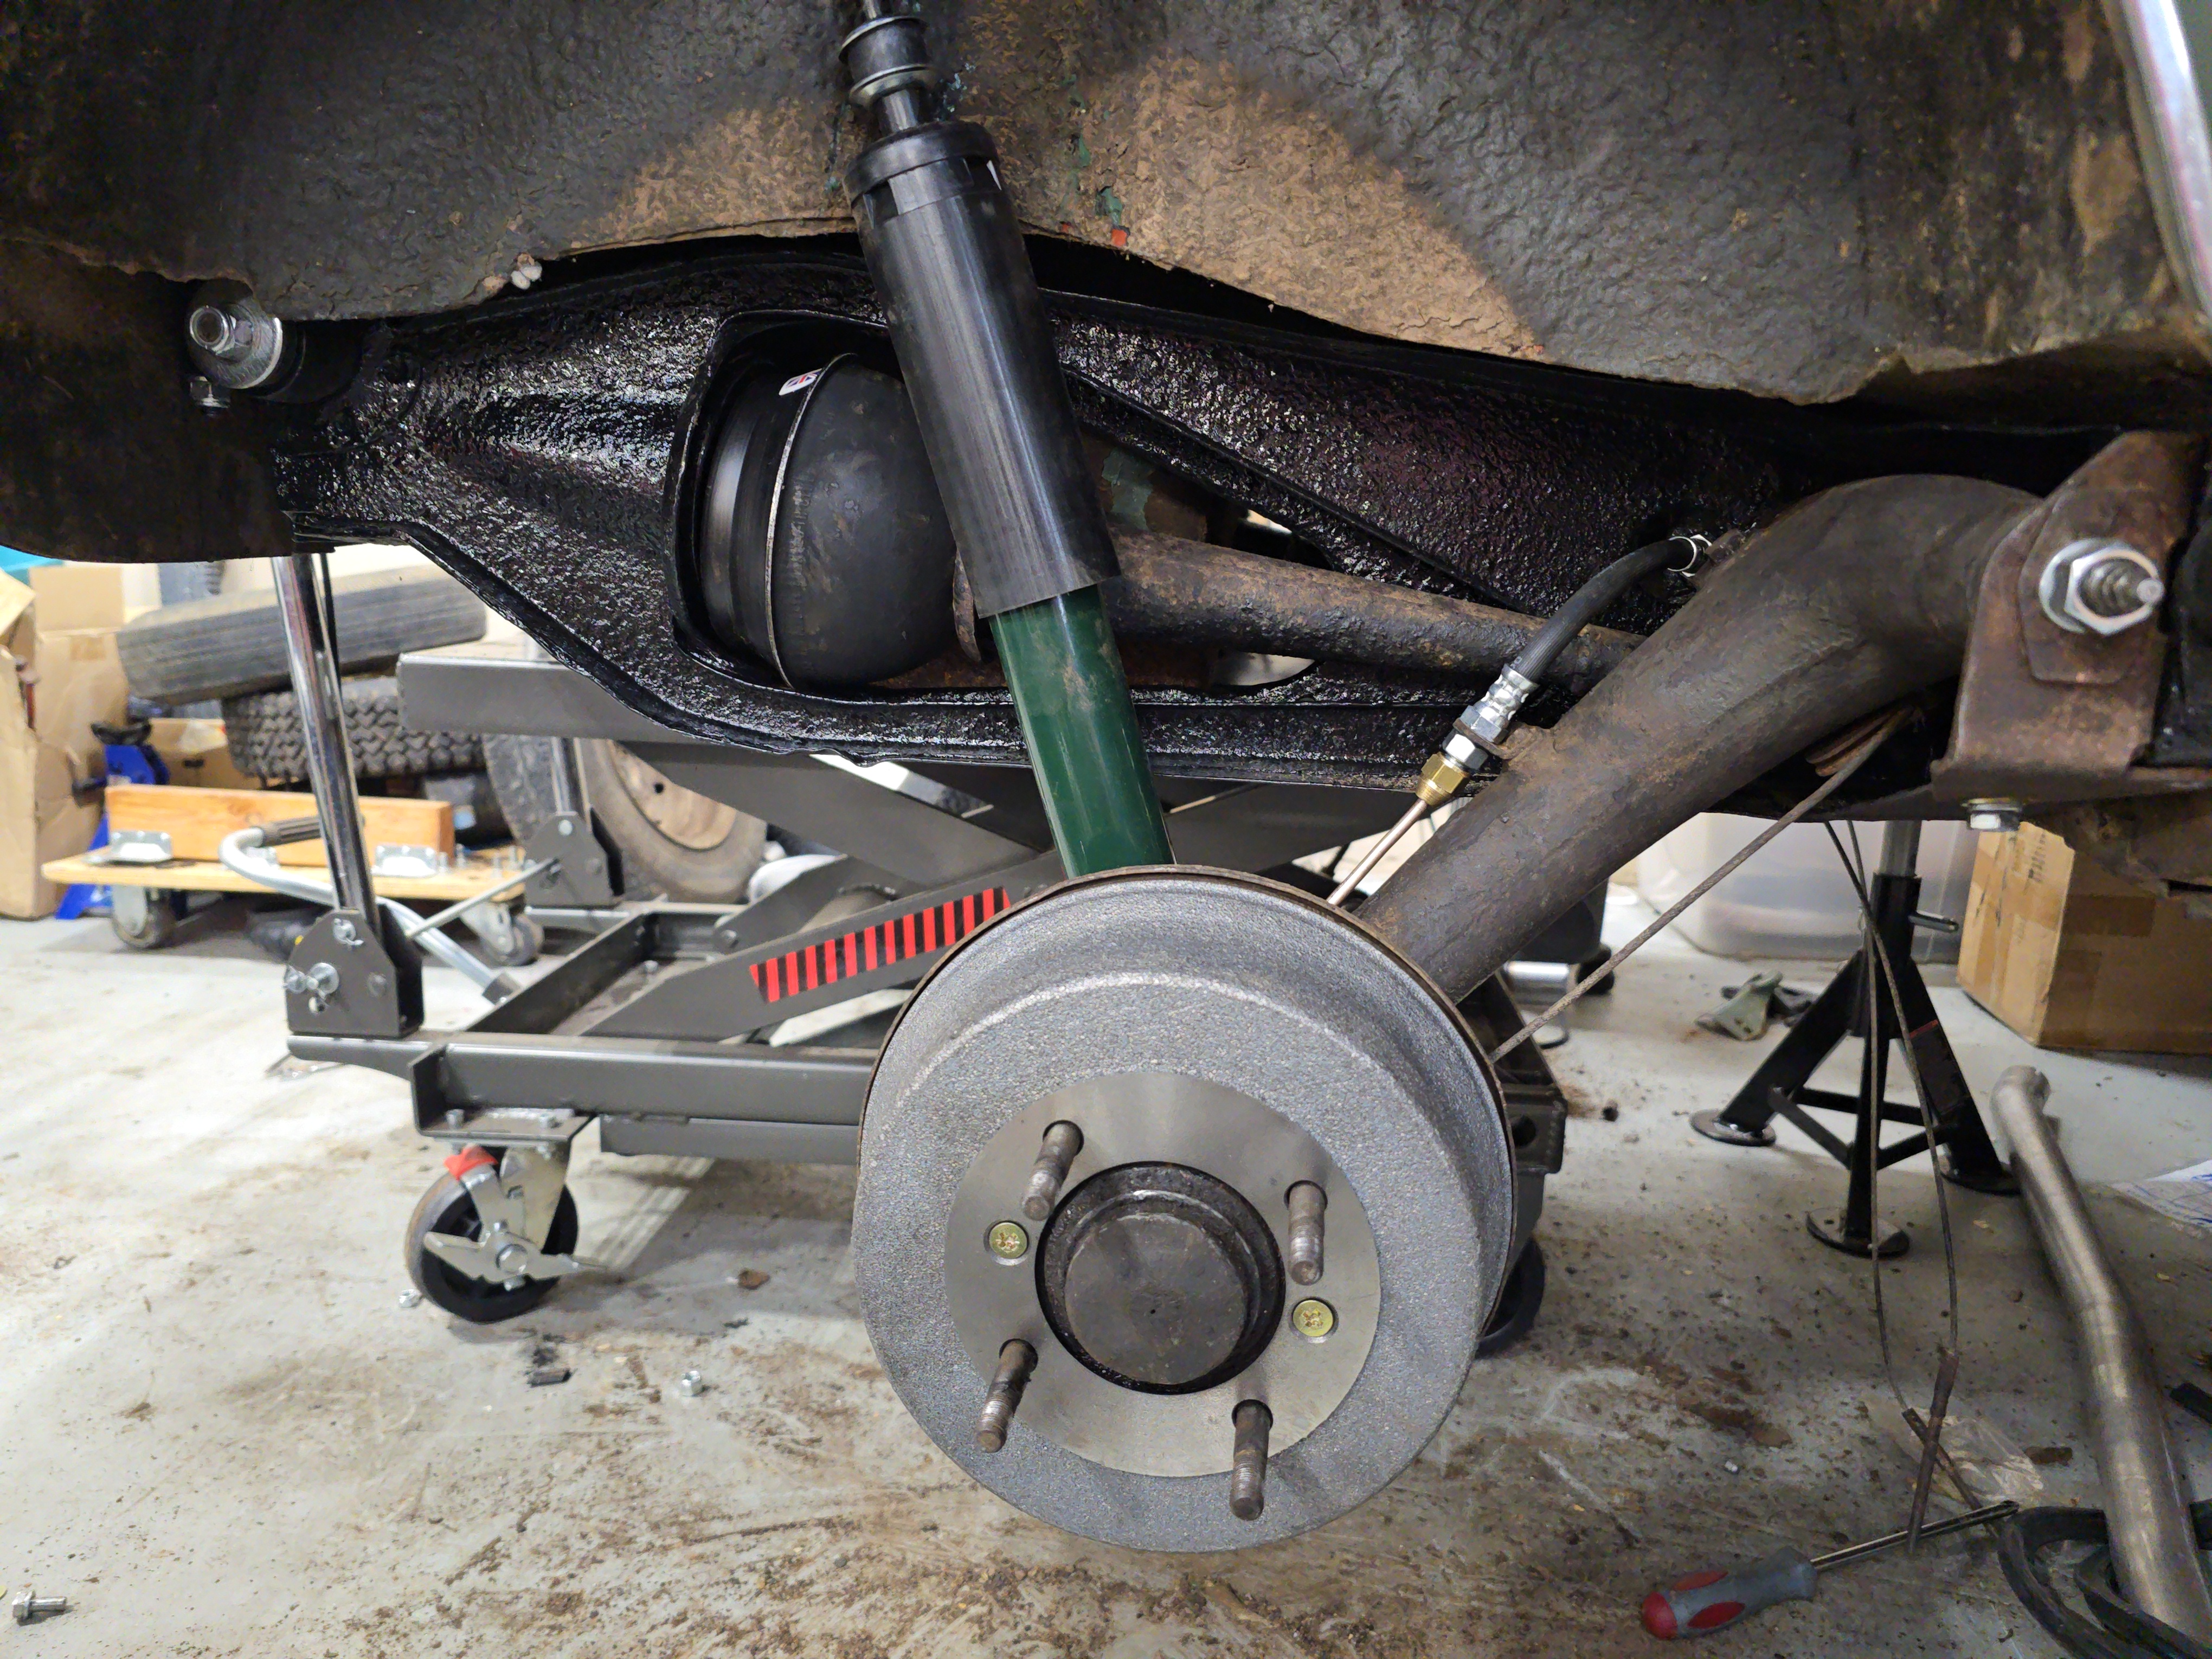
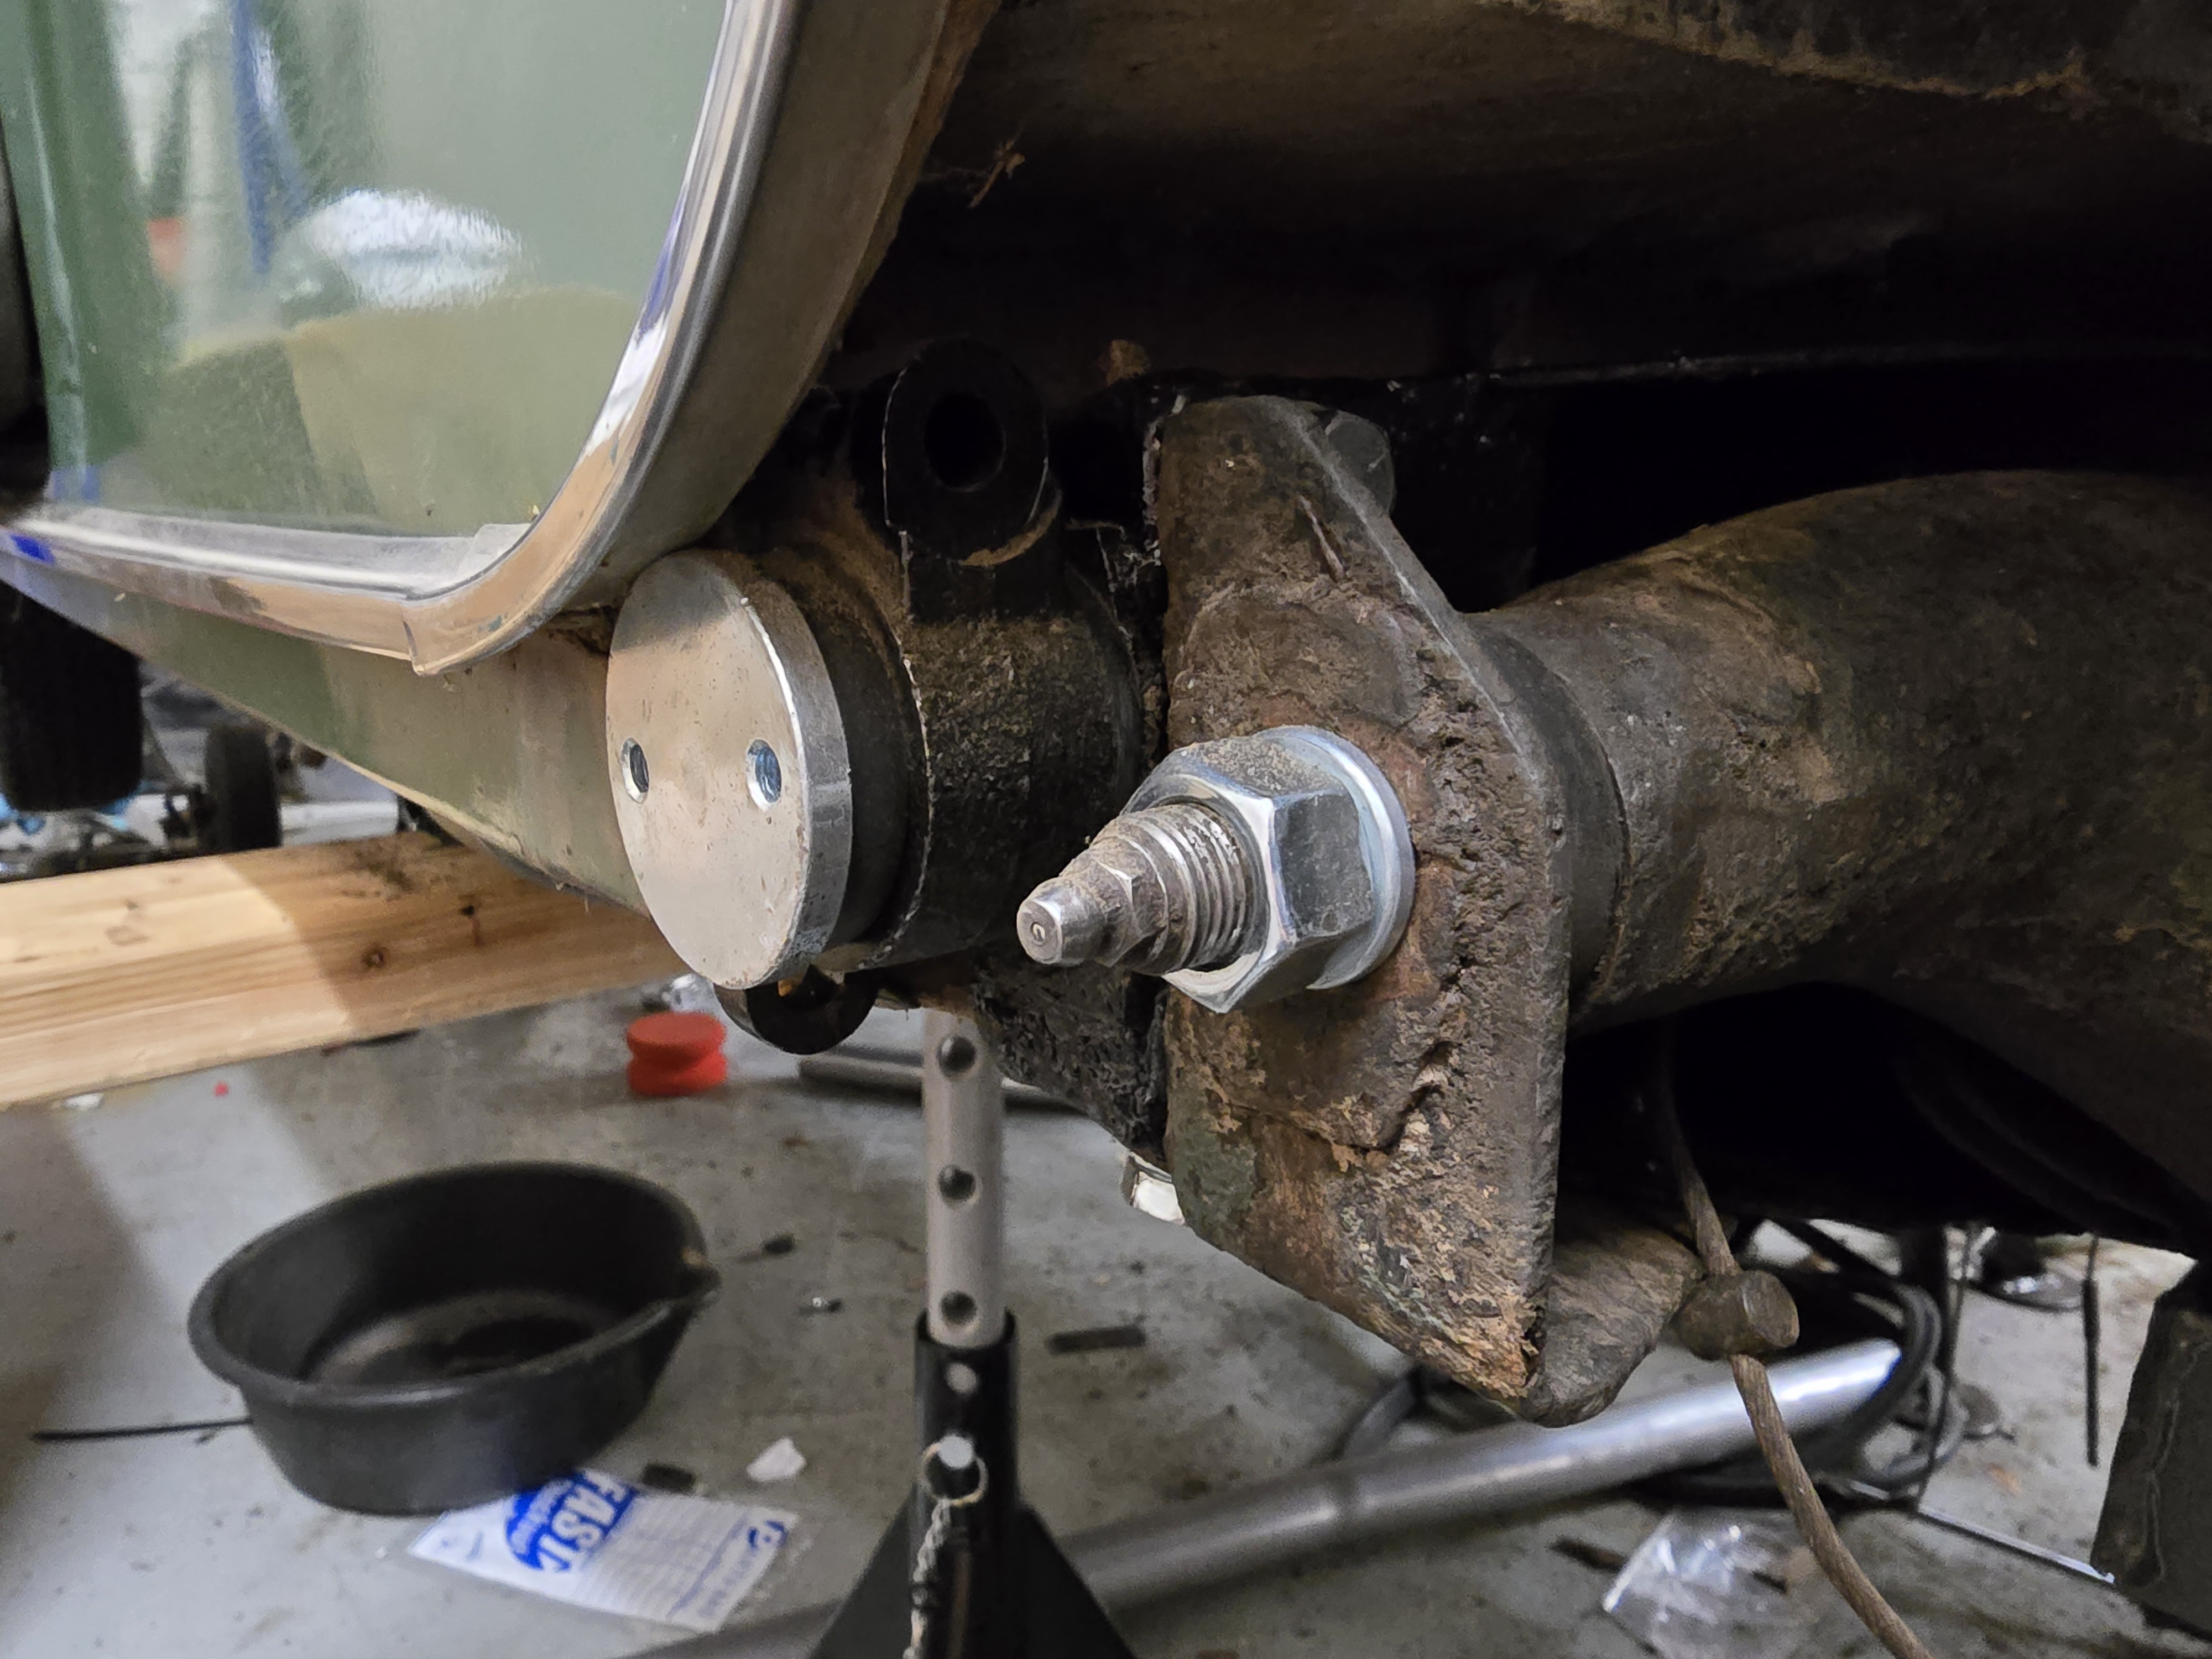
With the engine in, I was finally able to test-fire it, and it started up. At that point, the only exhaust component installed was the new header, so it was extremely loud, but it sounded like pure joy to me. Since the original exhaust system was rusted out, we ordered a full replacement and decided to go with one that exited out the left side rather than the middle. While the center exhaust looks cooler, it’s louder, and we wanted to be able to drive this without destroying our hearing. Before the muffler went in, I dropped the rear subframe to rebuild the suspension and install new mounts. The original brake backing plates were retained, but the drums, shoes, cylinders, and wheel bearings were replaced. The frame itself was cleaned and repainted, so that it stays rust-free for years to come. I also installed new rubber cones and adjustable Spax shocks (the original Spax shocks were retained and can be rebuilt if the next owner is so inclined). Getting the rebuilt subframe back into the car was tough, as the new rubber mounts didn’t want to fit, but after lots of adjusting, it finally went in smoothly.
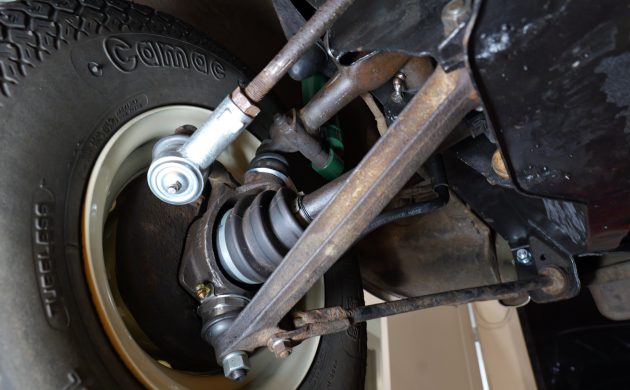
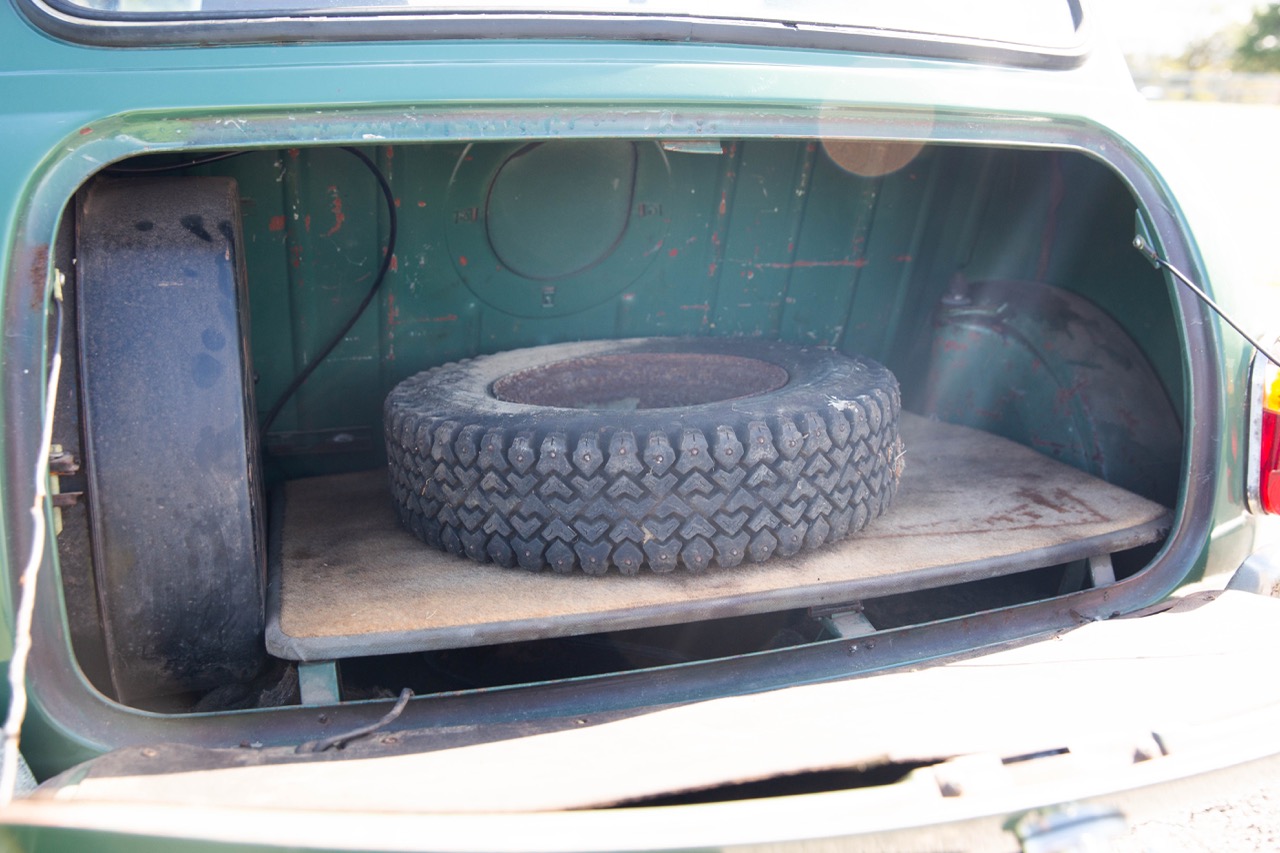
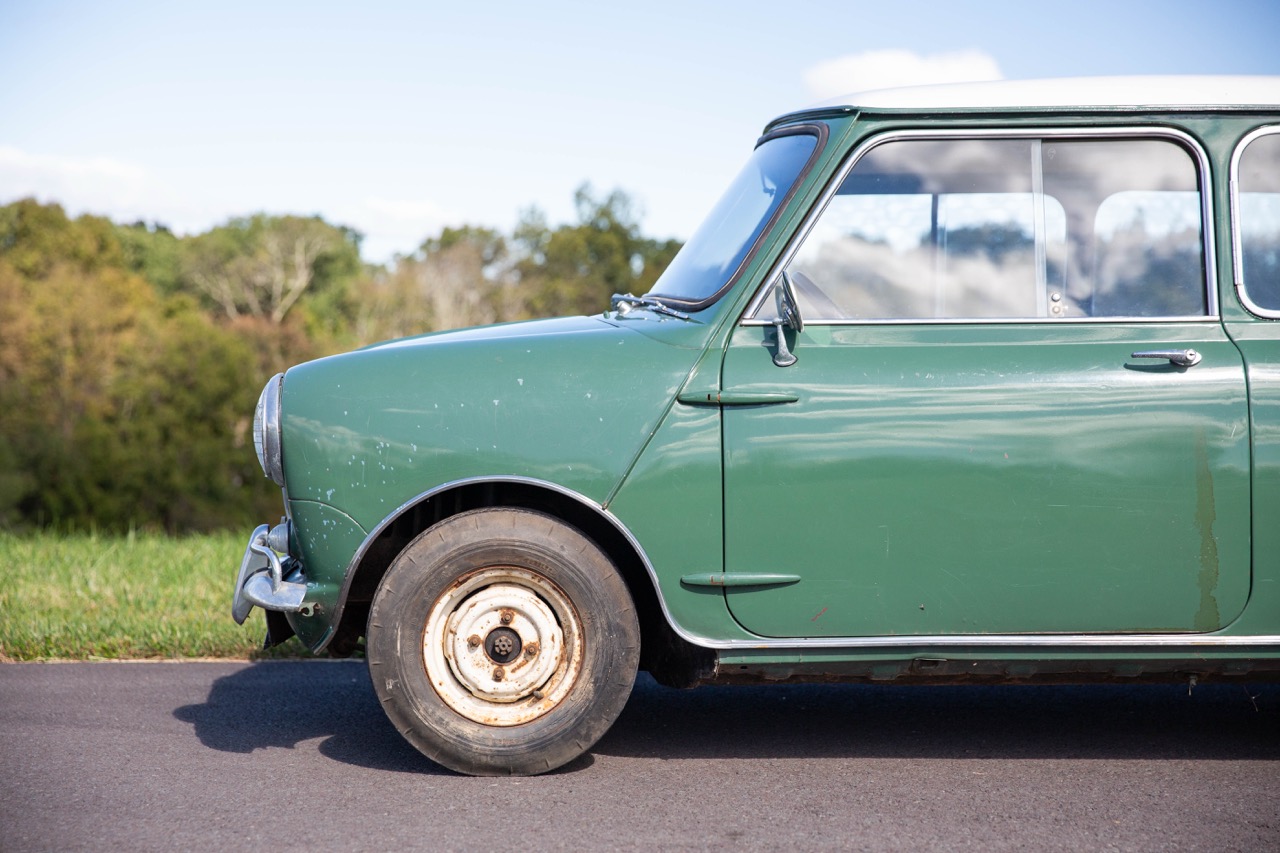
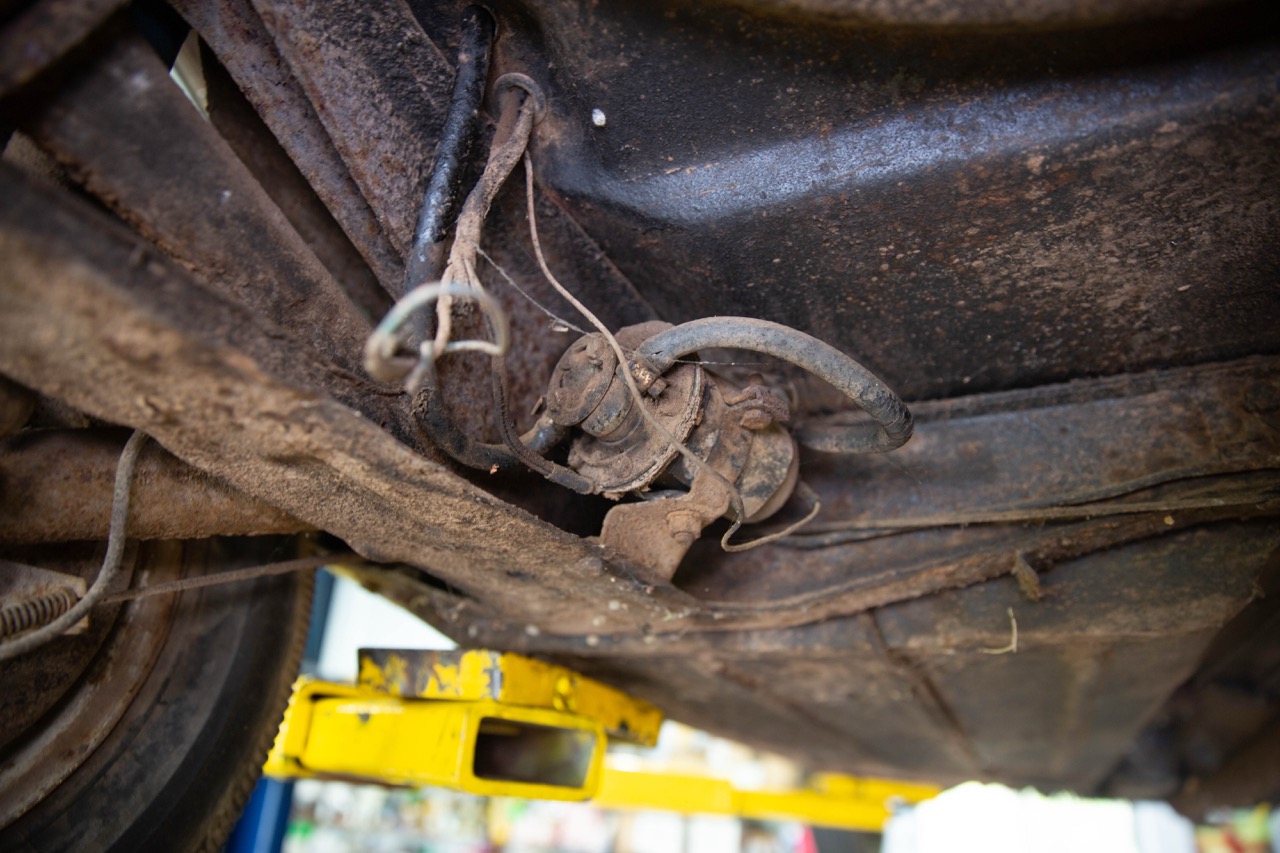
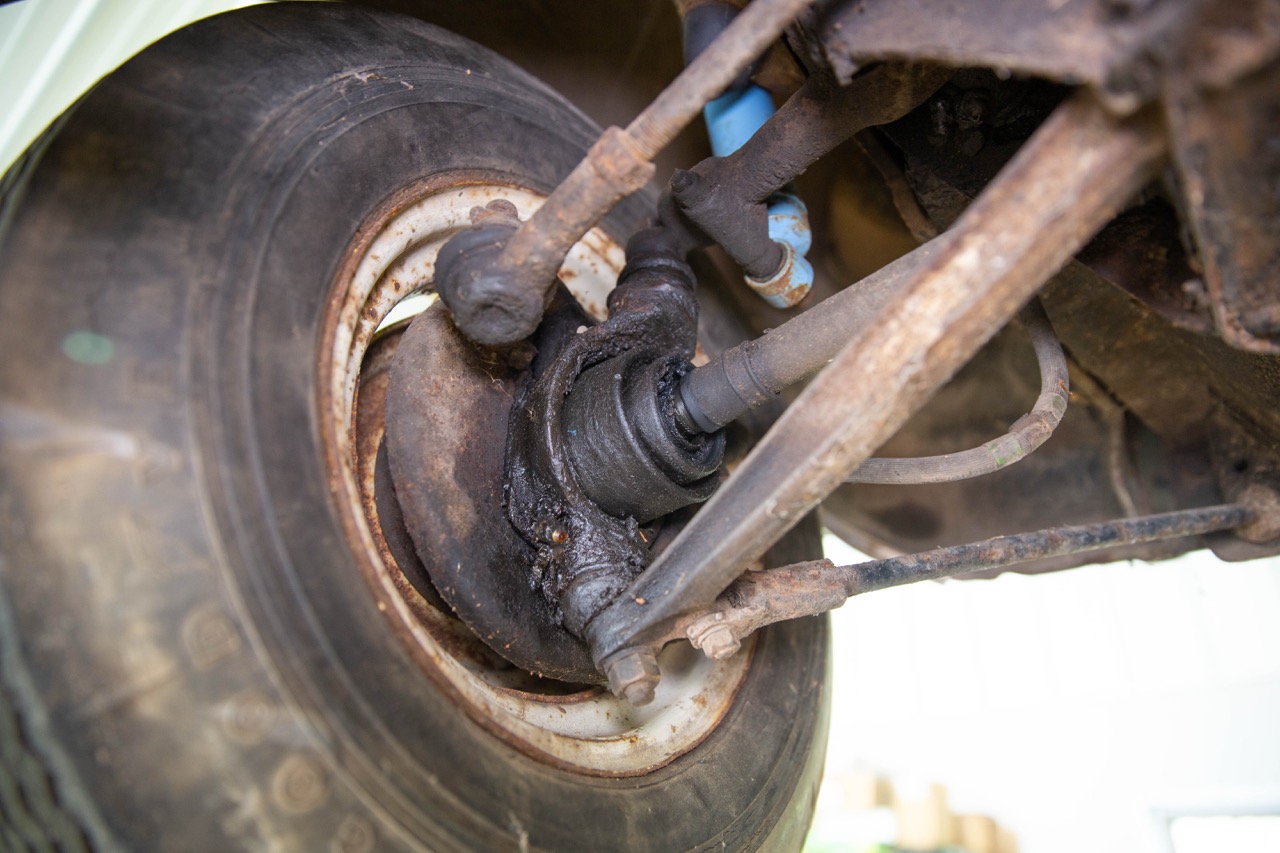
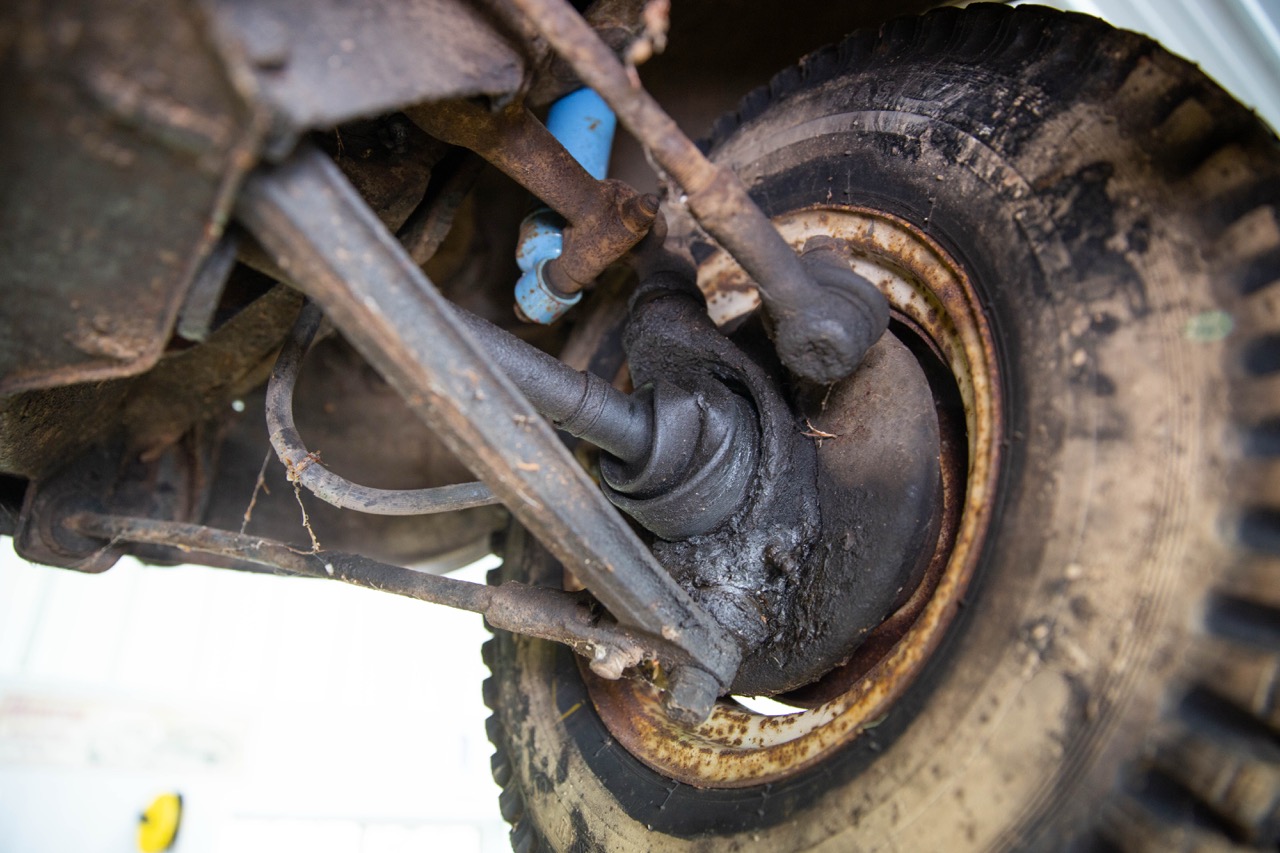
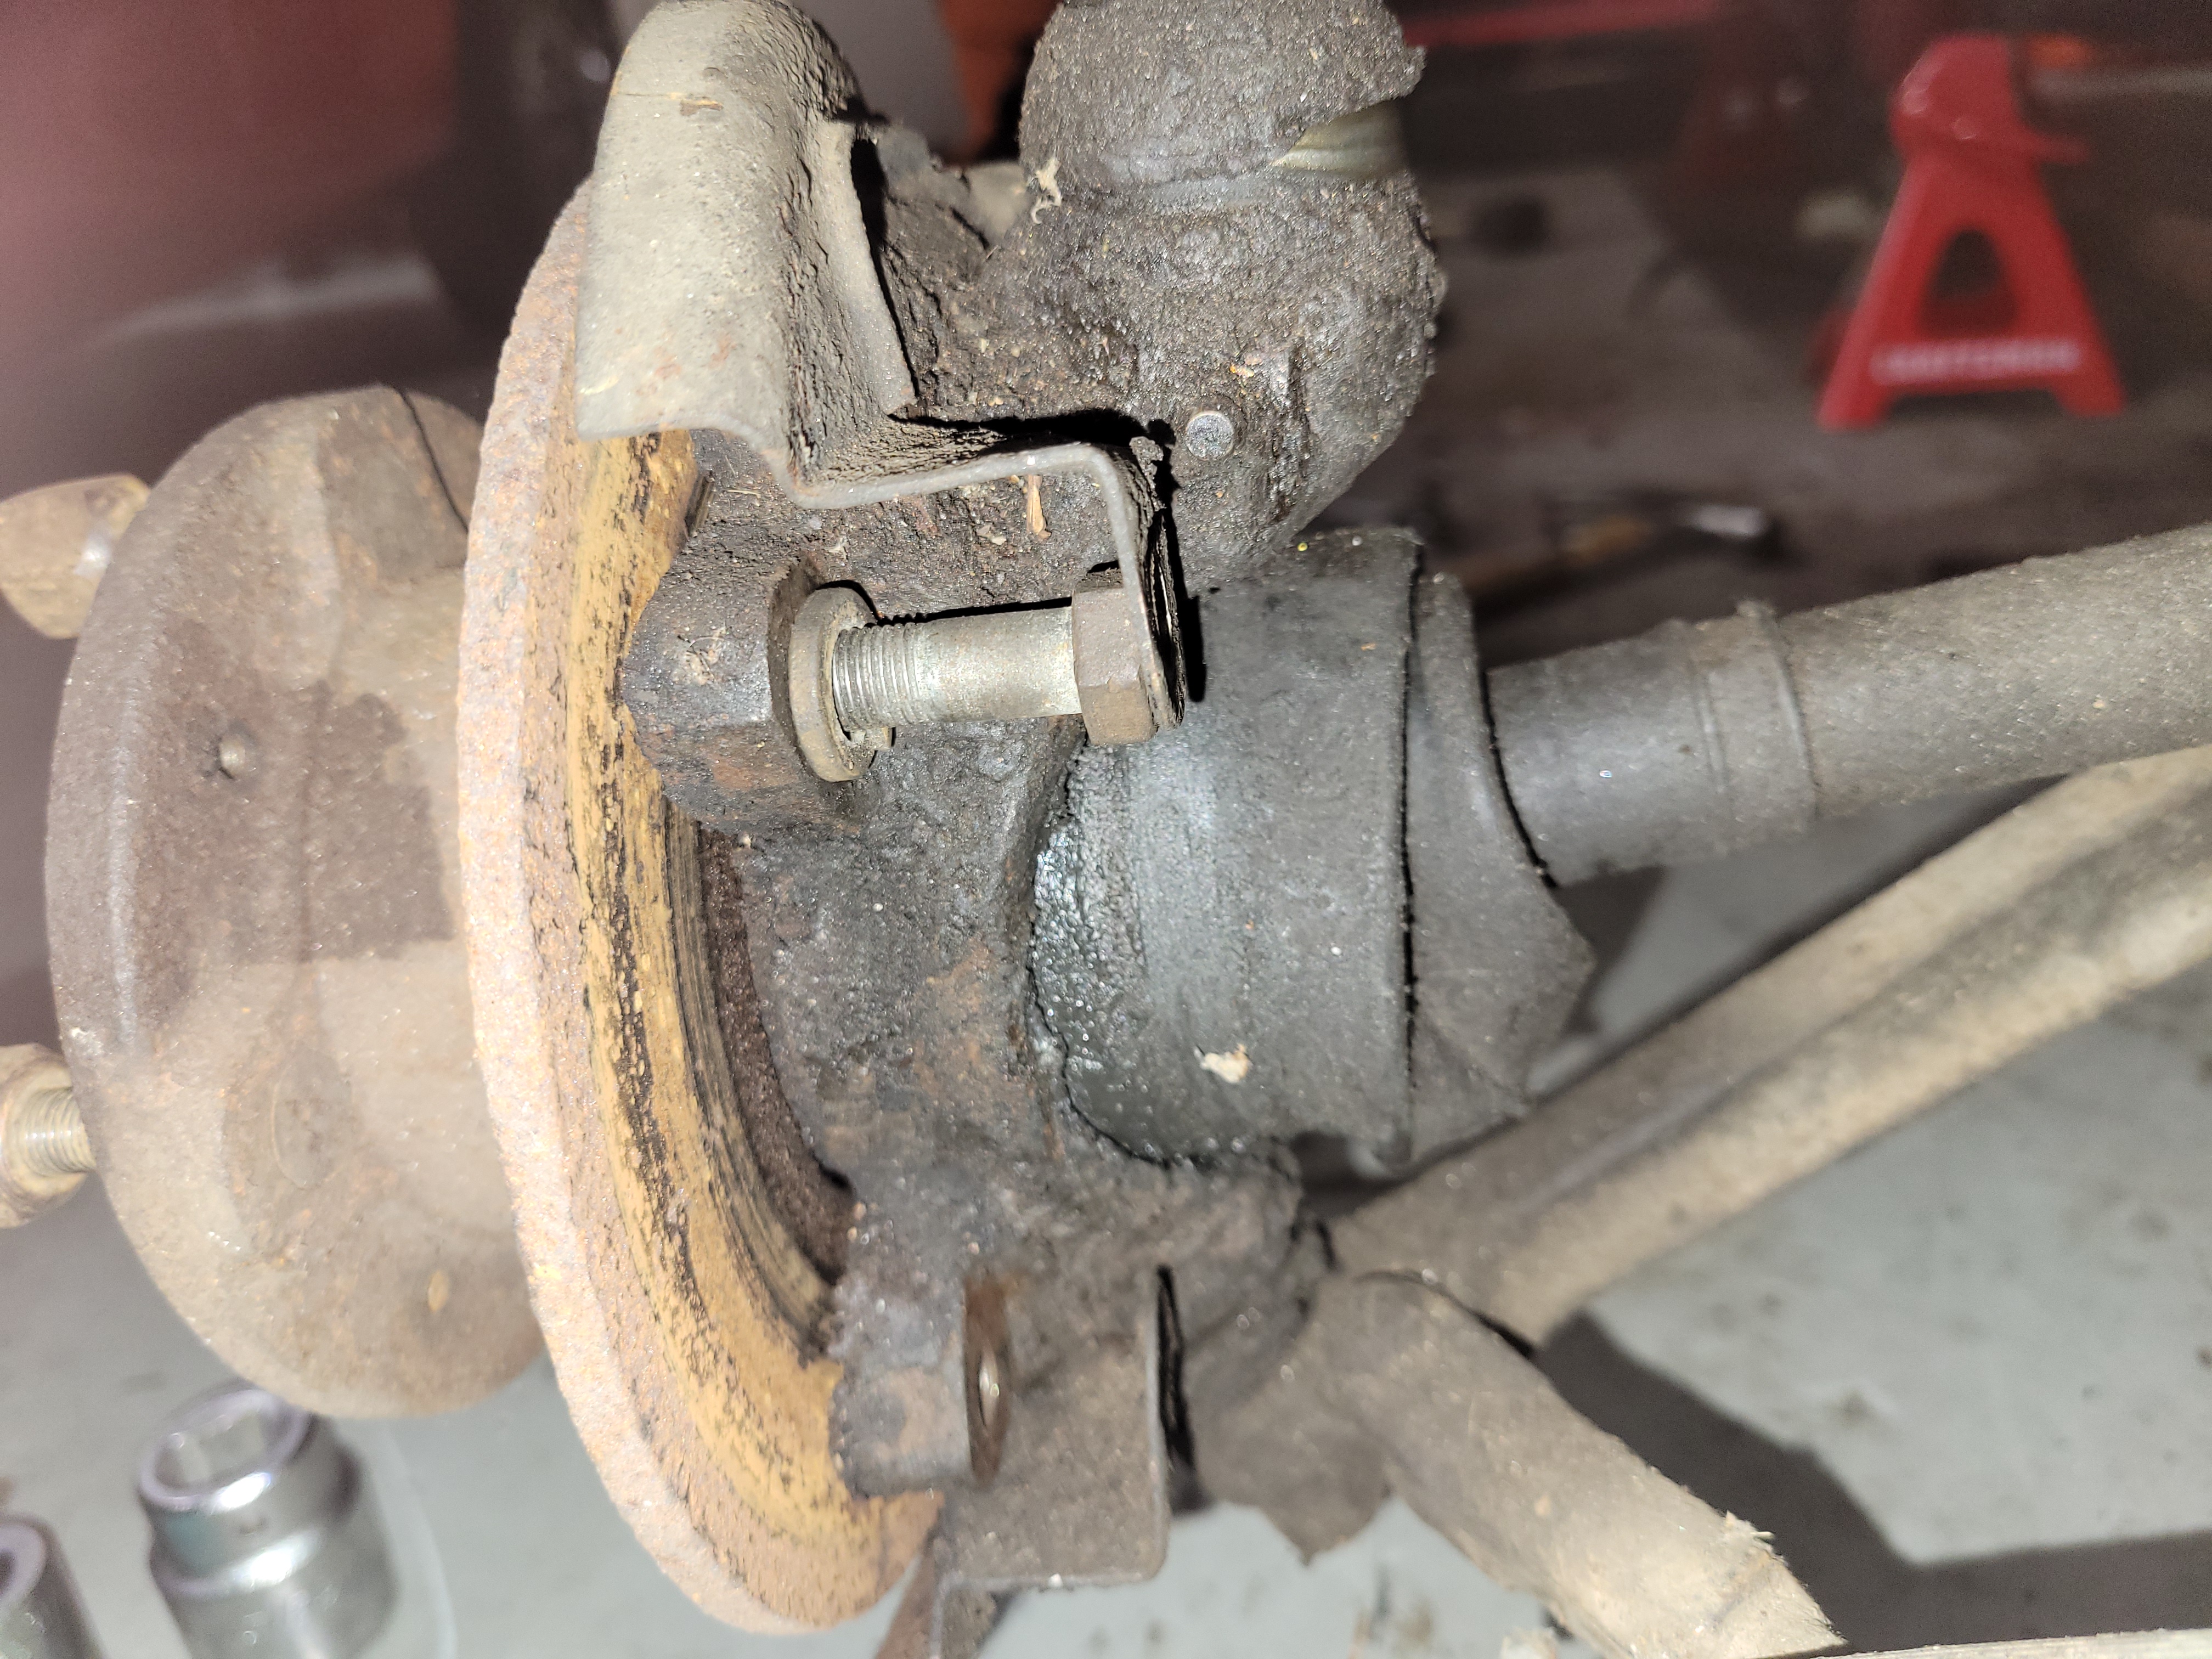
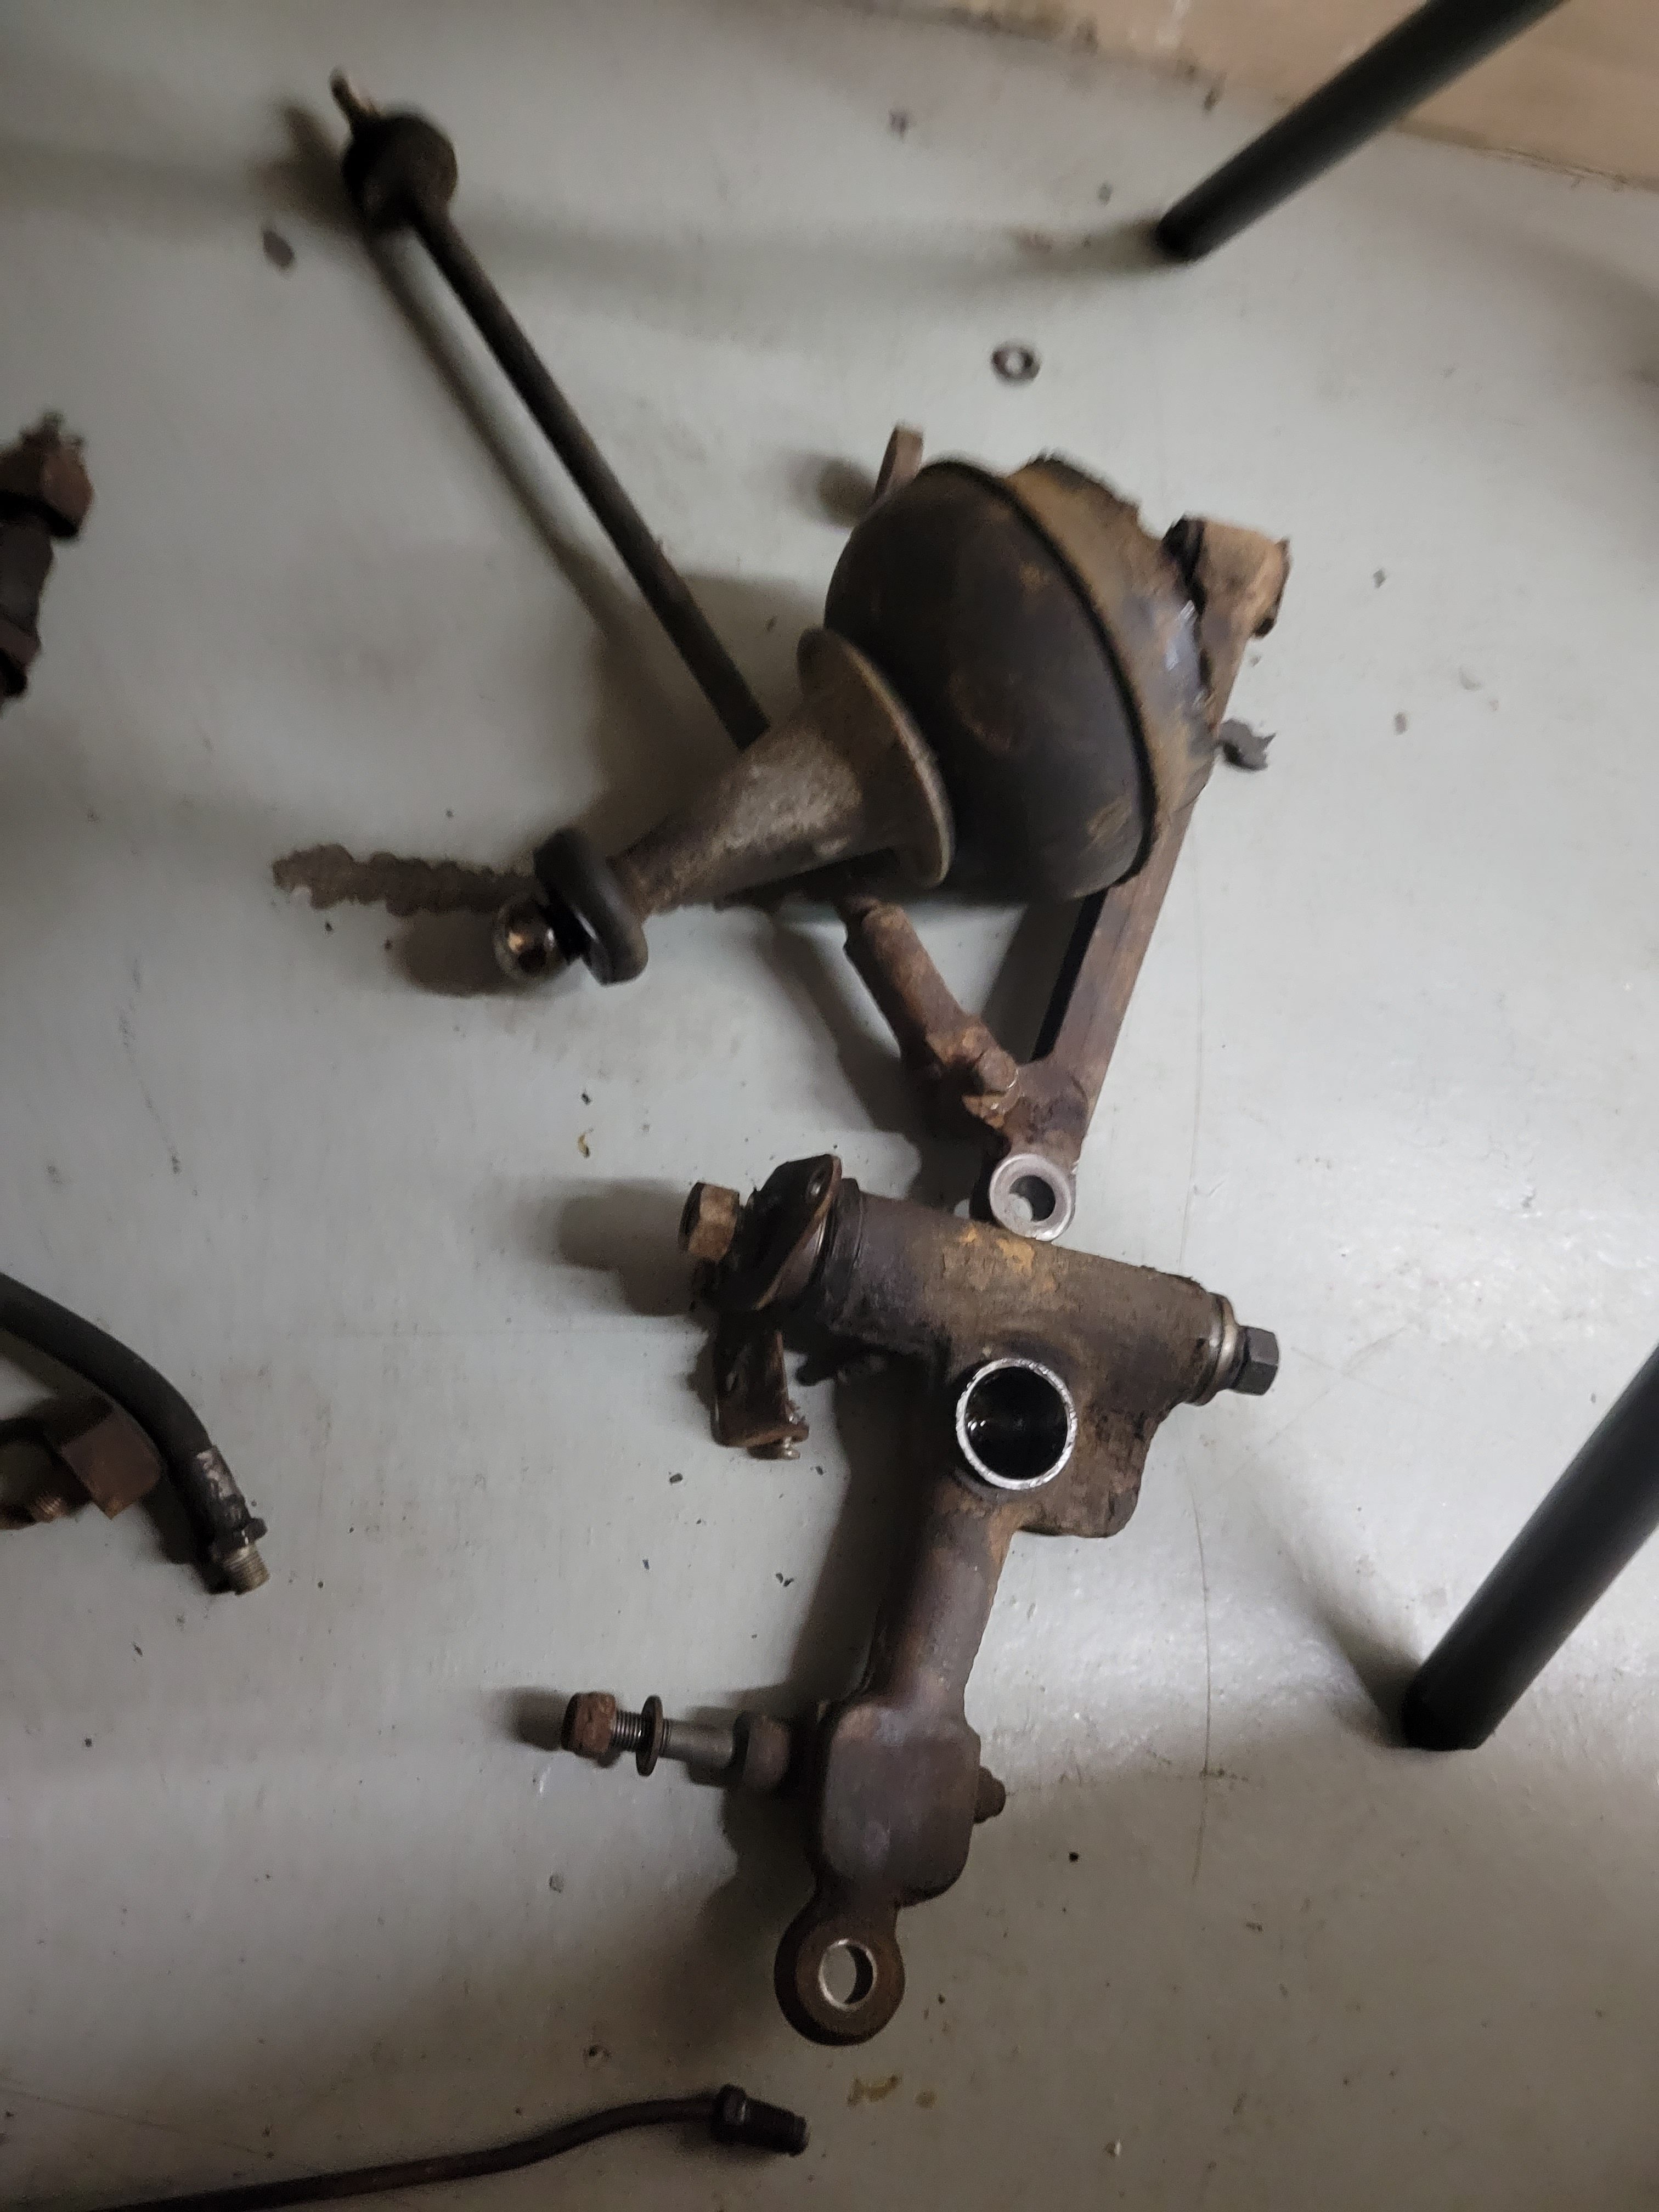
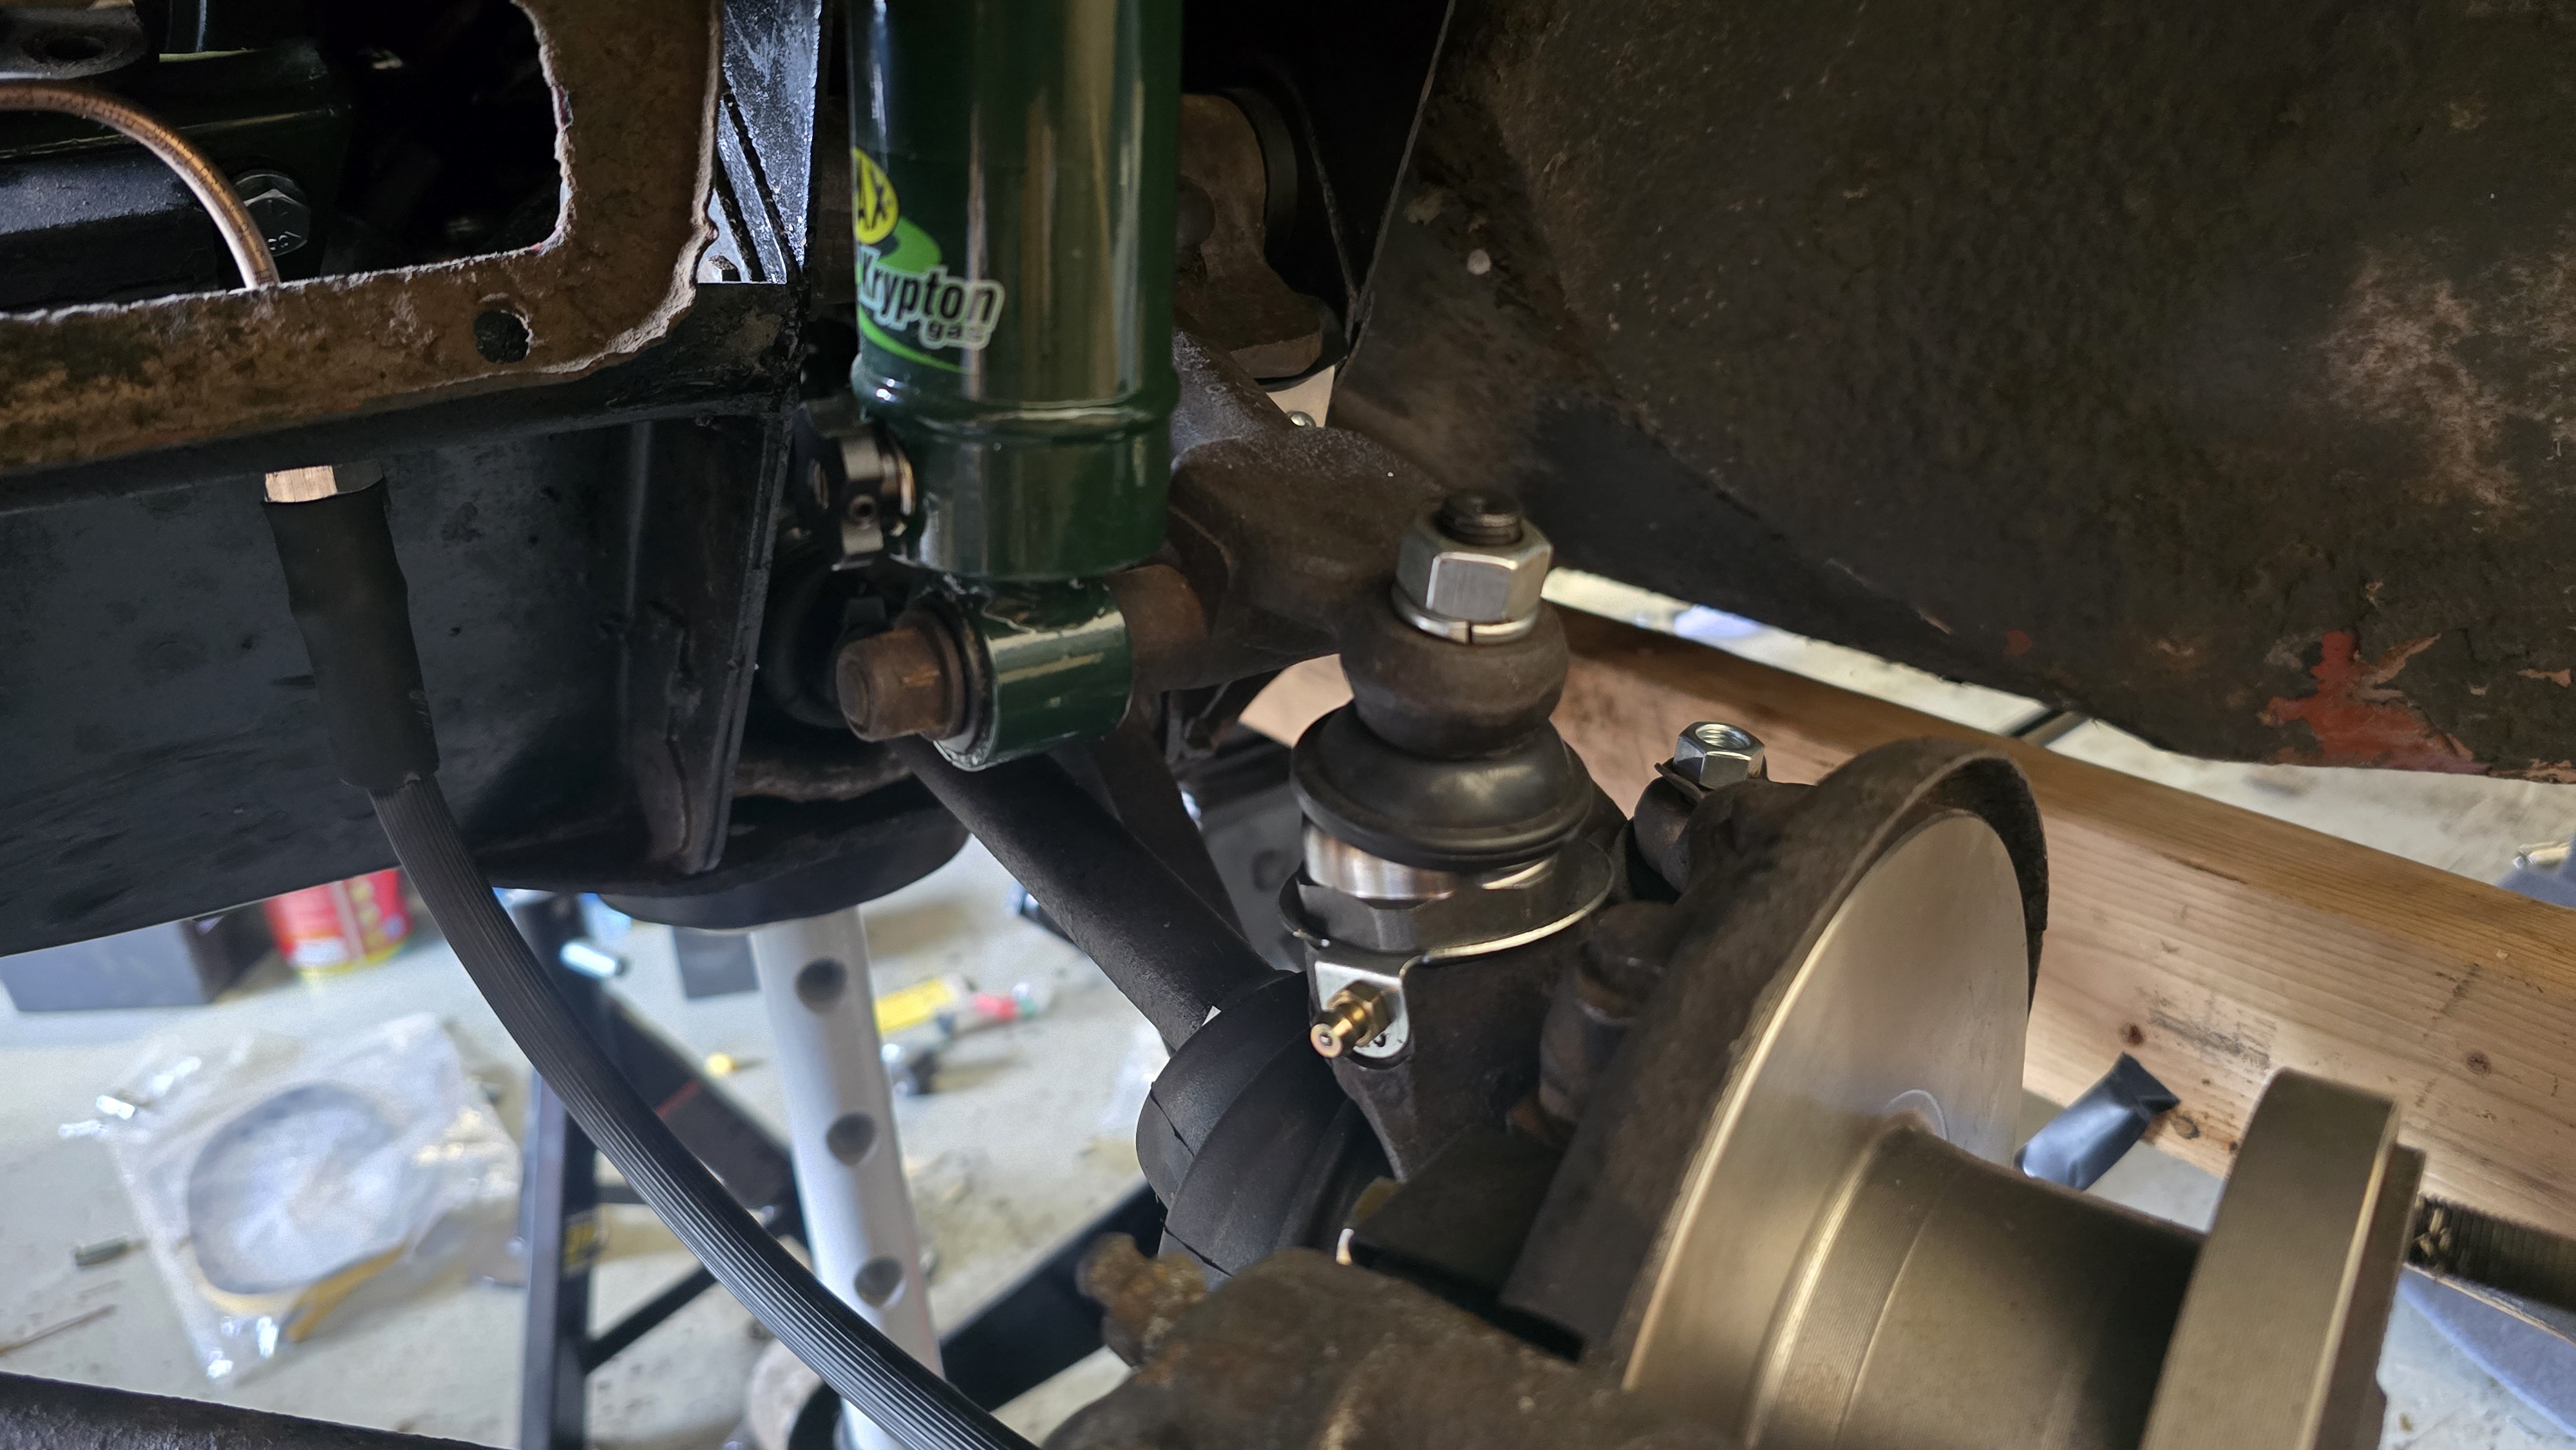
Once the back was finished, I installed the exhaust system and a new SU fuel pump, then returned my attention to the front end. While most of the front suspension was reassembled before installing the drivetrain, I still needed to rebuild the front brakes and install the new shocks. The brakes proved to be another major challenge. Early Coopers used 7-inch front disc brakes. Since most people upgrade to the later 7.5-inch models, getting replacement calipers is impossible, and because the car still retains its original brakes, we decided to keep them. A set of replacement pistons and a set of seals were sourced from England. Thankfully, the pistons weren’t seized, so the calipers were easily rebuilt. Finding new brake pads proved problematic, though. Replacement rotors are readily available, but the pads are no longer being made. An alternative part is available, but it requires the calipers to be machined for the pads to fit. While that was a reasonable option, there was actually a box of spare parts in the car’s trunk, and wrapped inside was a set of new-old-stock pads!
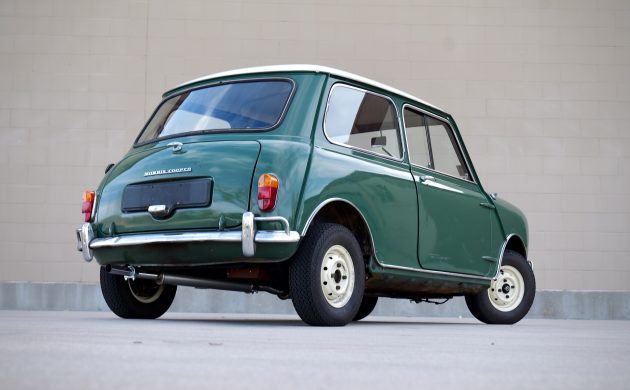
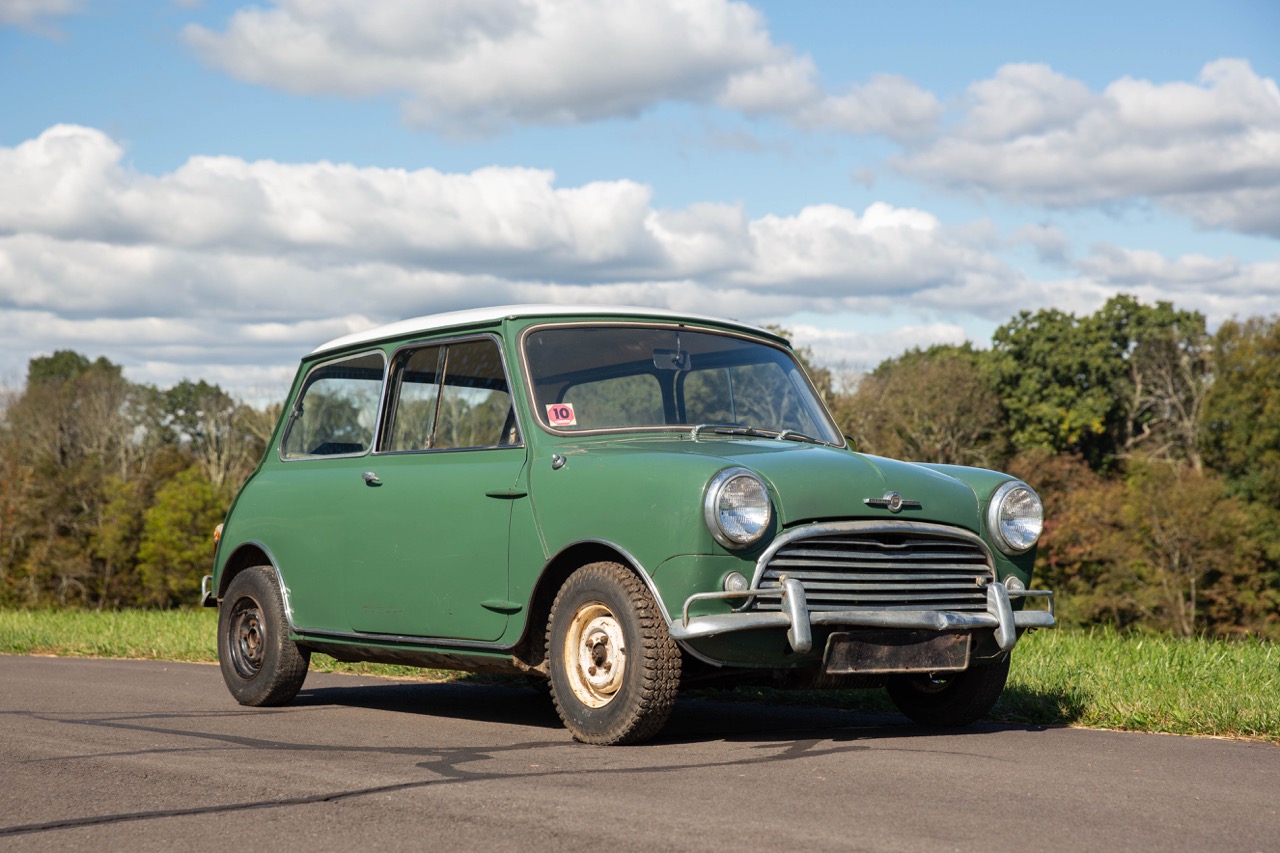
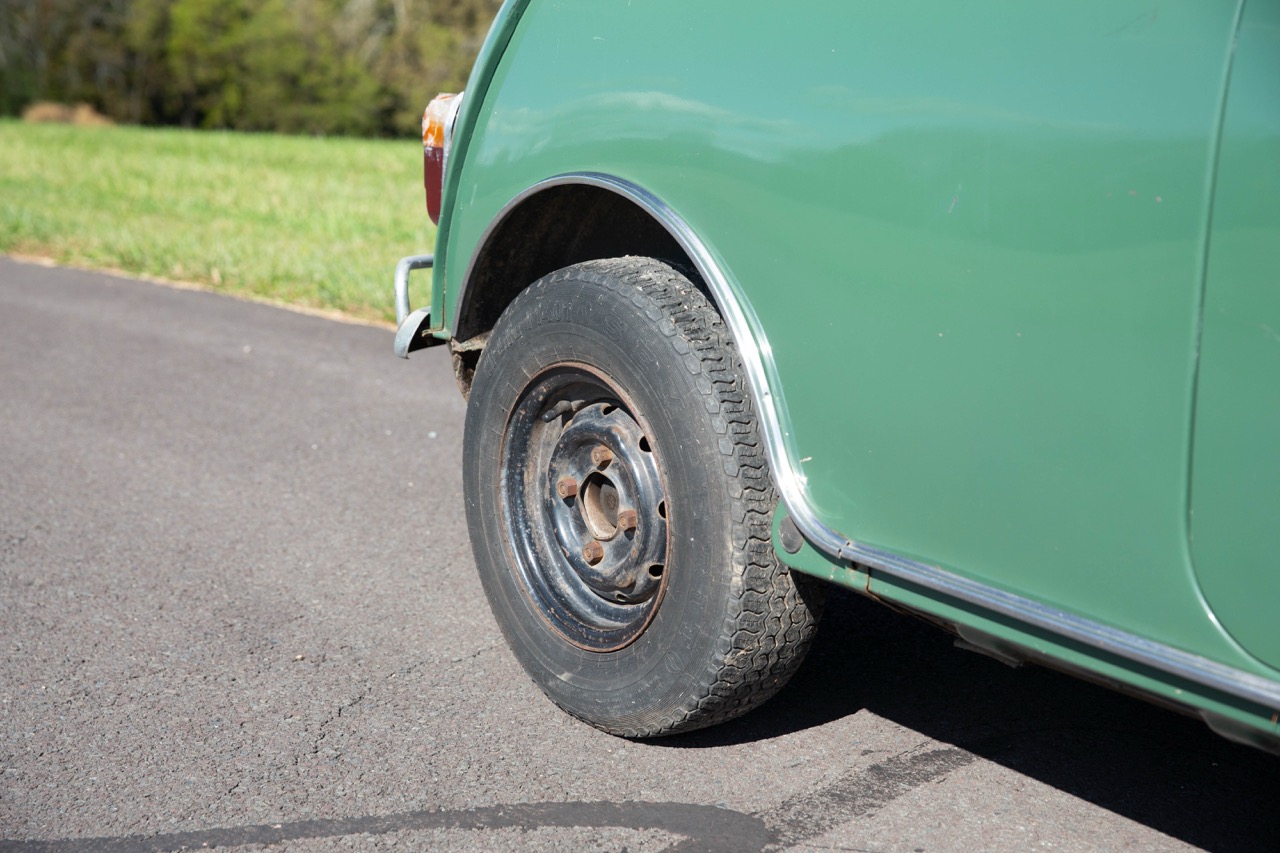
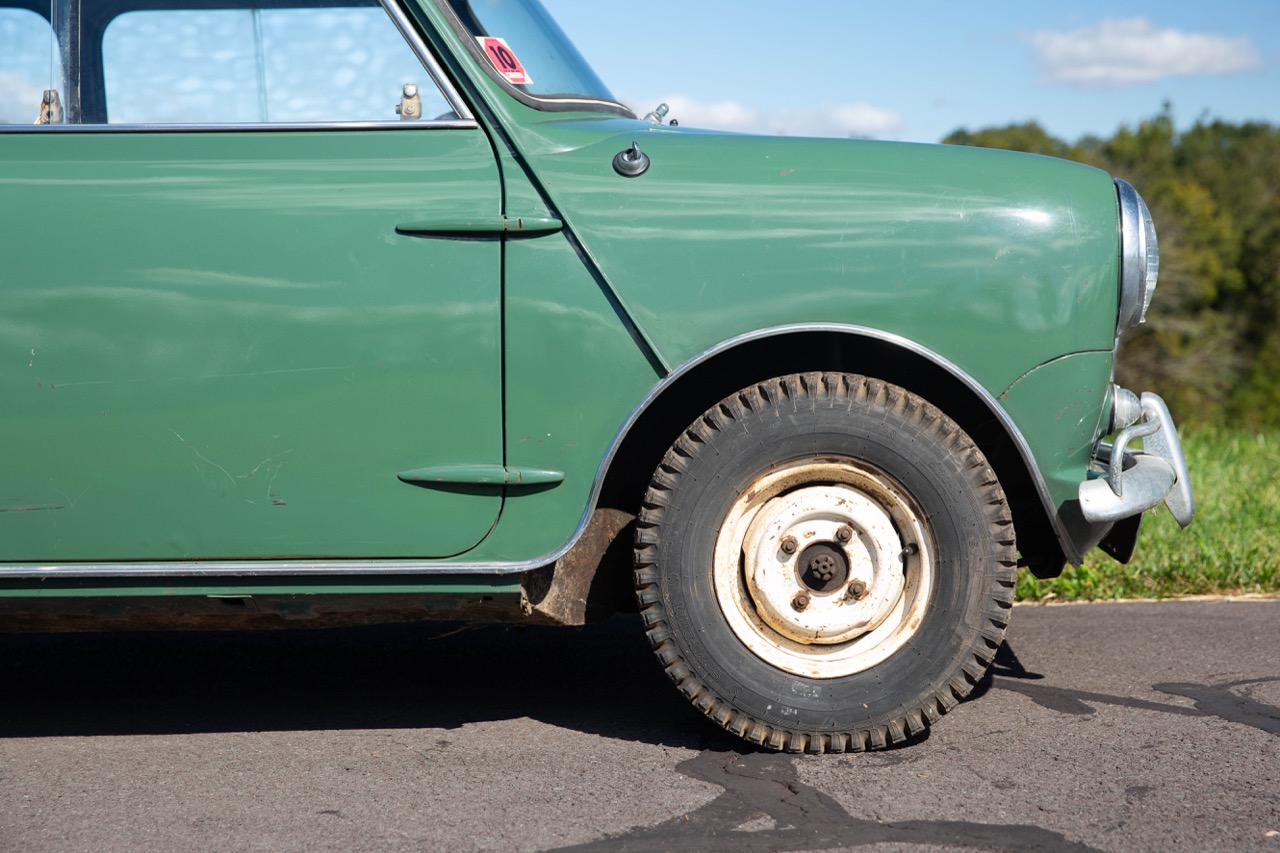
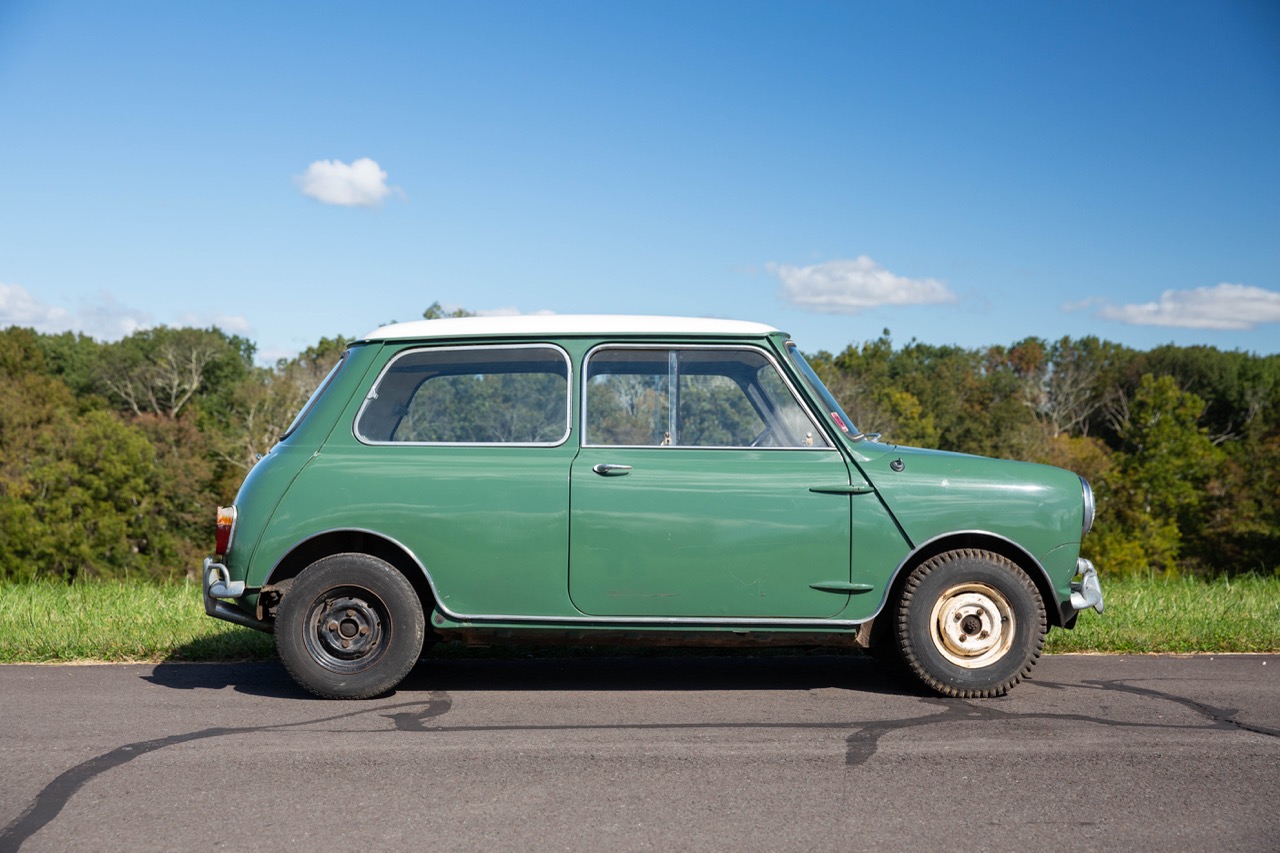
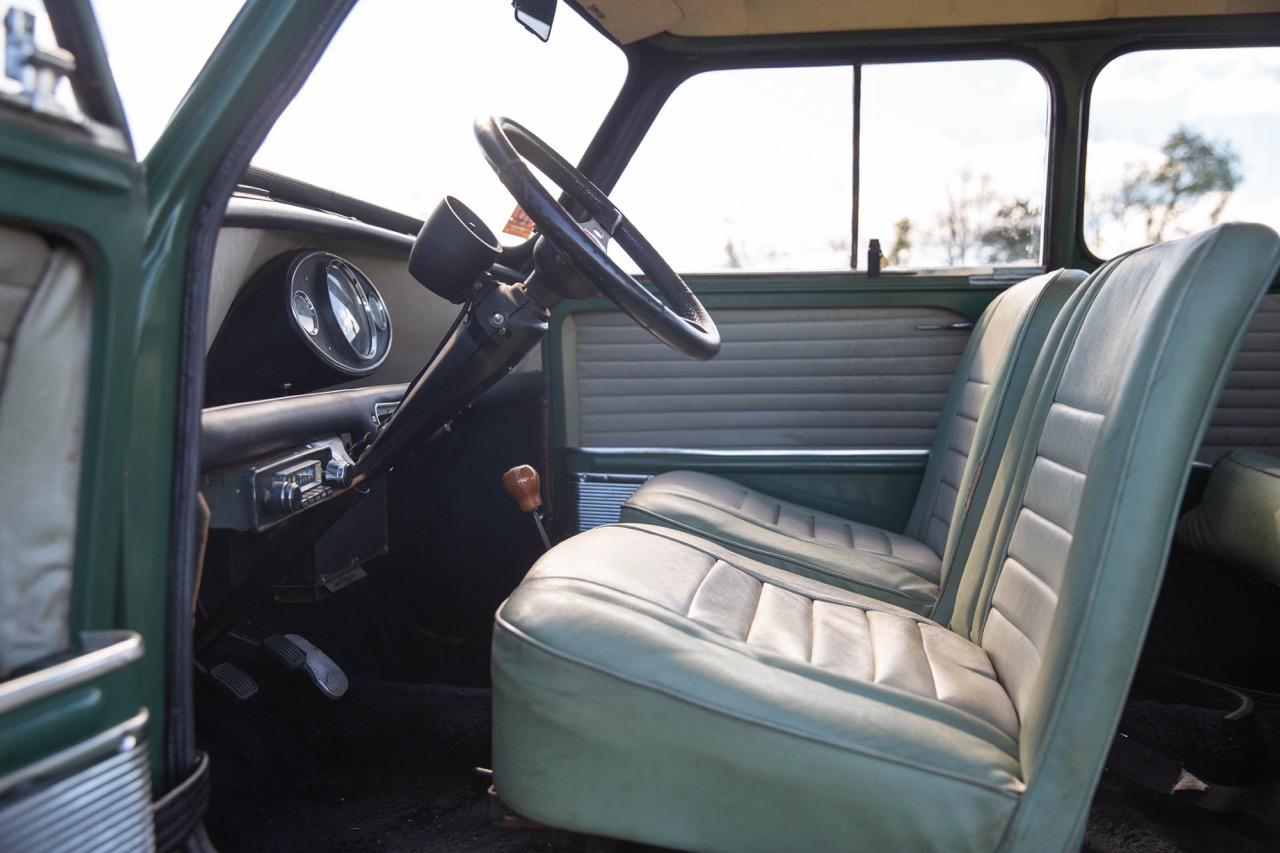
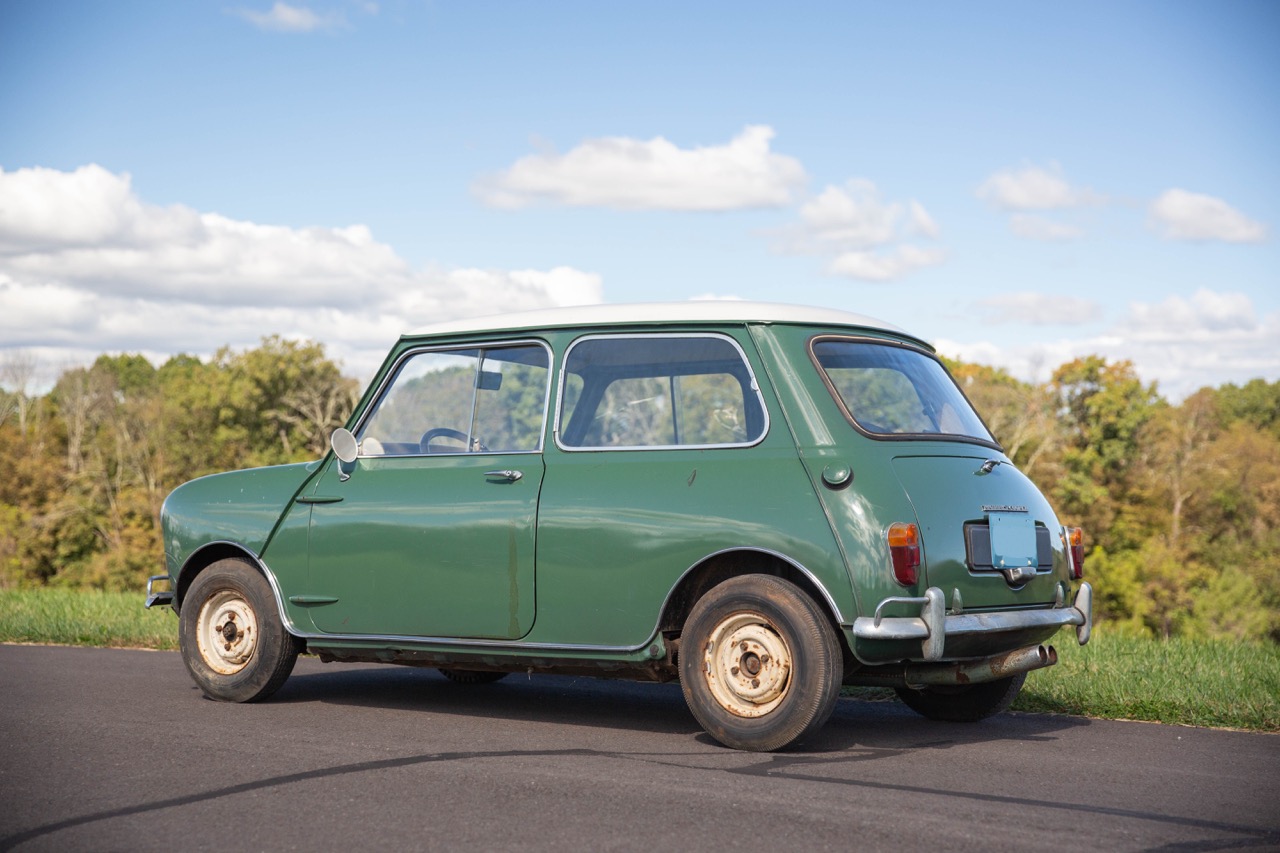
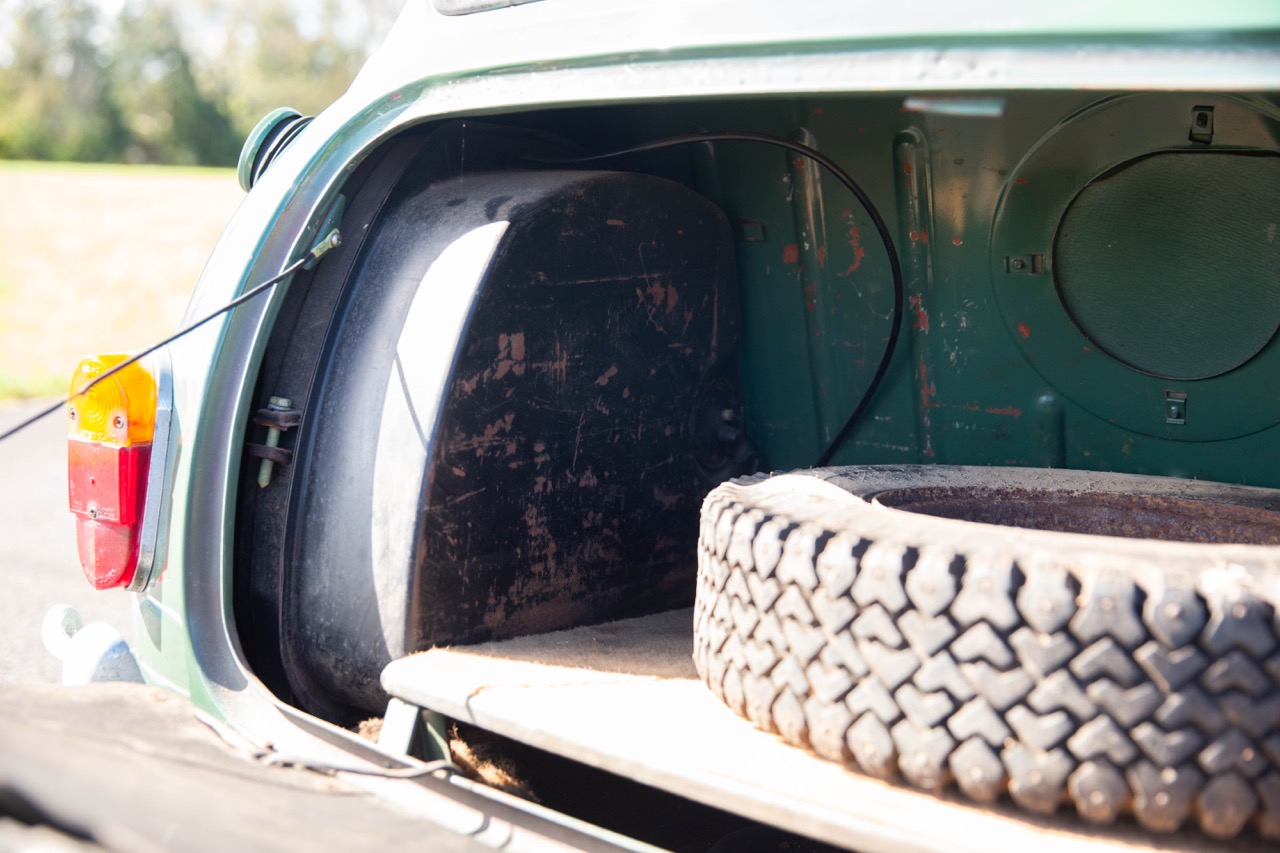
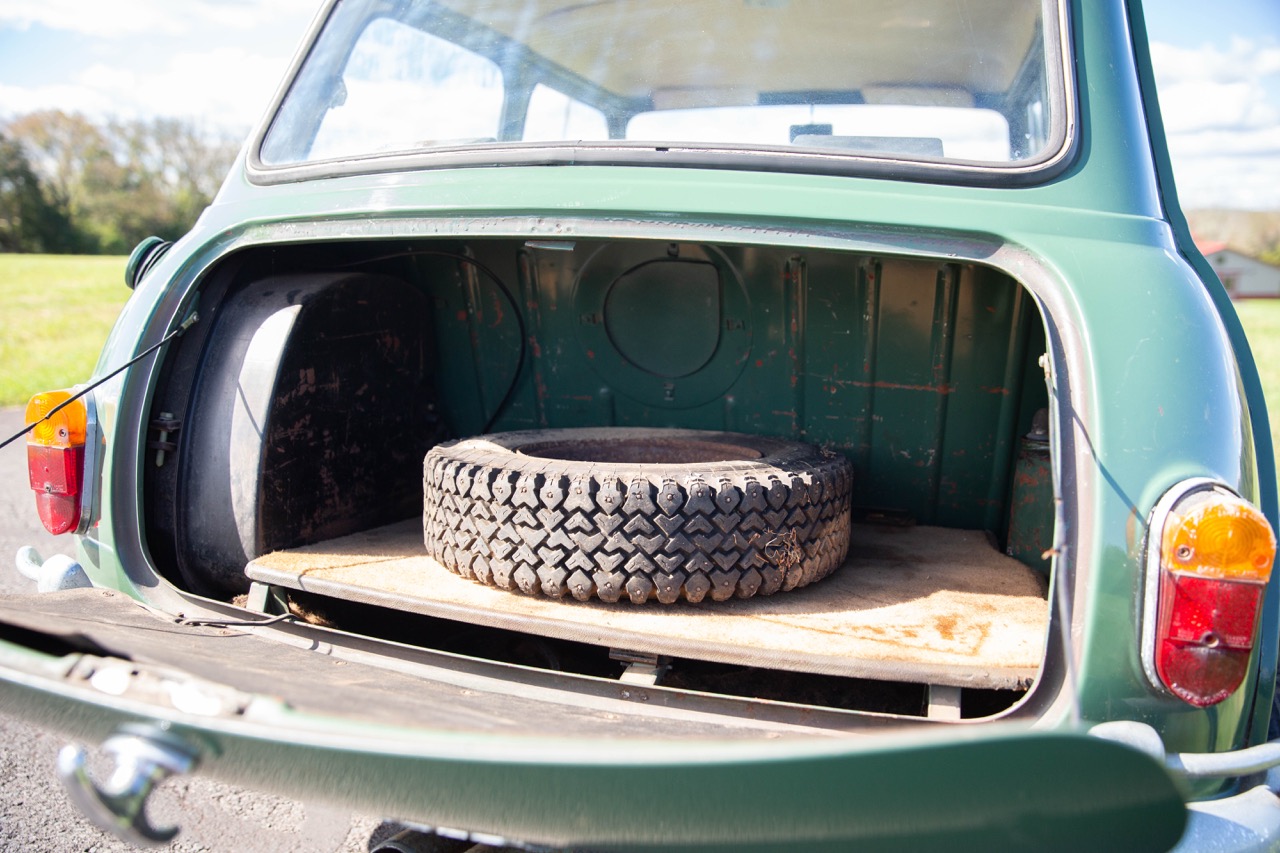
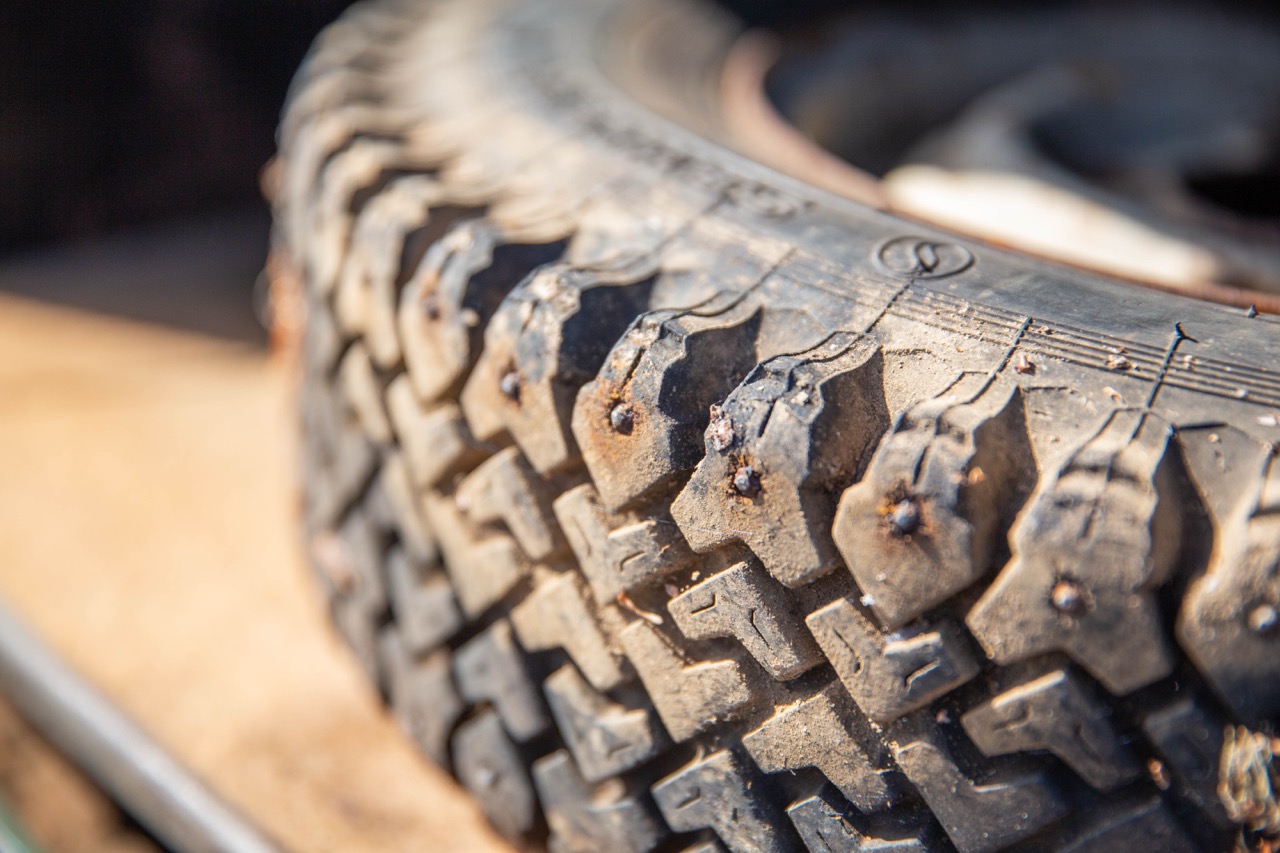
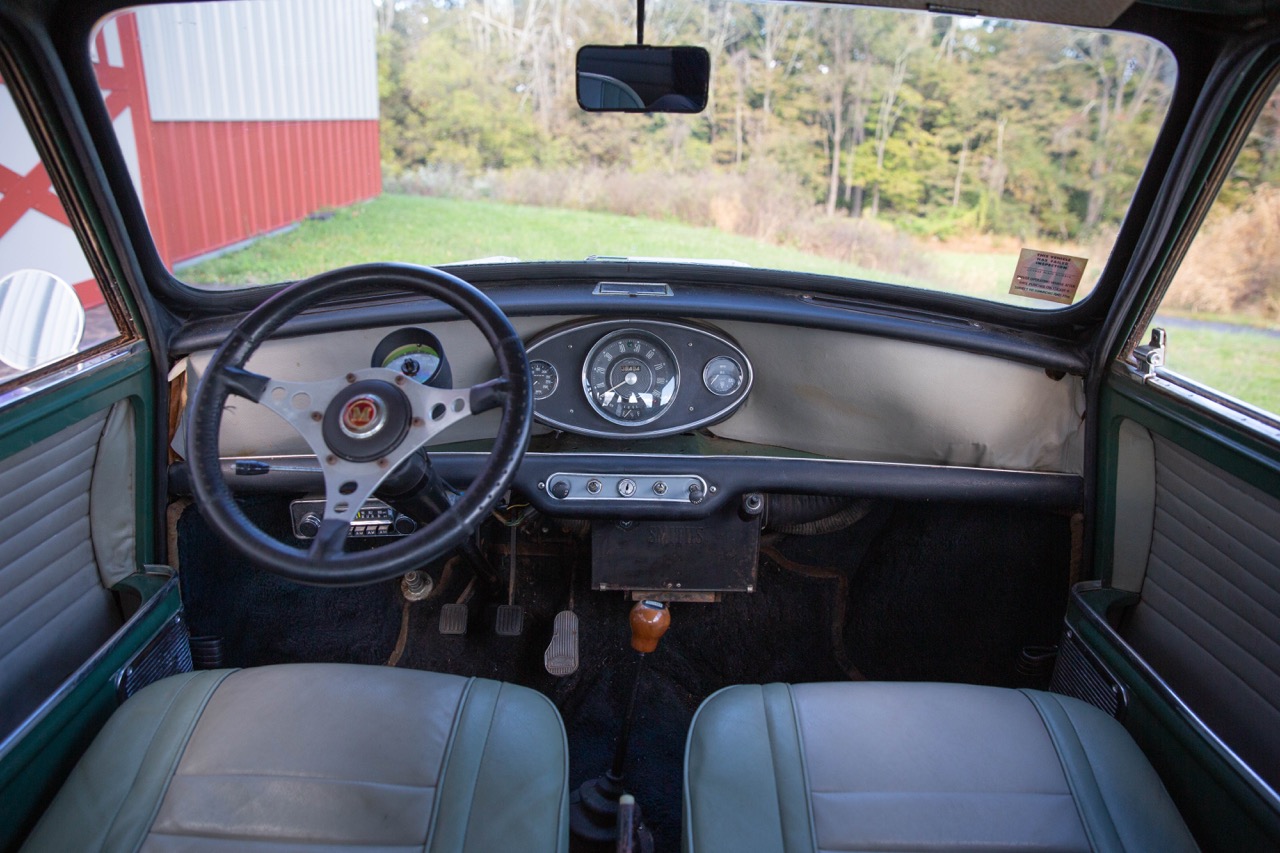
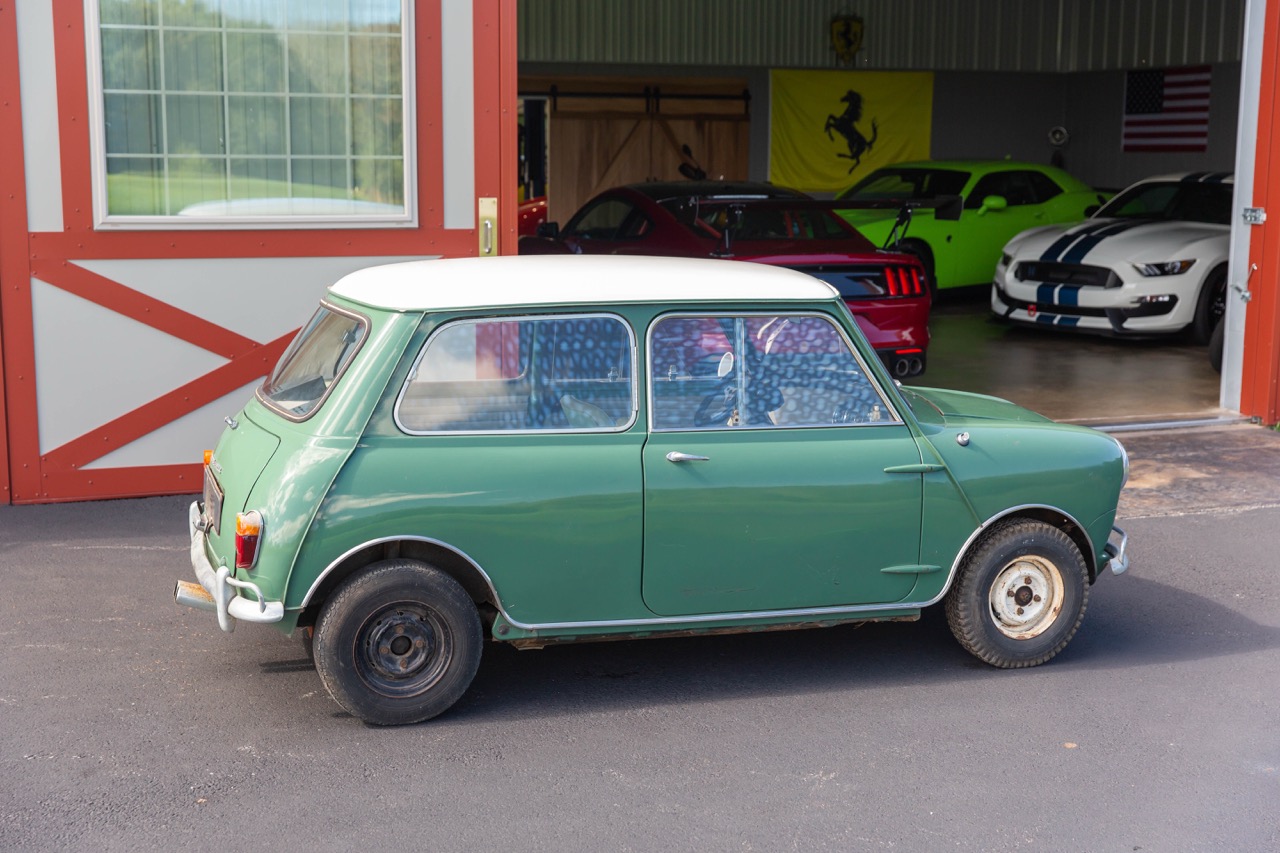
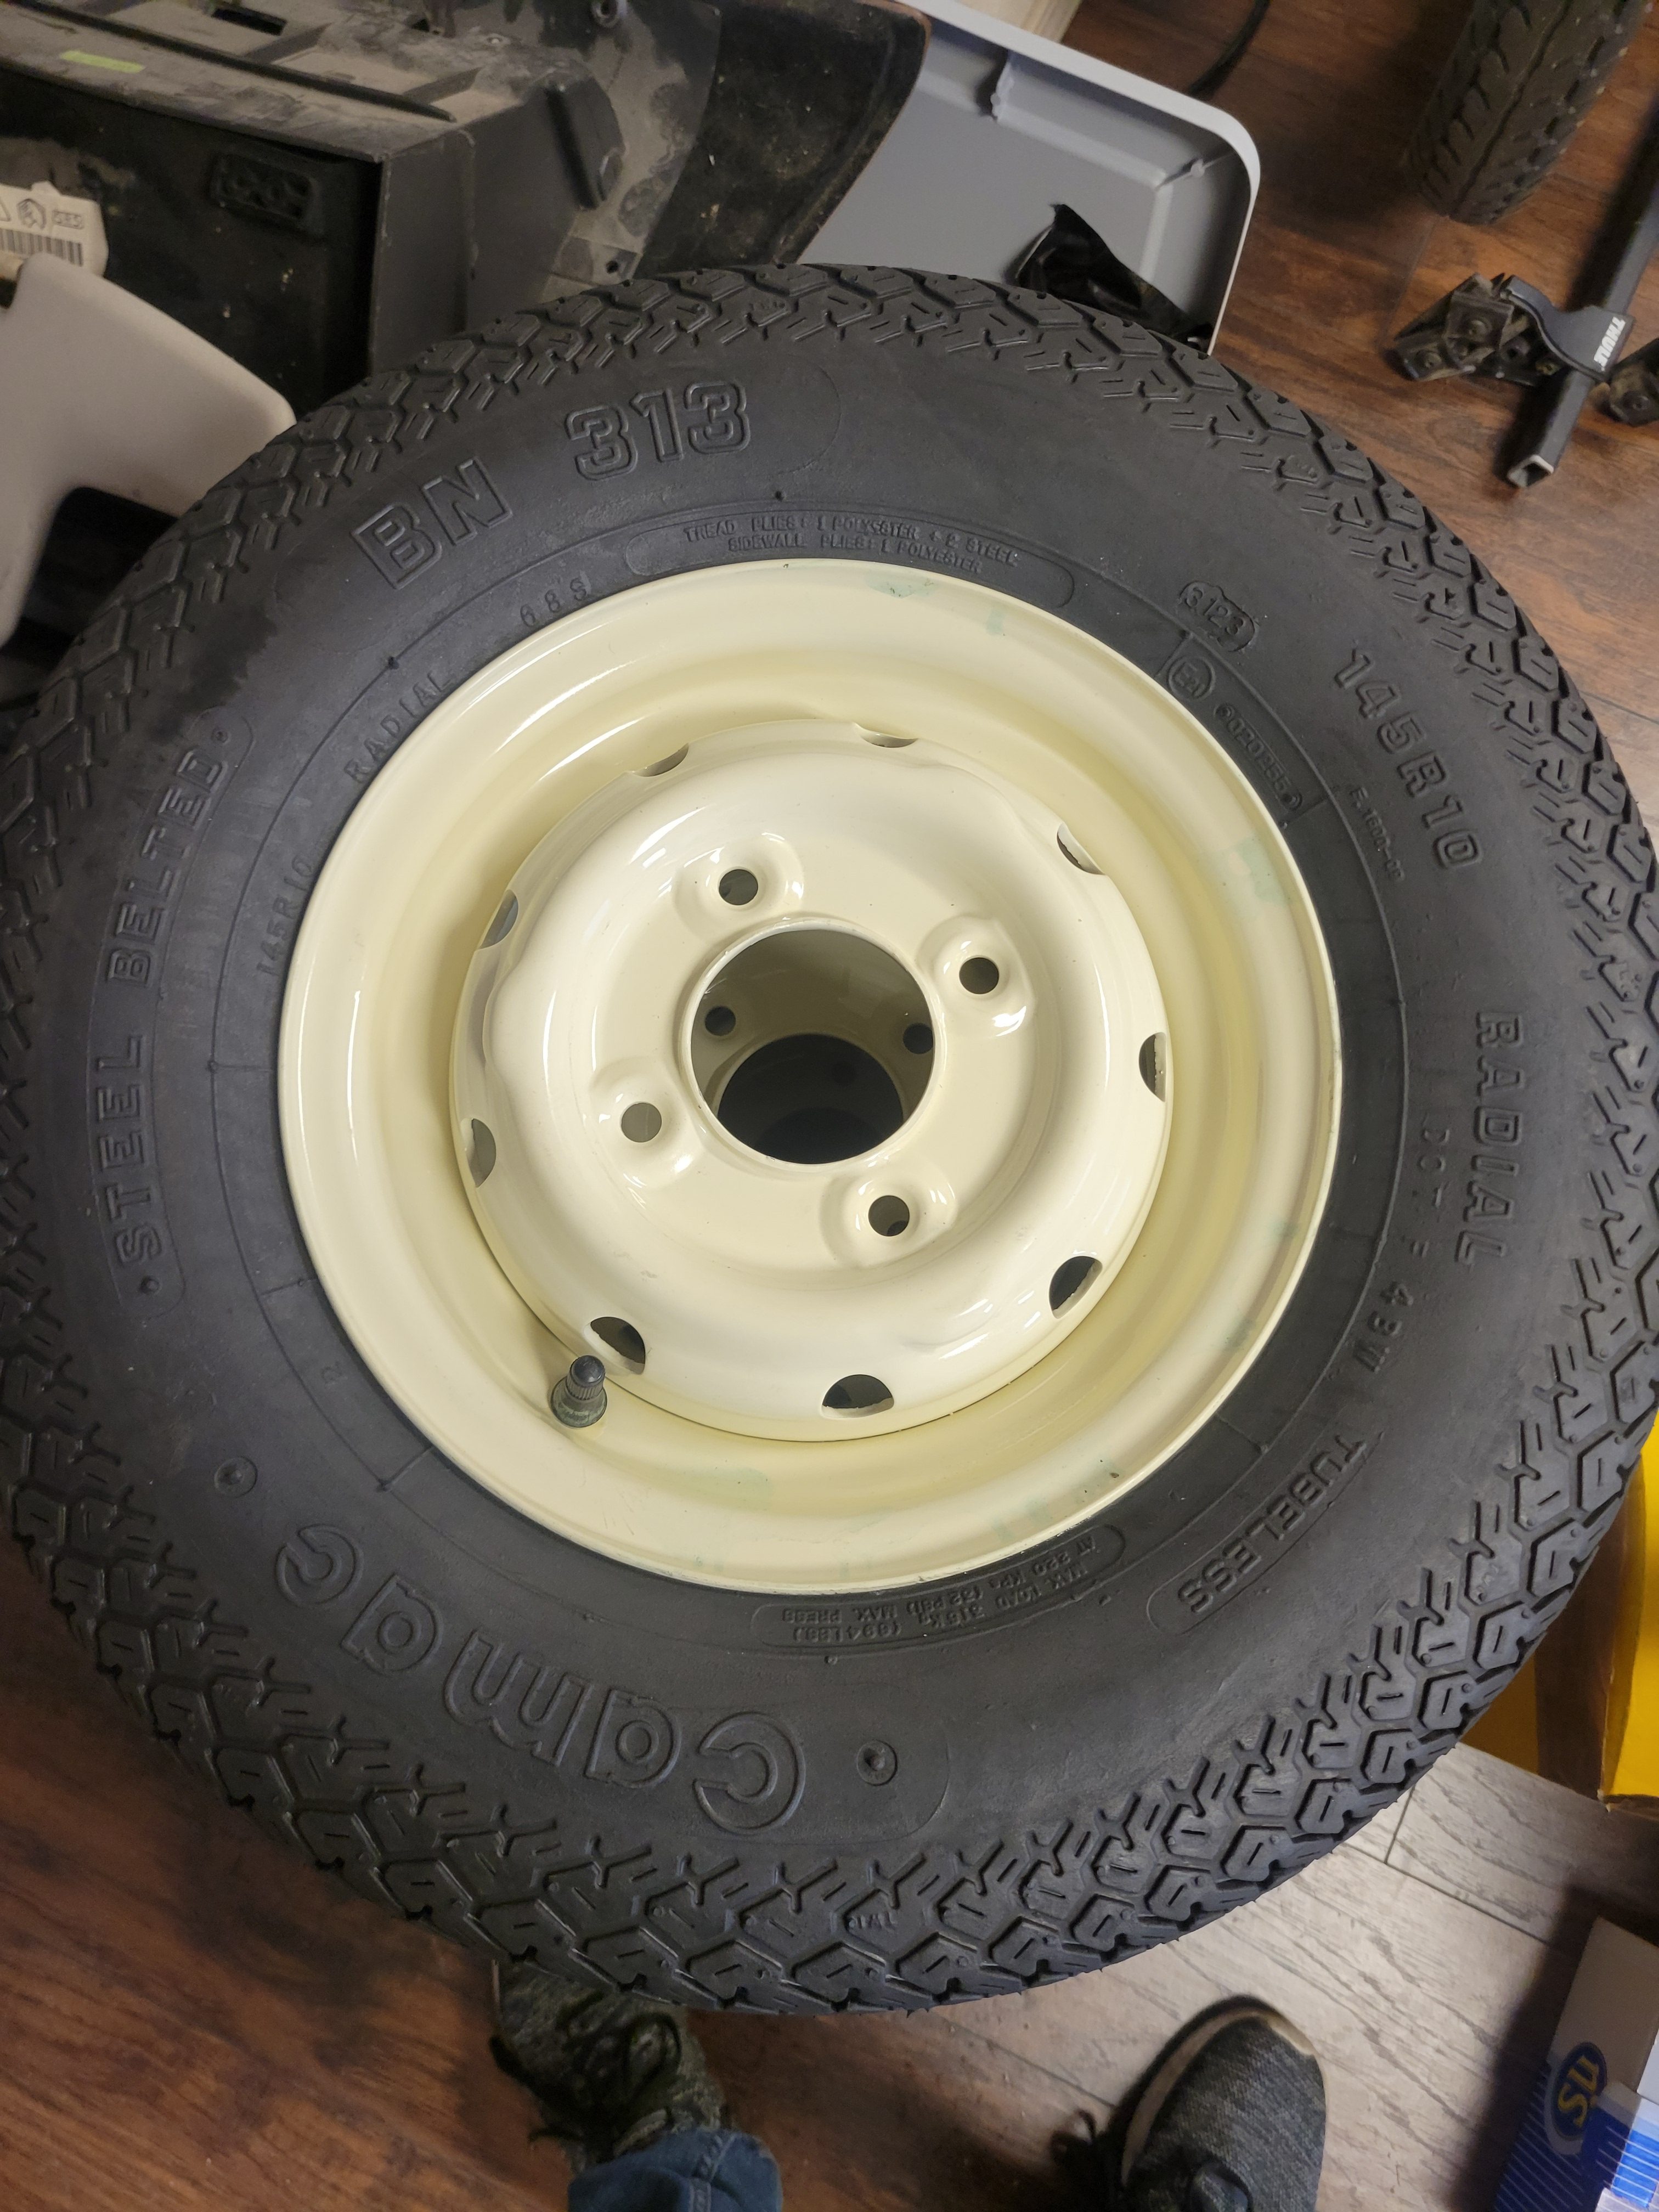
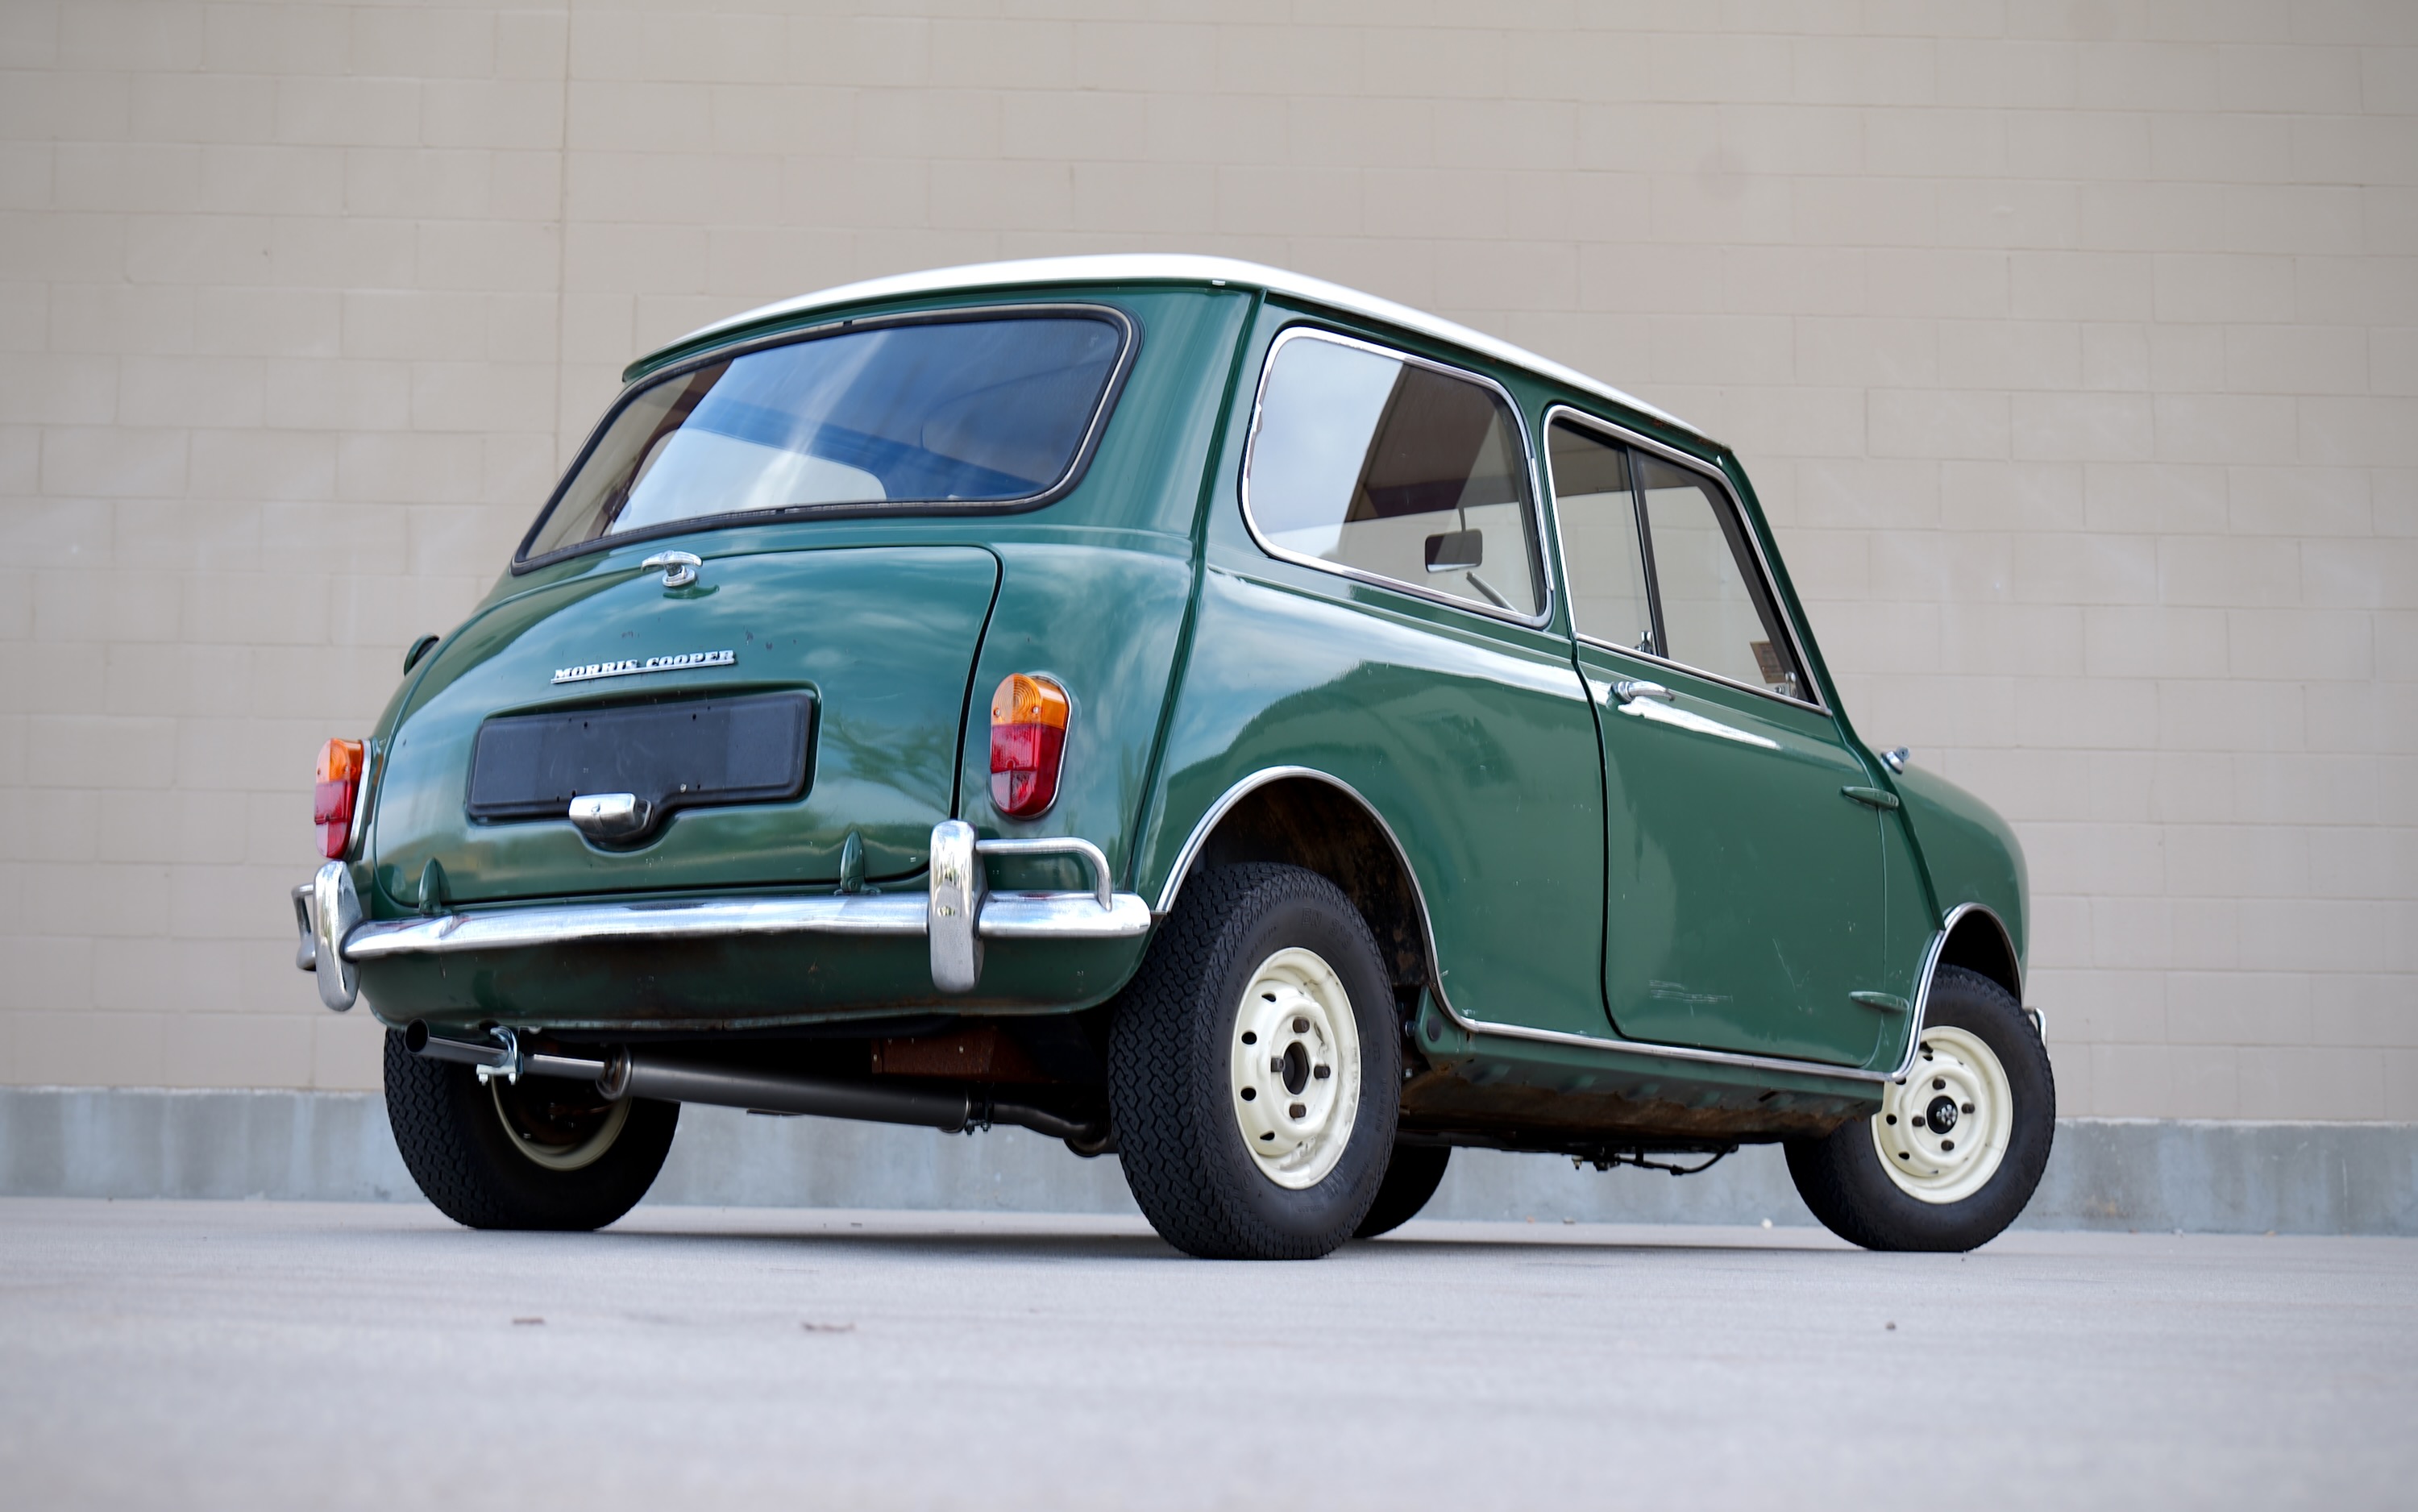
With the brakes working and the suspension all together, we were finally able to lower the car back onto the ground. When we got the car, it was riding on its original steel wheels with old snow tires. Since we wanted to drive it, we decided to order a set of new wheels and tires. No one makes the original 997 wheels, so we had to go with the later style wheels. They look great, and we know they are safe. The original wheels and caps are included, so the next owner can have them restored. With it finally back on the ground, I got to work buttoning the engine bay up and tuning the engine. While it would start, it didn’t run well. I had cleaned and resealed the carburetors, but didn’t do a full rebuild. After checking for leaks, I discovered the shafts were leaking air, so I took the carbs back off for a full rebuild. New bushings, shafts, and jet hardware were installed. Once I got the carbs back on, I set them to the default settings, and it fired right up, but still wouldn’t rev. I adjusted the ignition timing and started it back up. Once it was warmed up, I used our ColorTune tool and set the mixture on both carbs. It now revs great and idles smoothly.
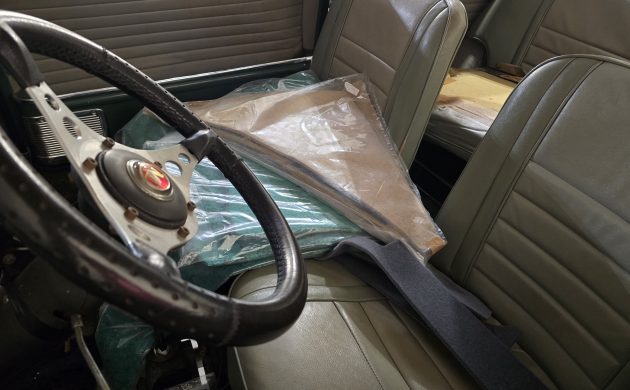
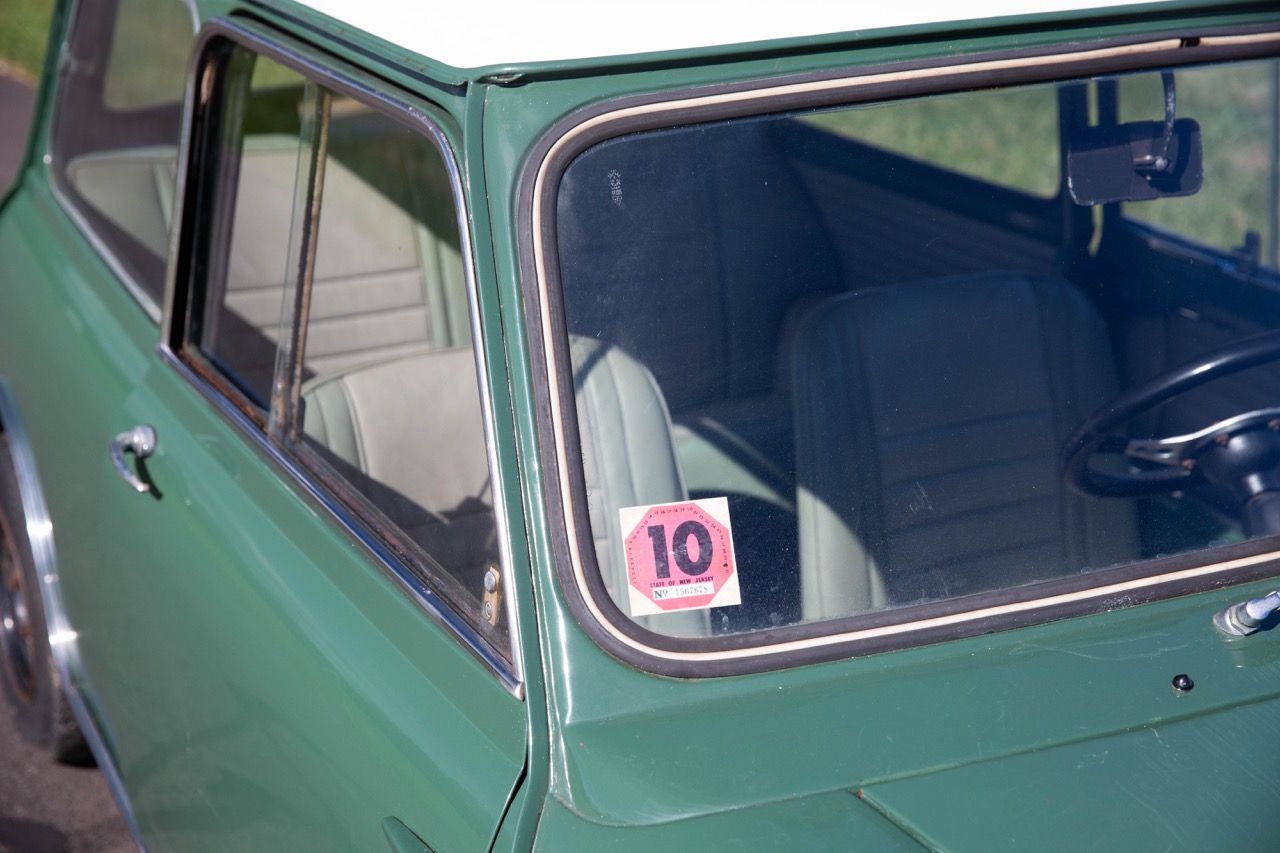
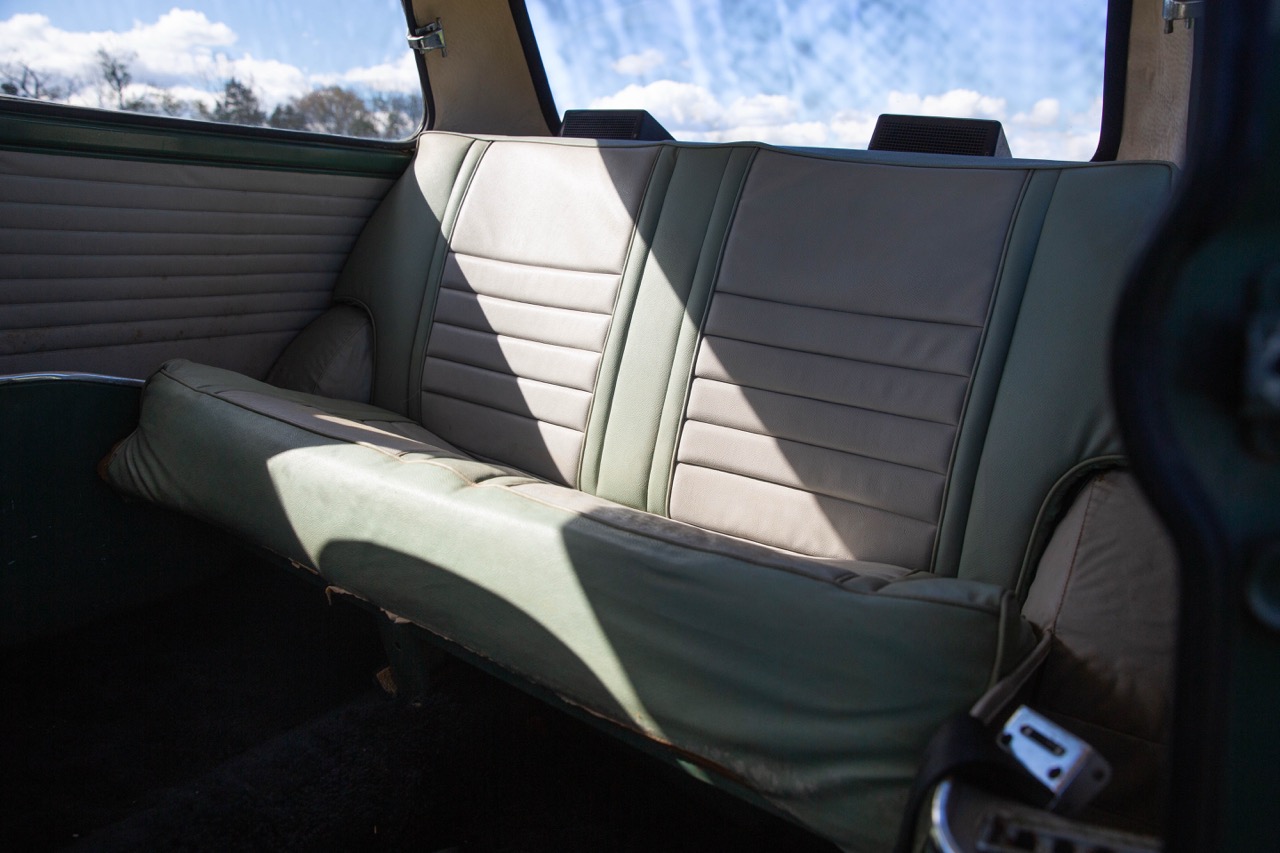
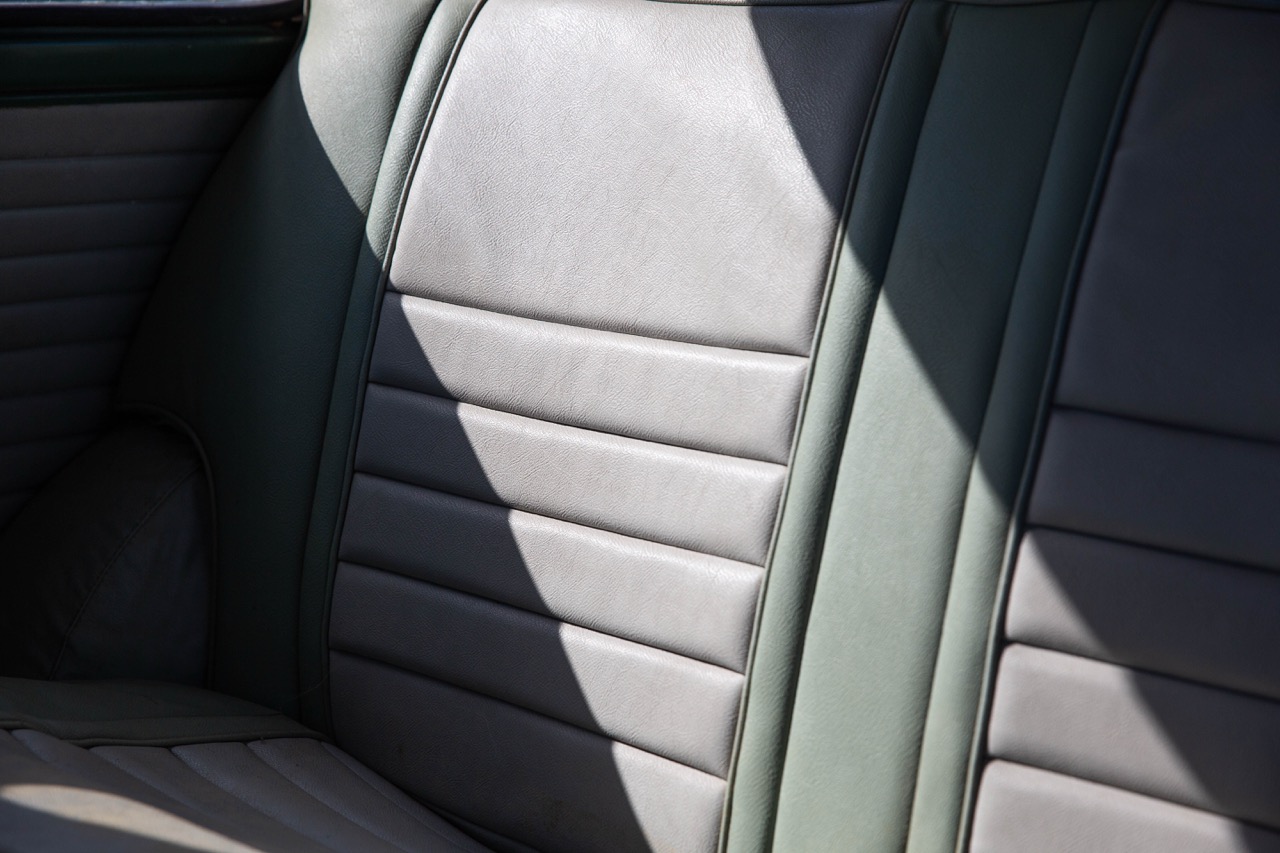
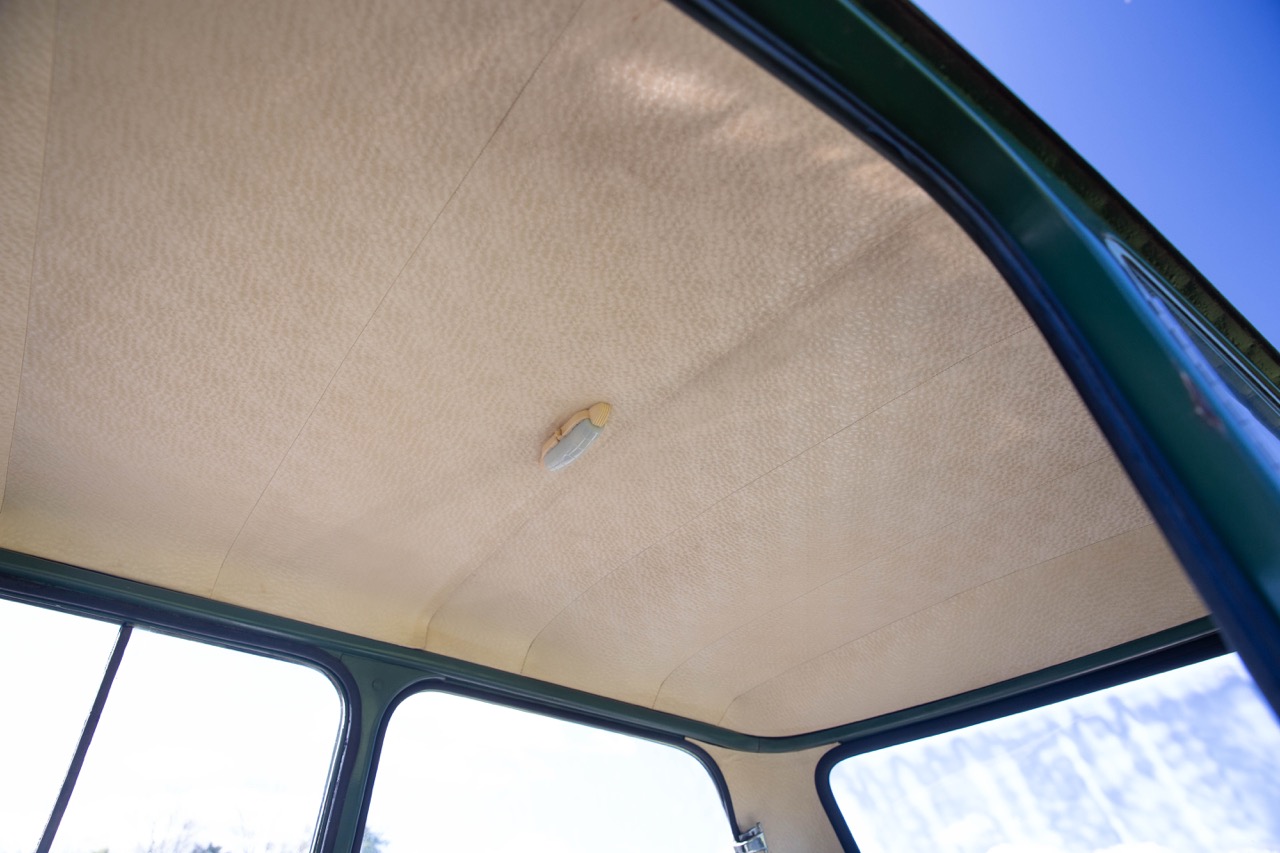
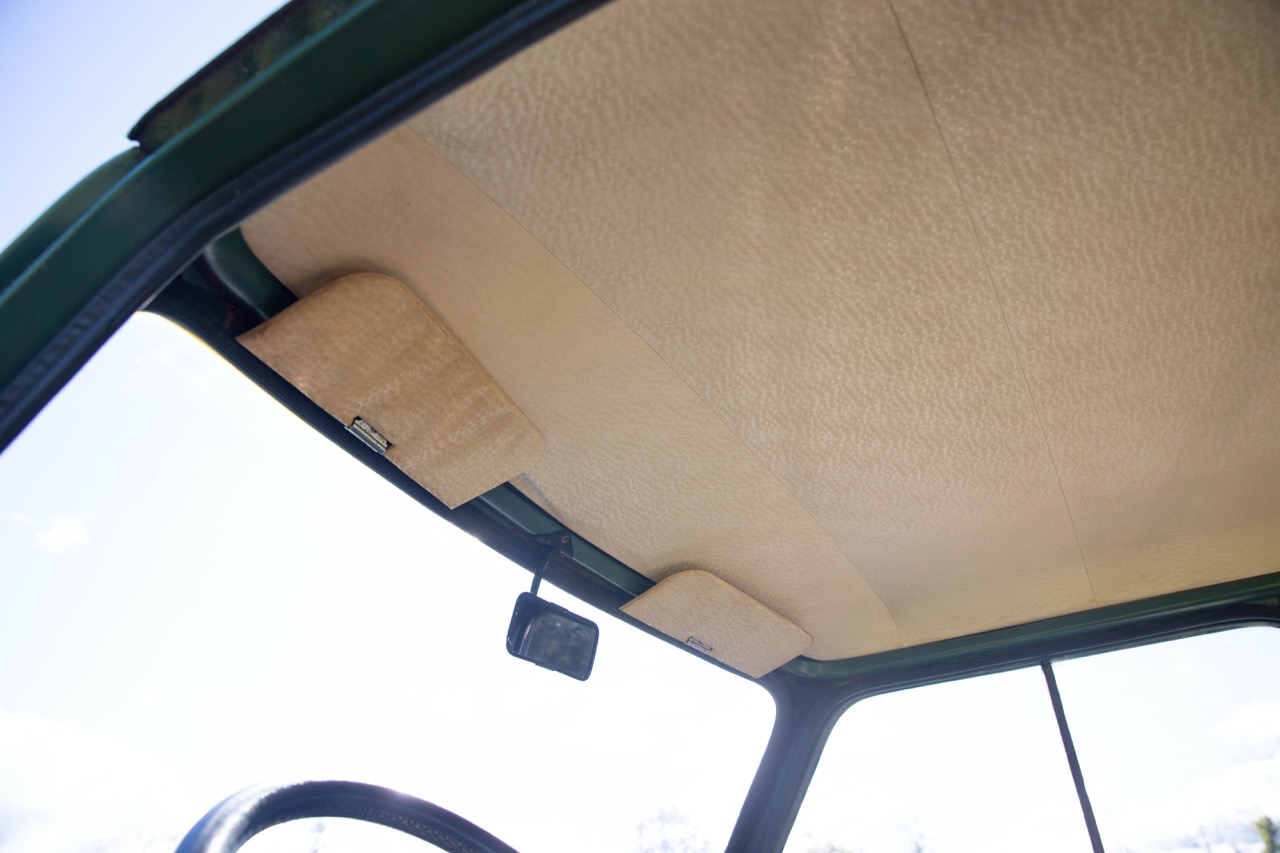
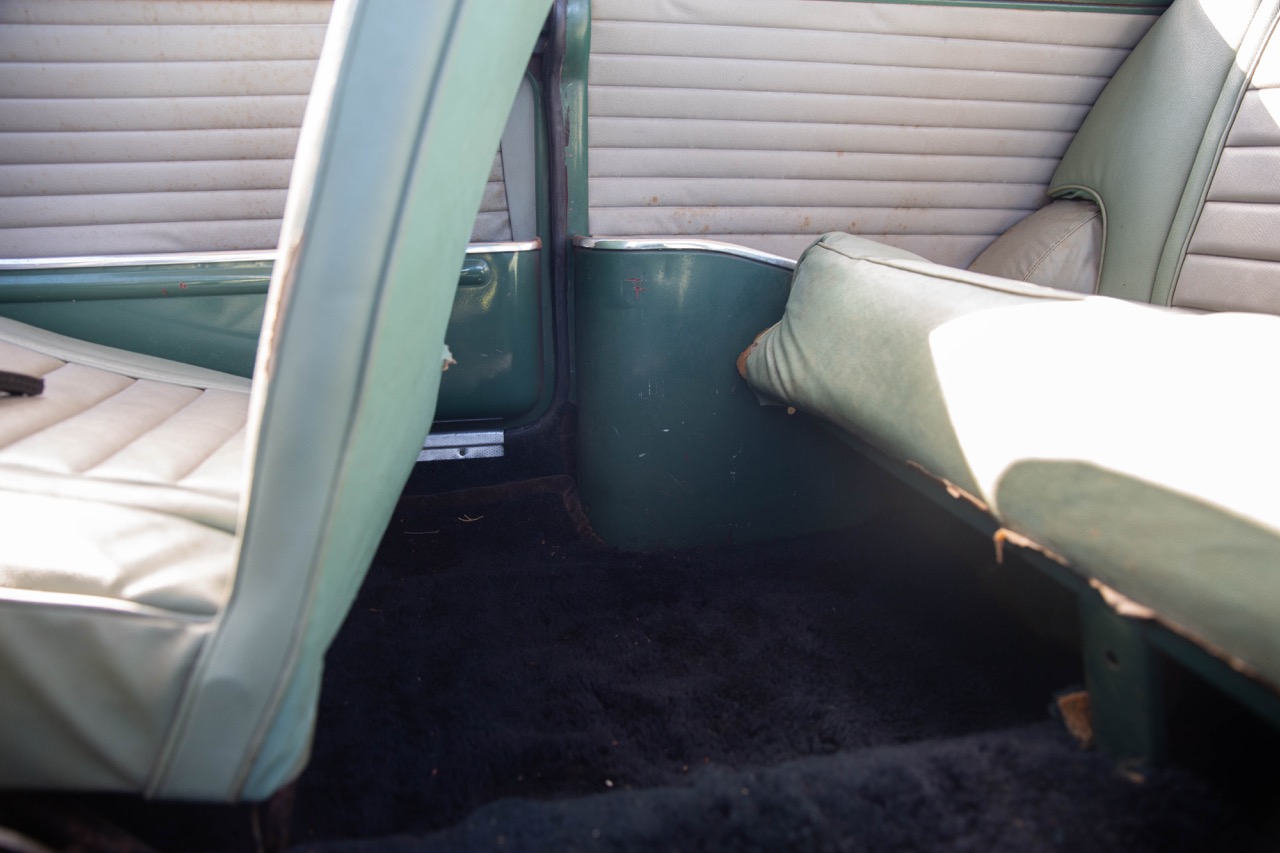
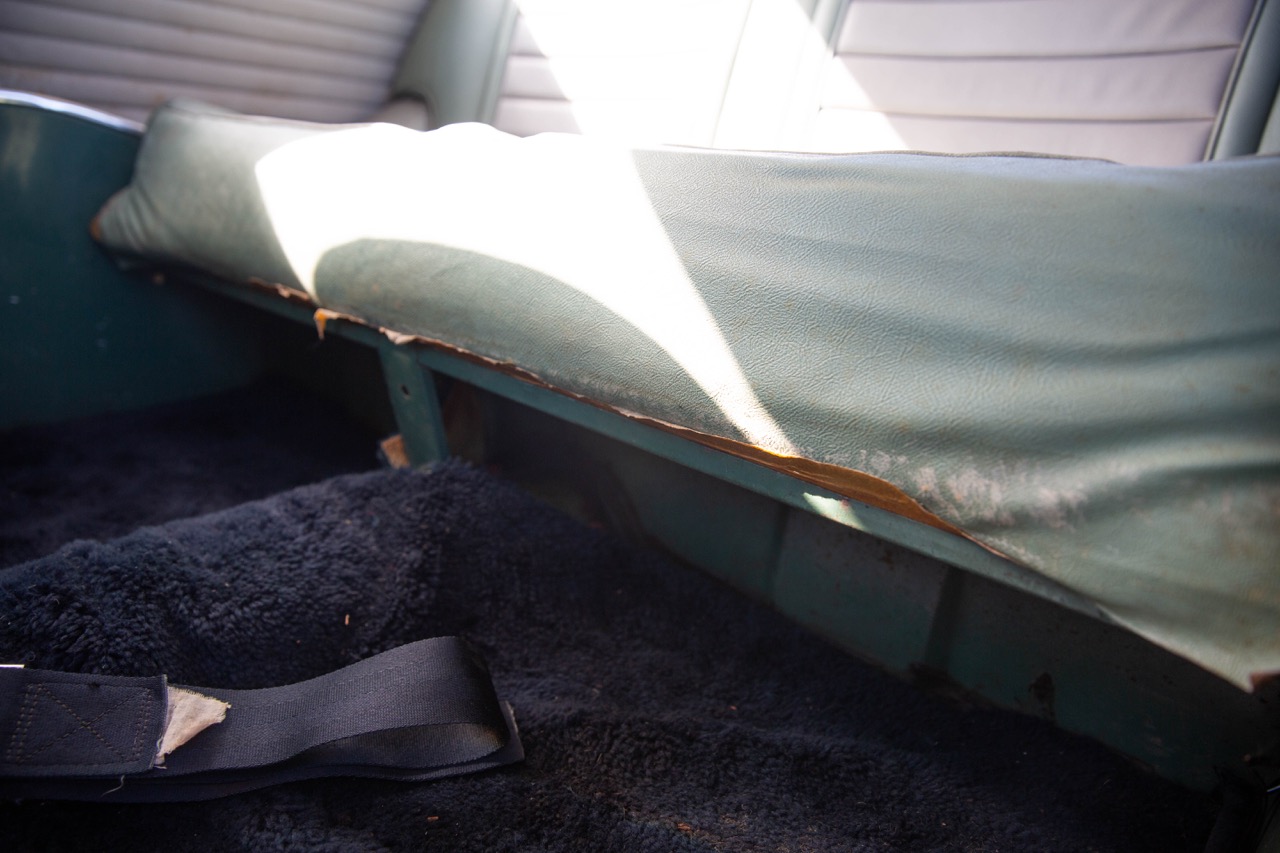
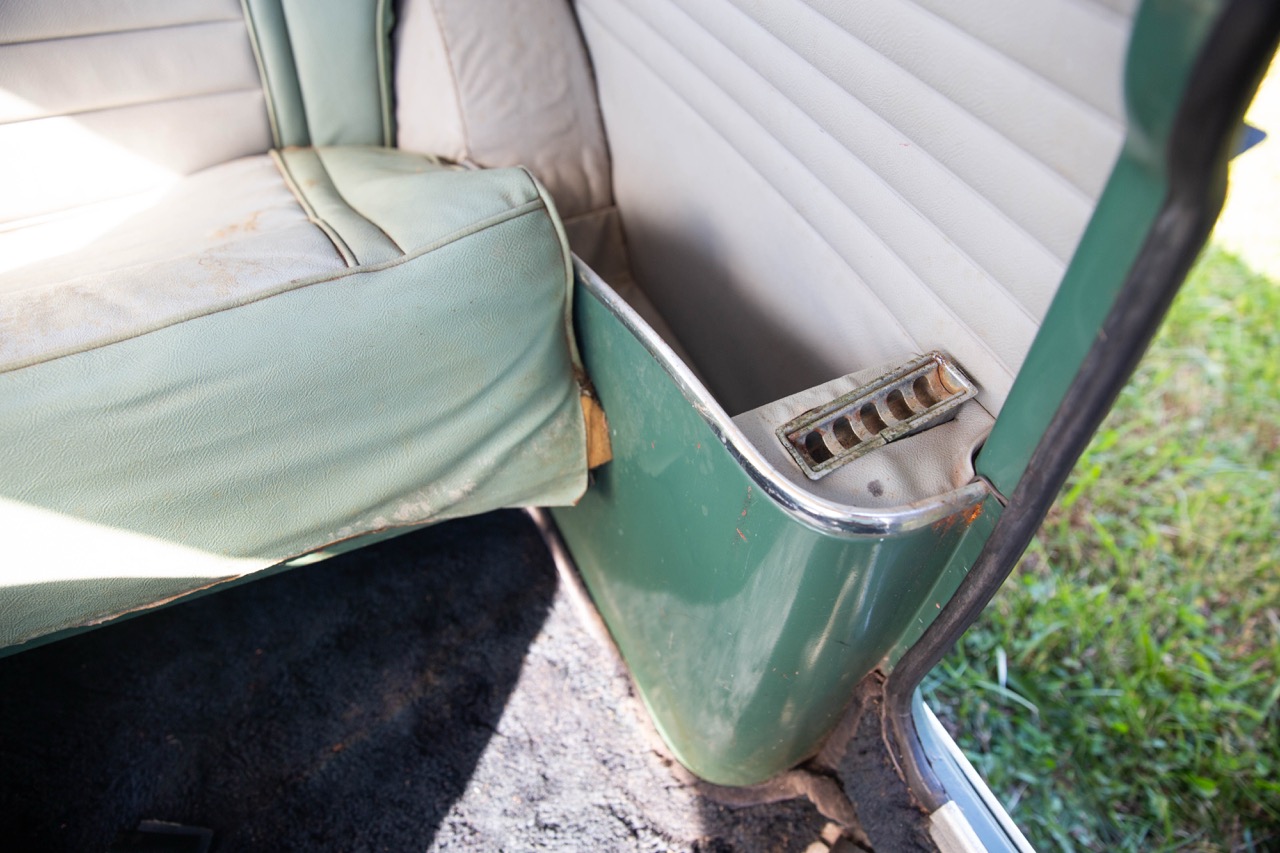
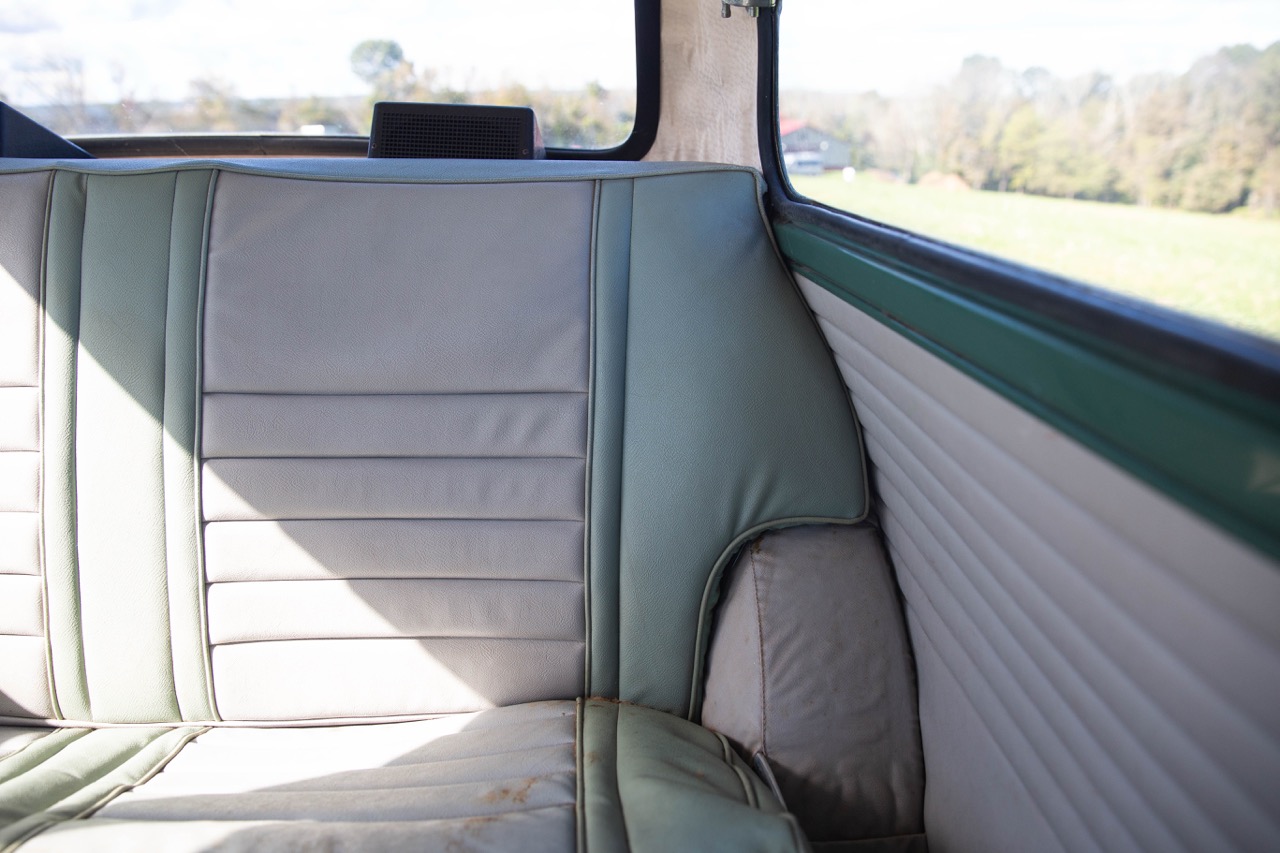
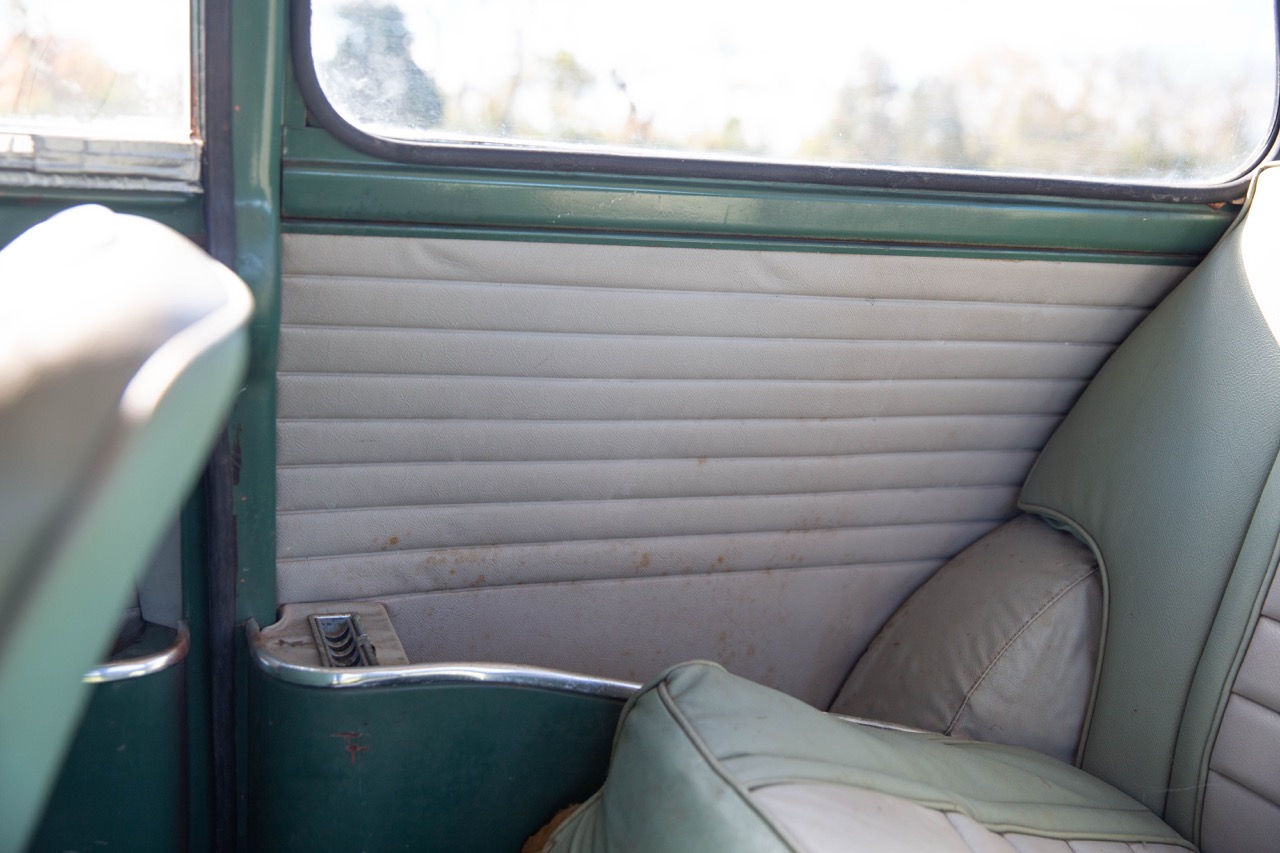
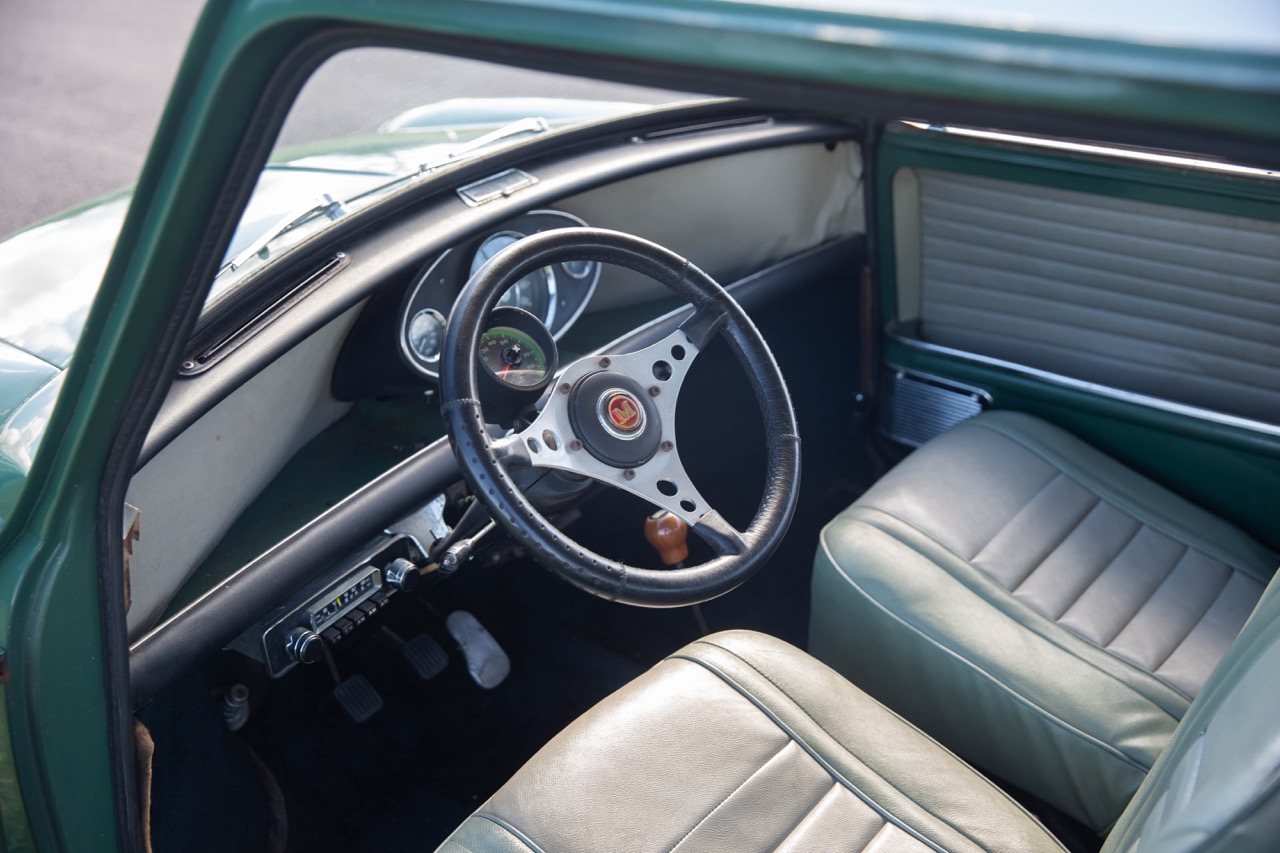
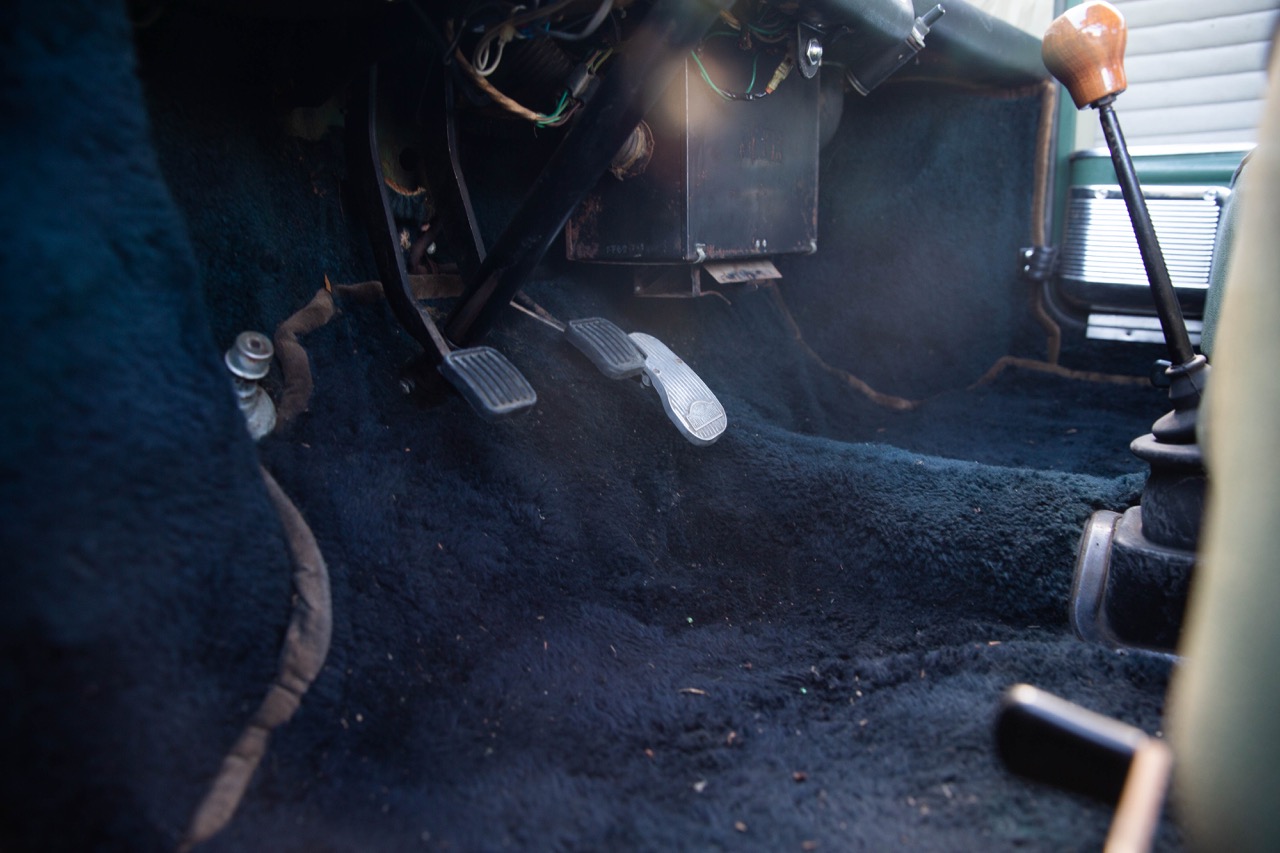
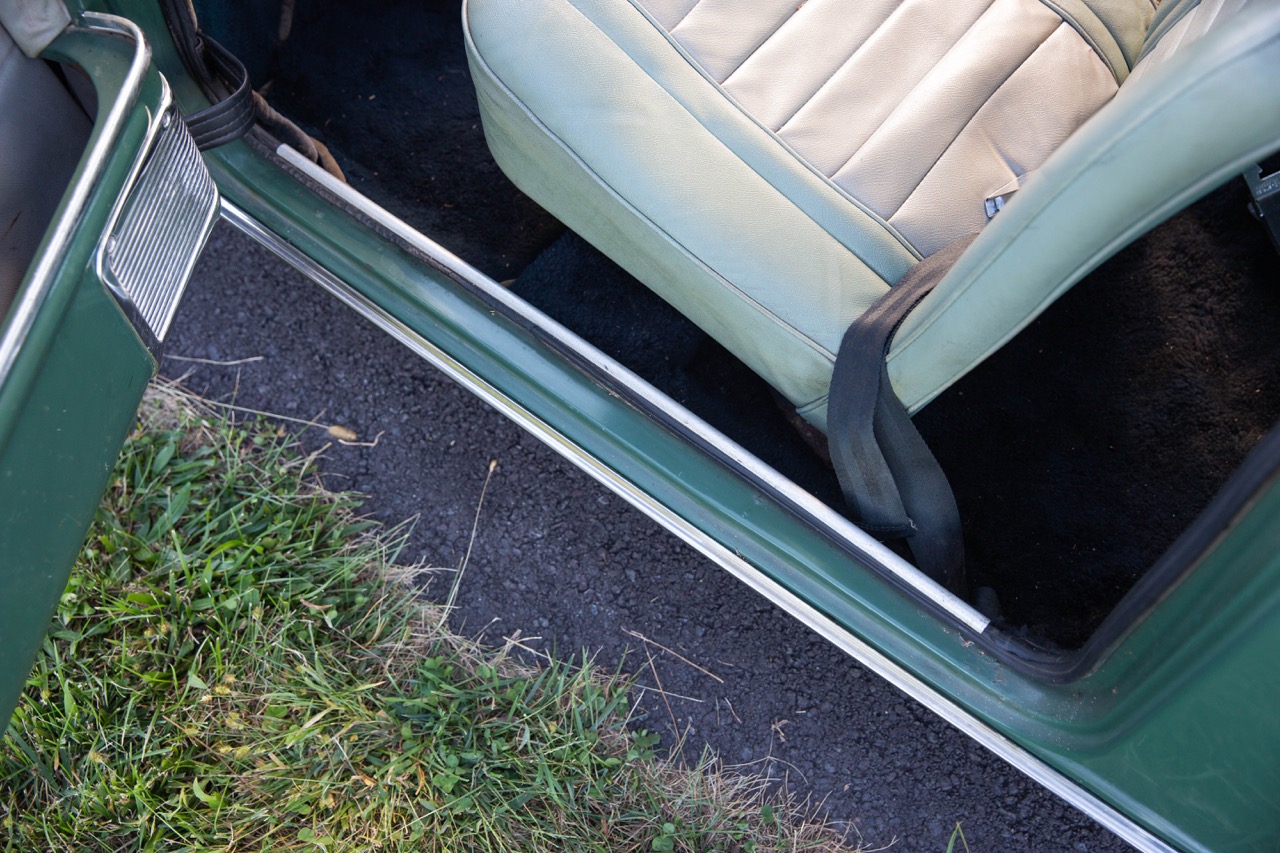
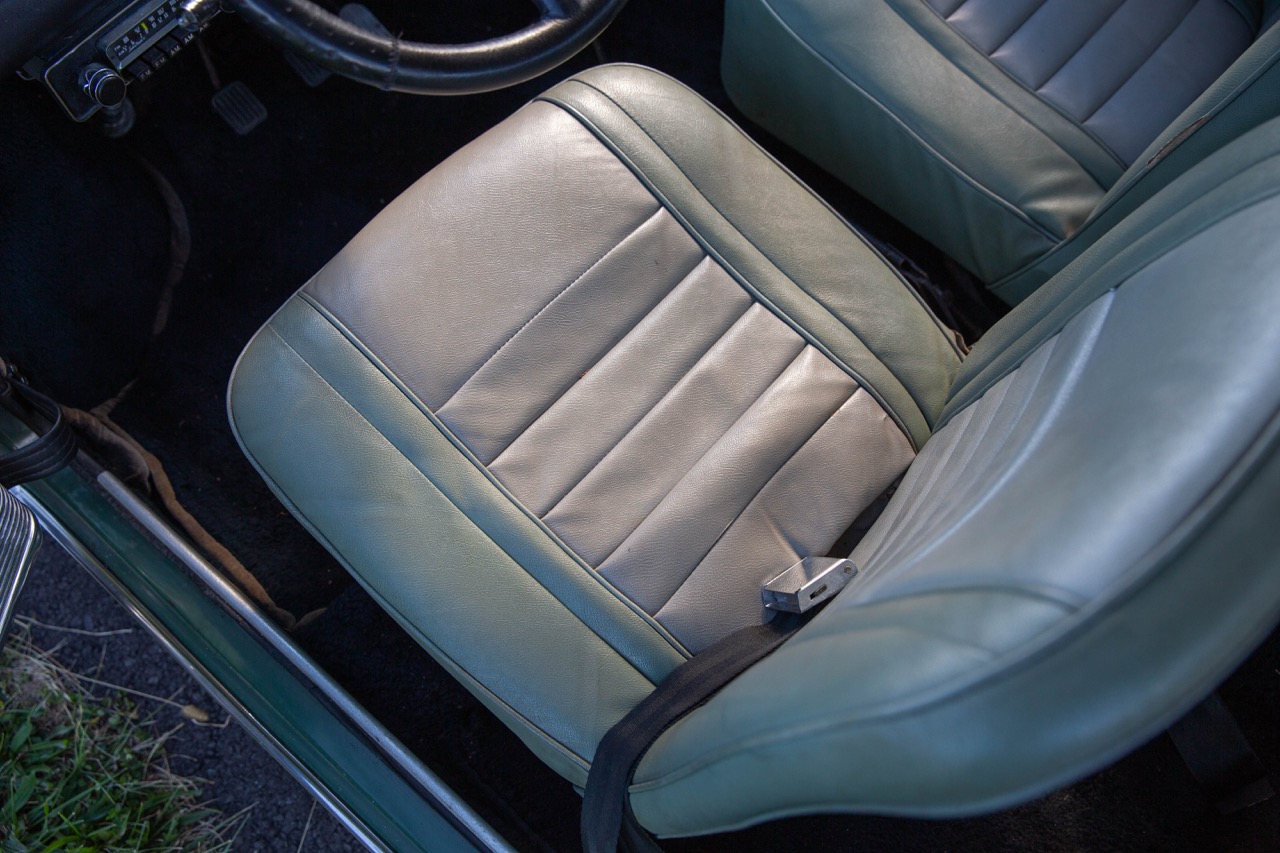
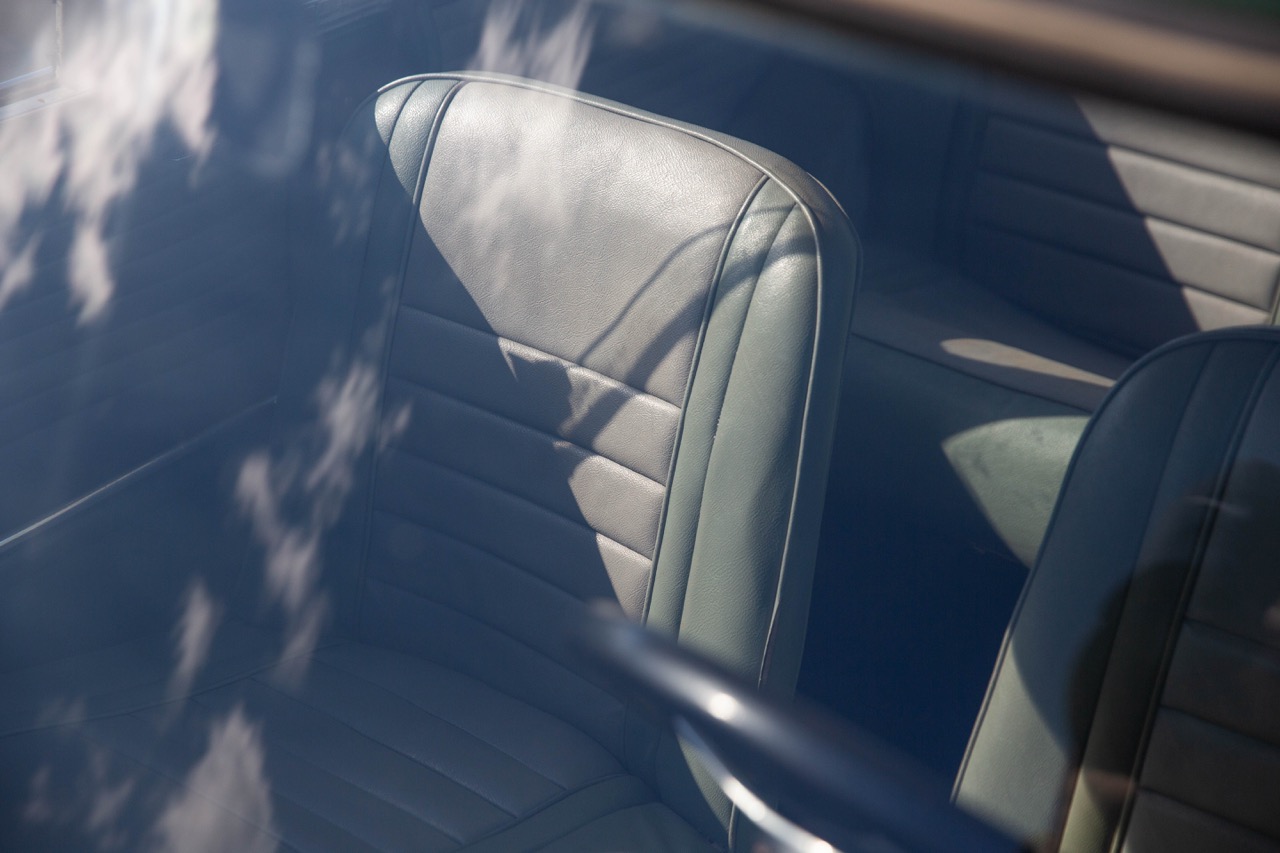
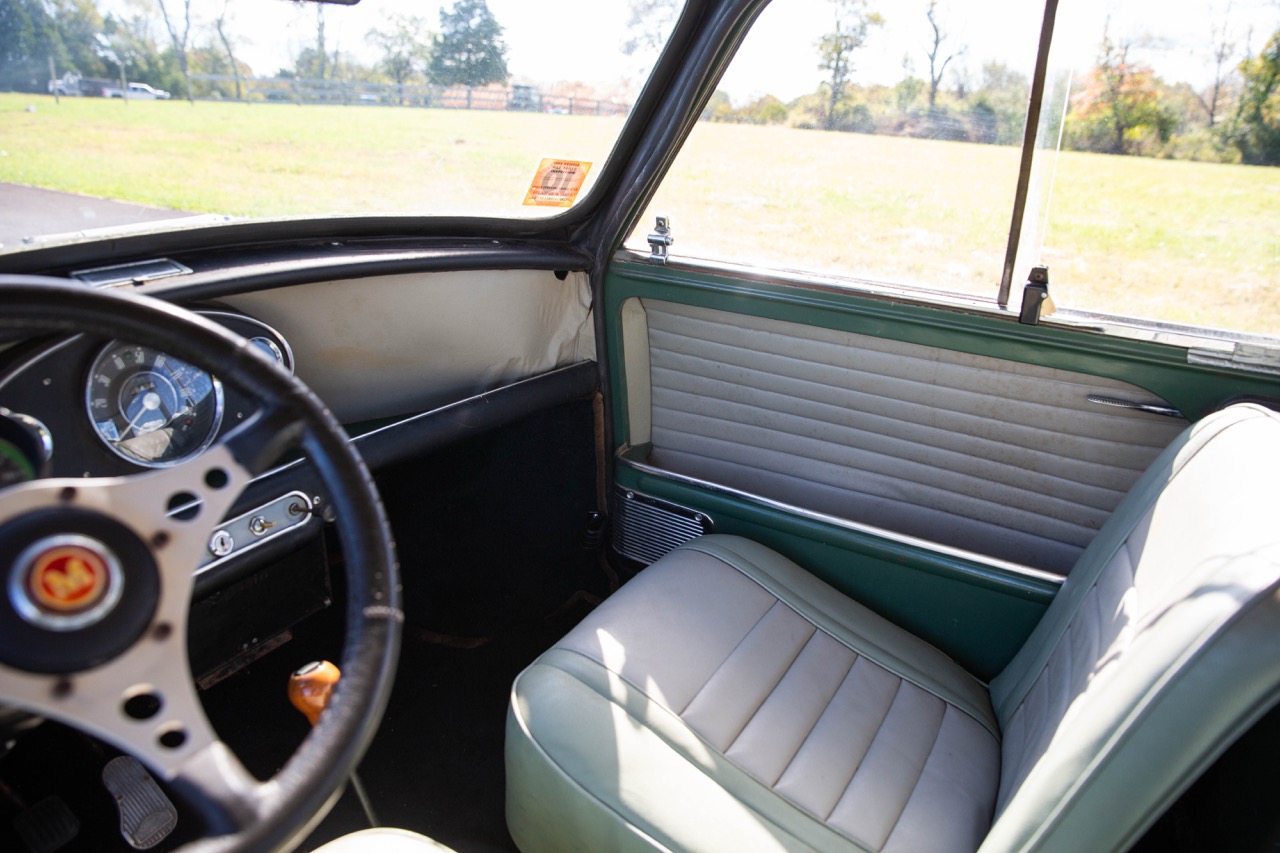
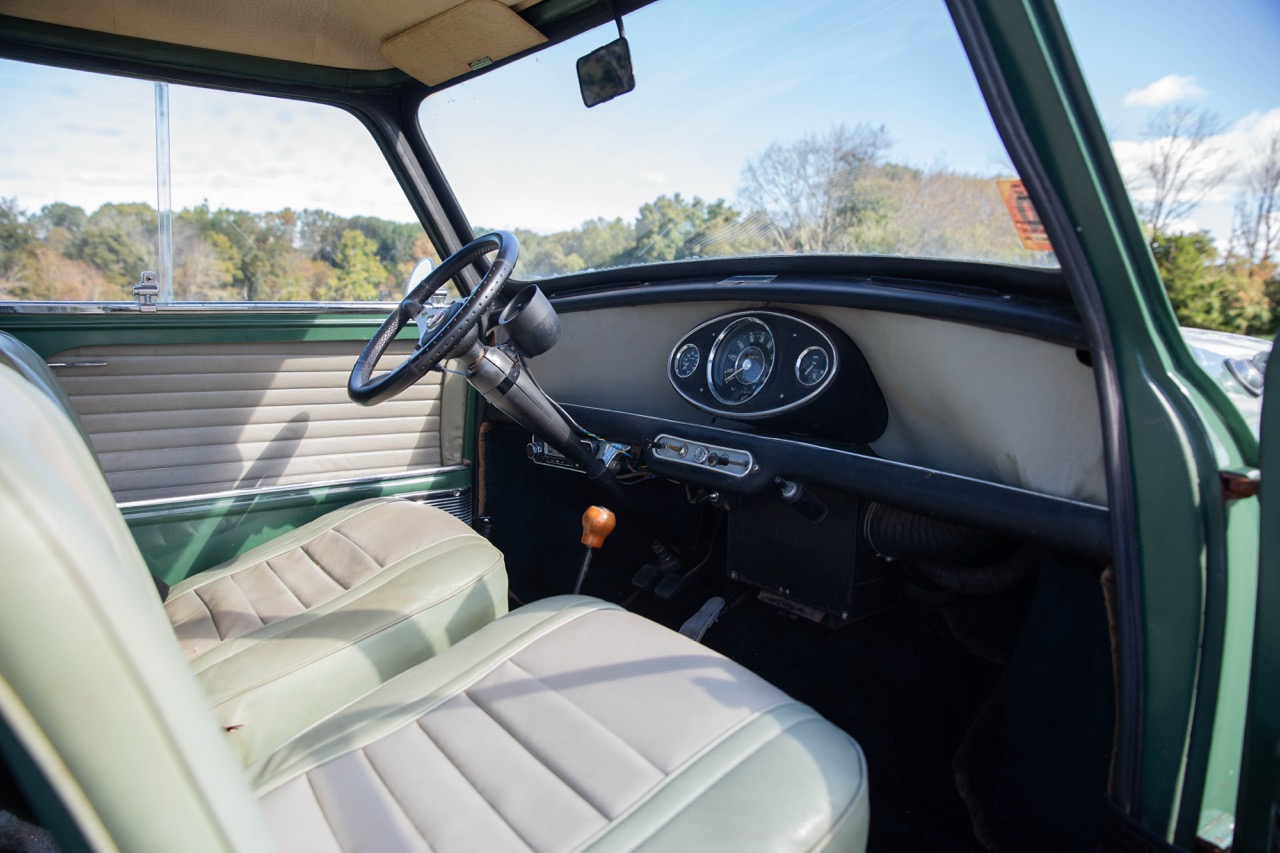
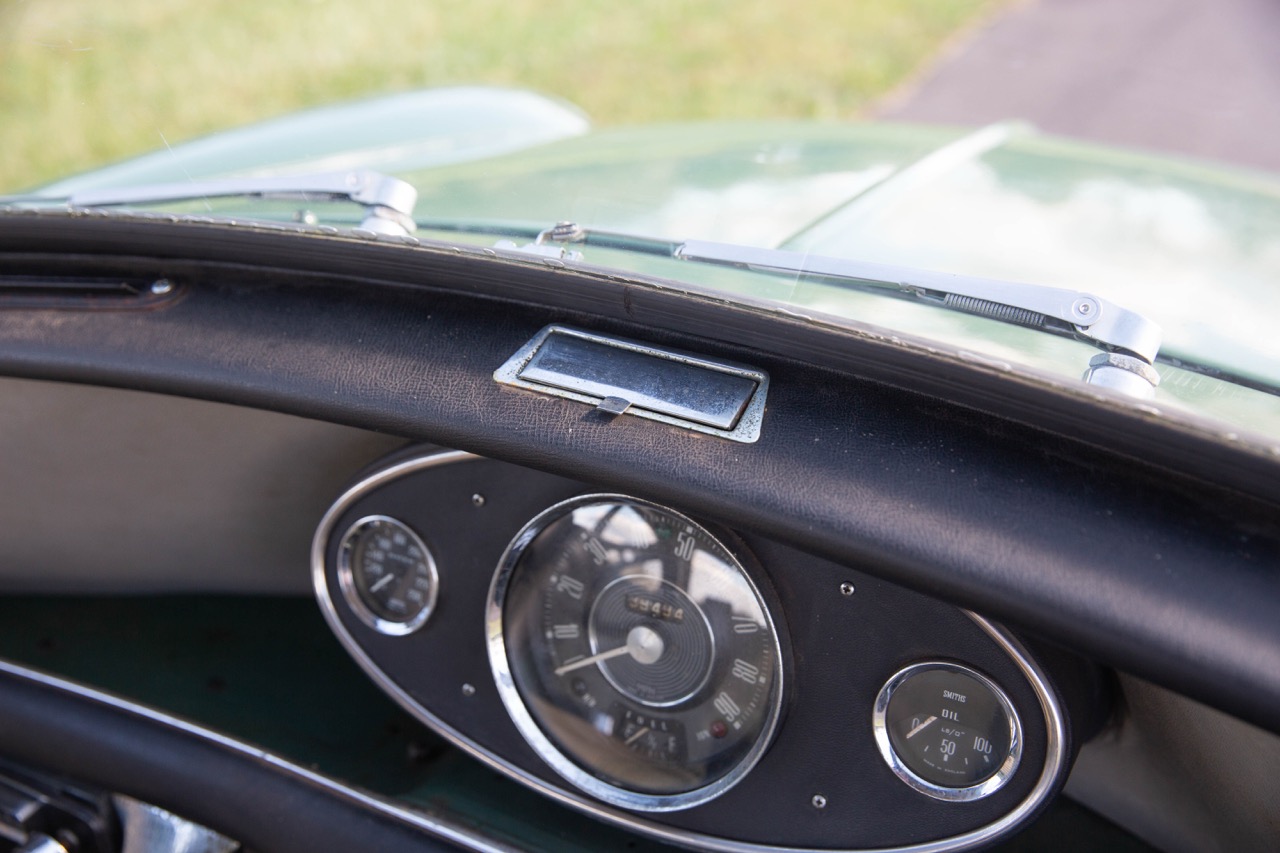
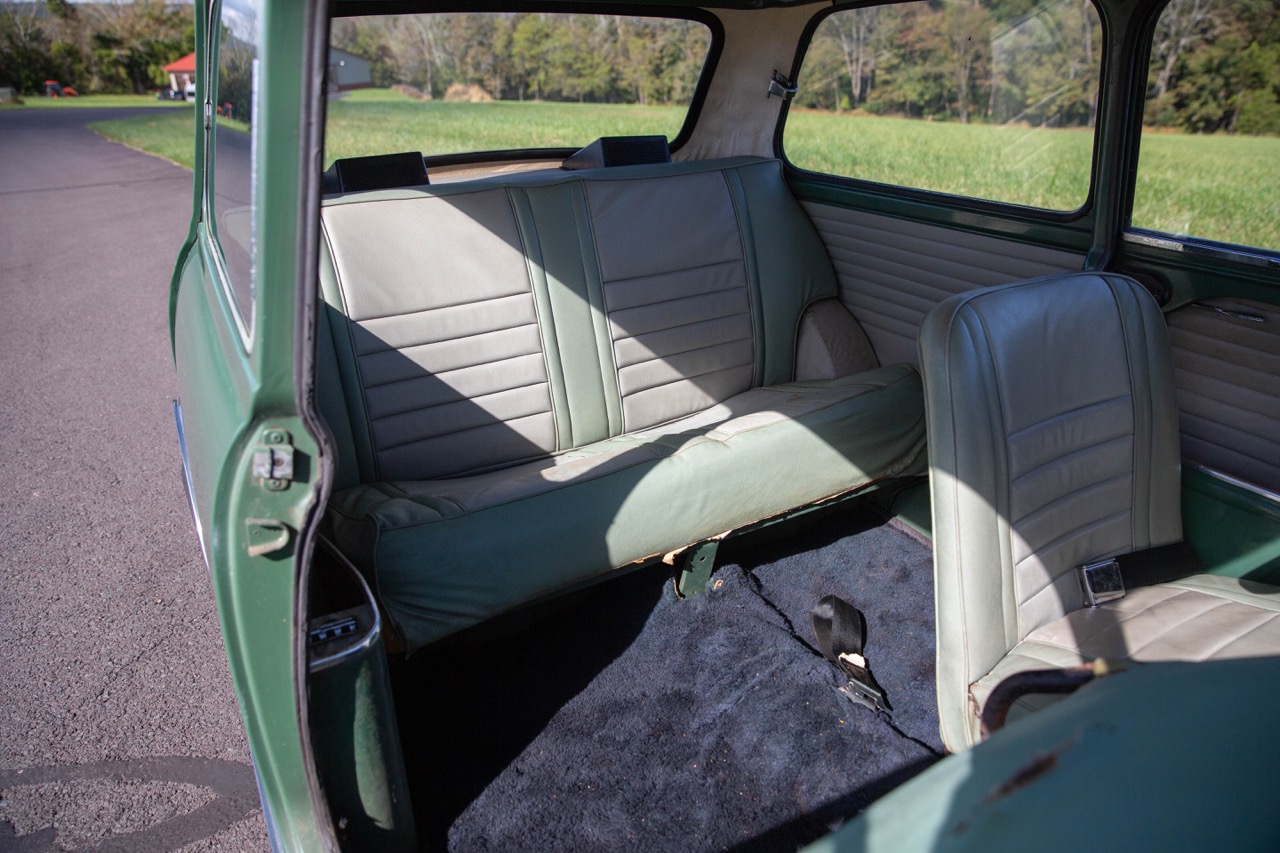
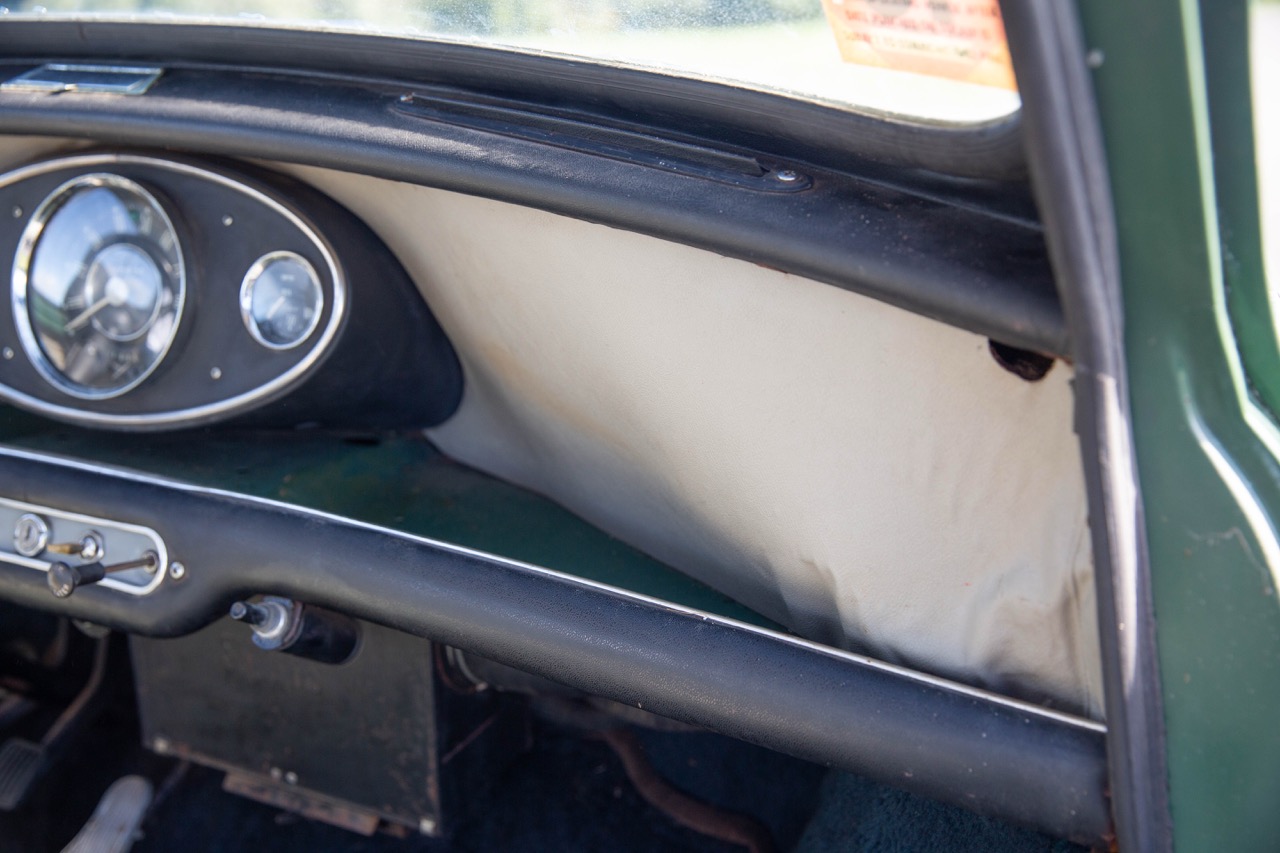
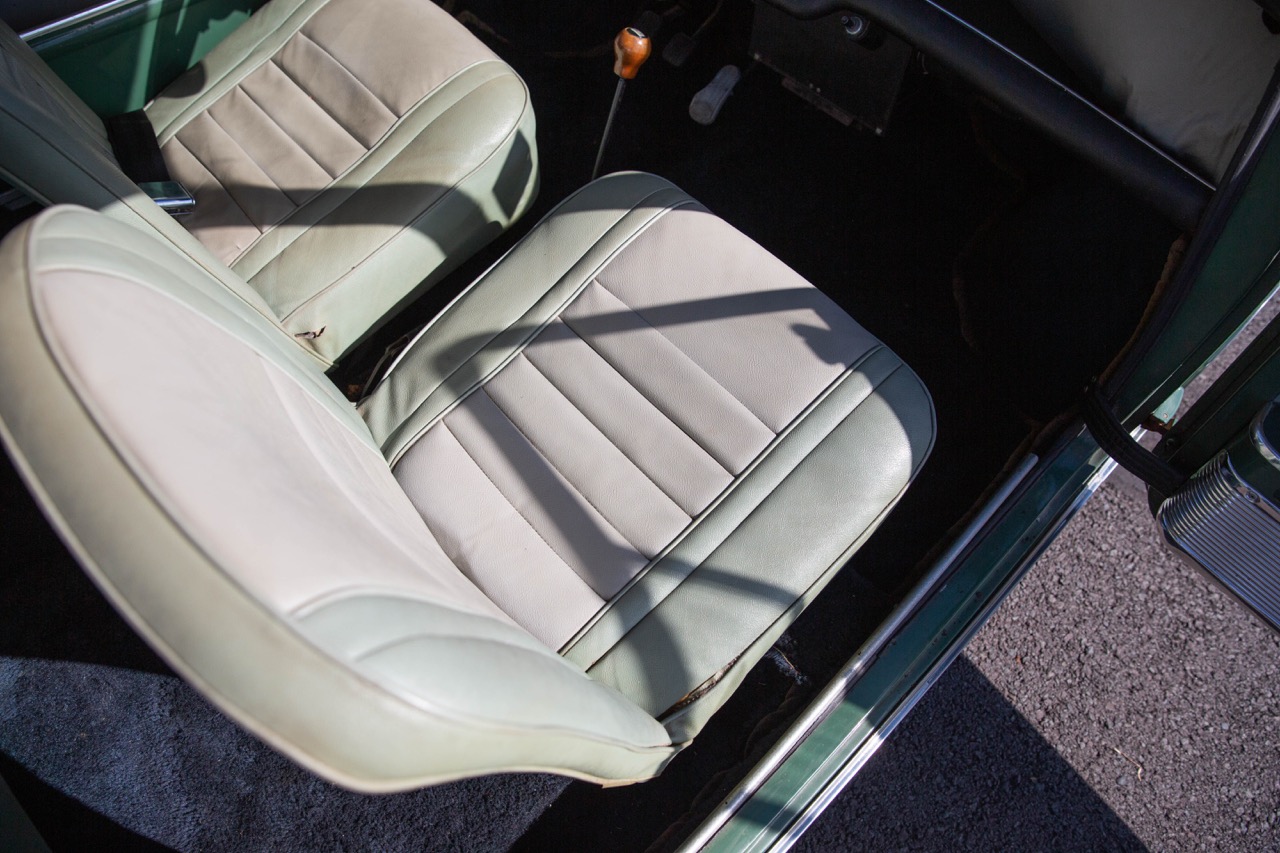
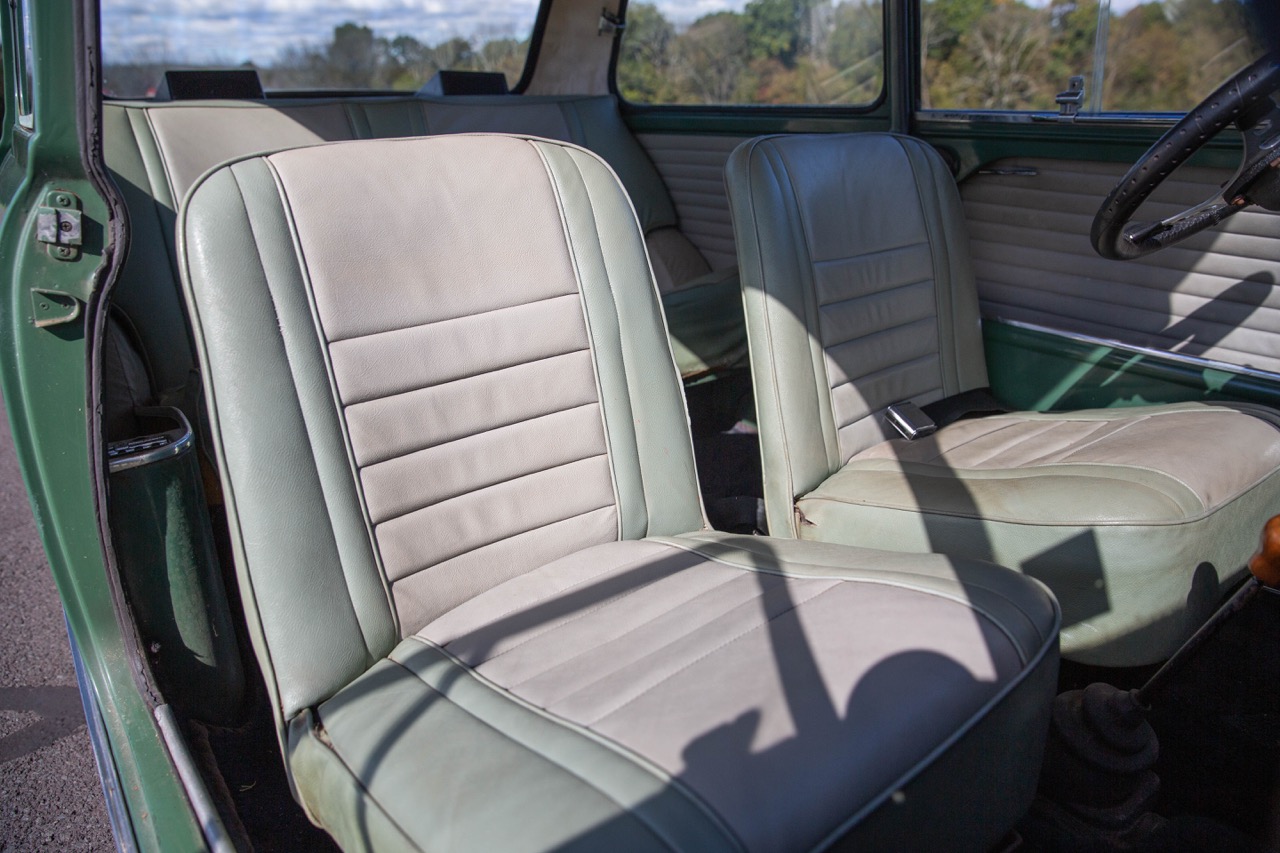
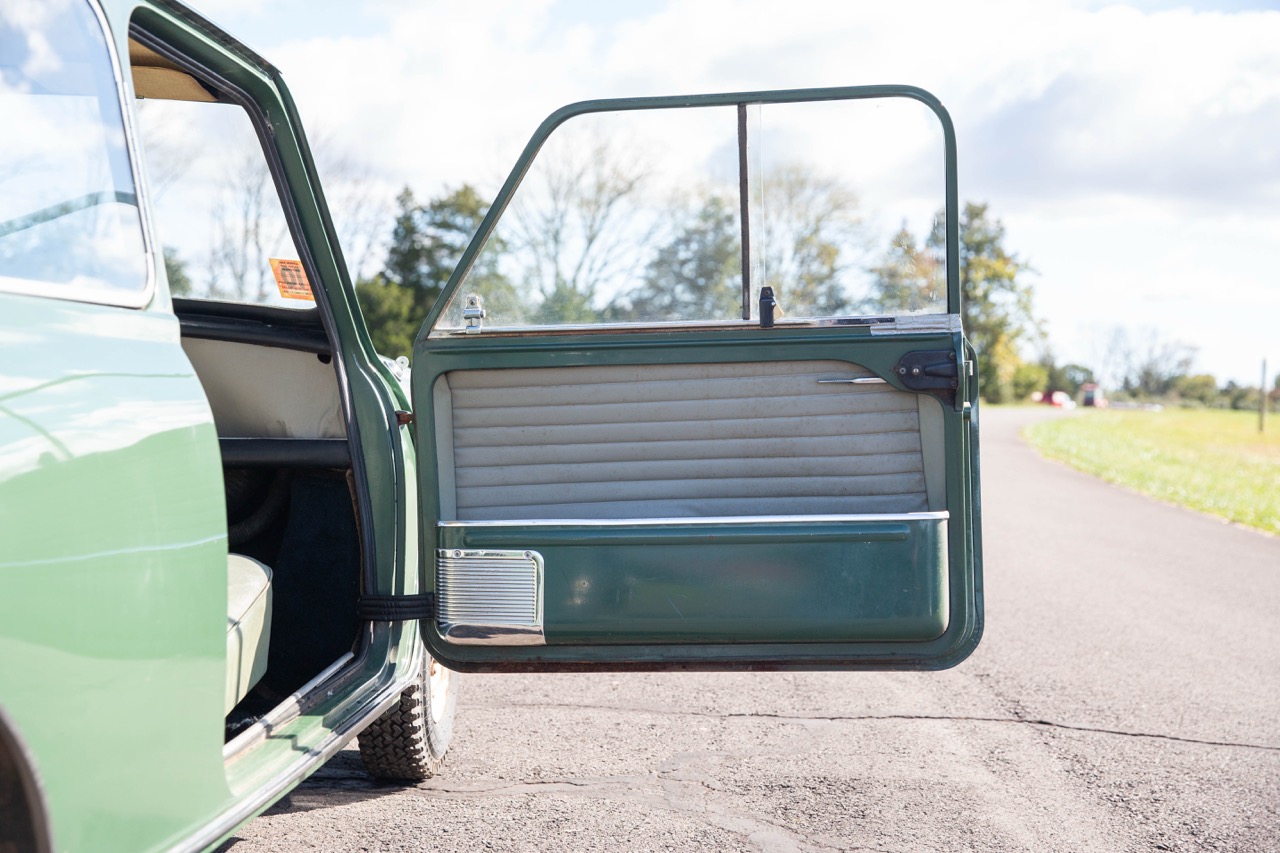
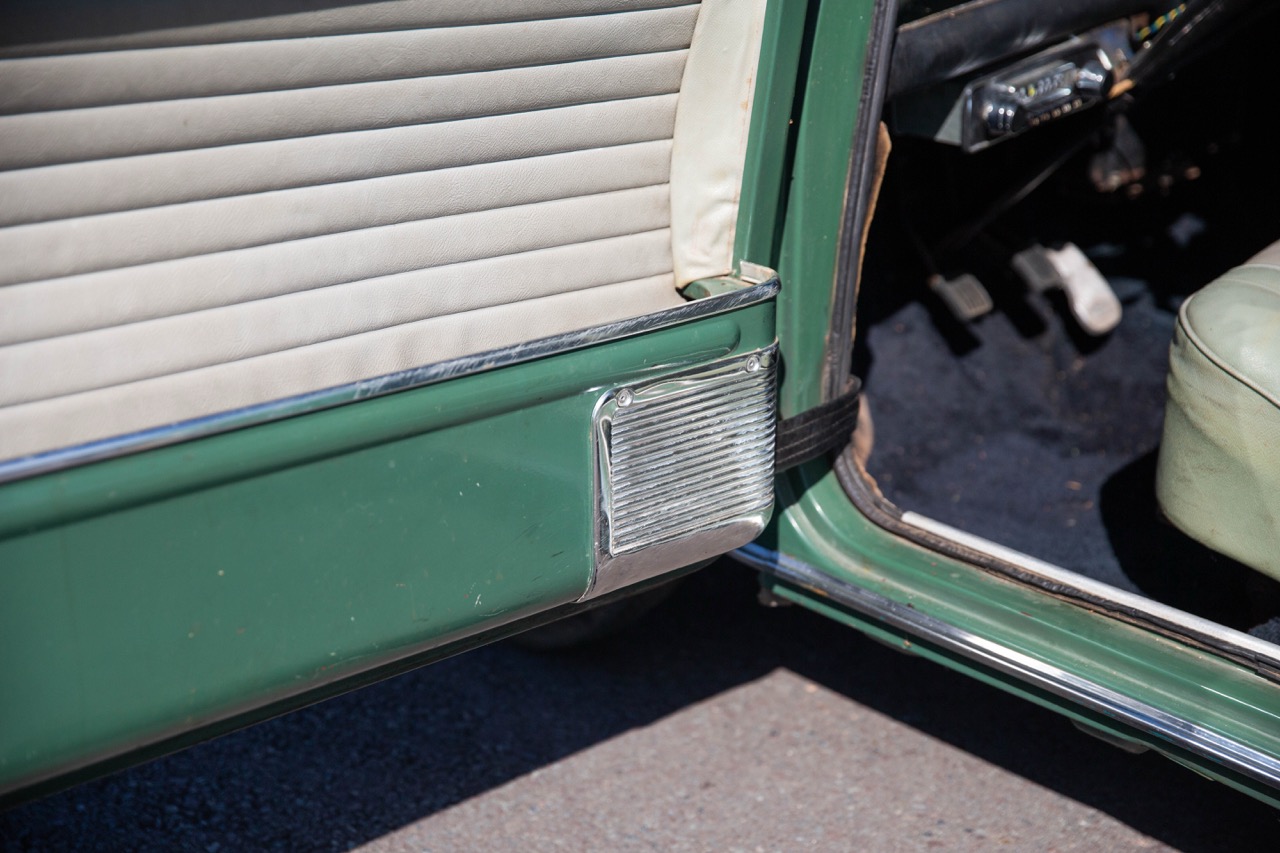
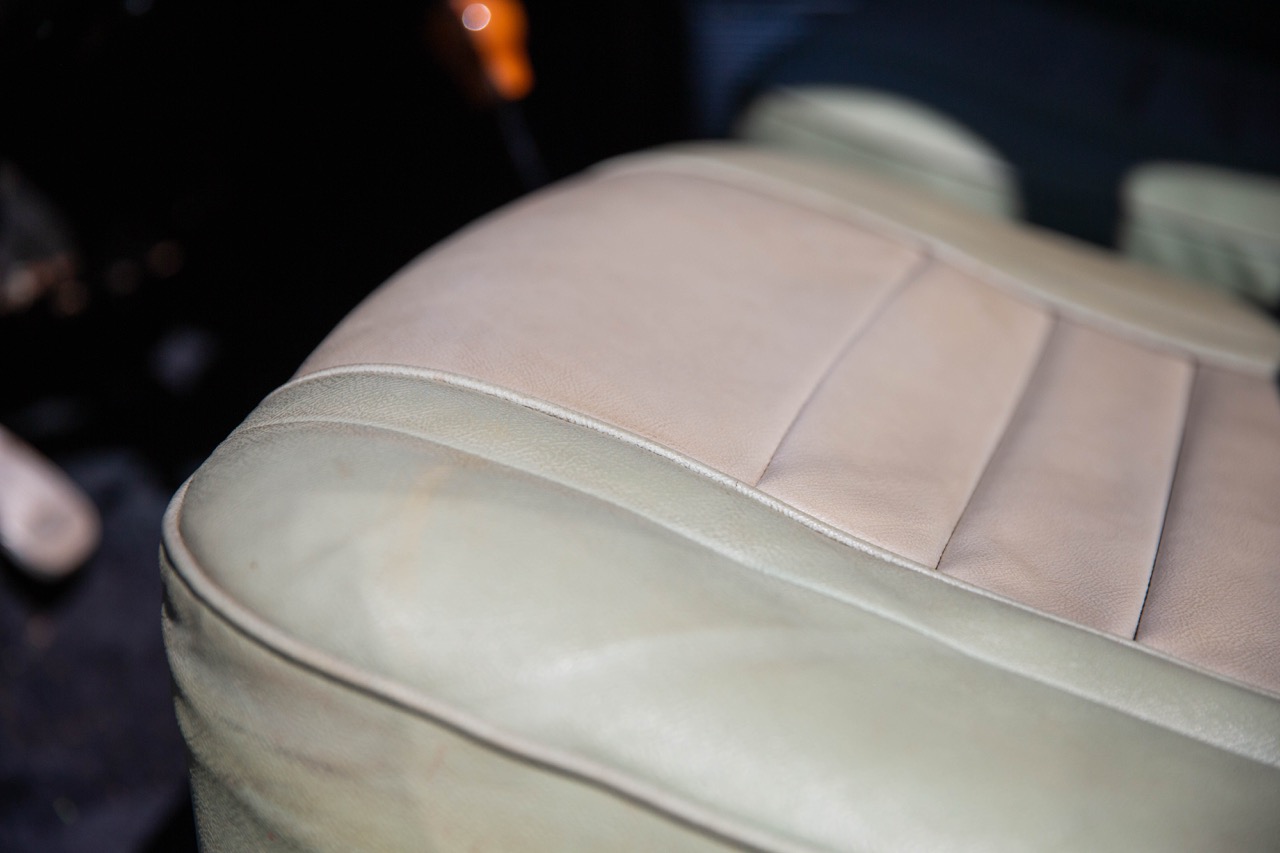
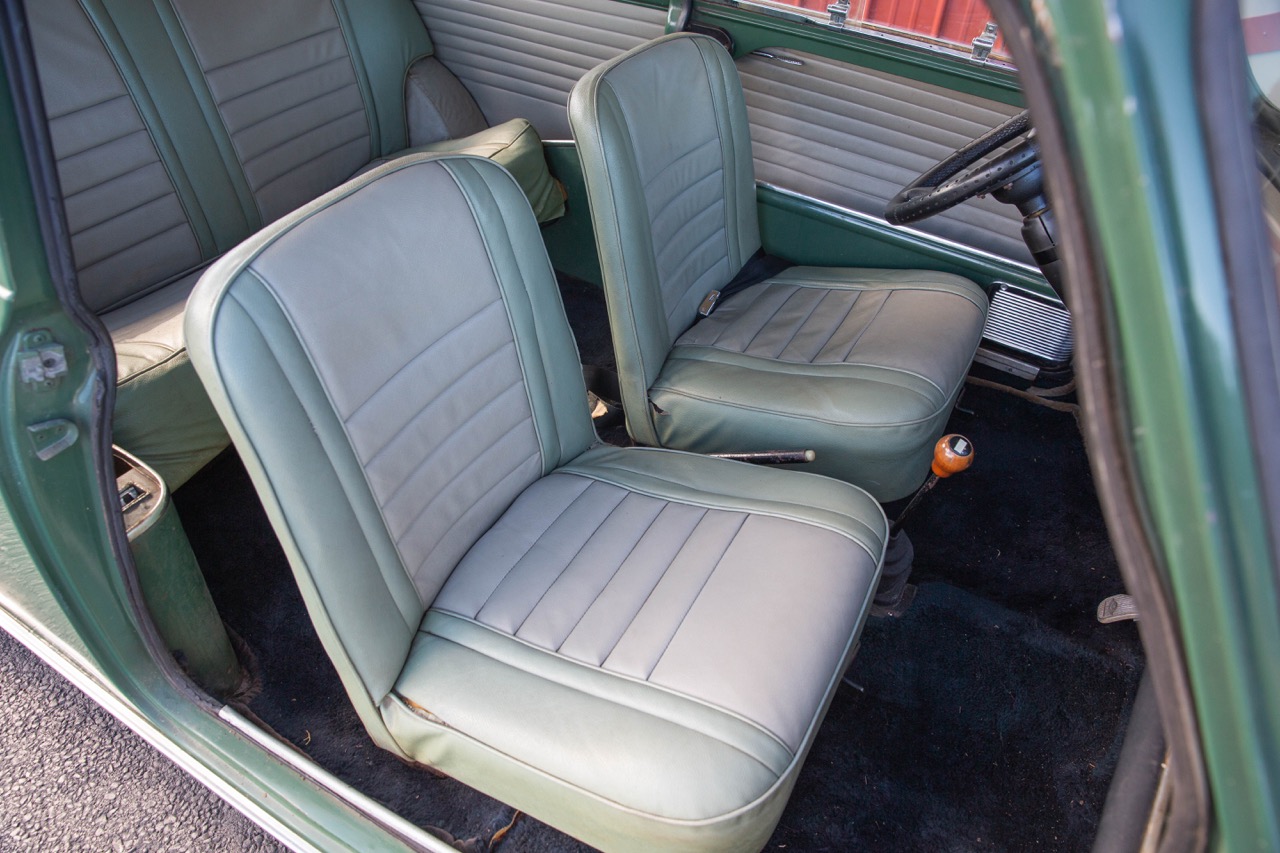
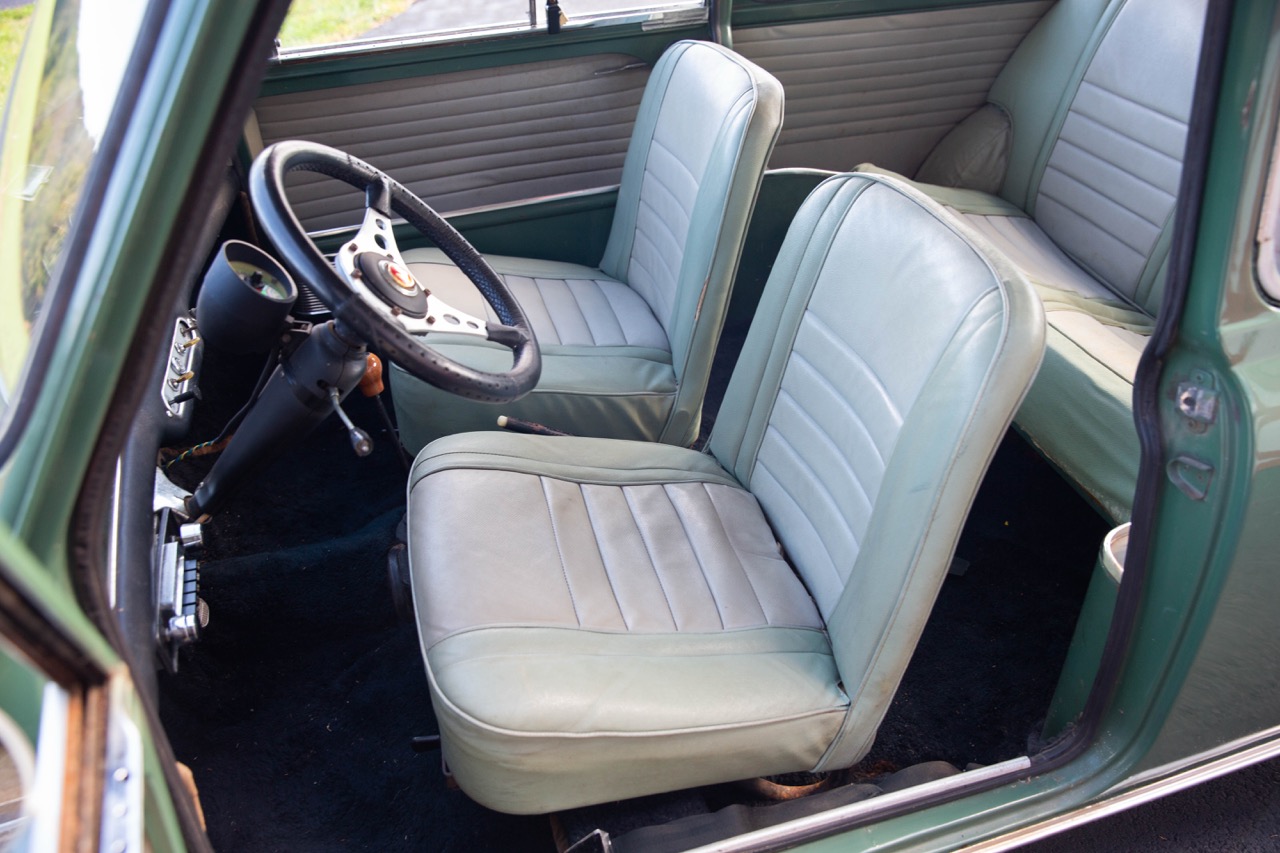
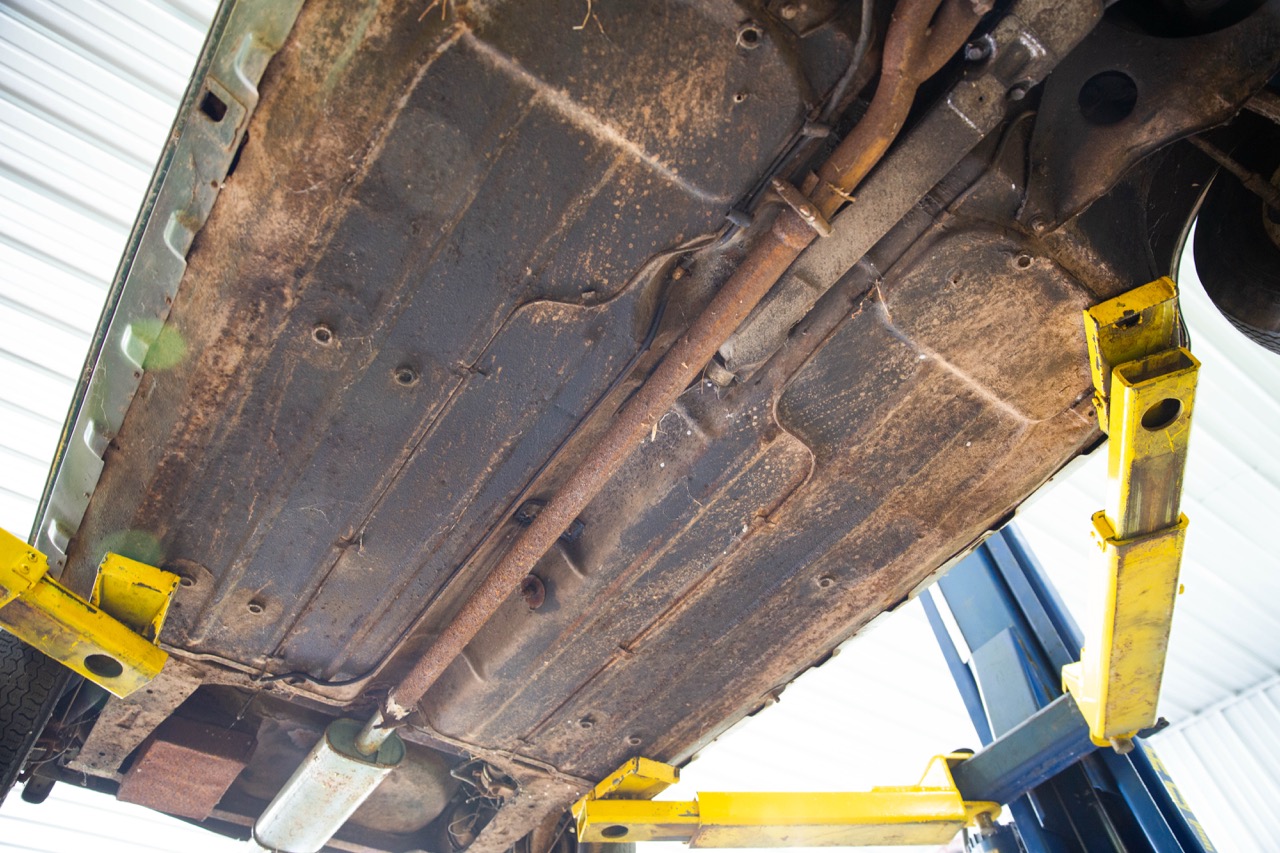
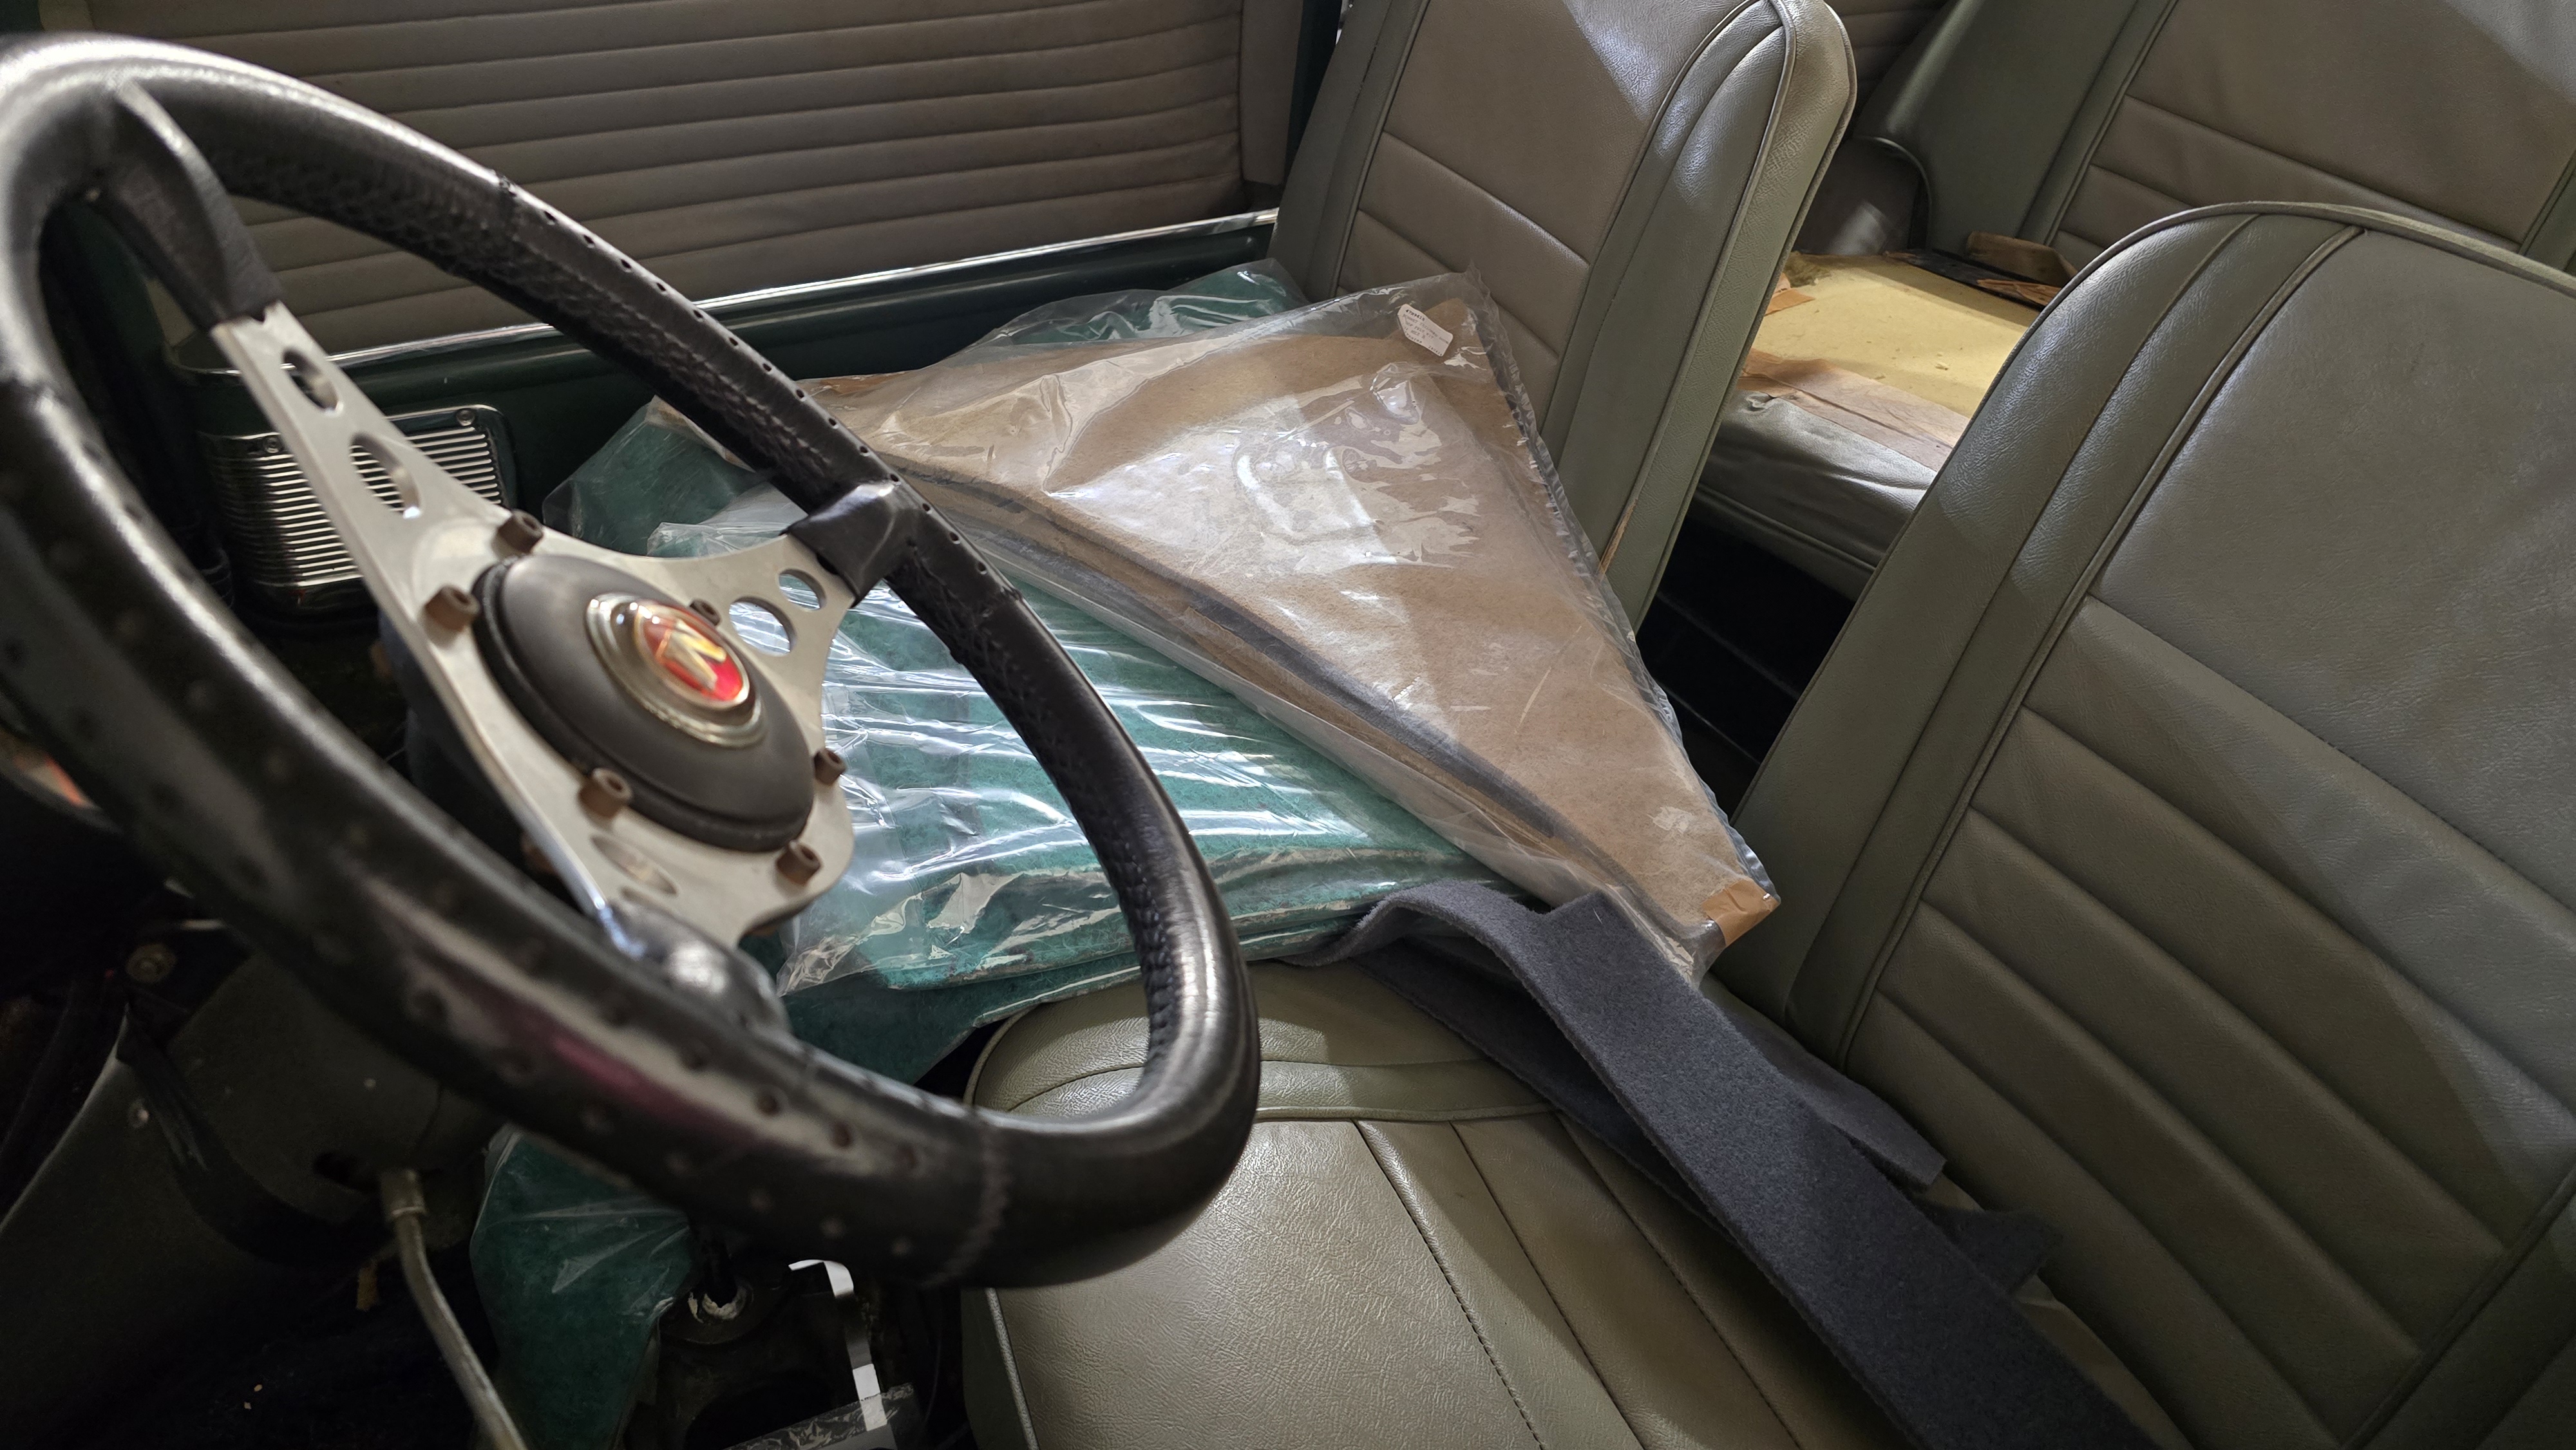
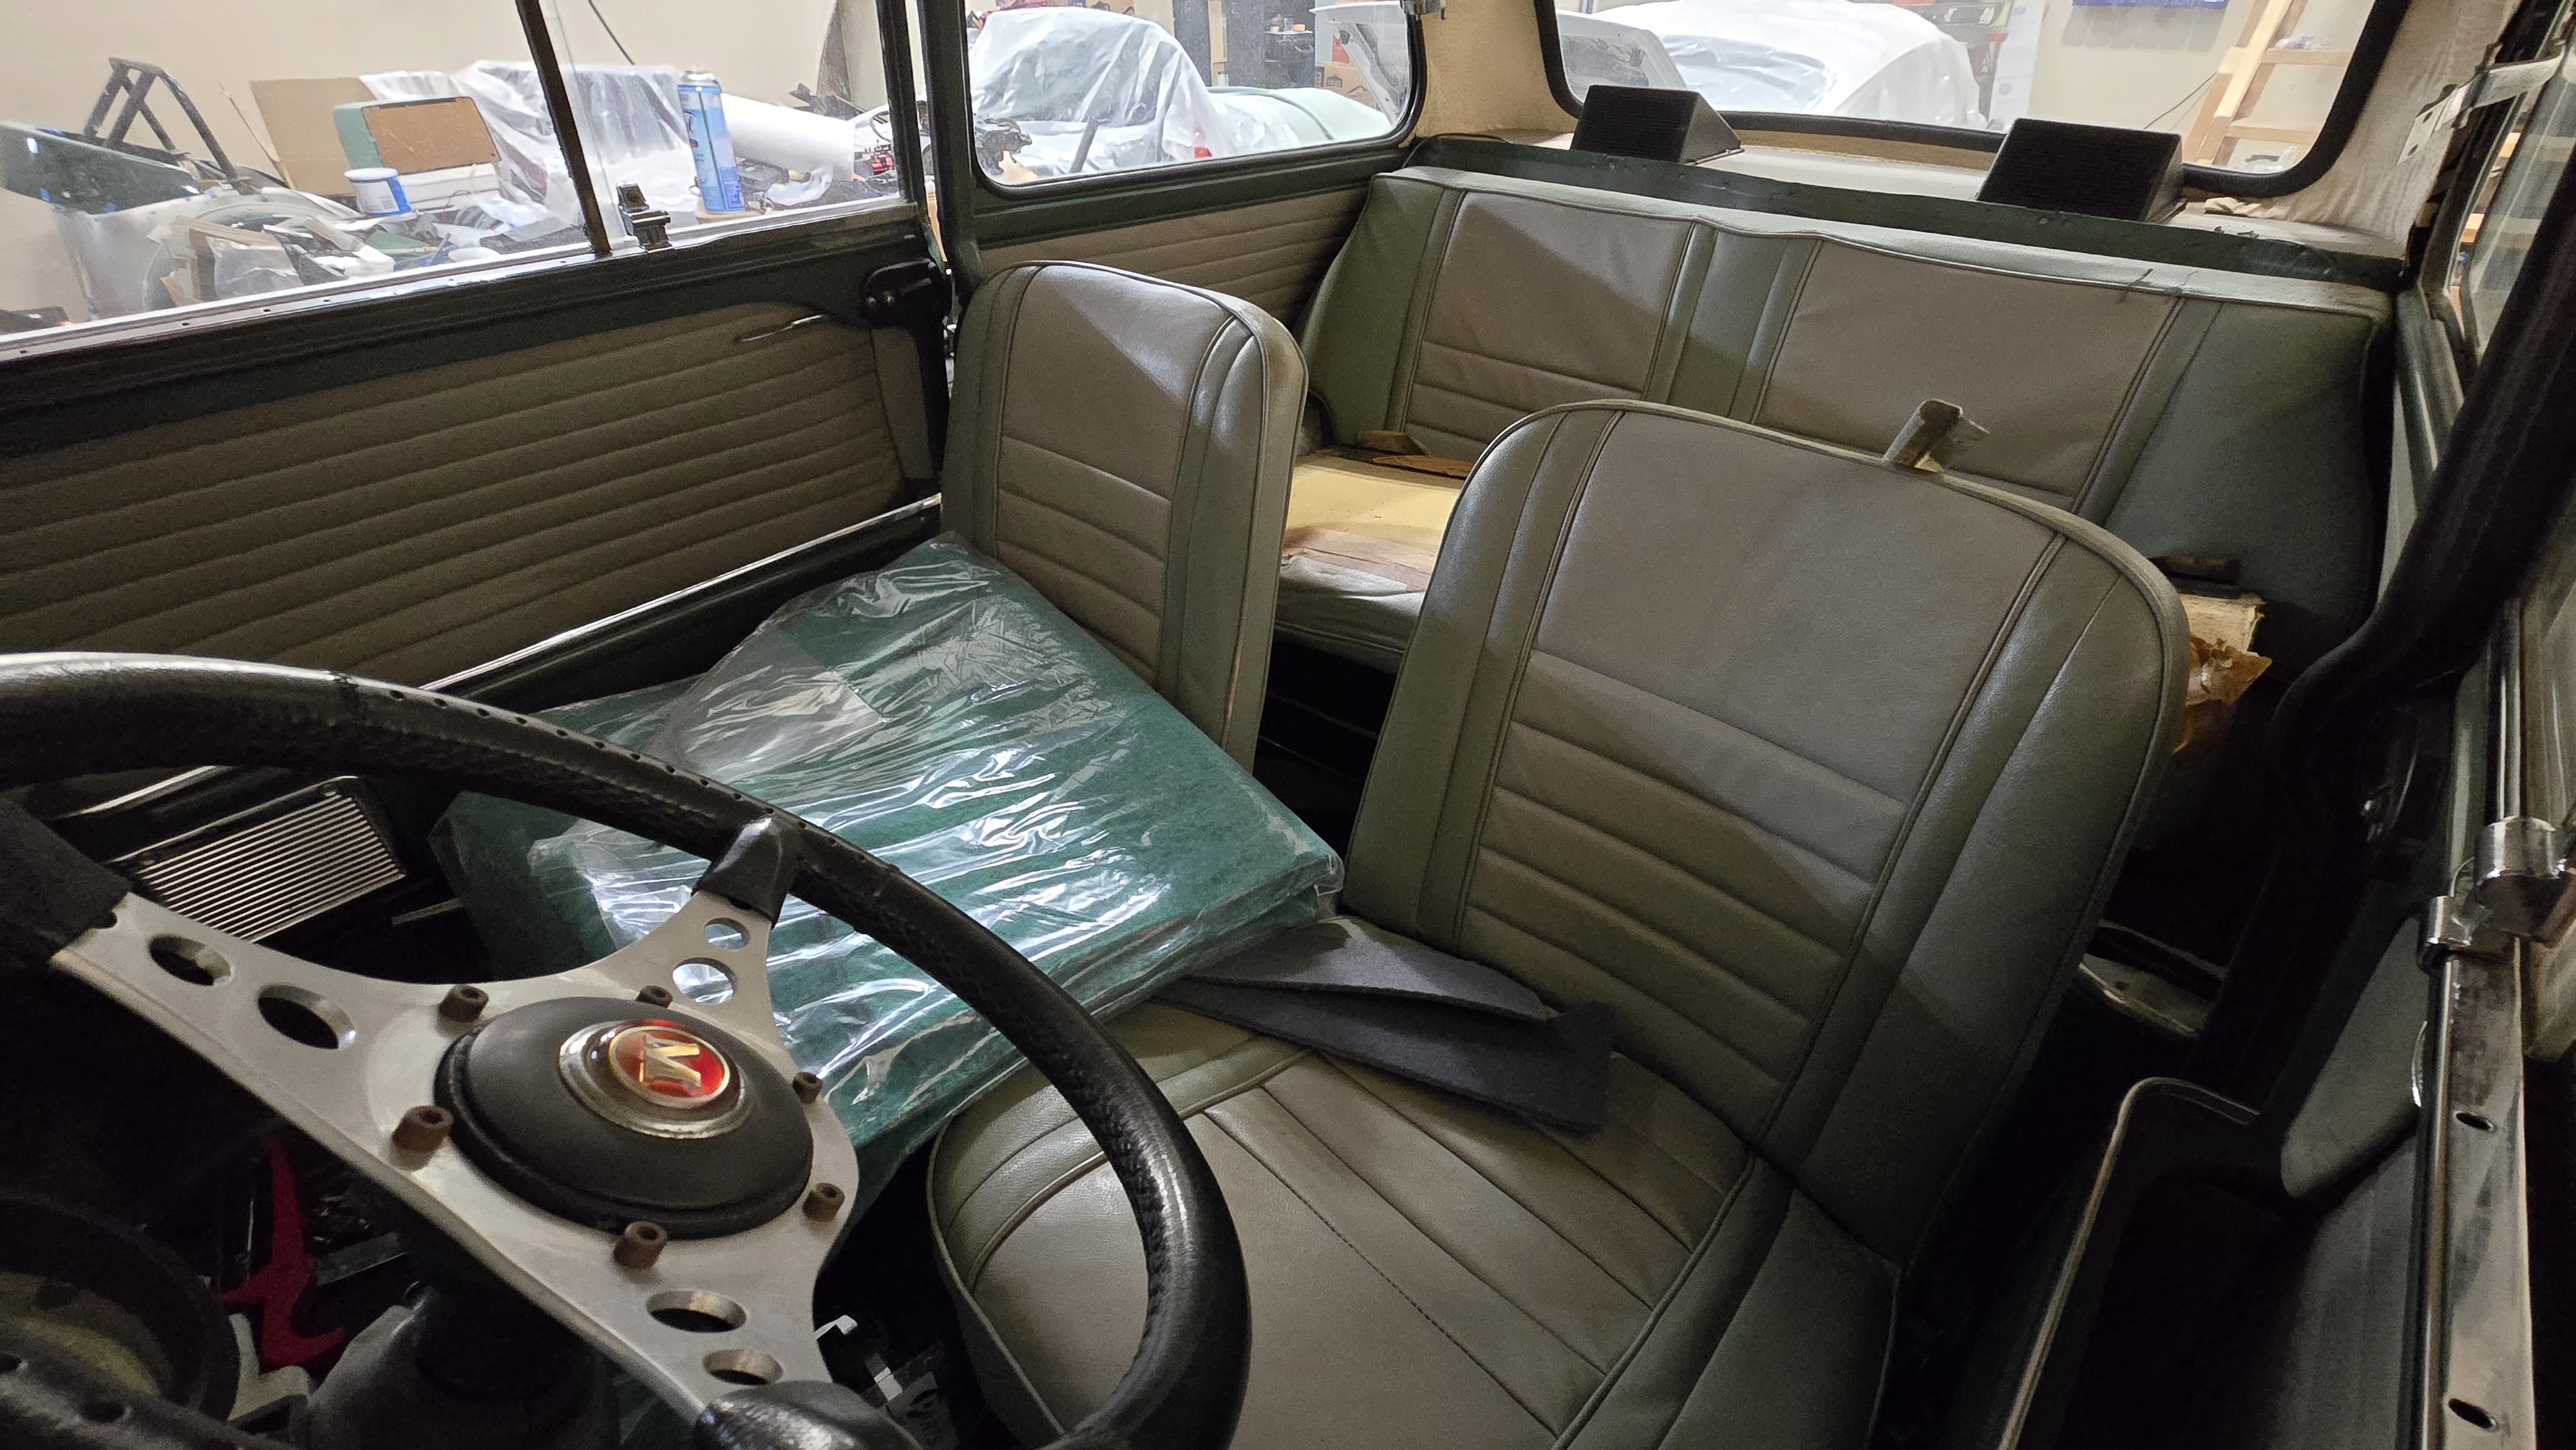
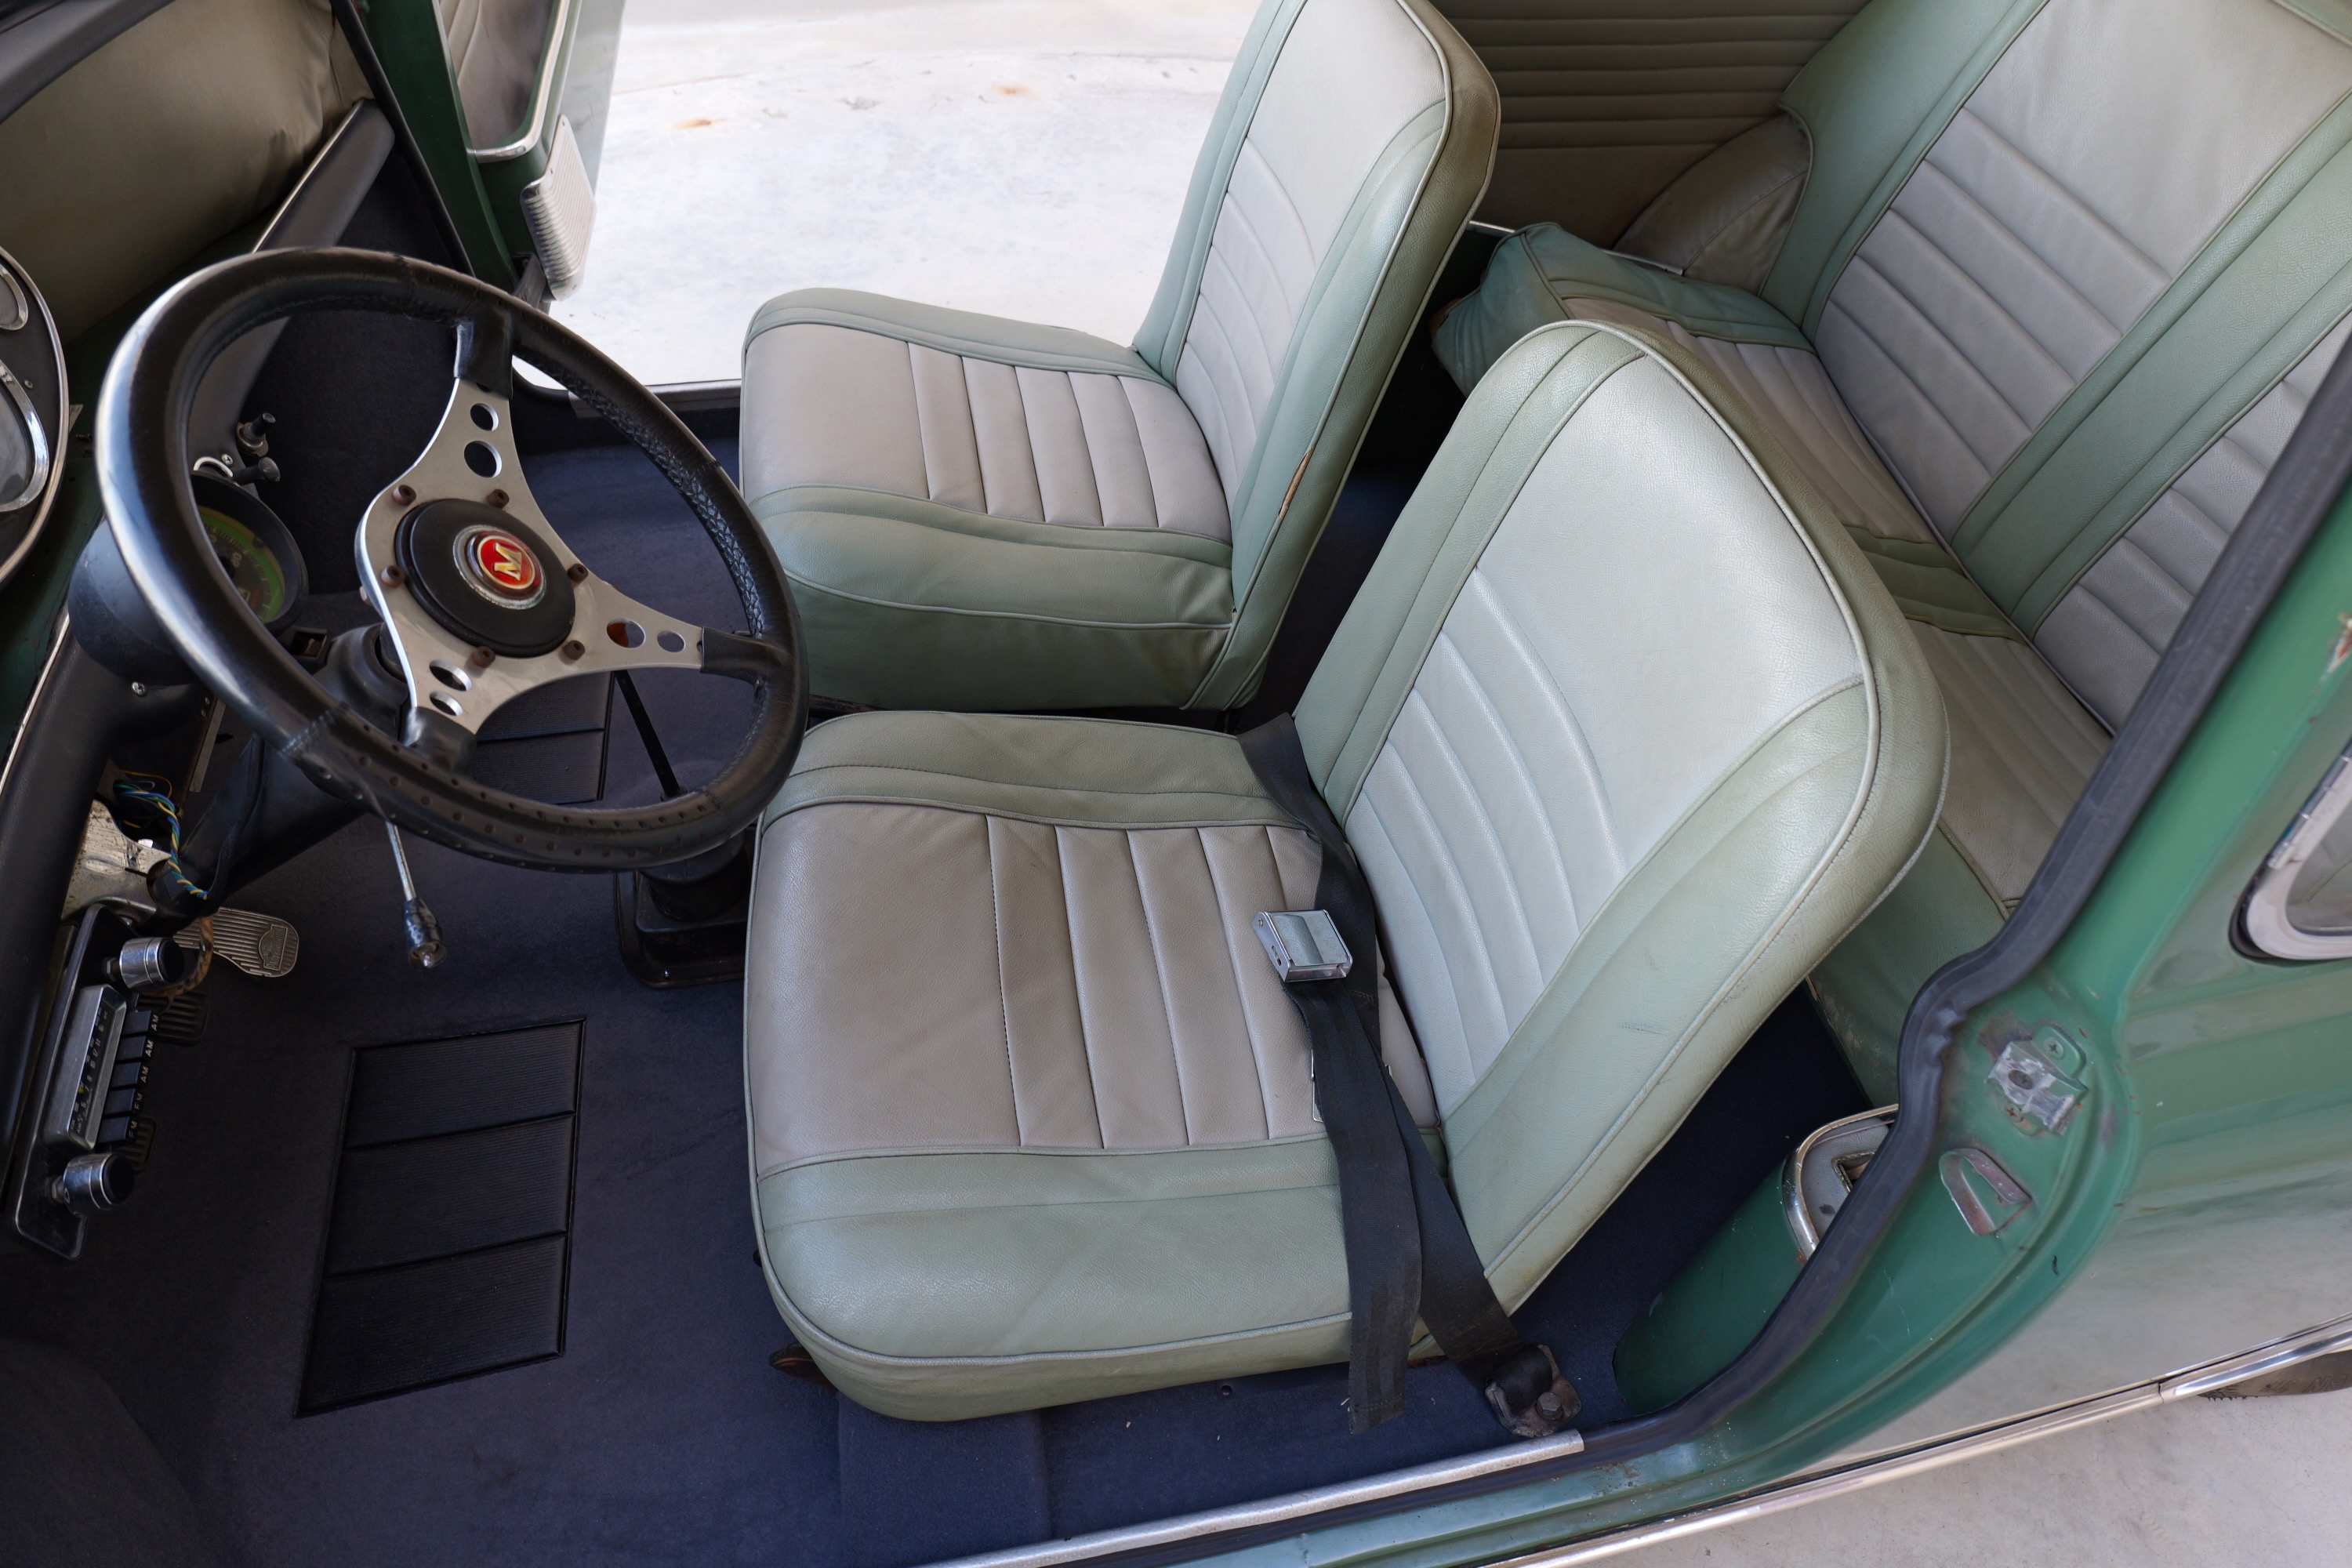
Since the seat upholstery appears to be original, we decided to retain it, but the carpets were in rough shape. So, I pulled all the old carpets out and painted the floors with POR-15. It appears someone drilled drain holes in the floor pans, so I installed plugs in them to keep water out. New carpets from Newton Commercial went in with all new pads underneath. I also replaced the rubber gaskets in the doors and rear pop-out windows. The entire interior was cleaned and treated with UV protectant.
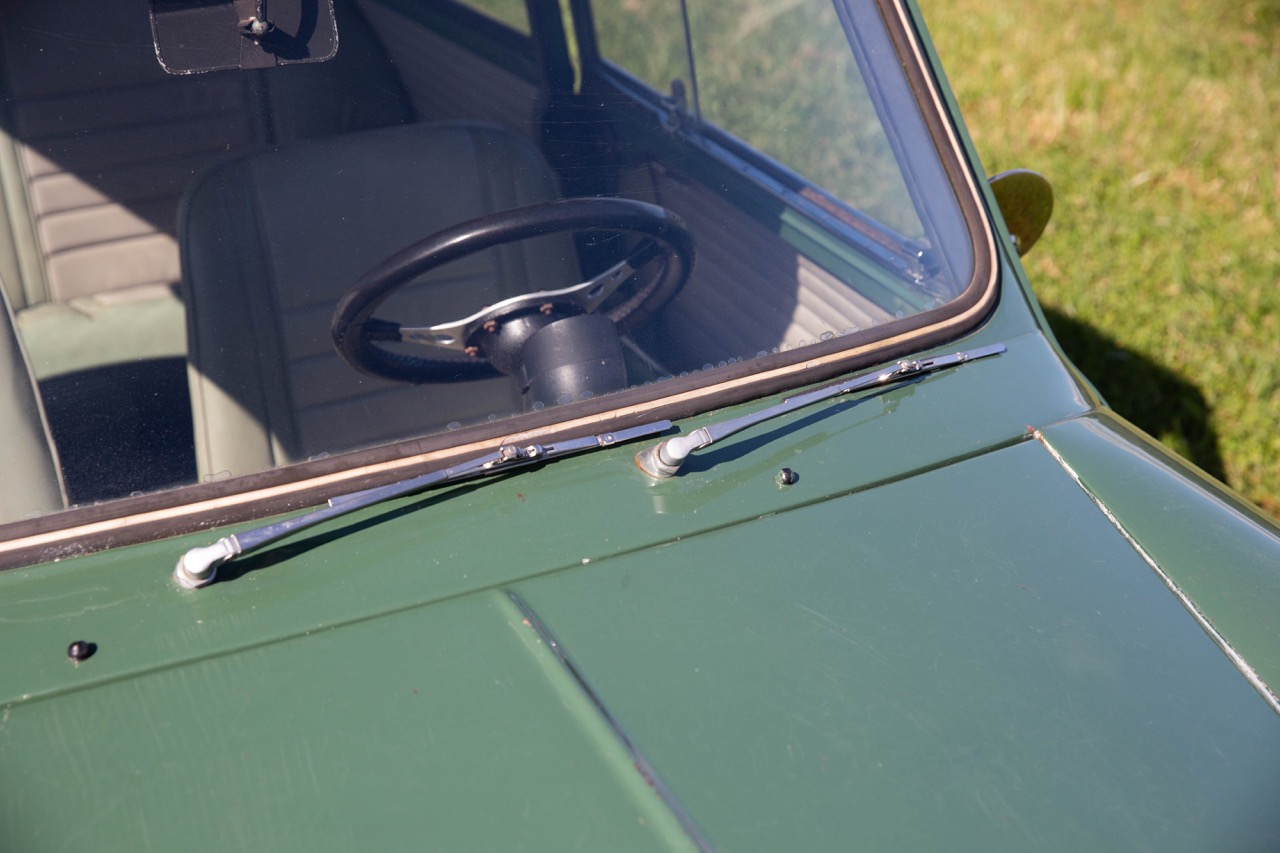
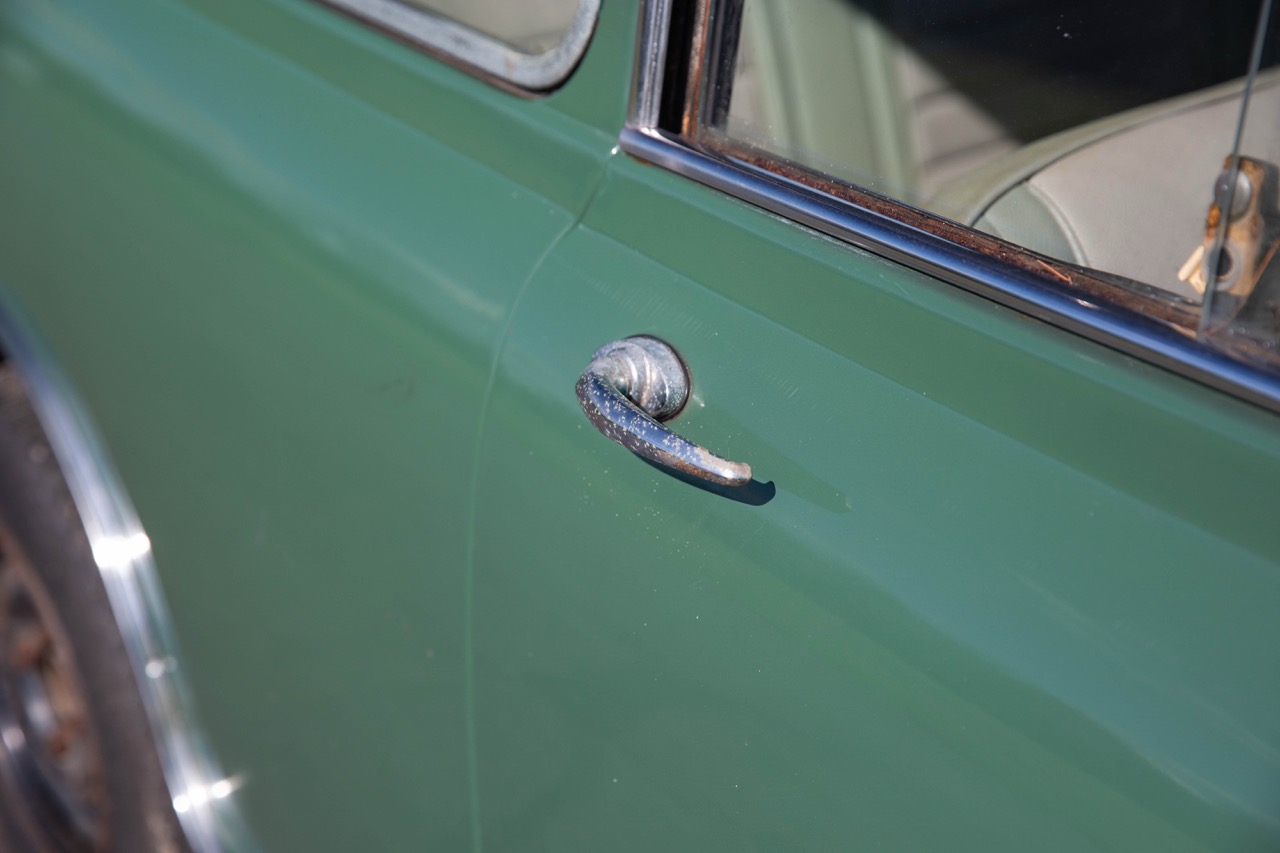
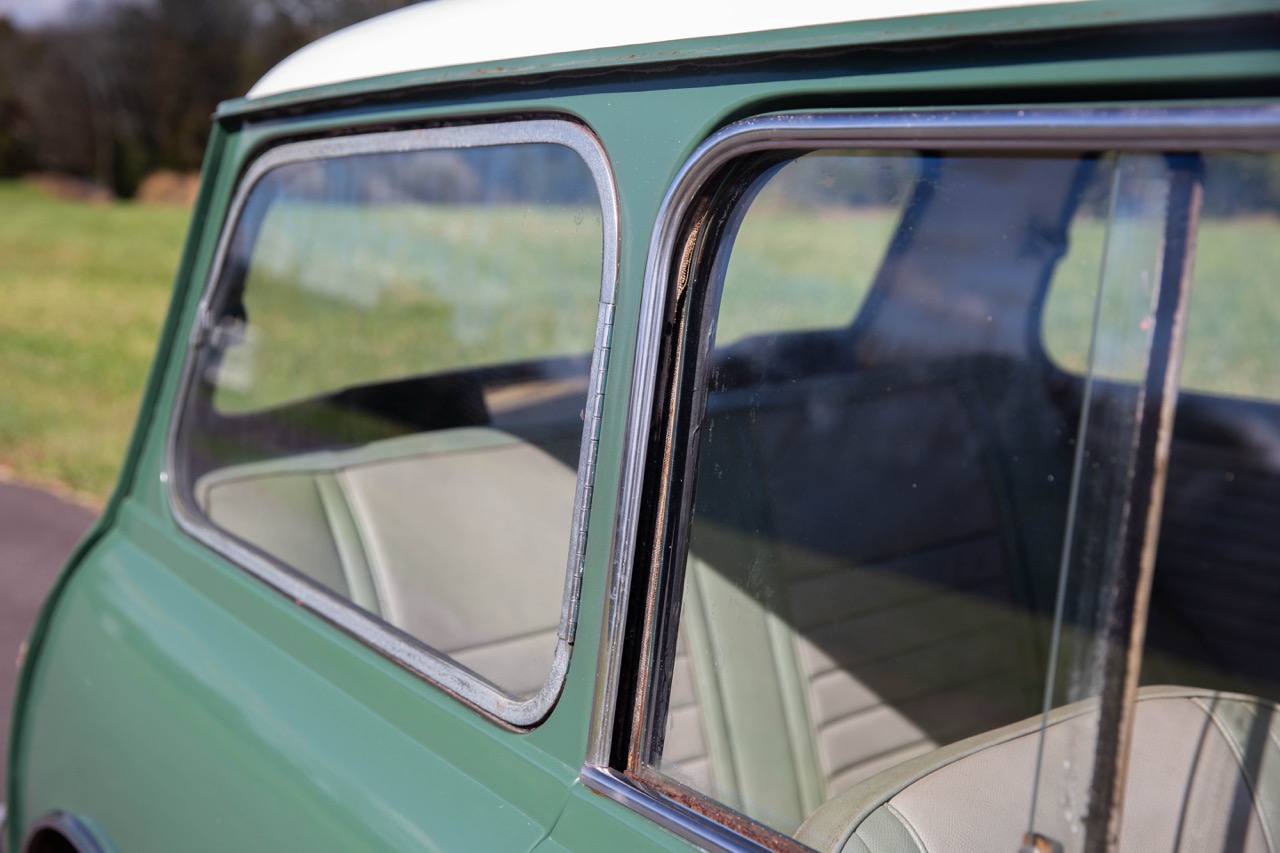
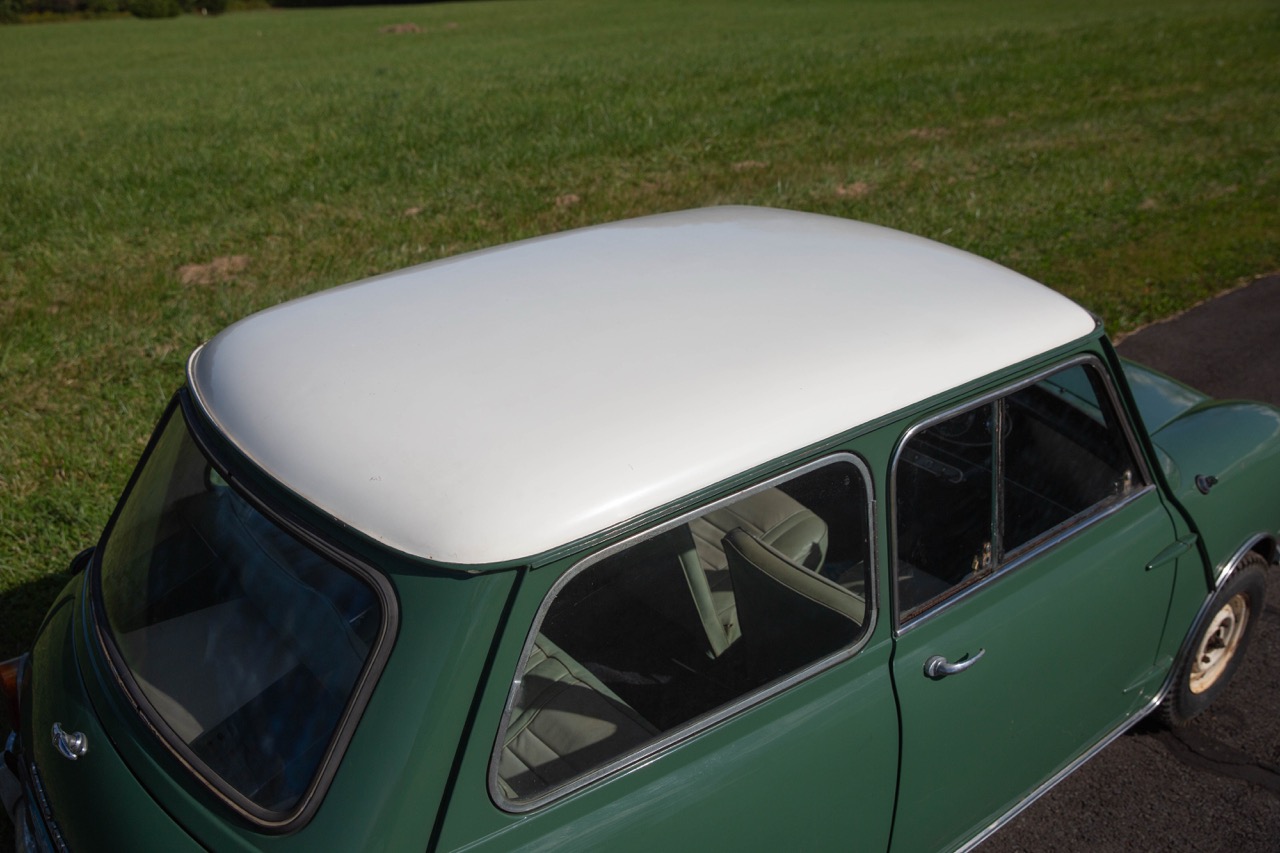
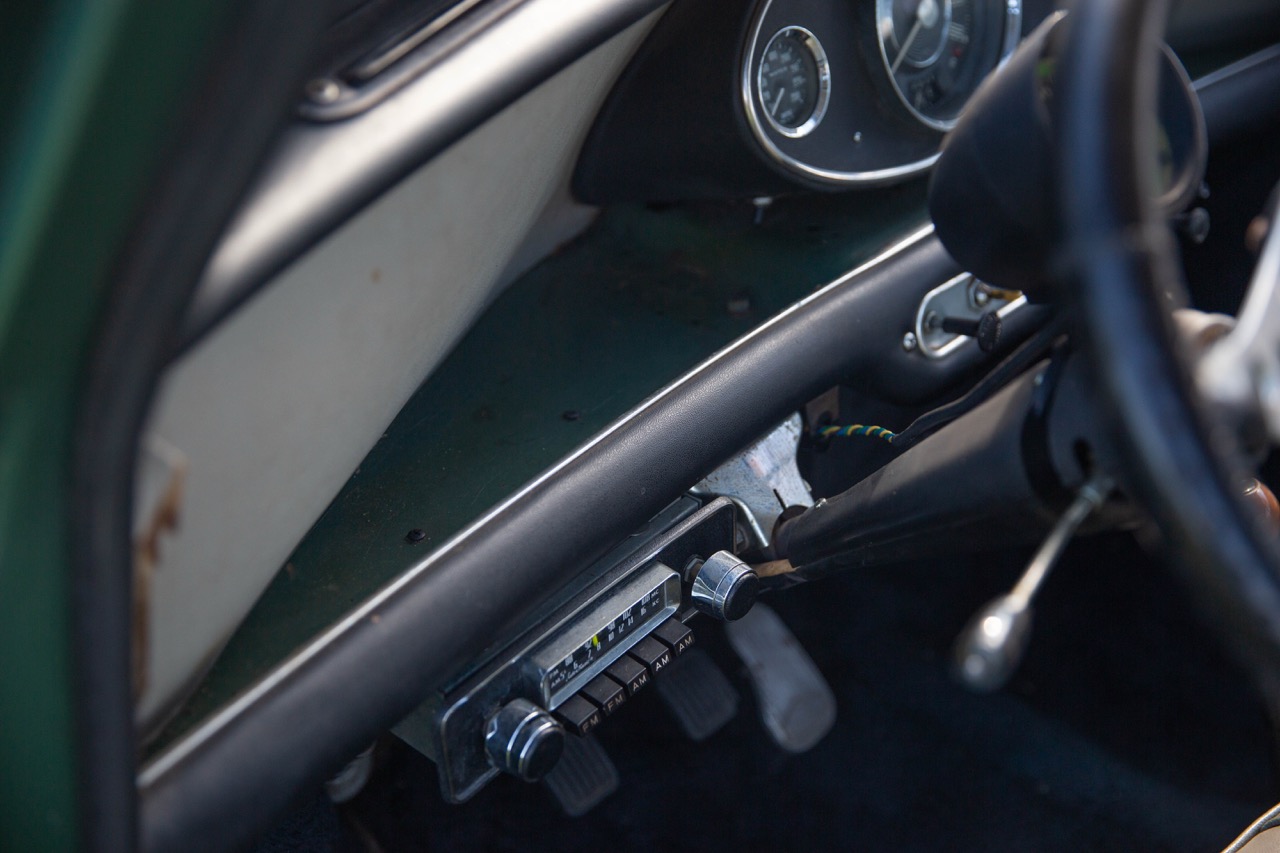
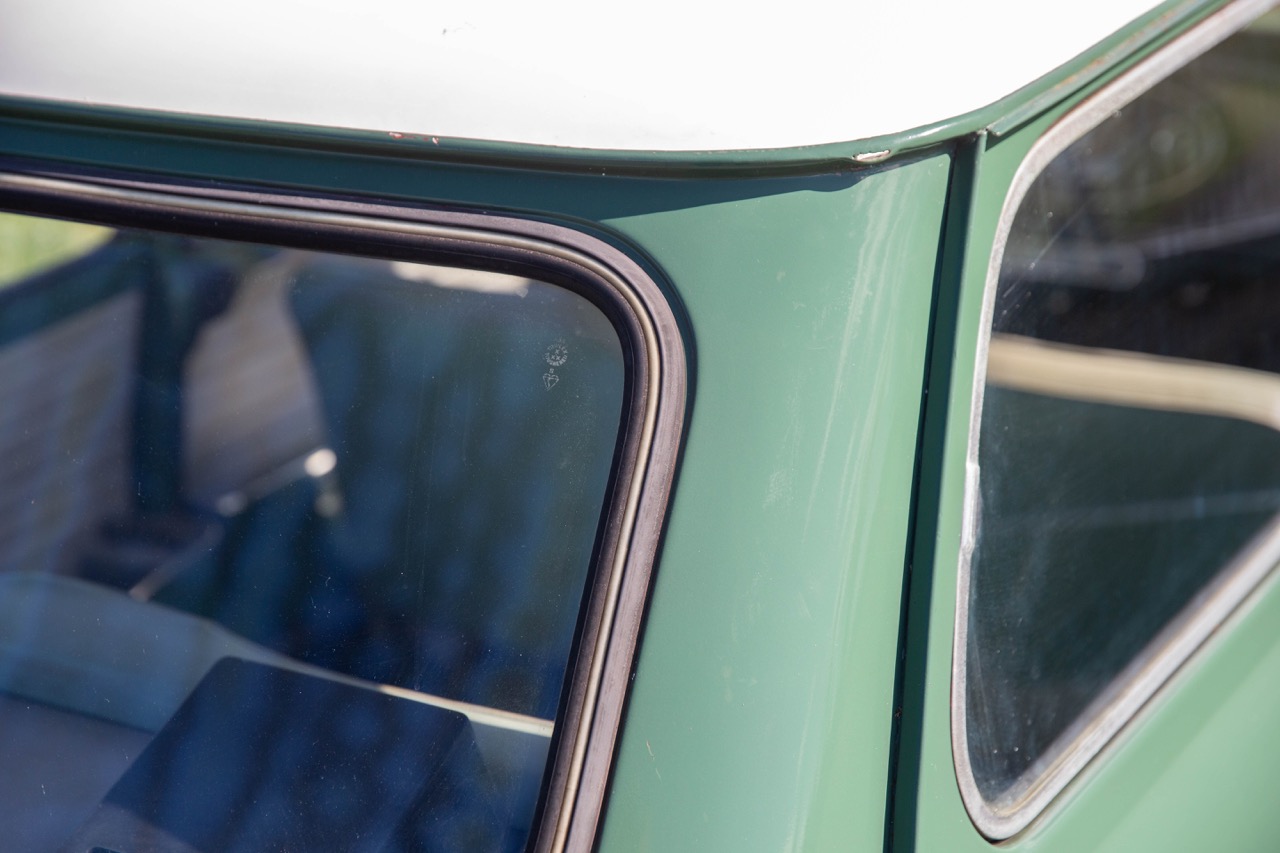
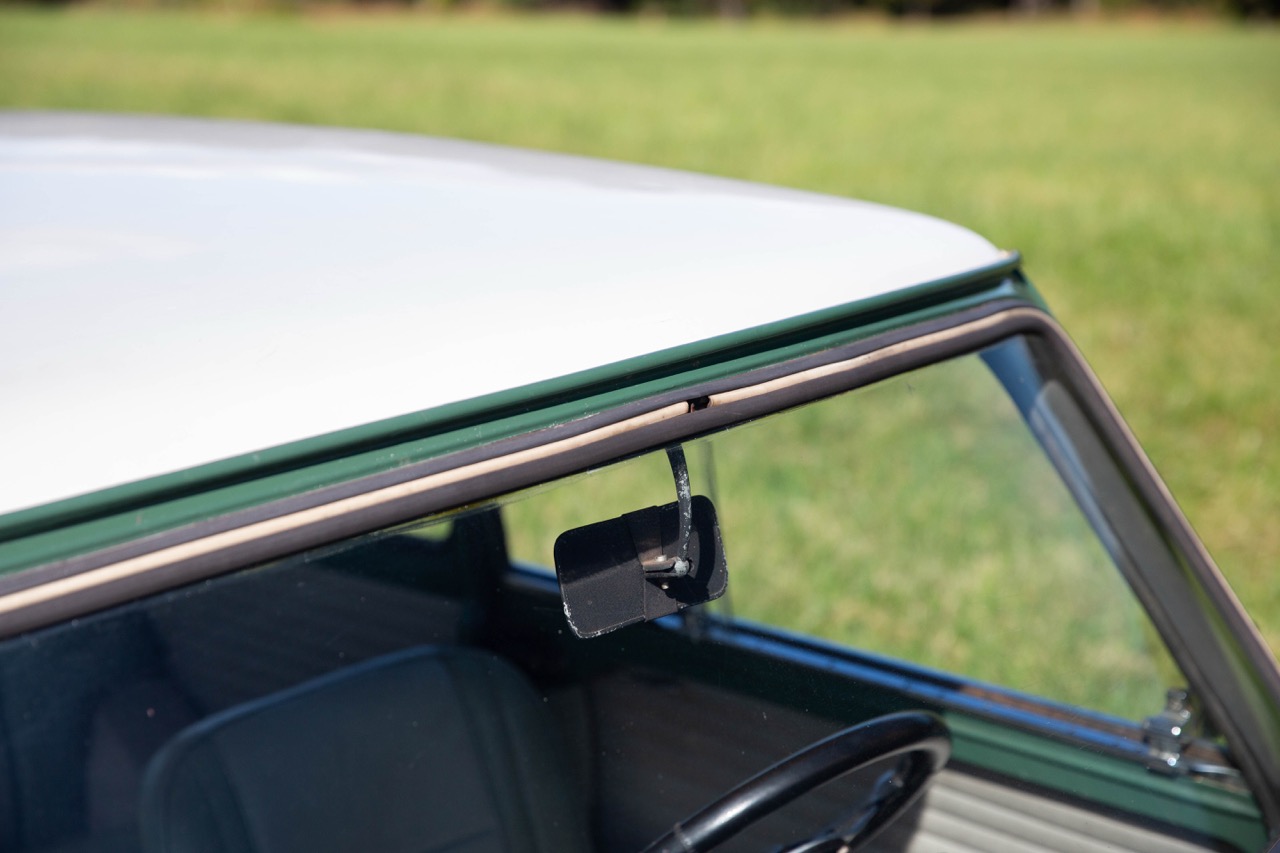
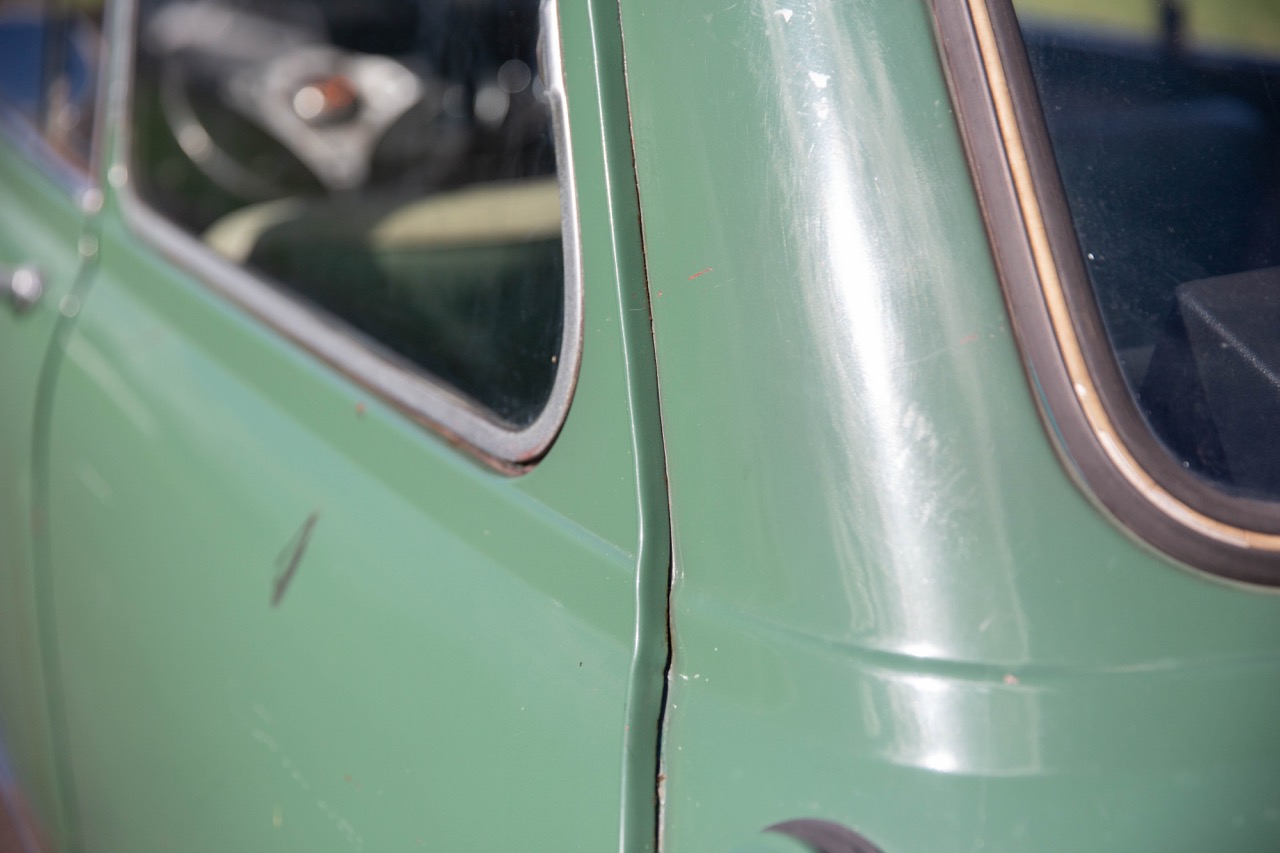
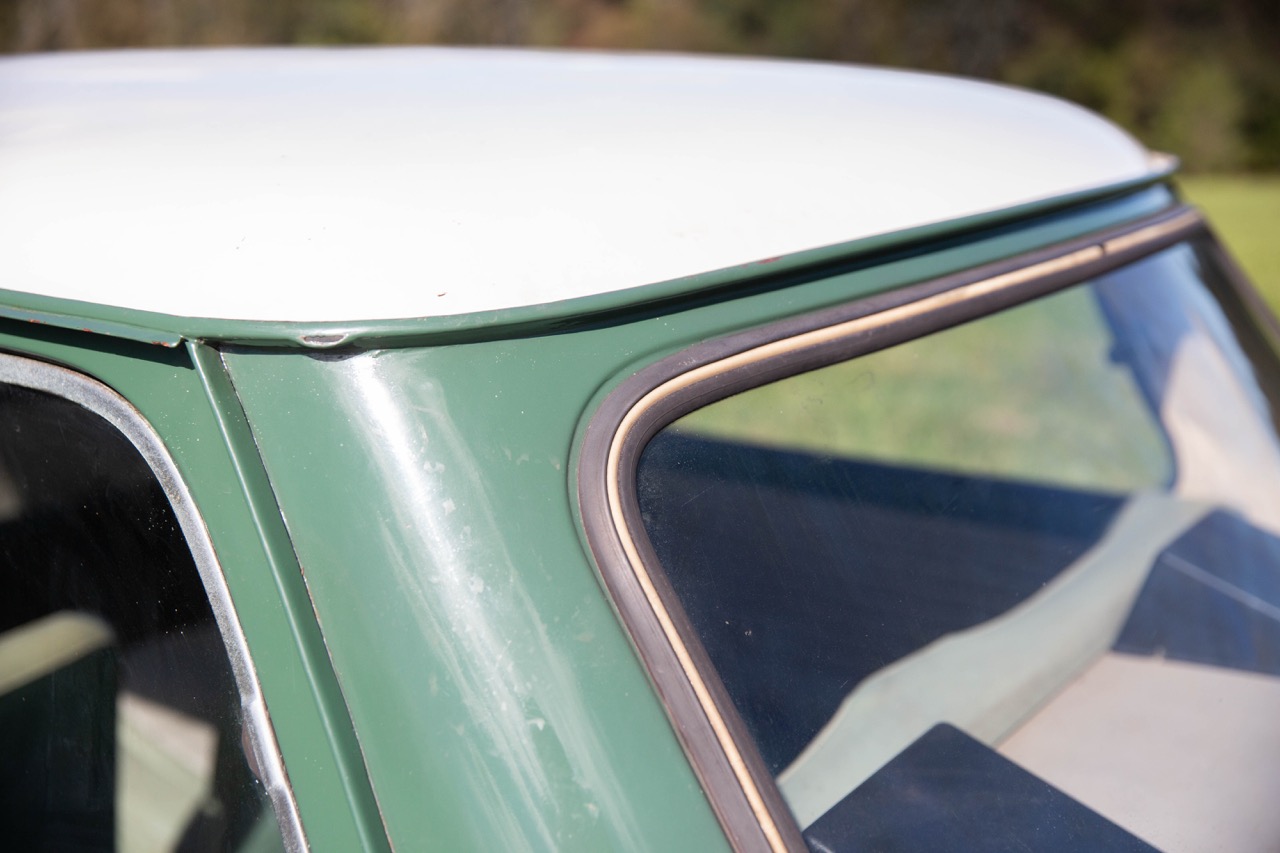
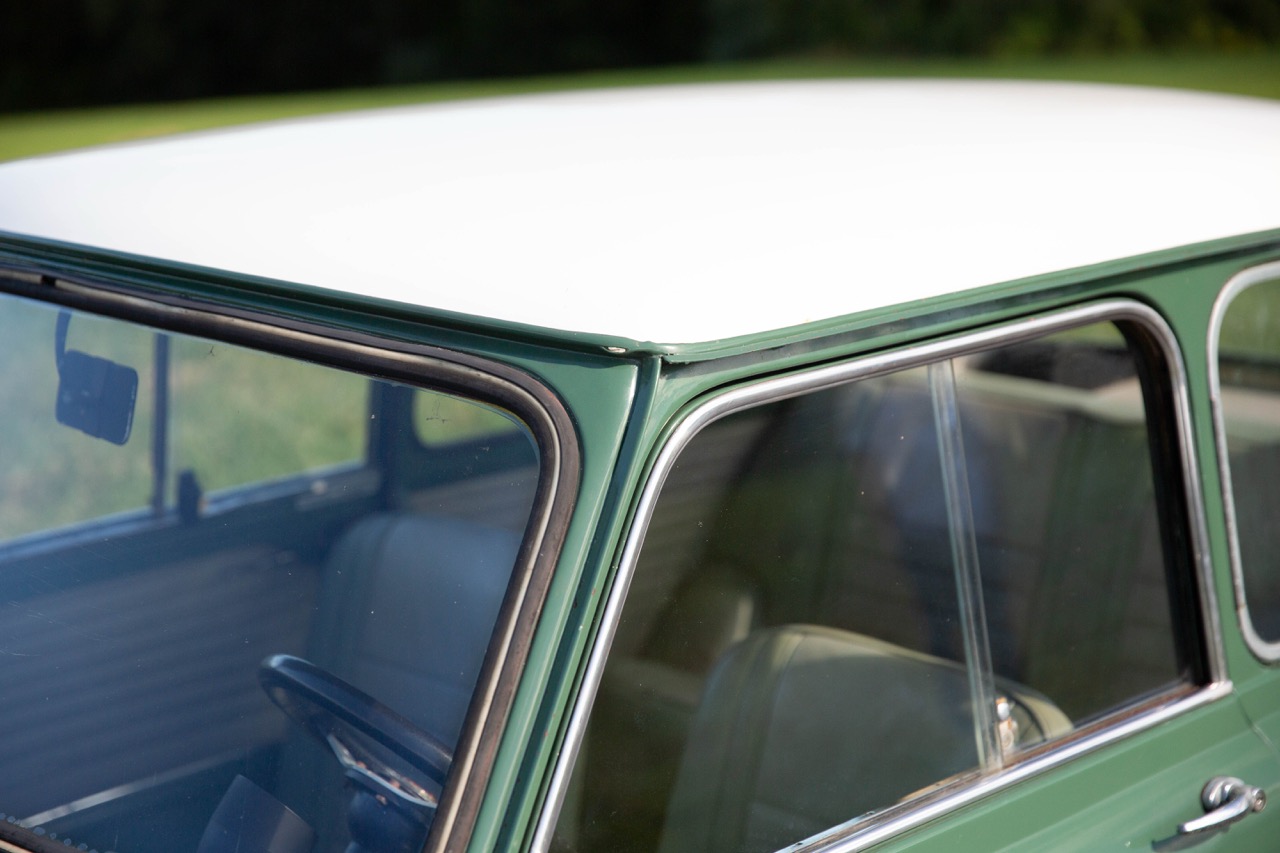
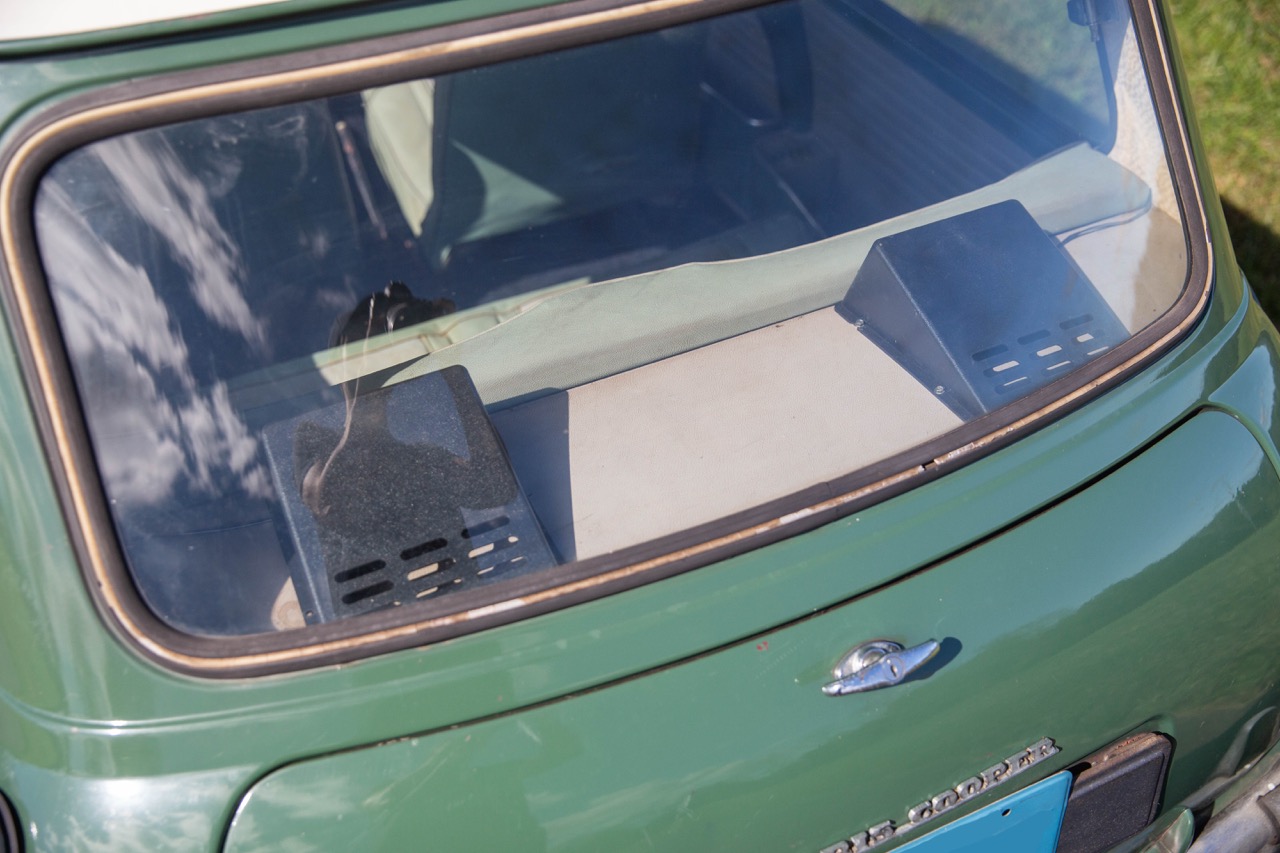
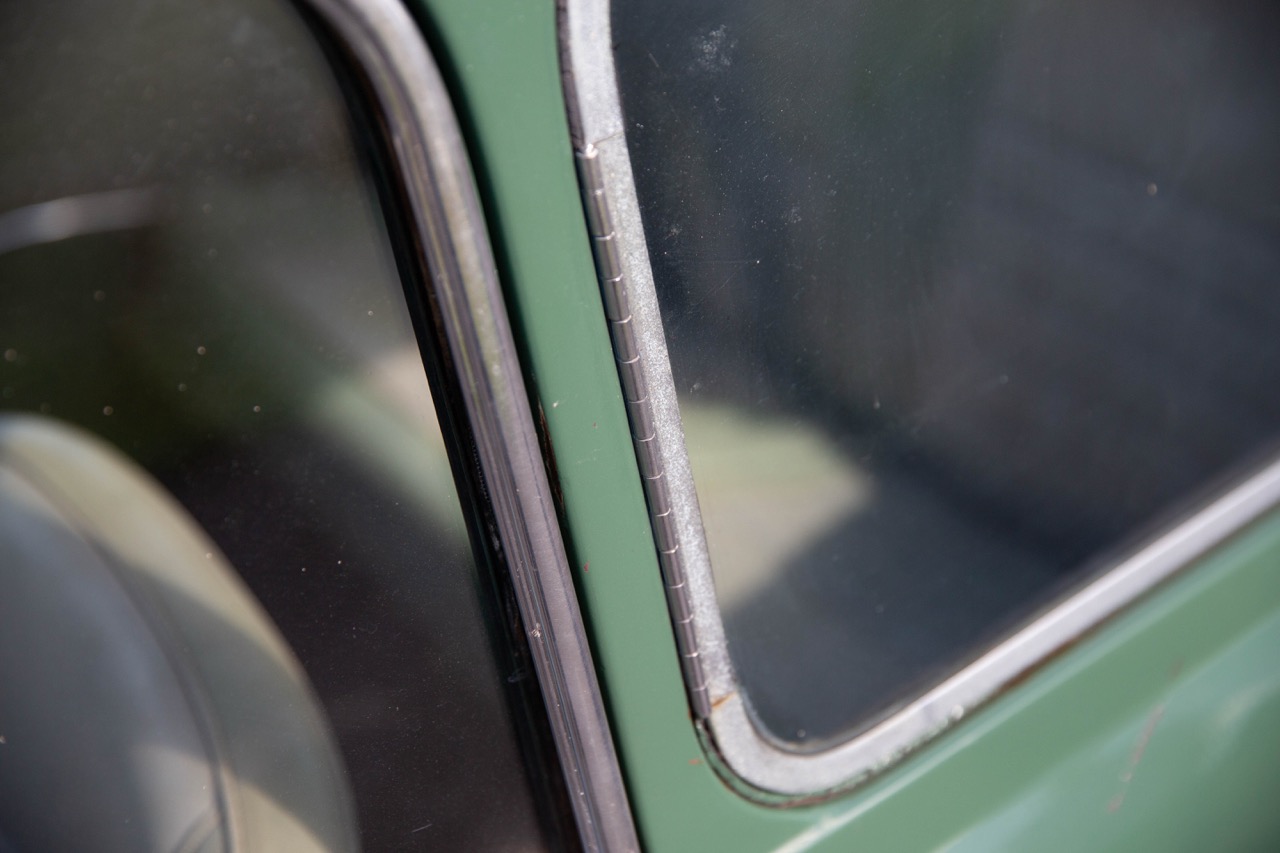
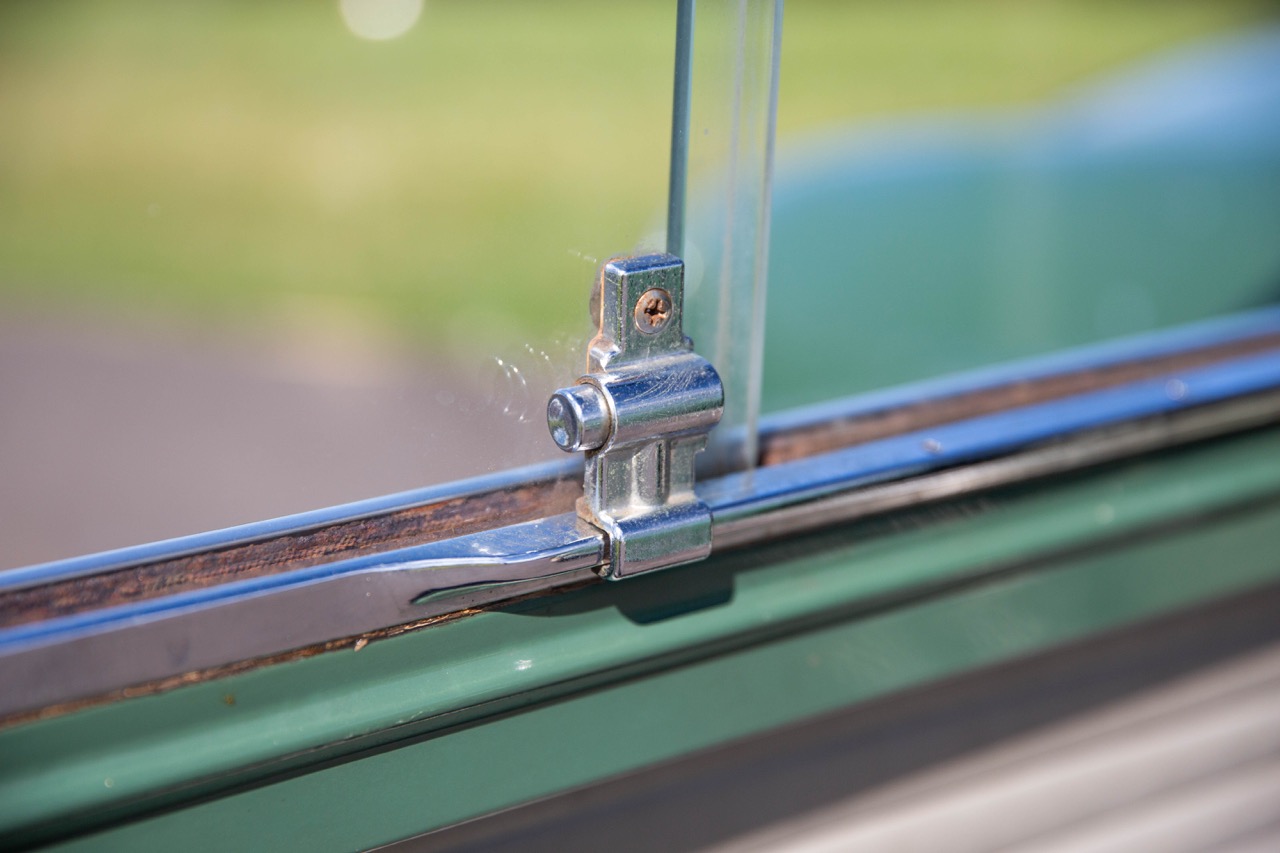
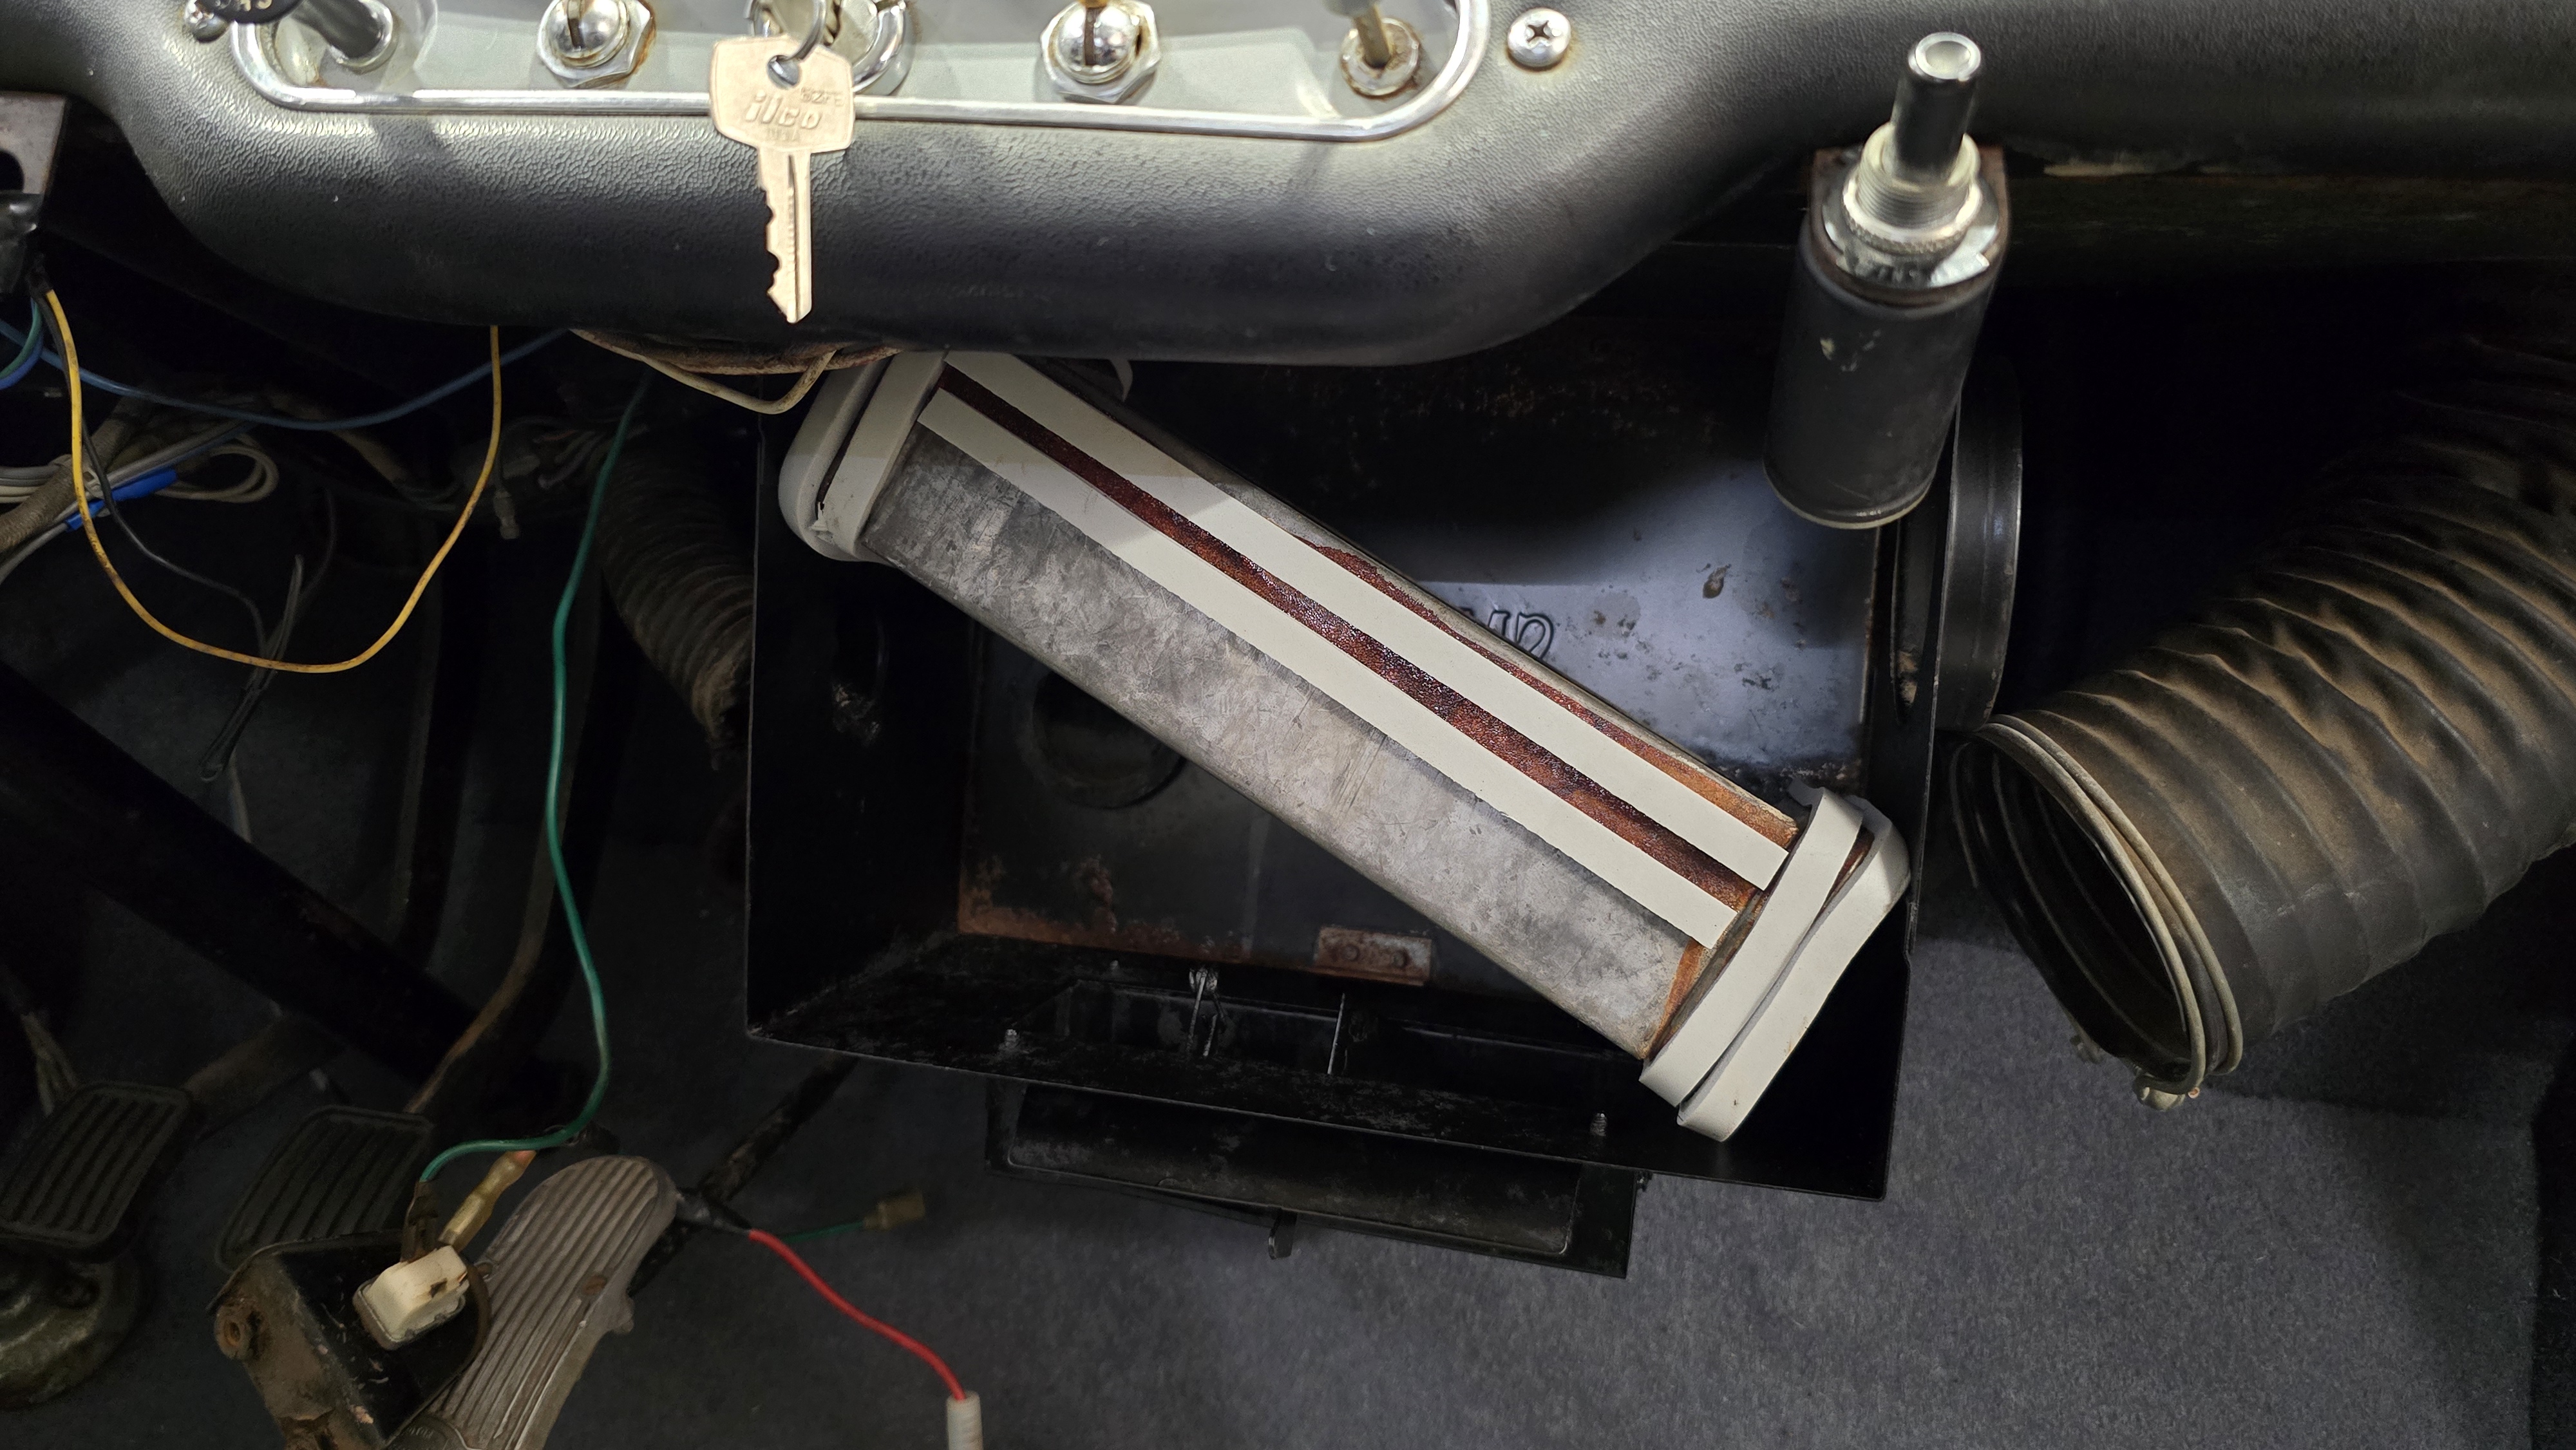
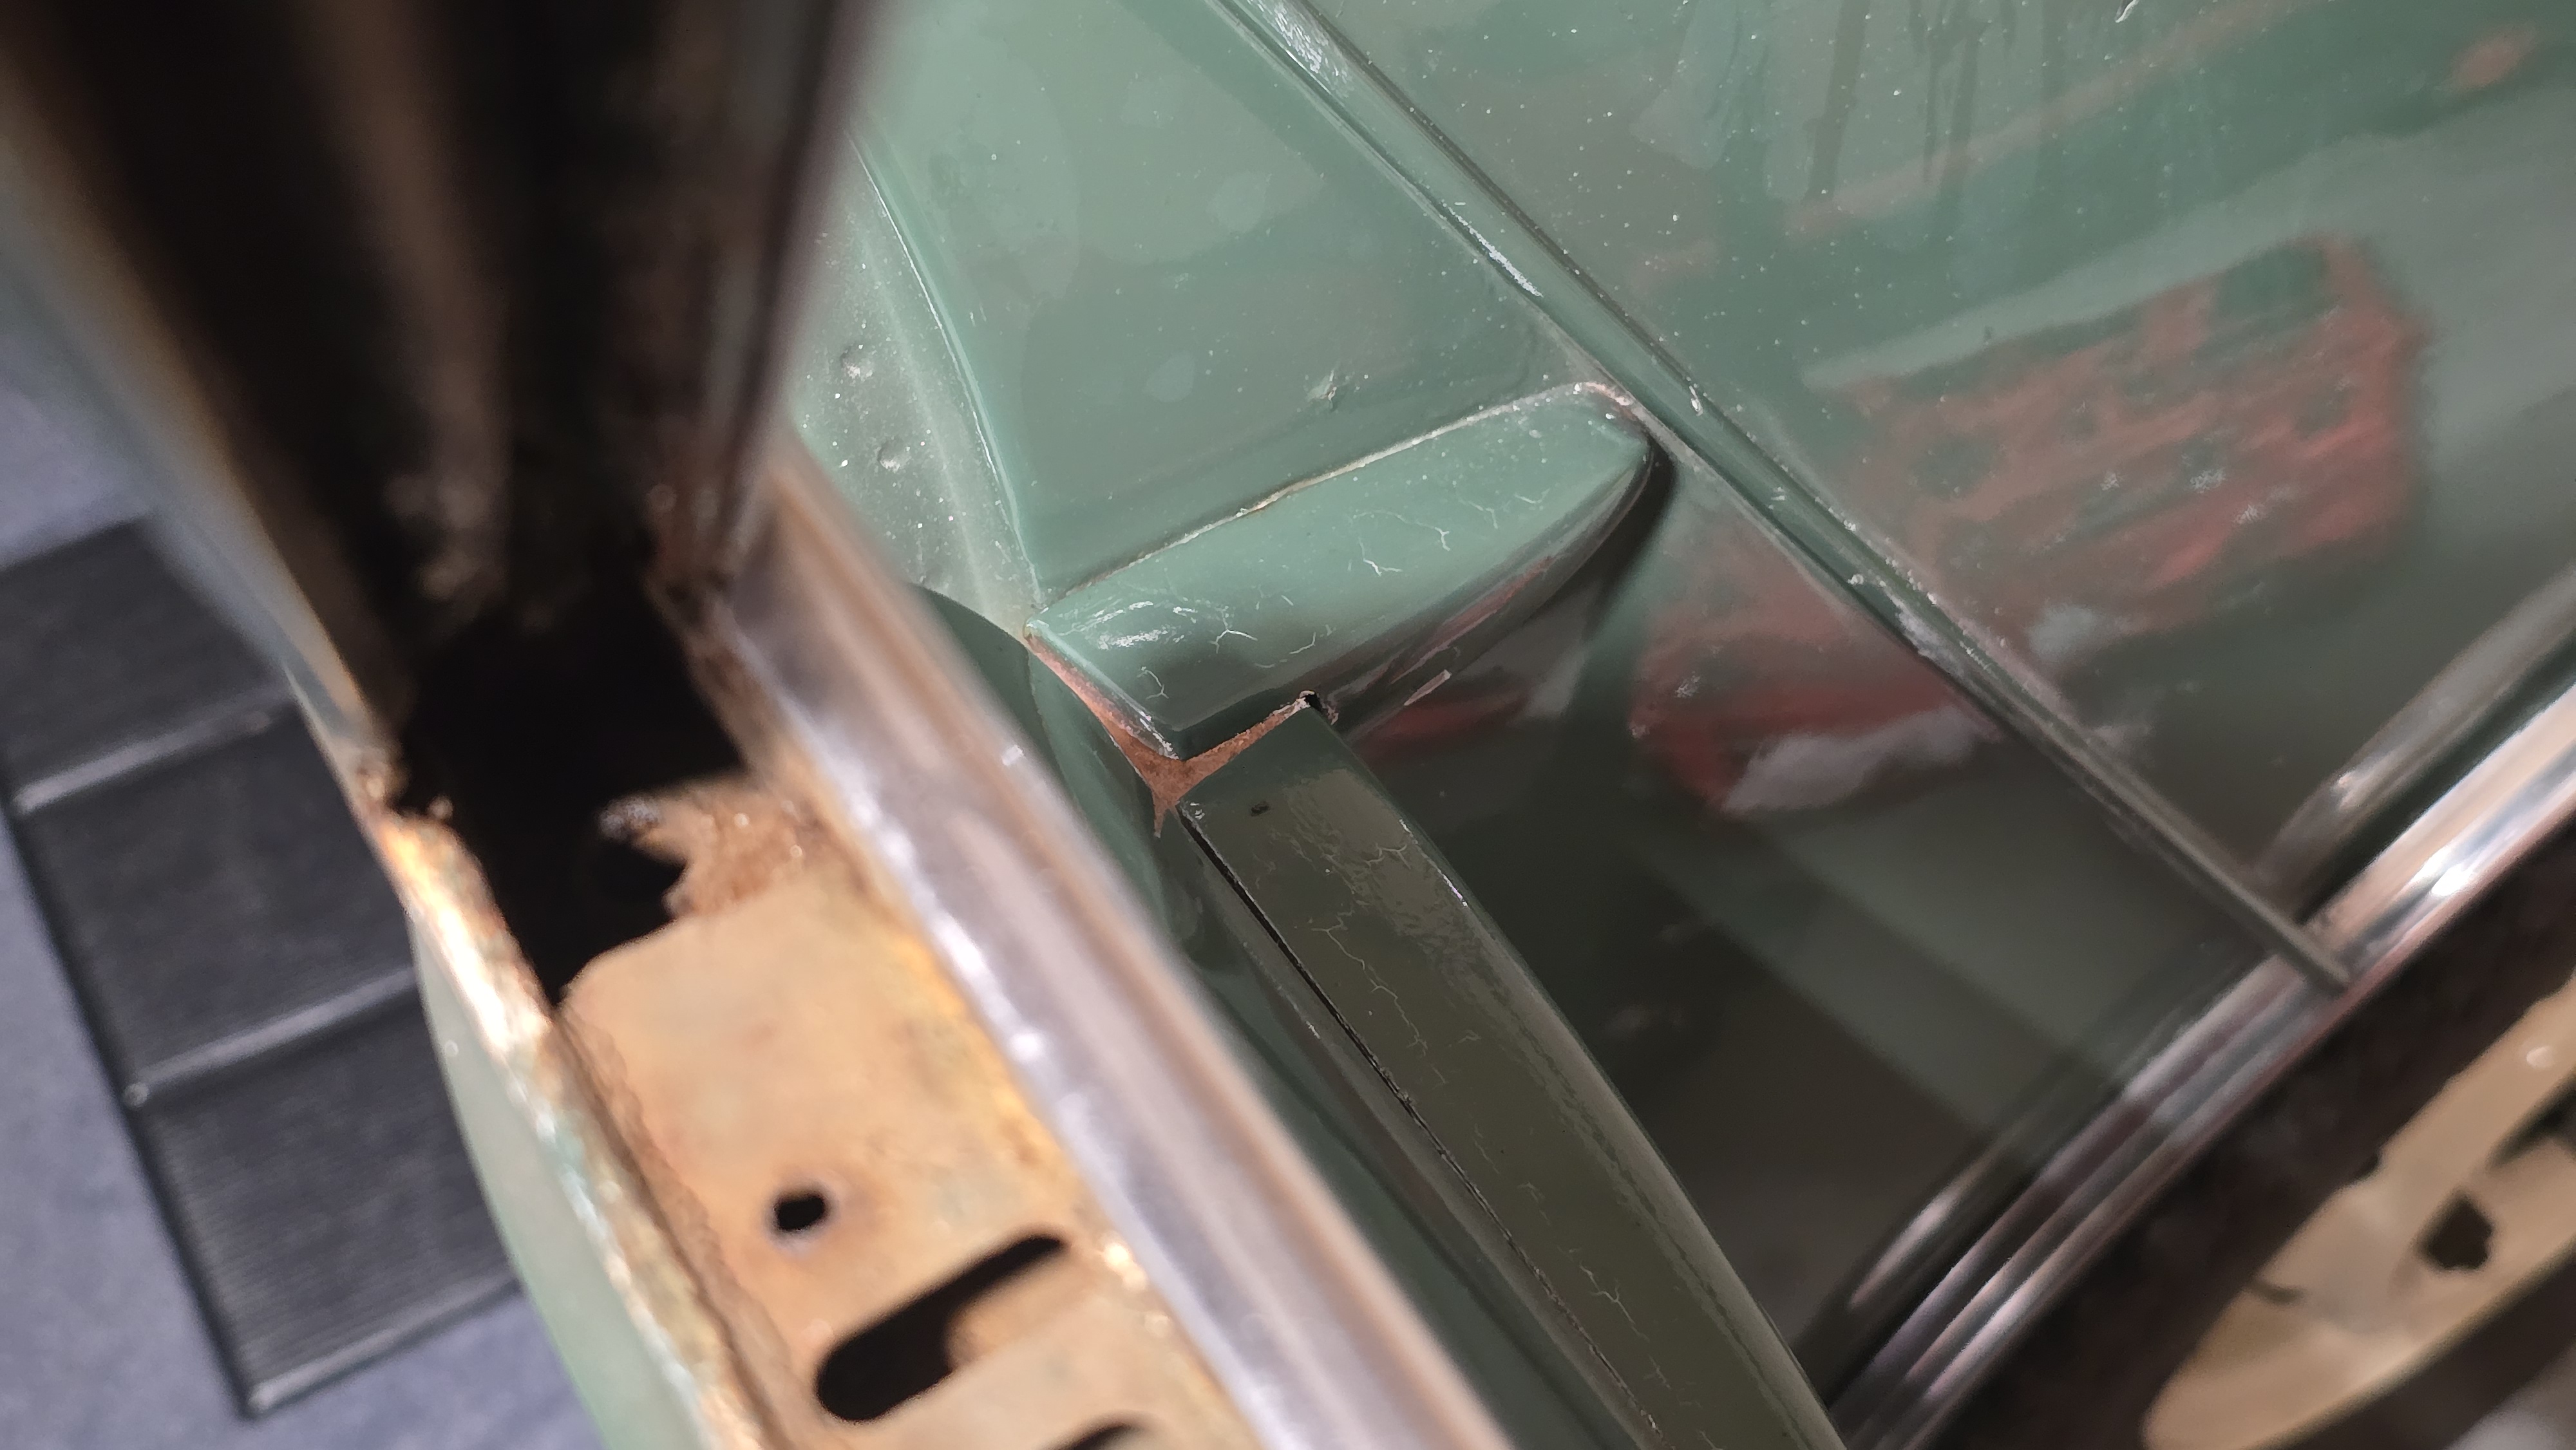
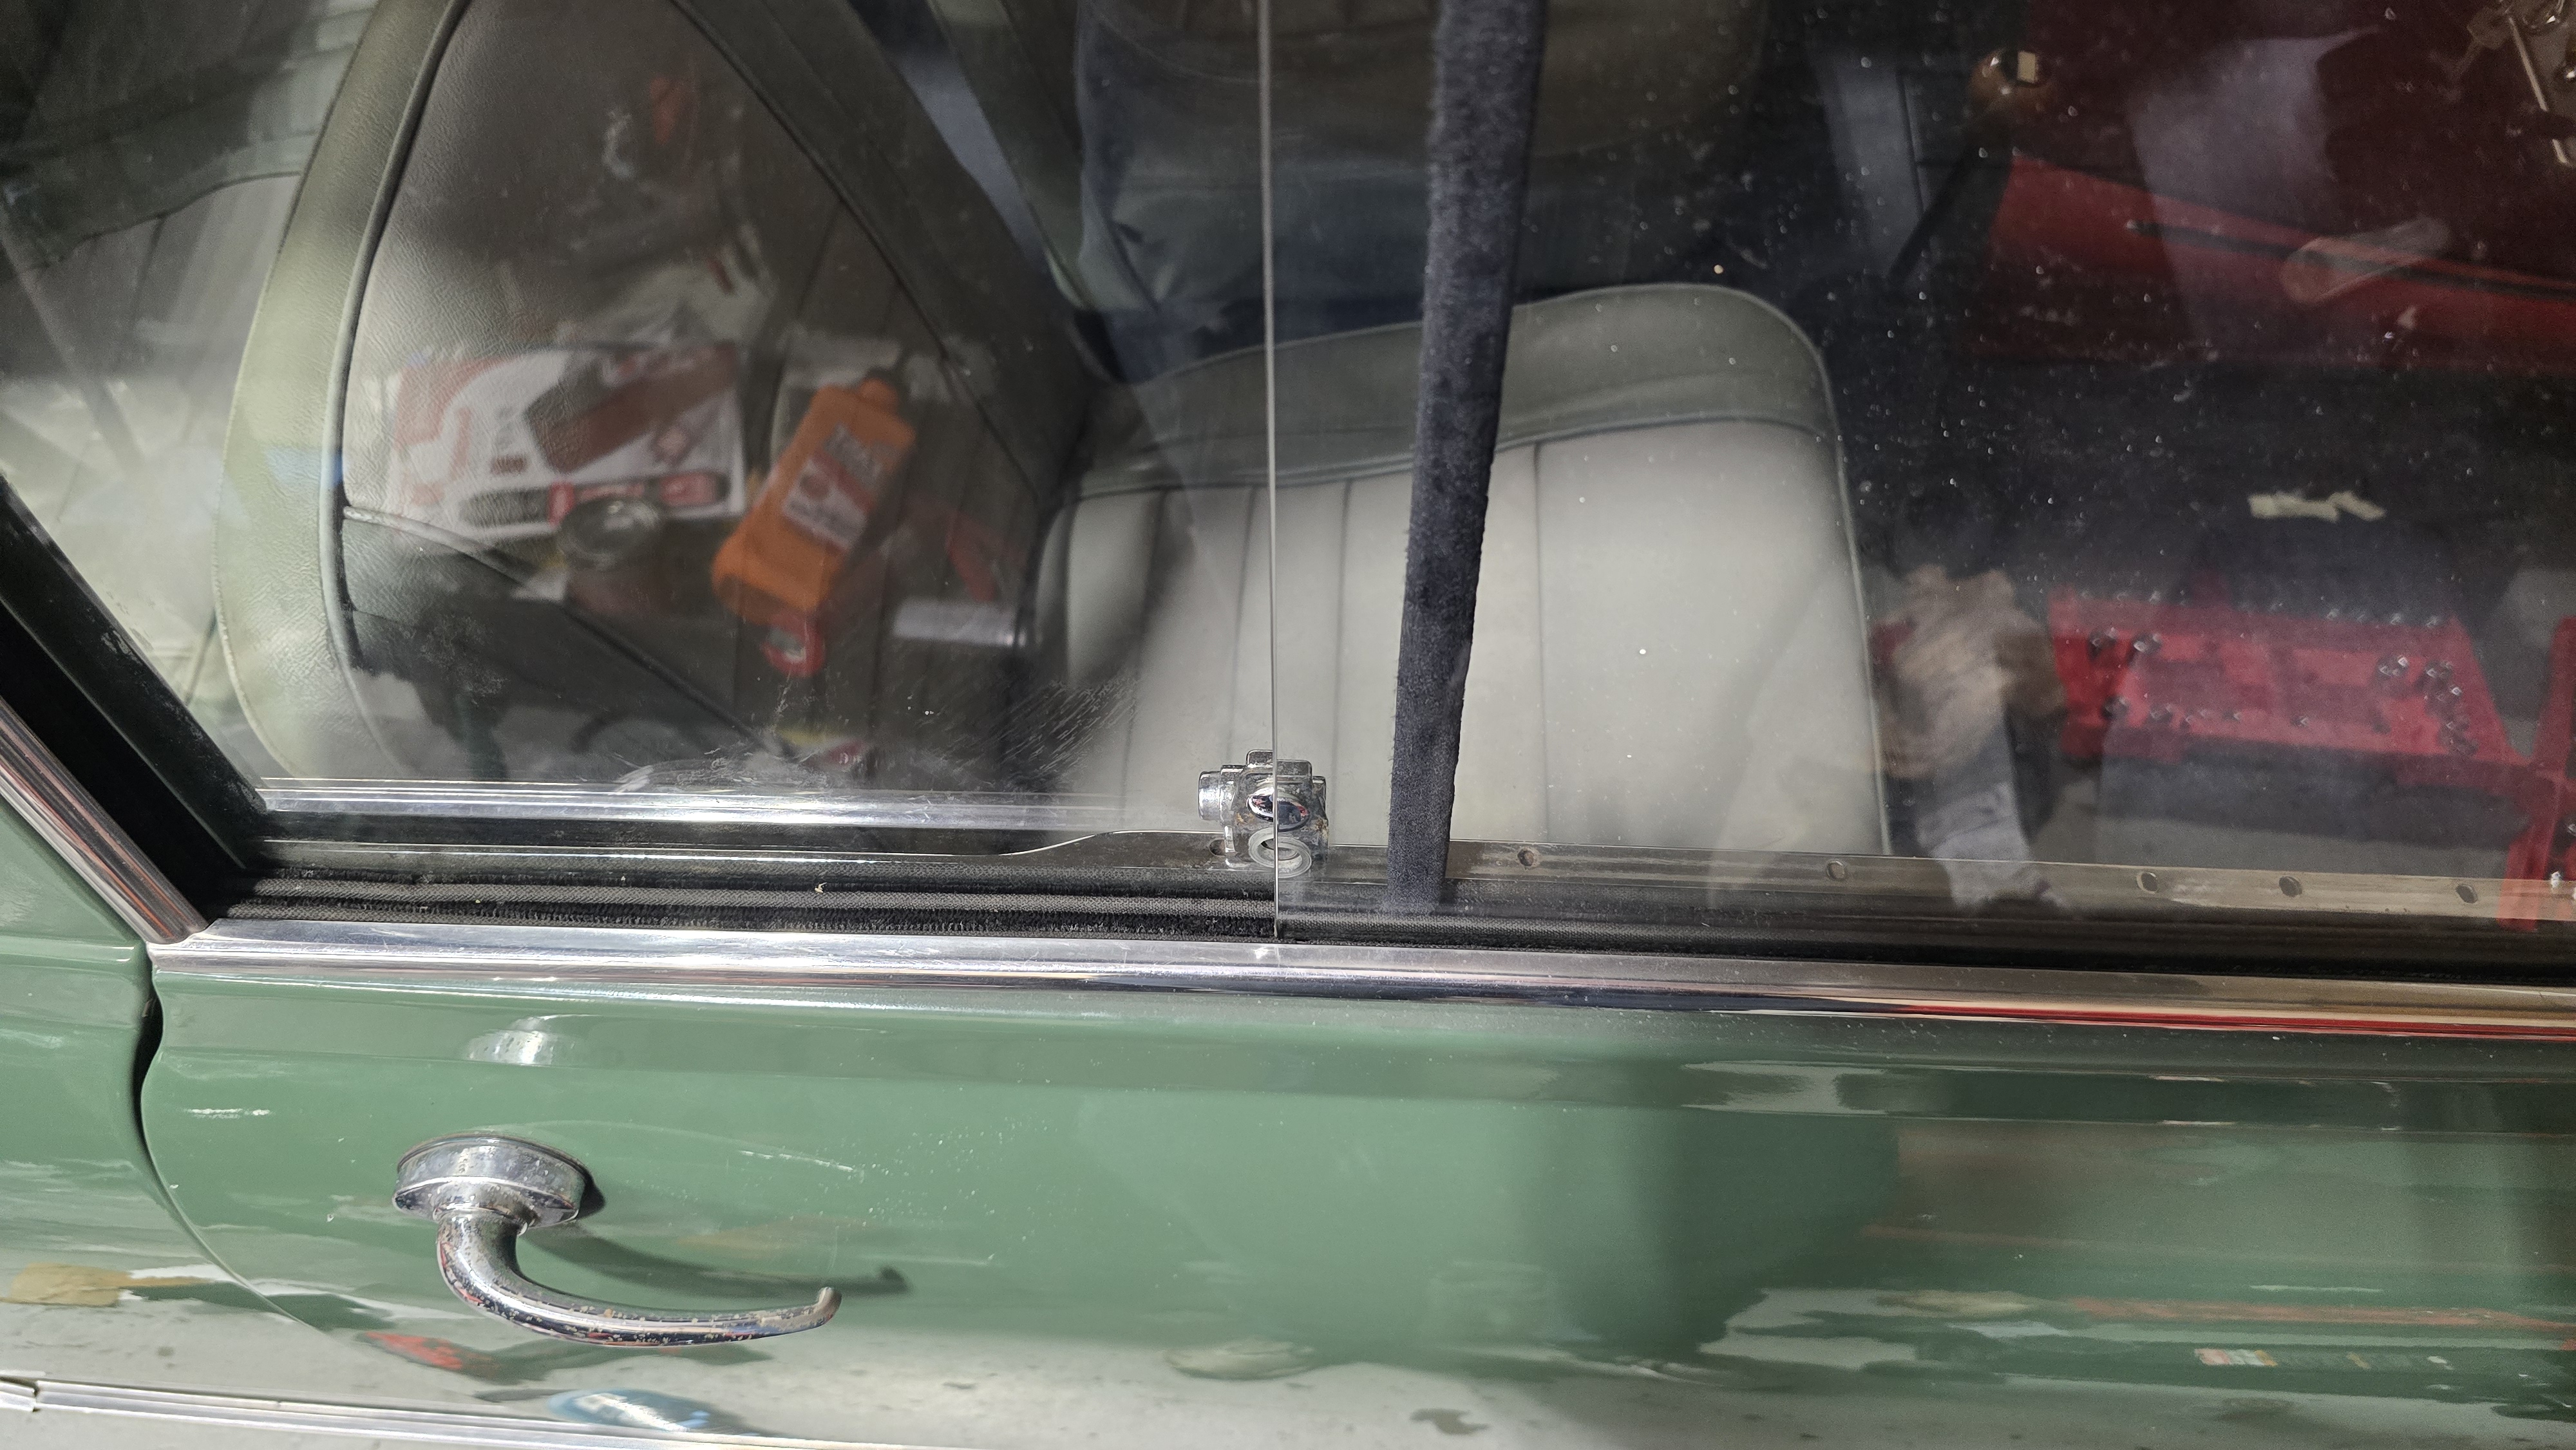
Like most Minis from this era, the sliding window channels were in rough shape, so I removed the windows to replace the channels and felts. Incredibly, the drainholes weren’t plugged up or rusted out, so in went new channels and felt. The interior is nice and tight now while going down the road. With the side windows partially opened and the rear windows popped out, it gets great airflow! This car was optioned with the large heater box and blower motor for those cold mornings.
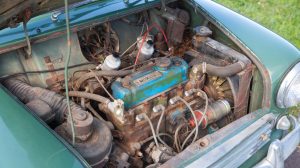
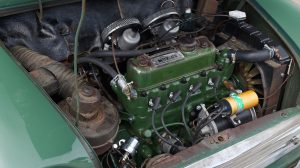
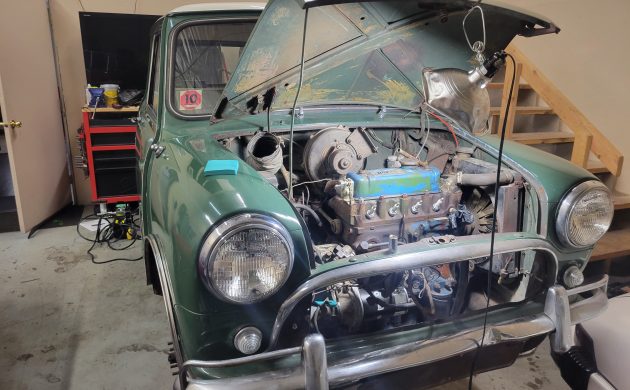
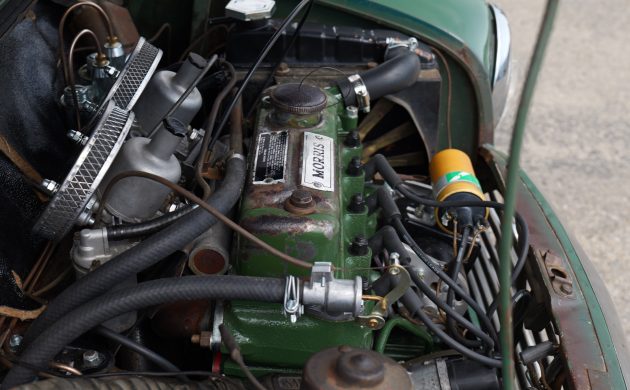
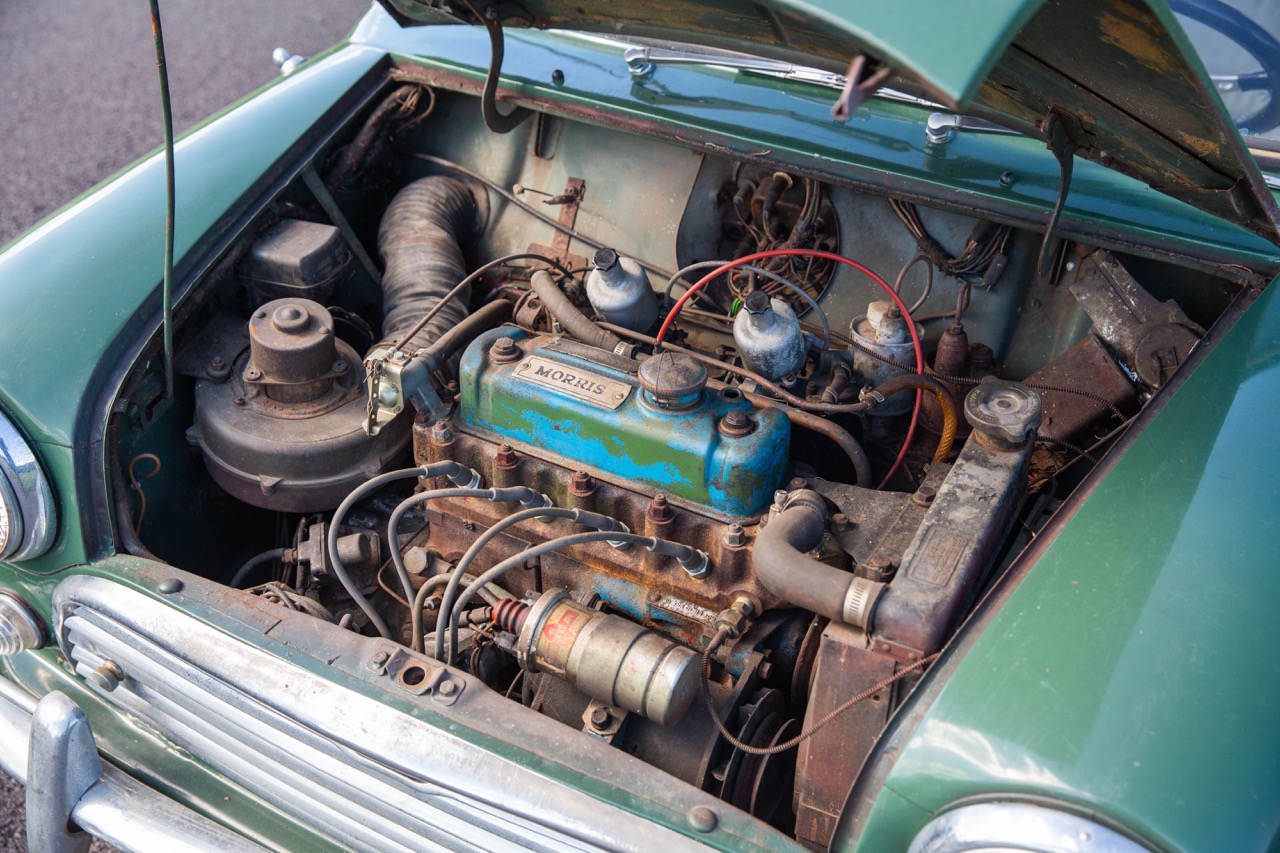
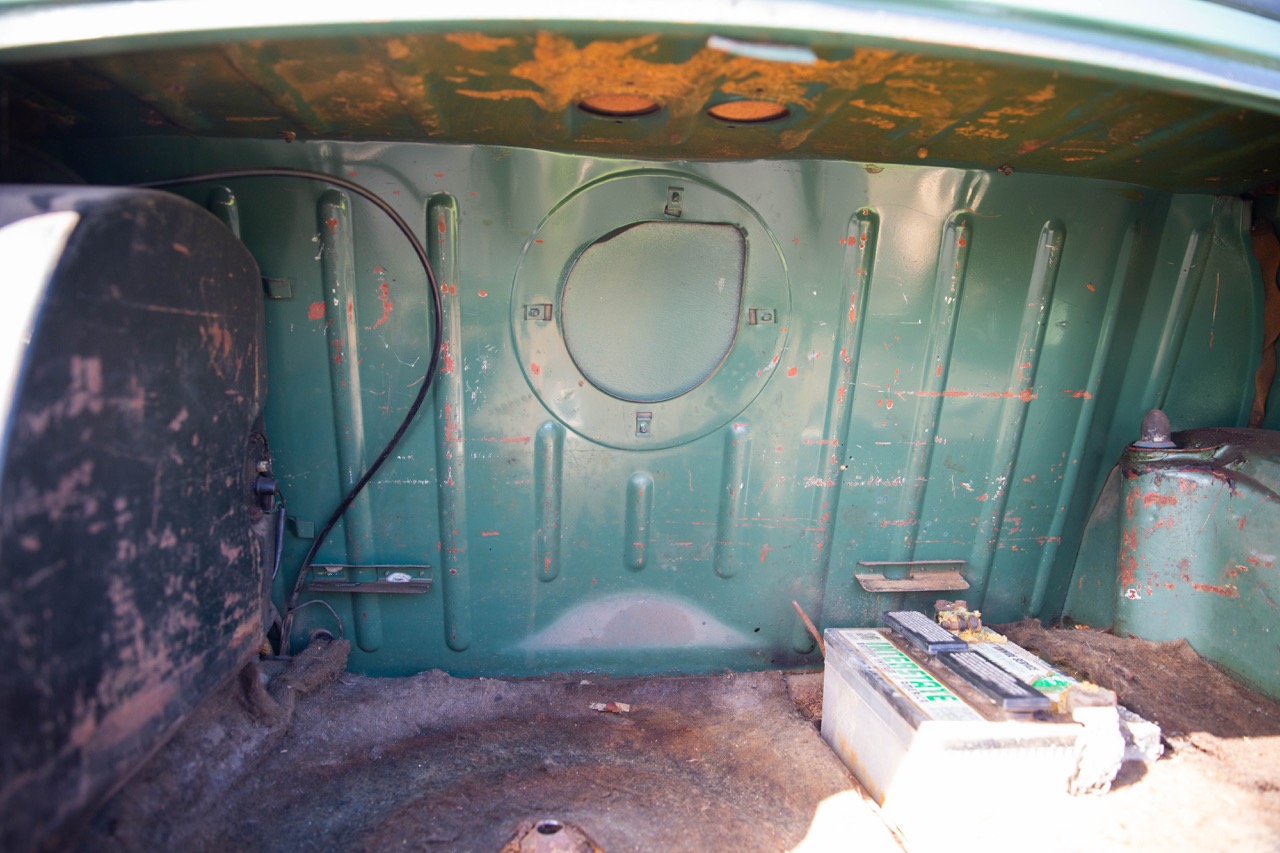
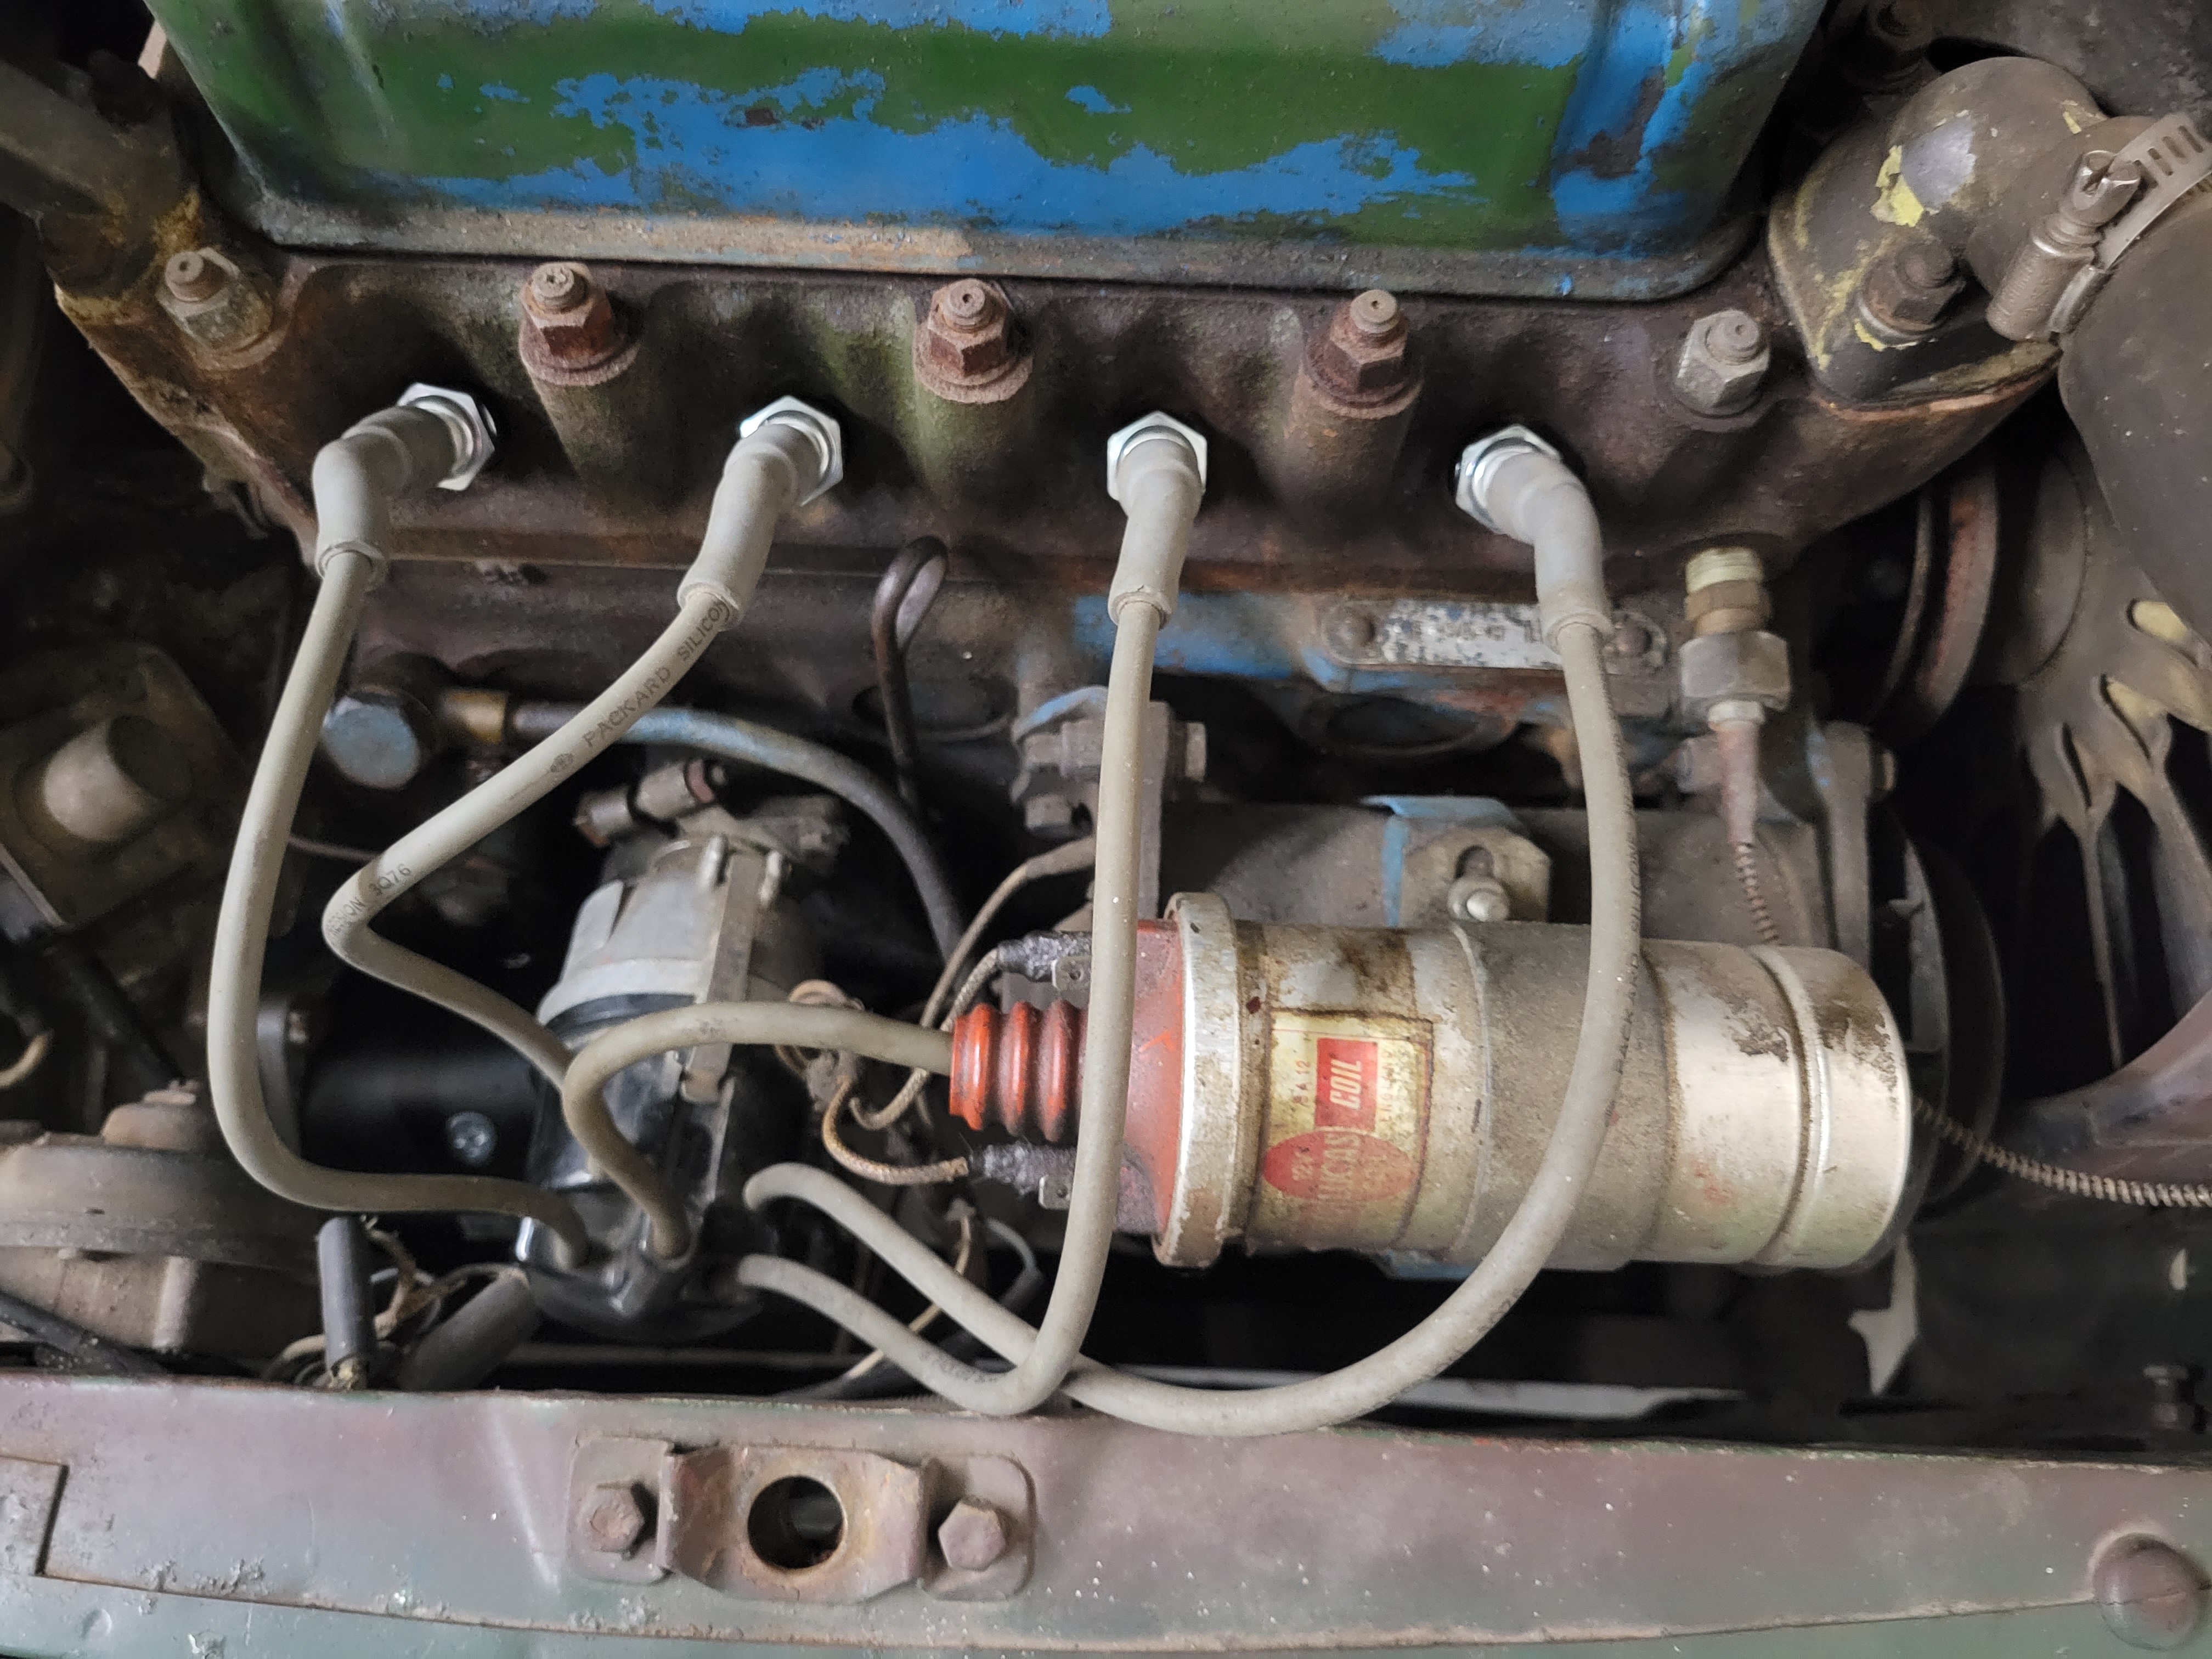
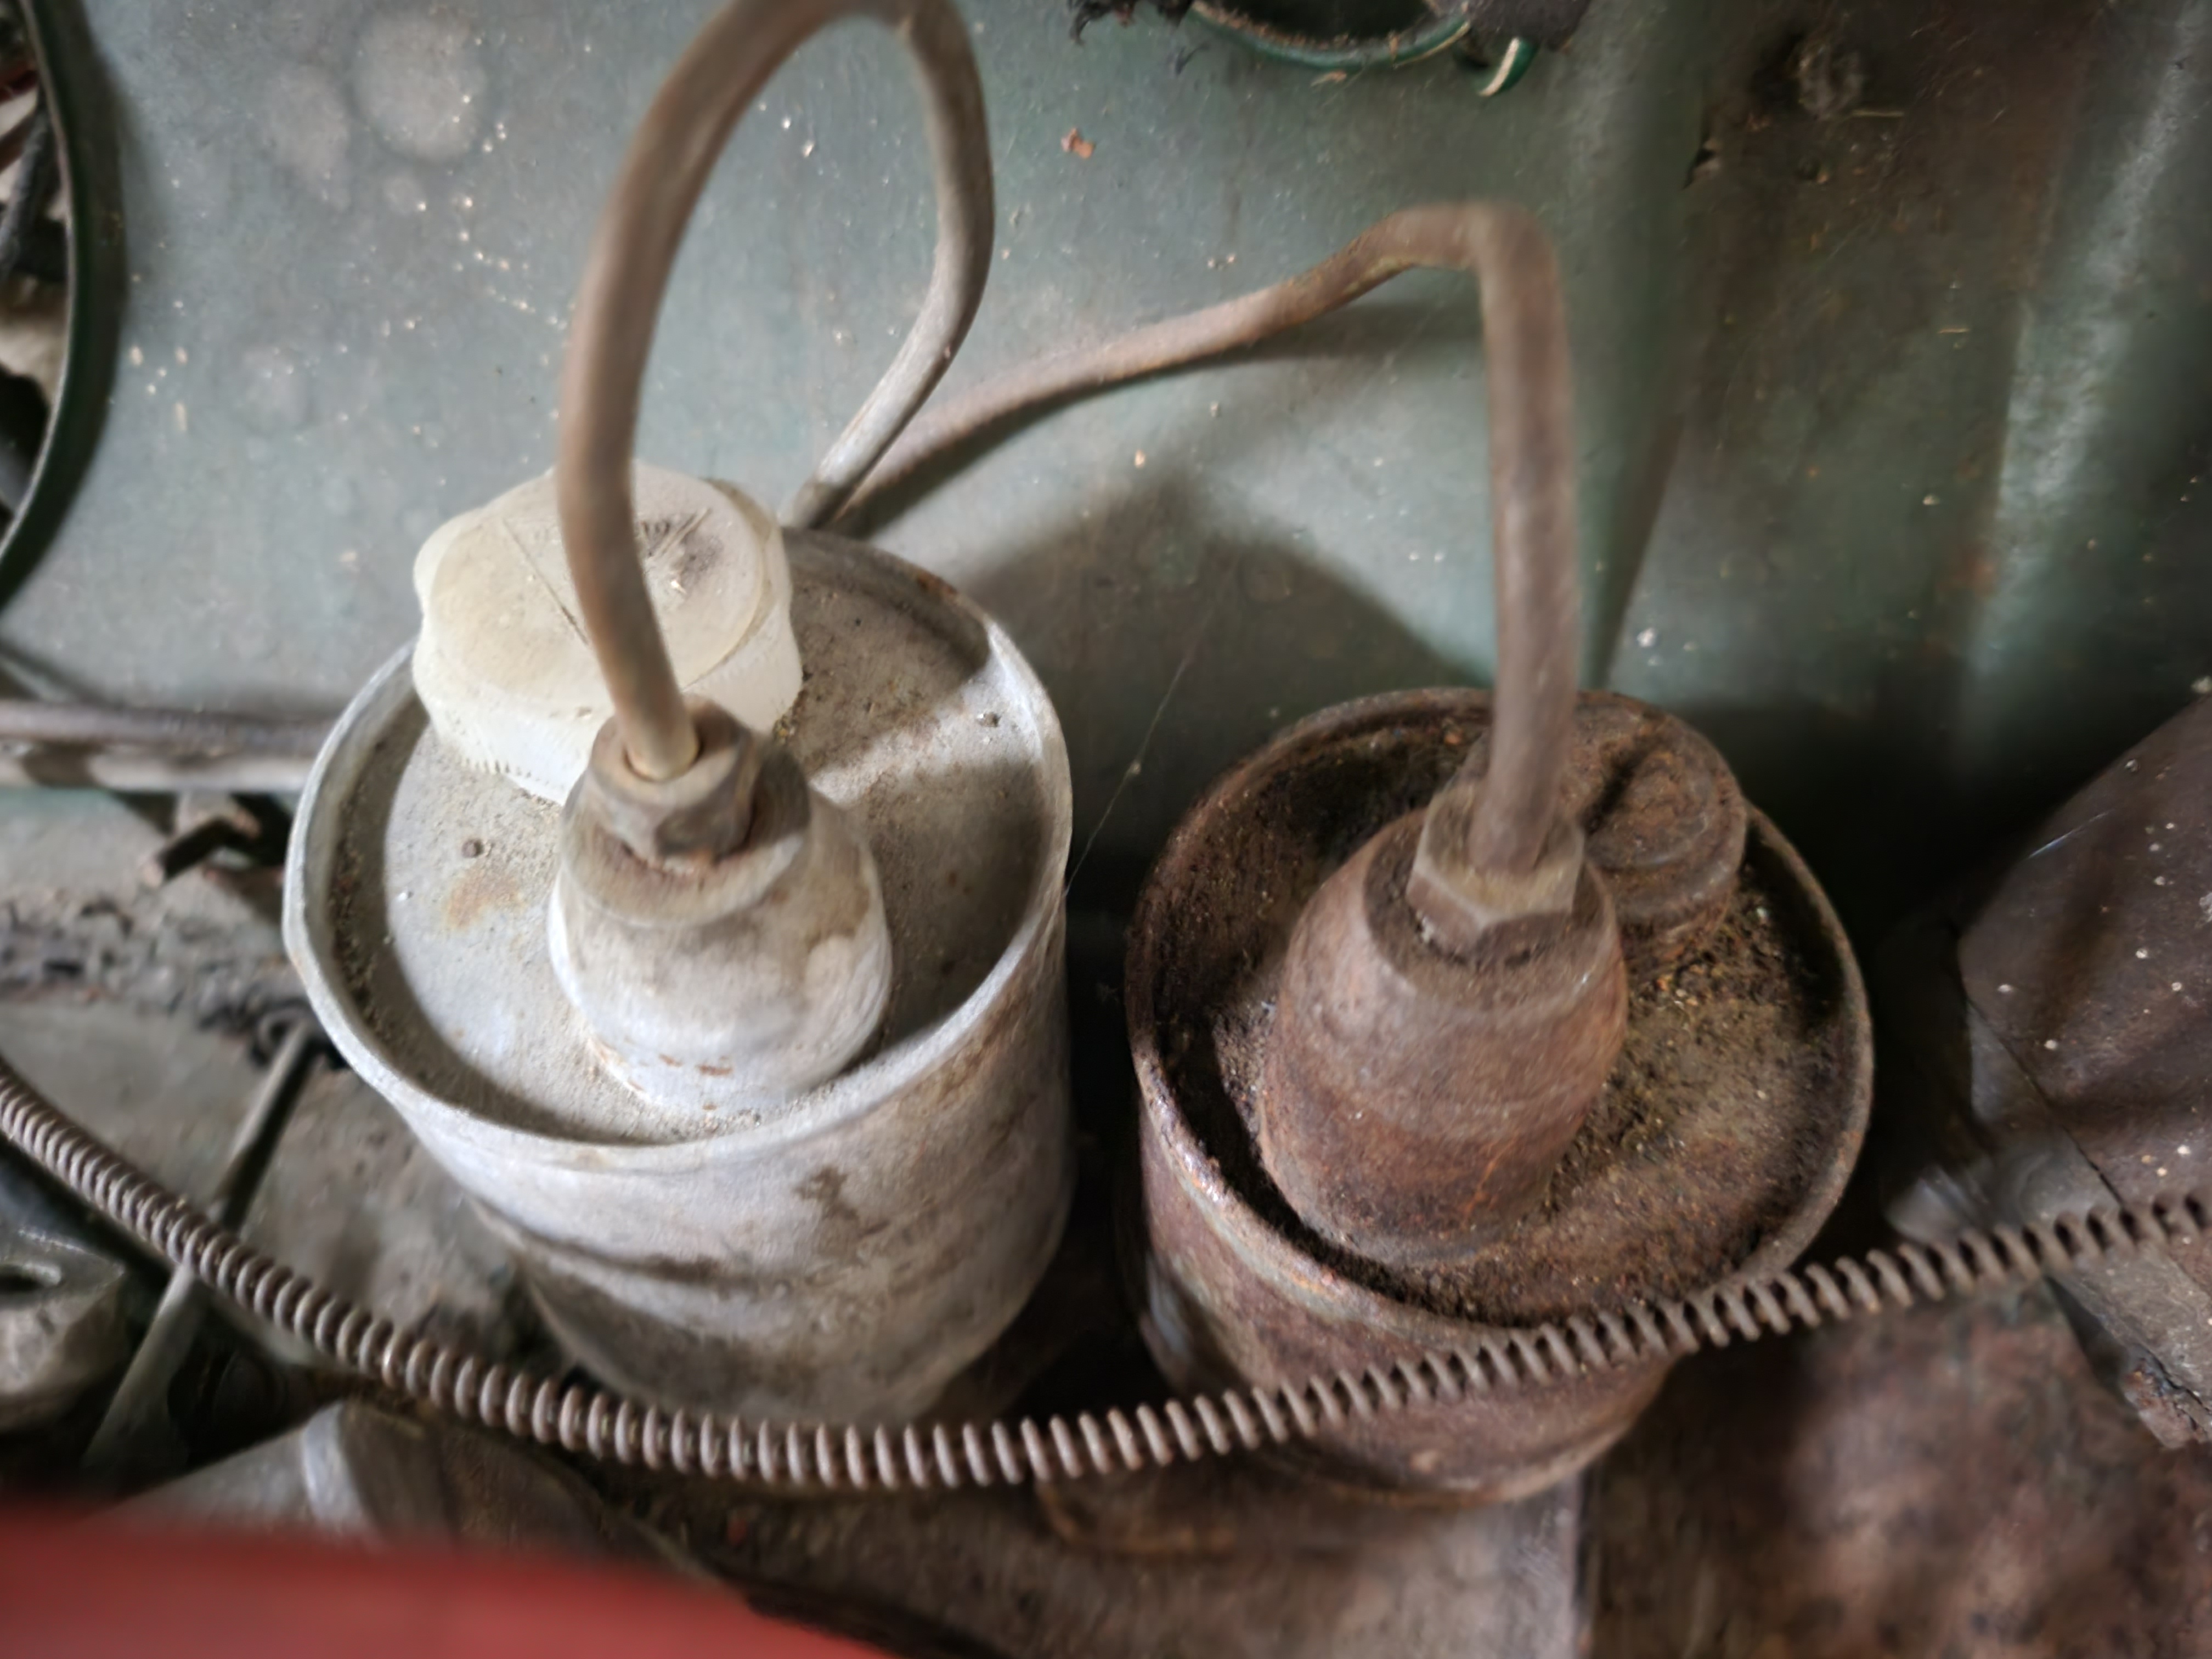
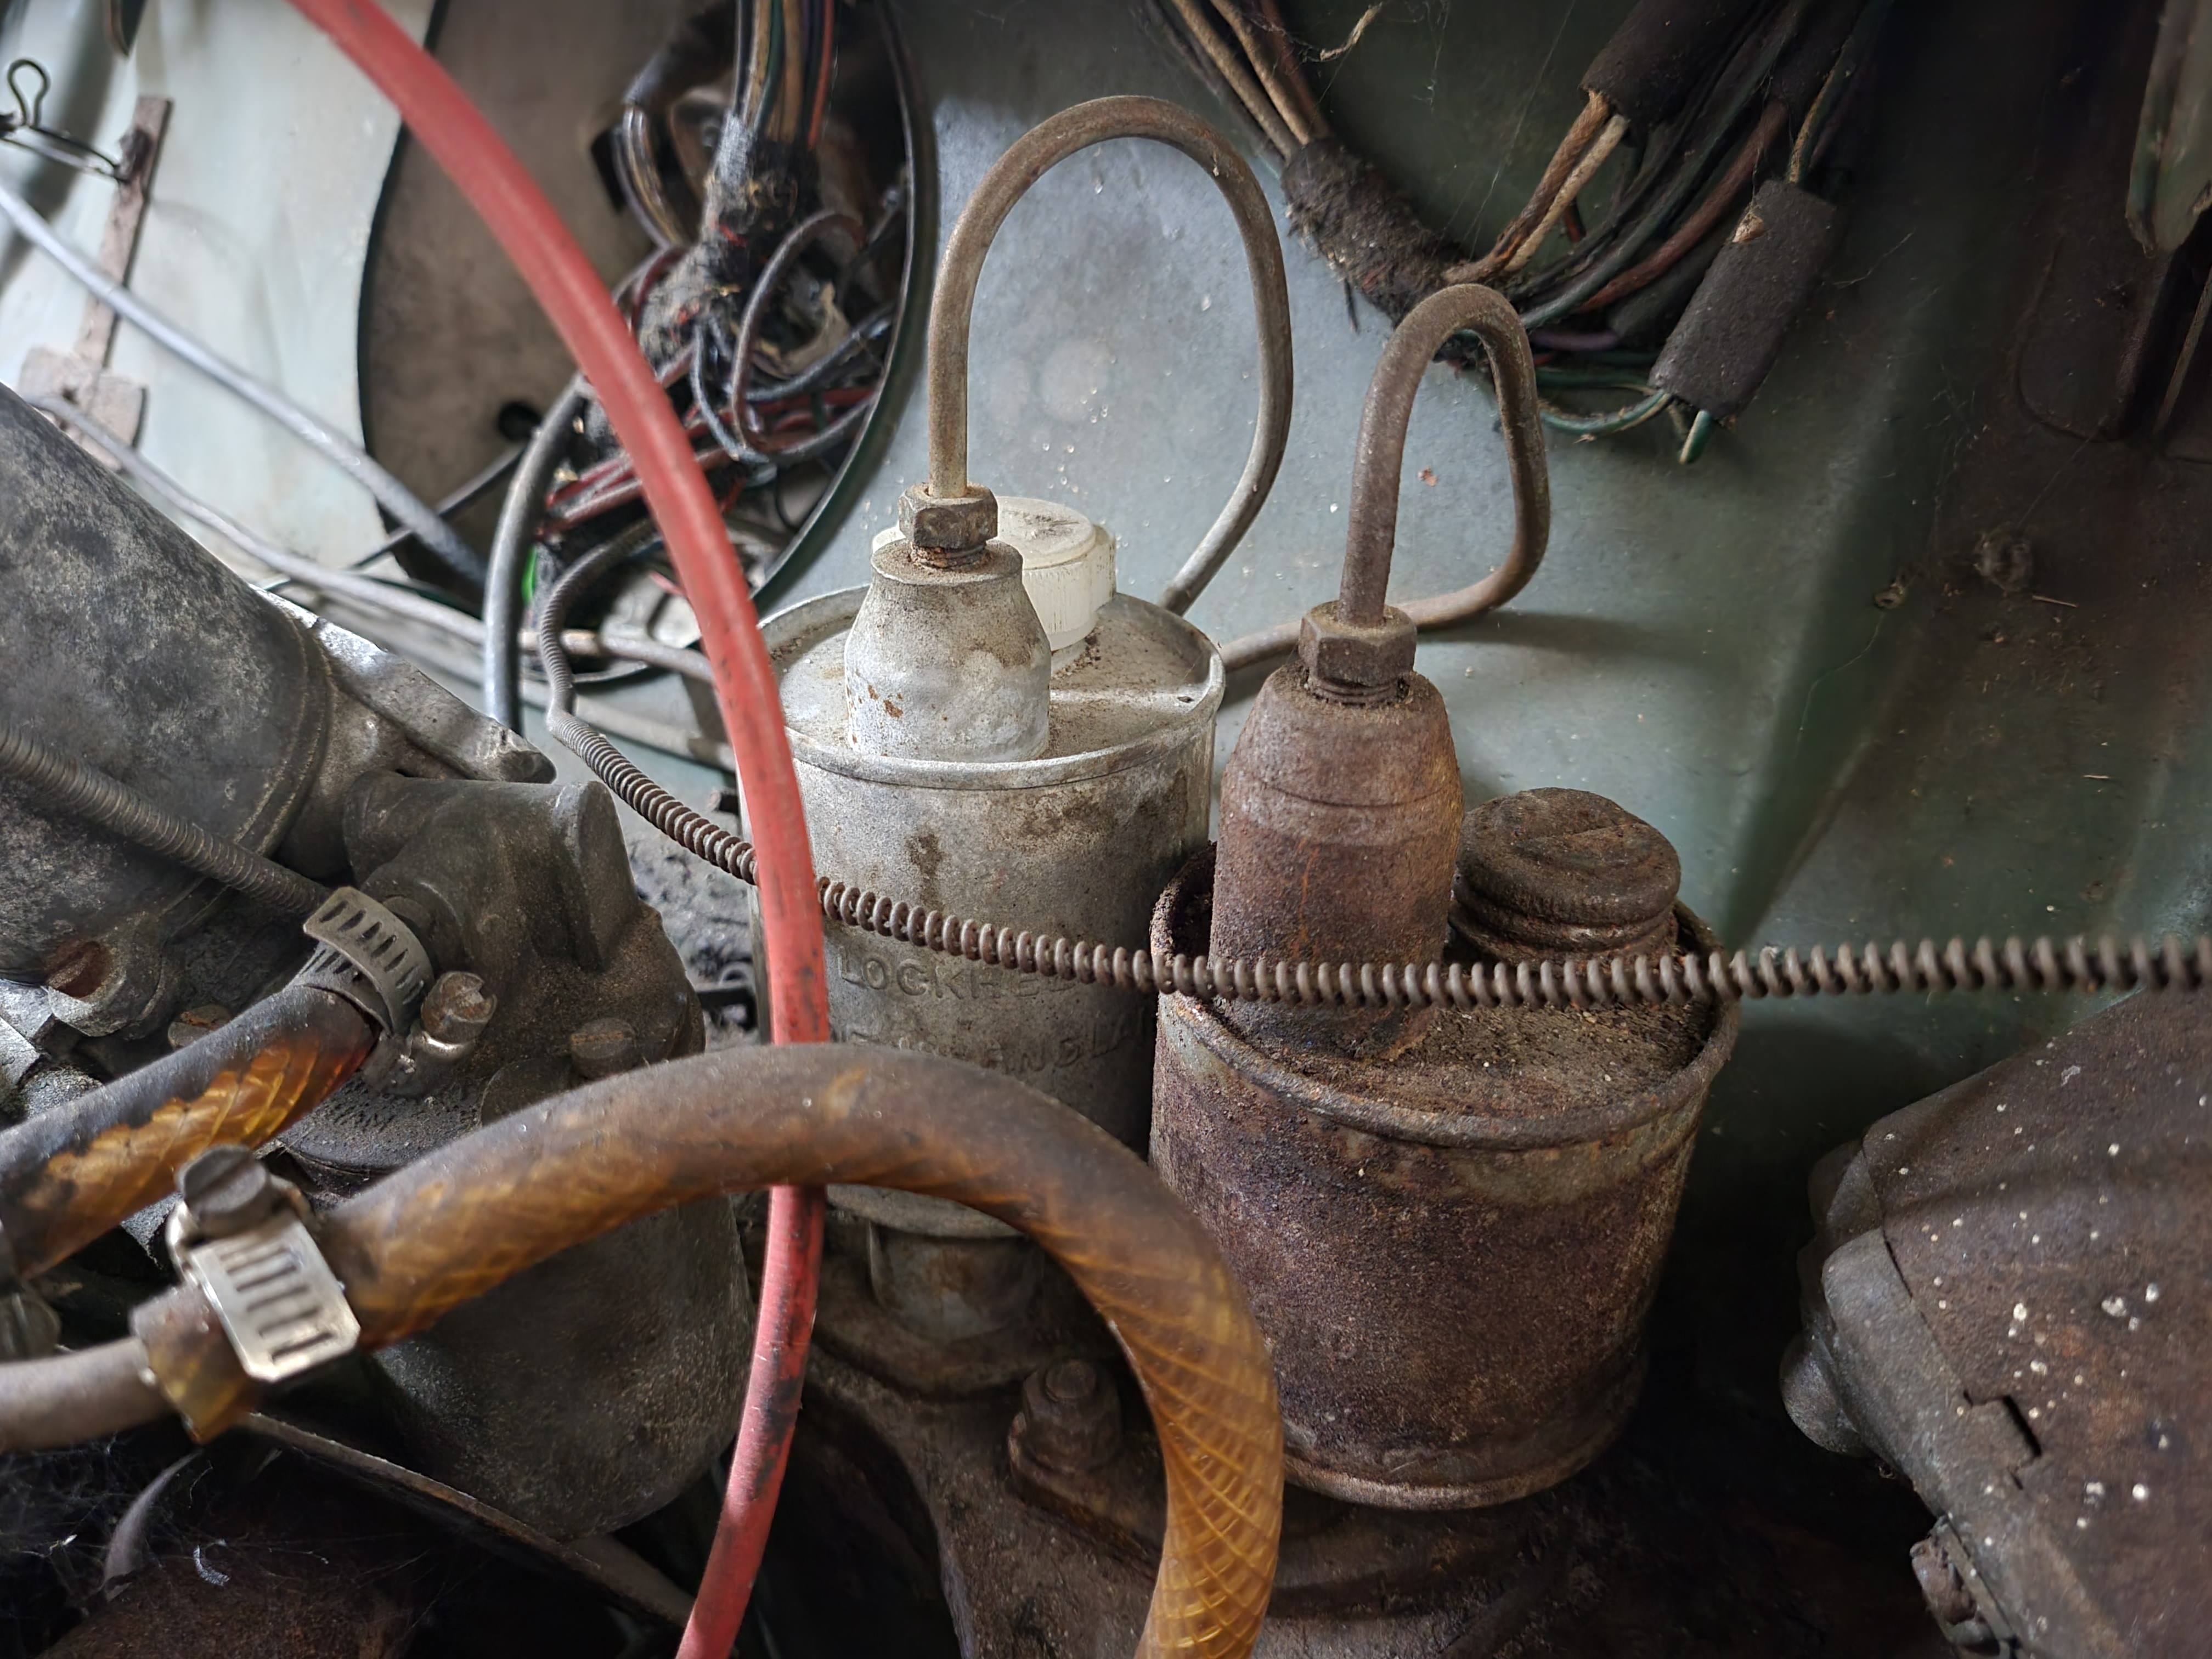
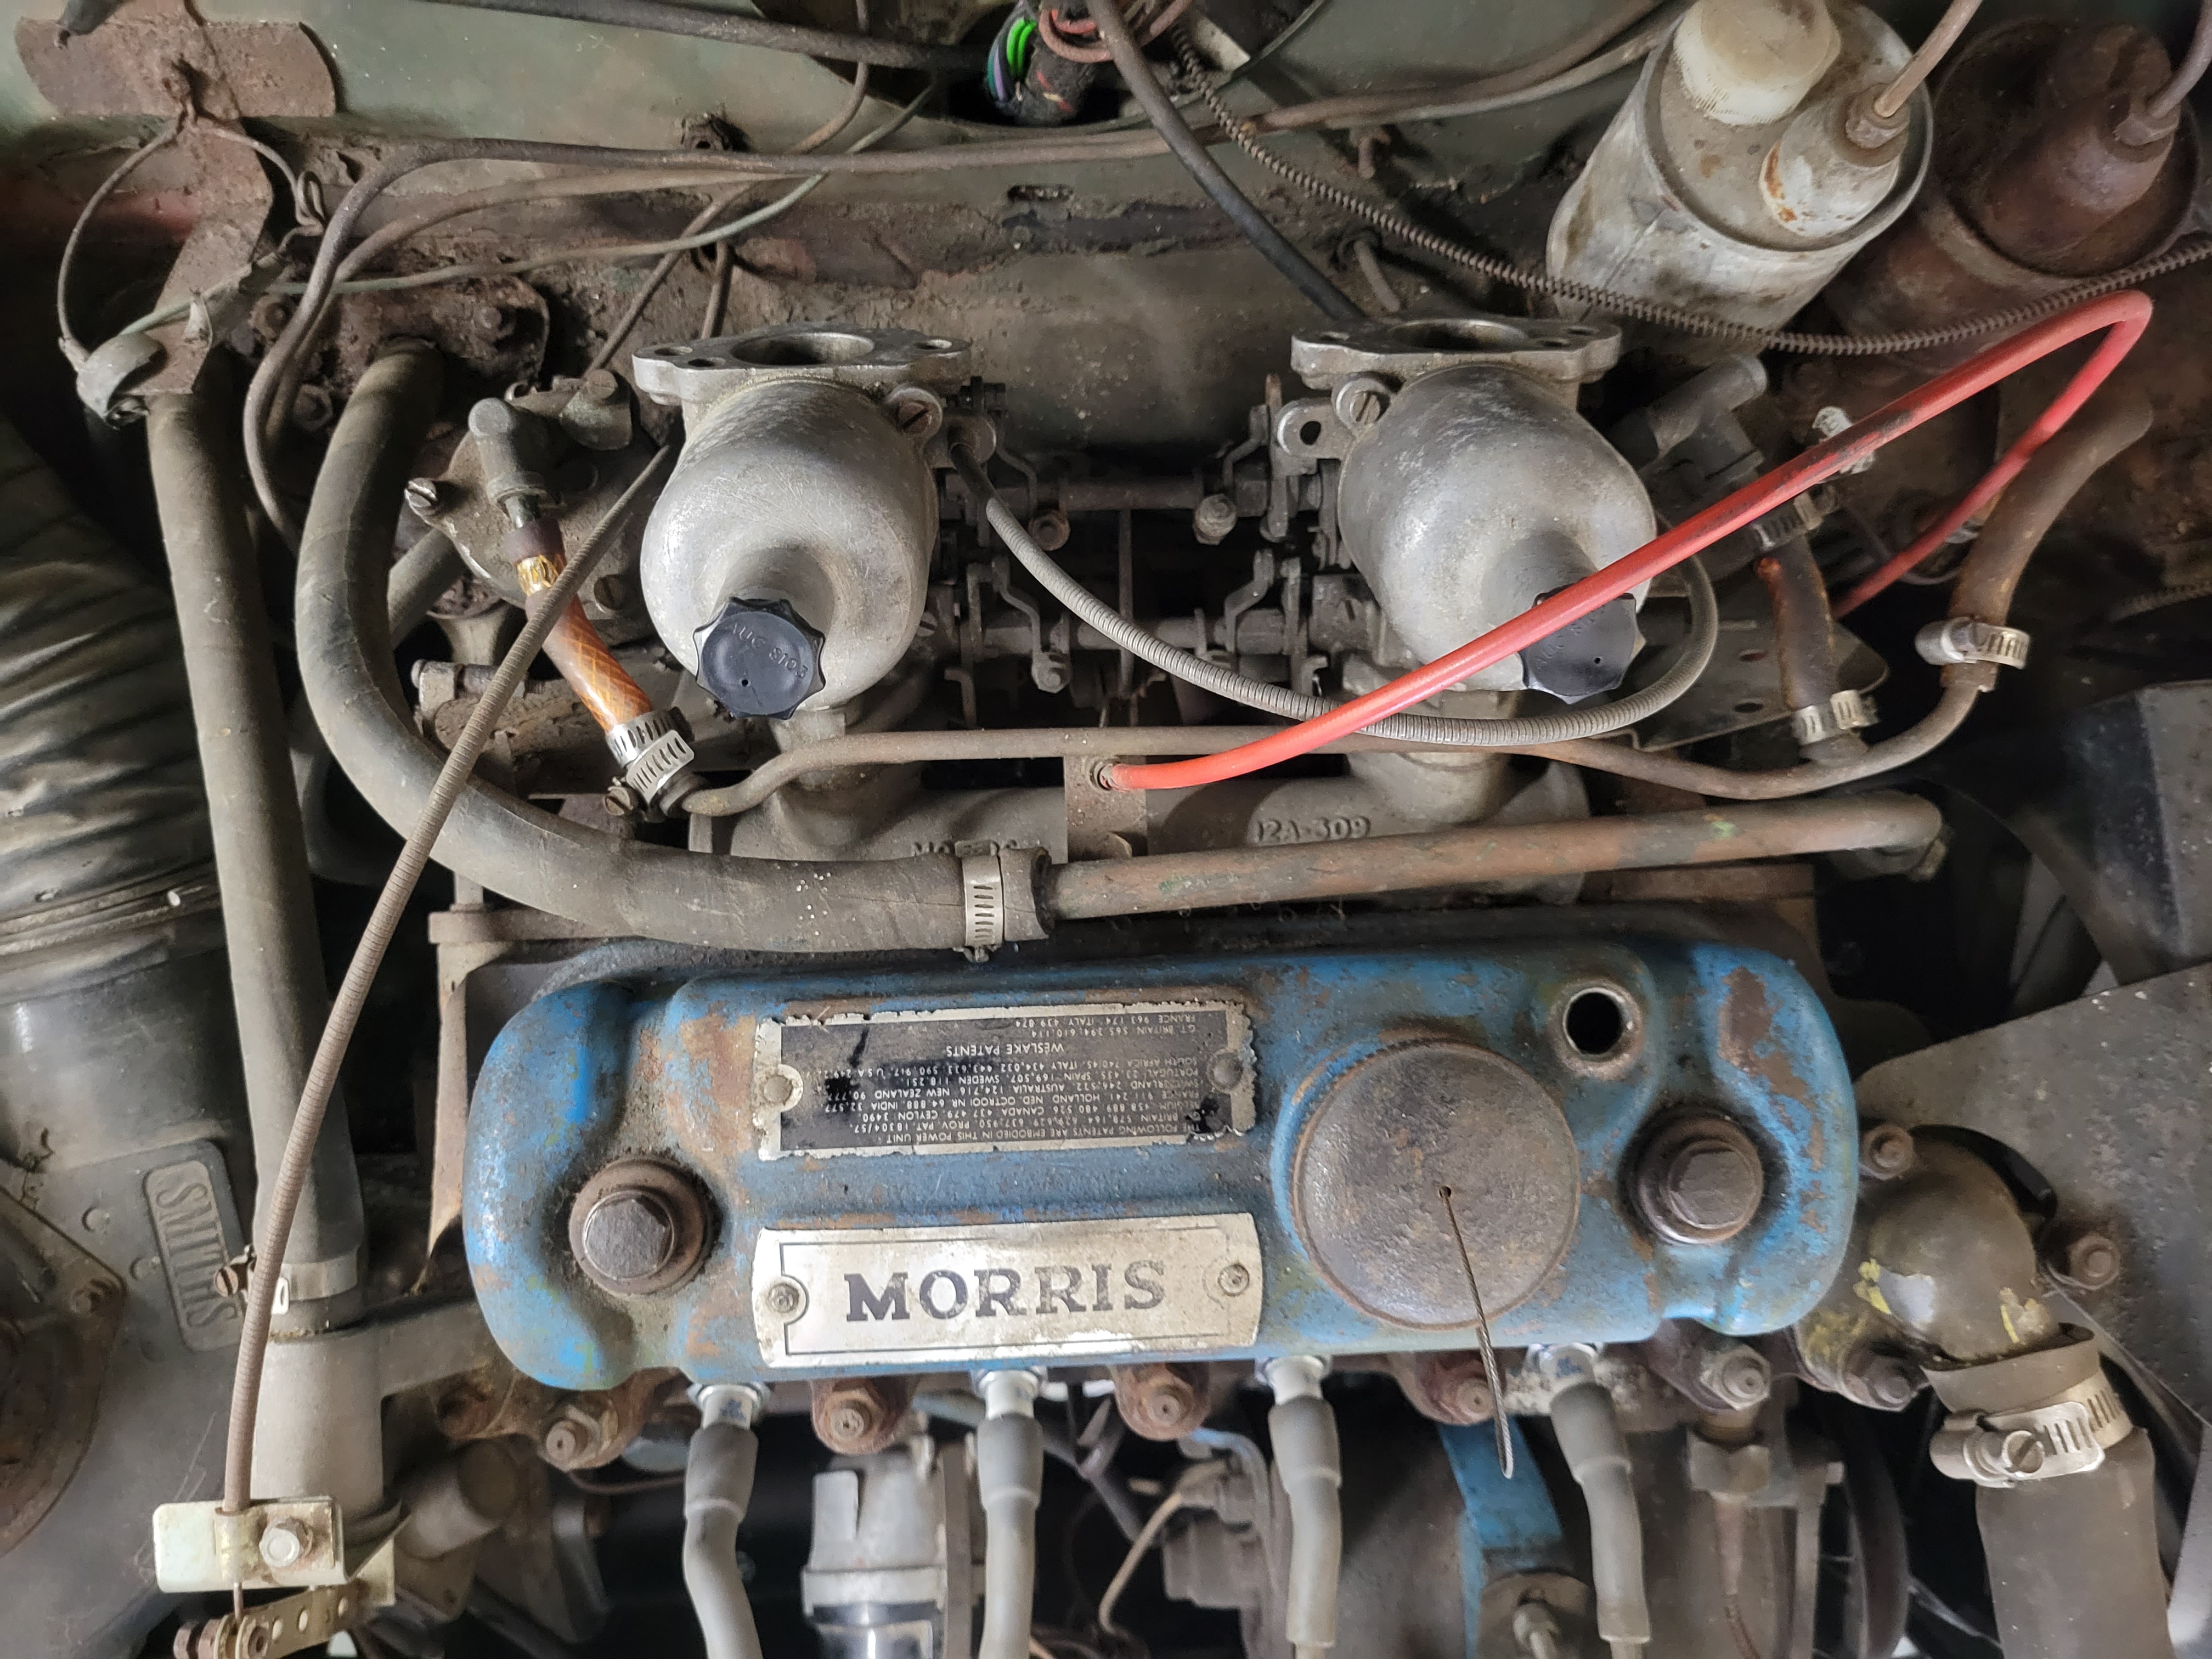
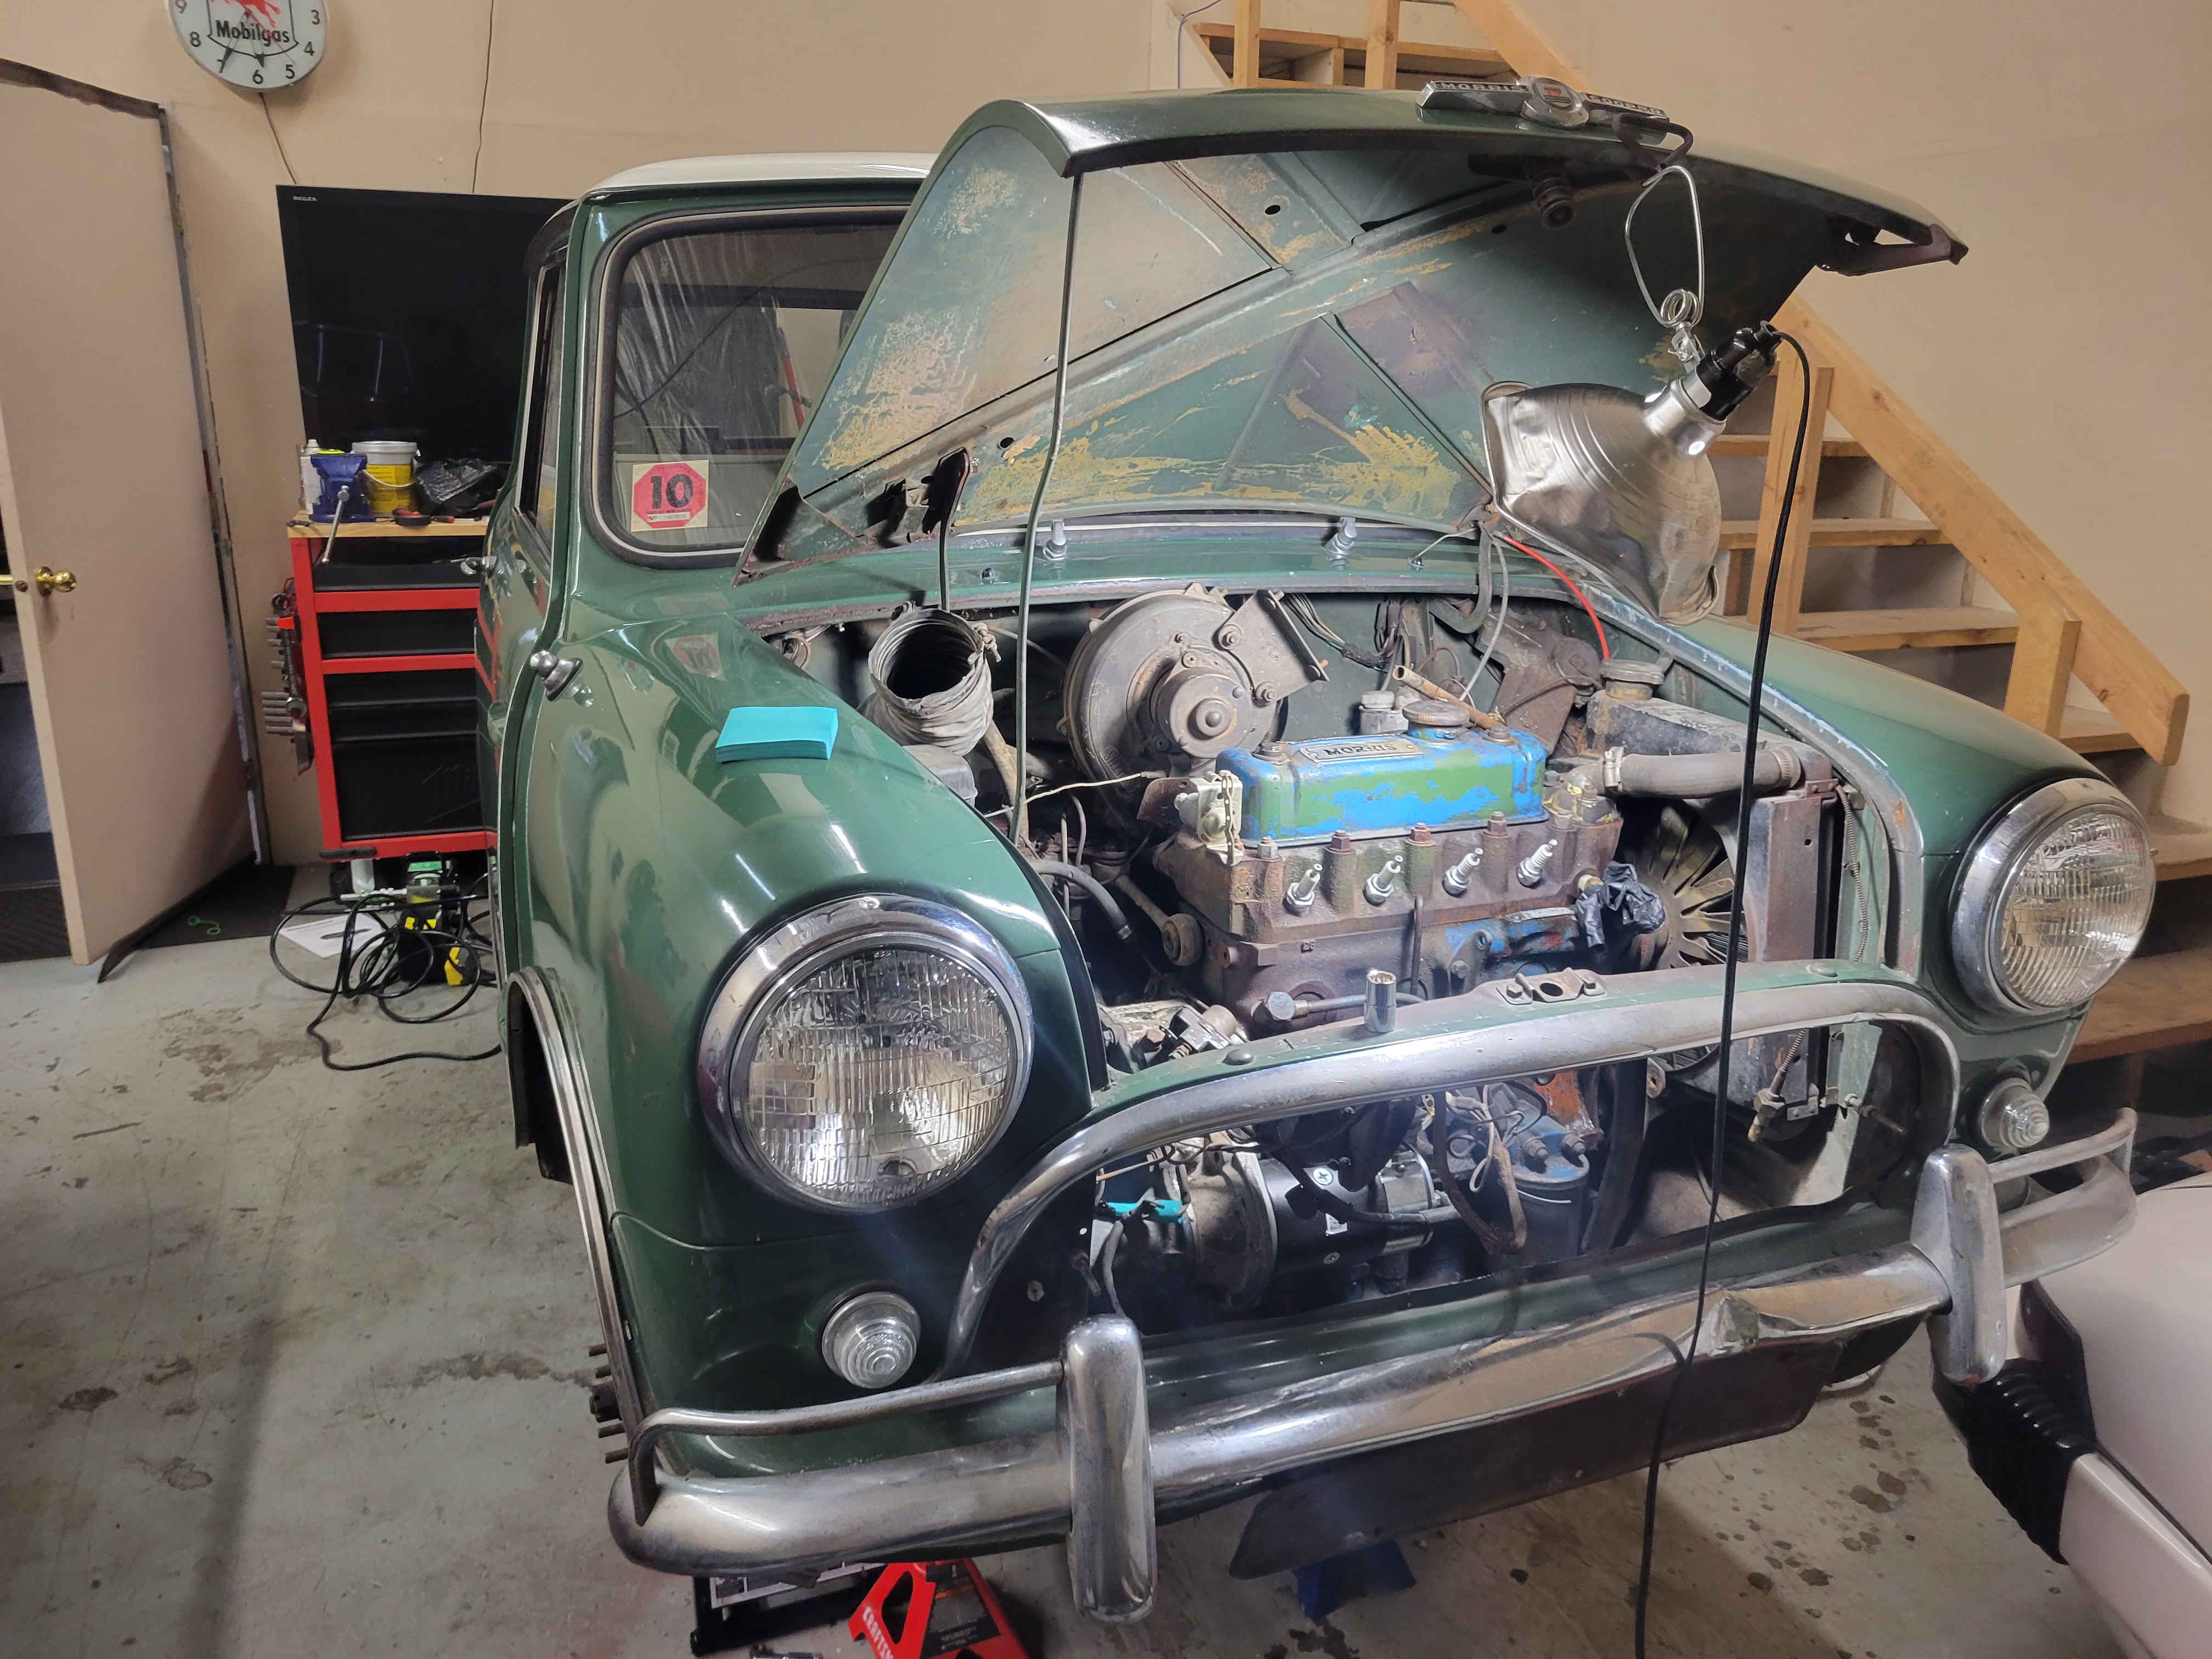
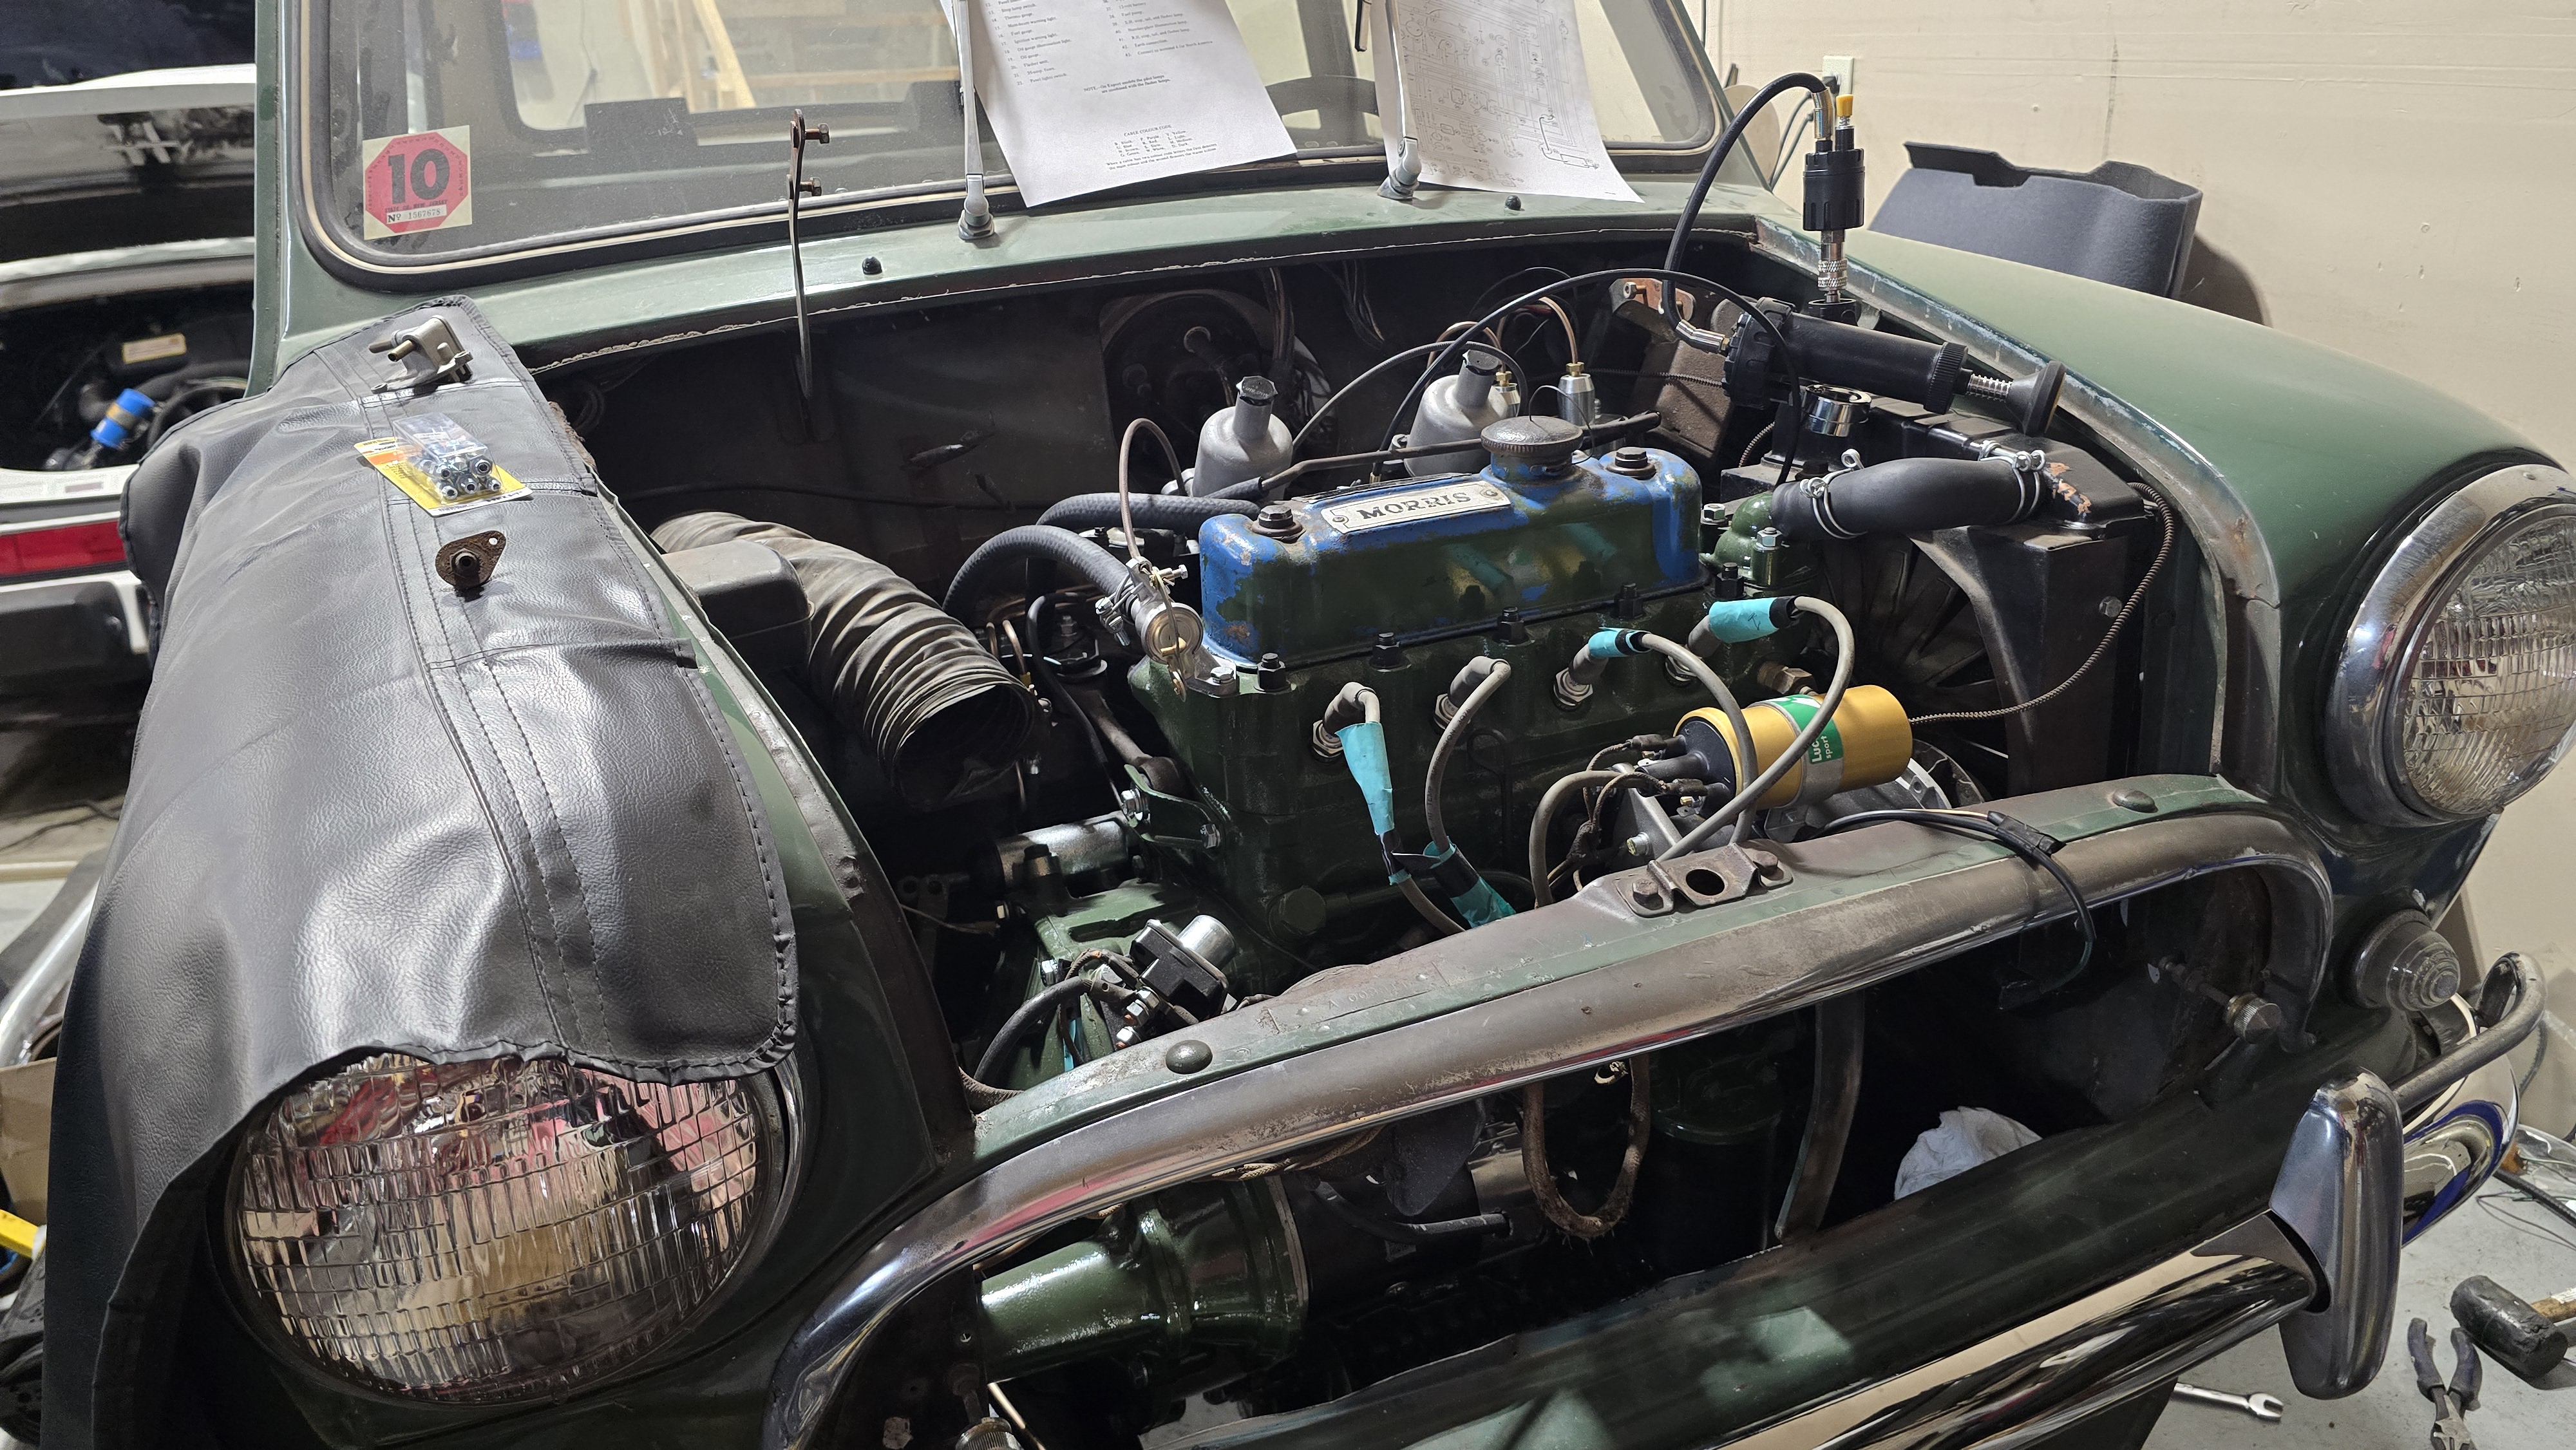
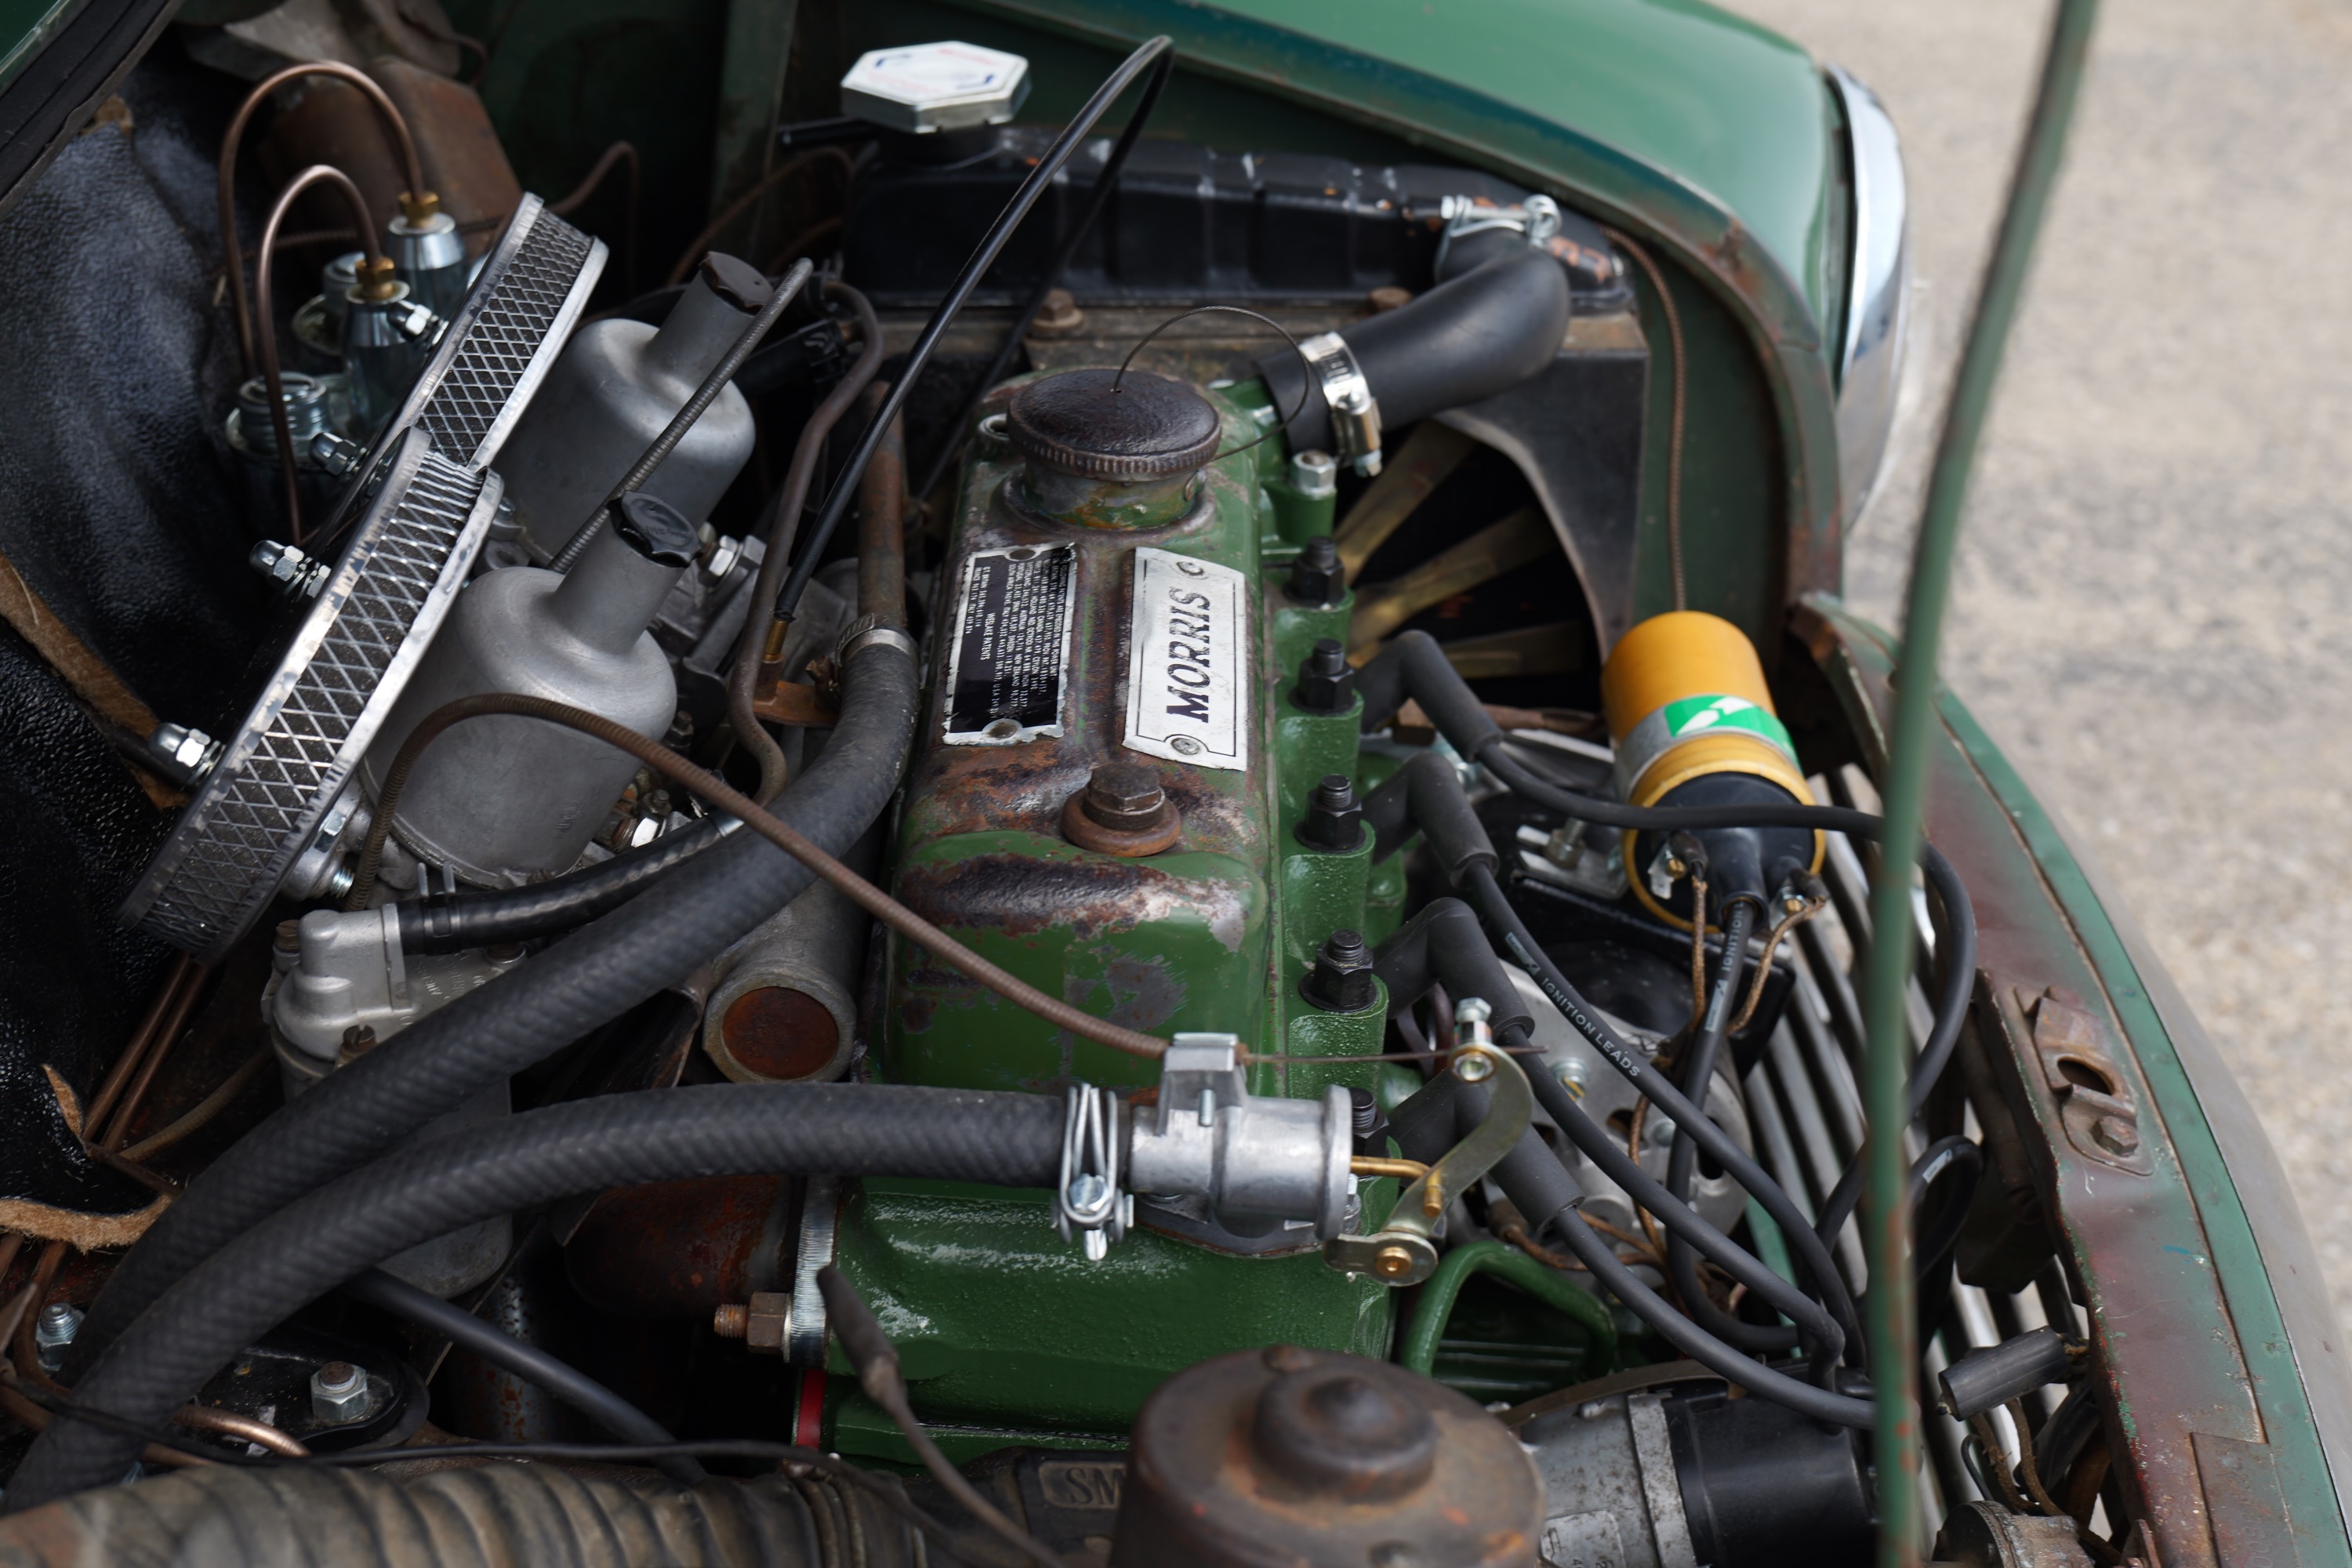
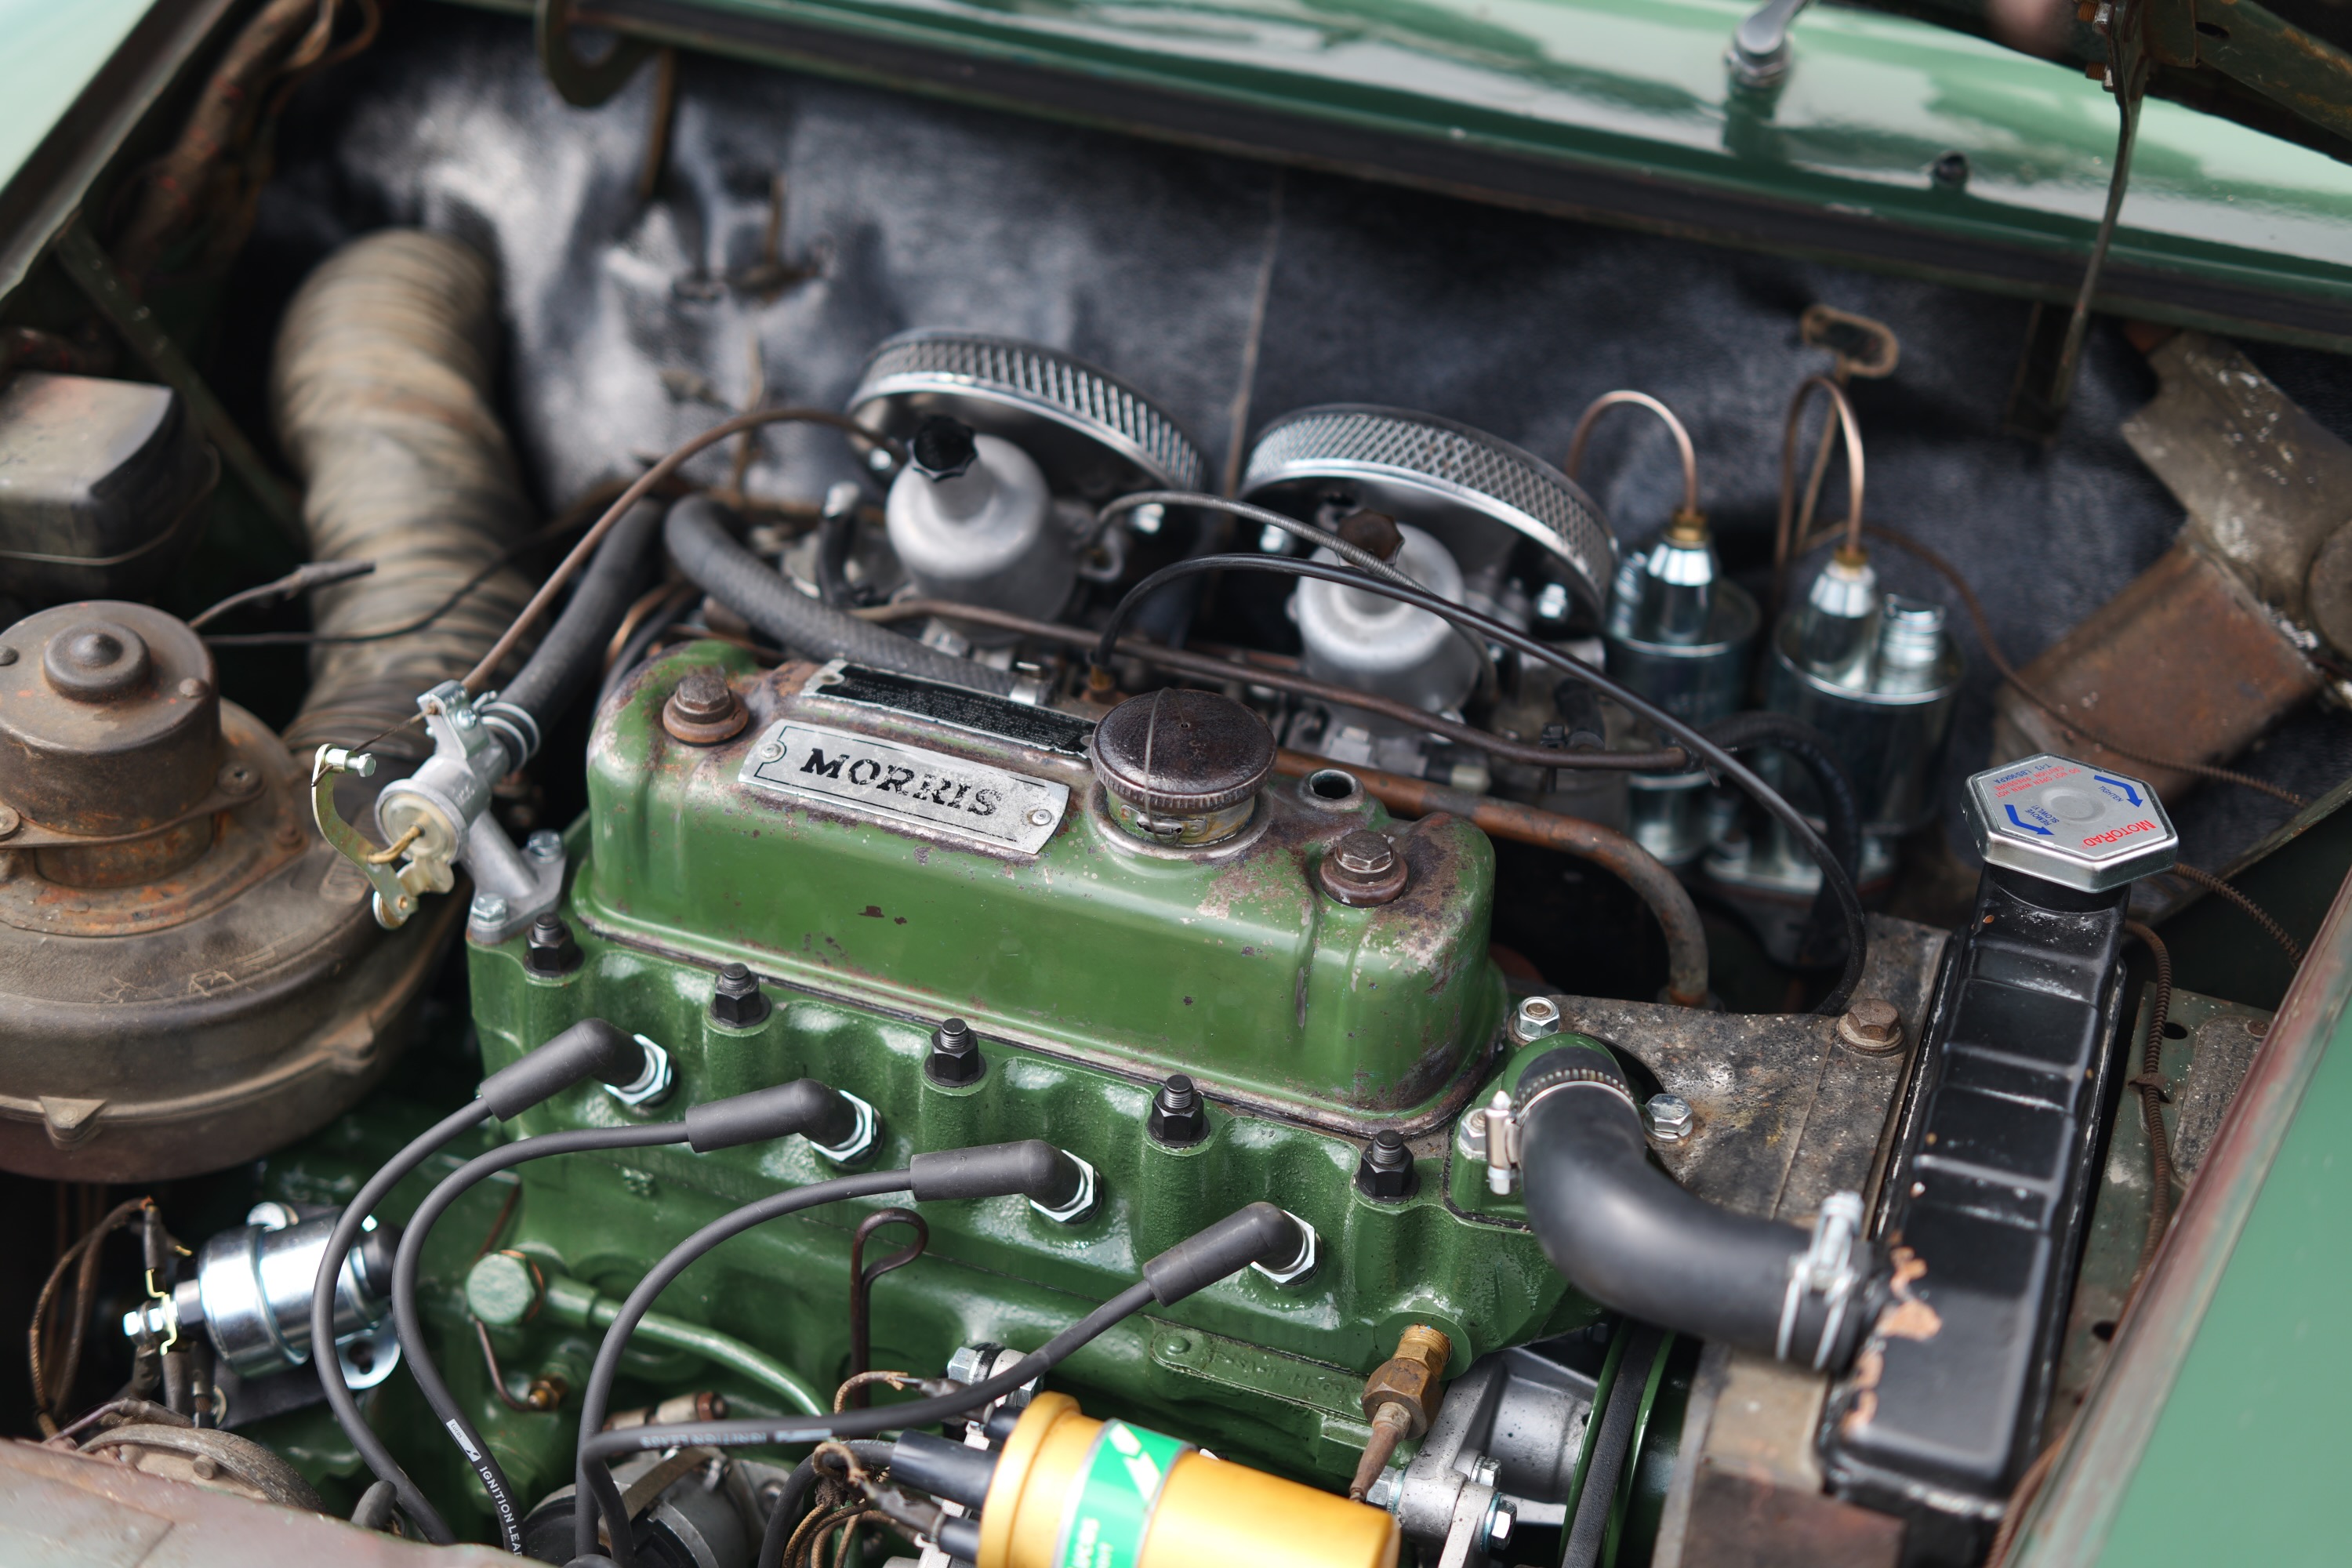
Given how rare and unique these early Coopers are, we wanted to preserve rather than erase the car’s history. I think this side by side comparison of how the engine bay used to look versus how it looks now captures exactly what the goal was. When you open the hood, it’s tidy, but is loaded with character.
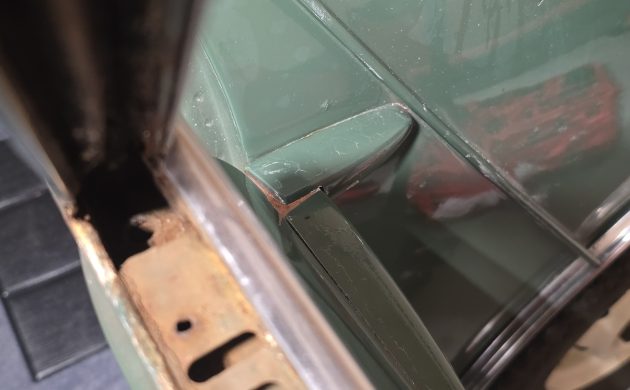
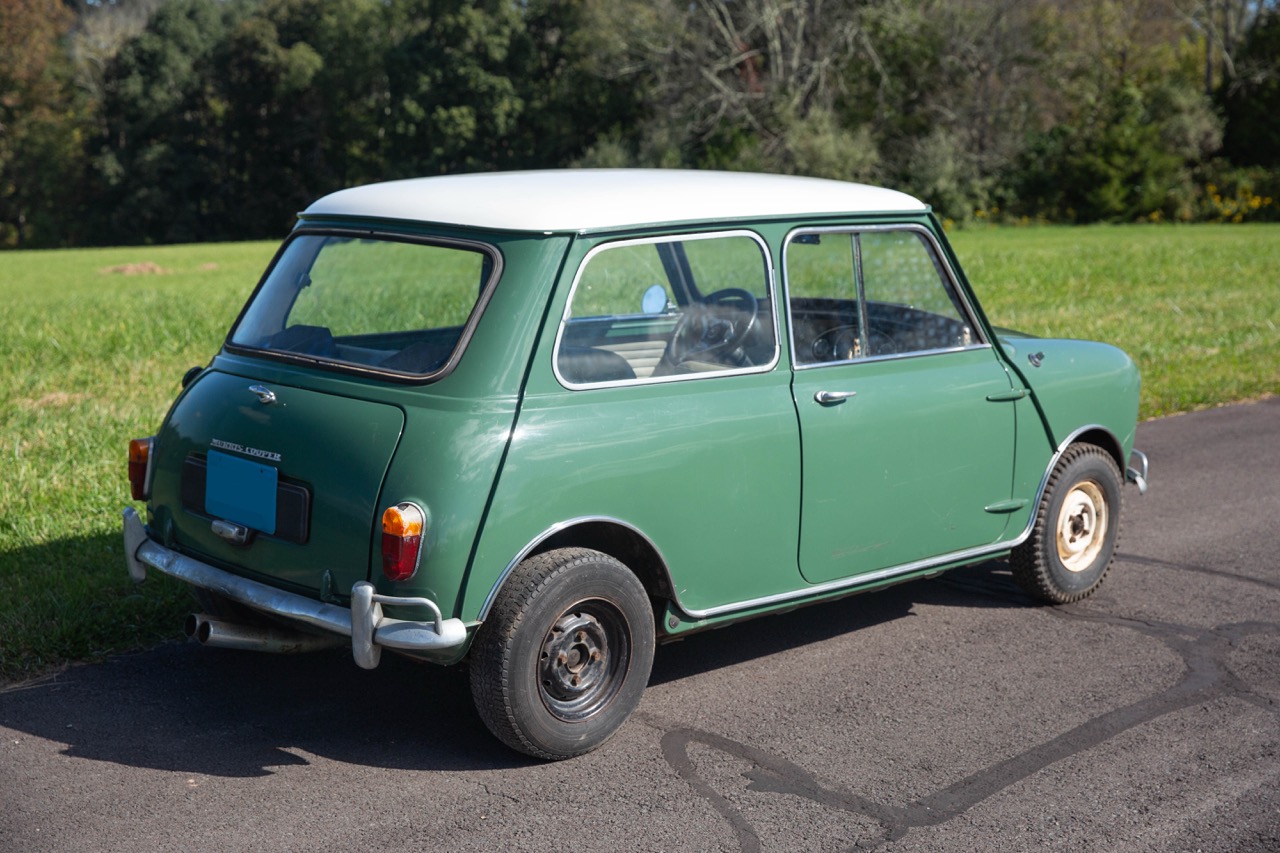
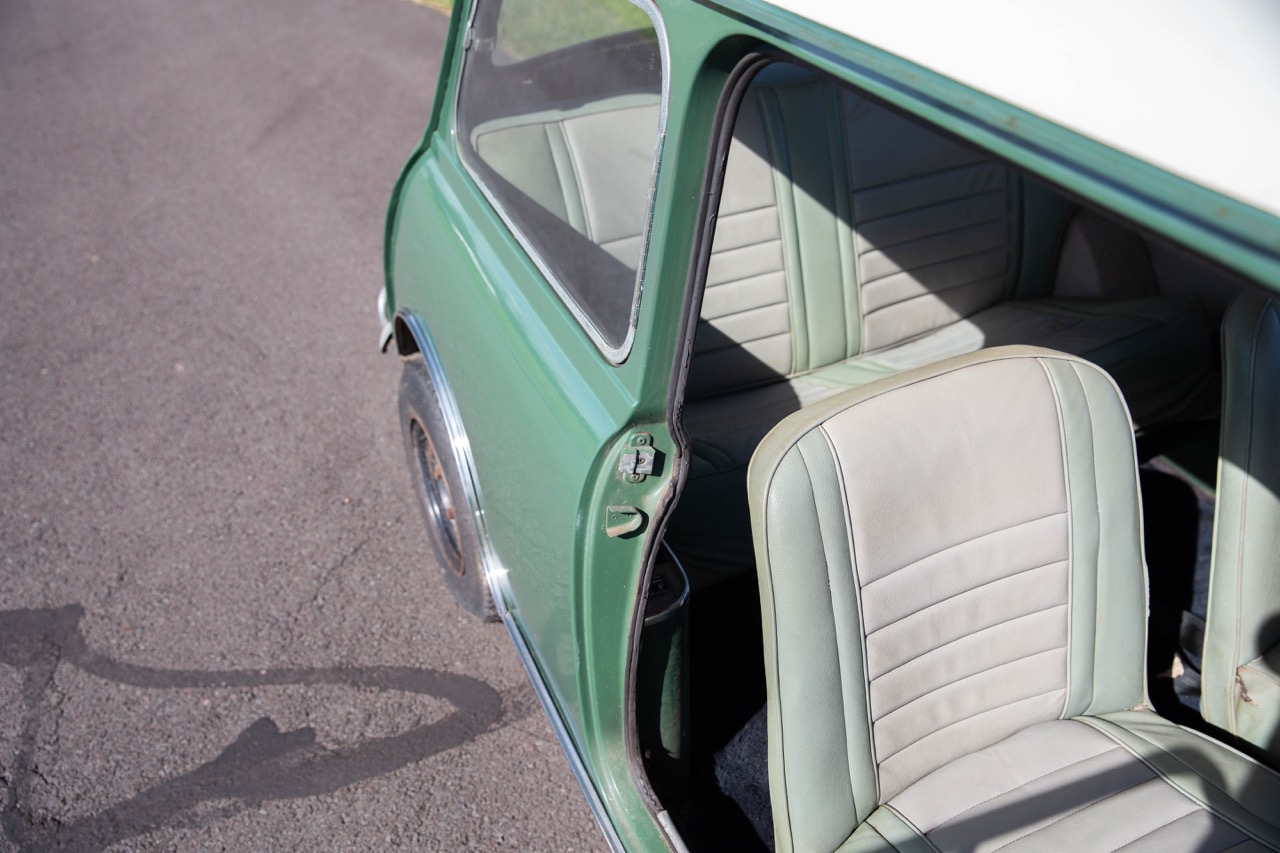
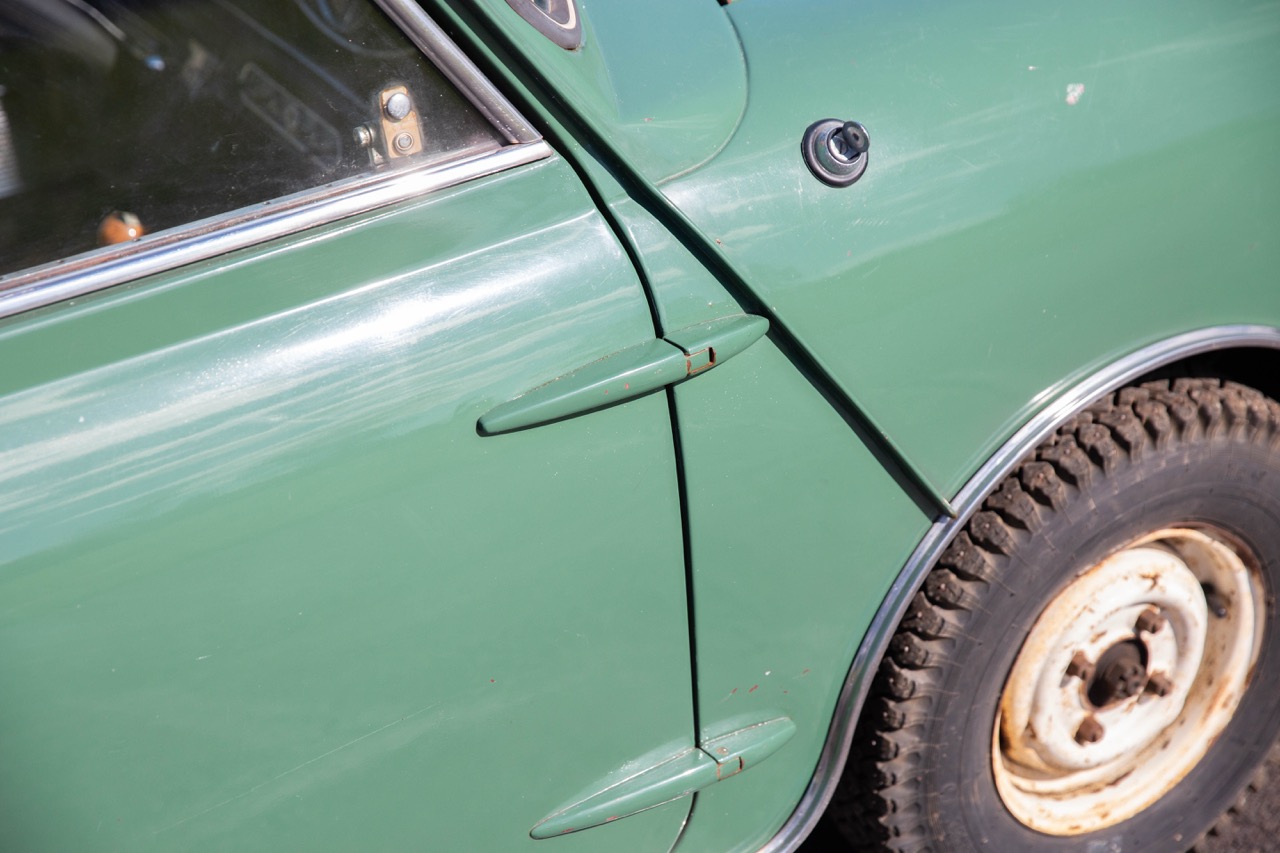
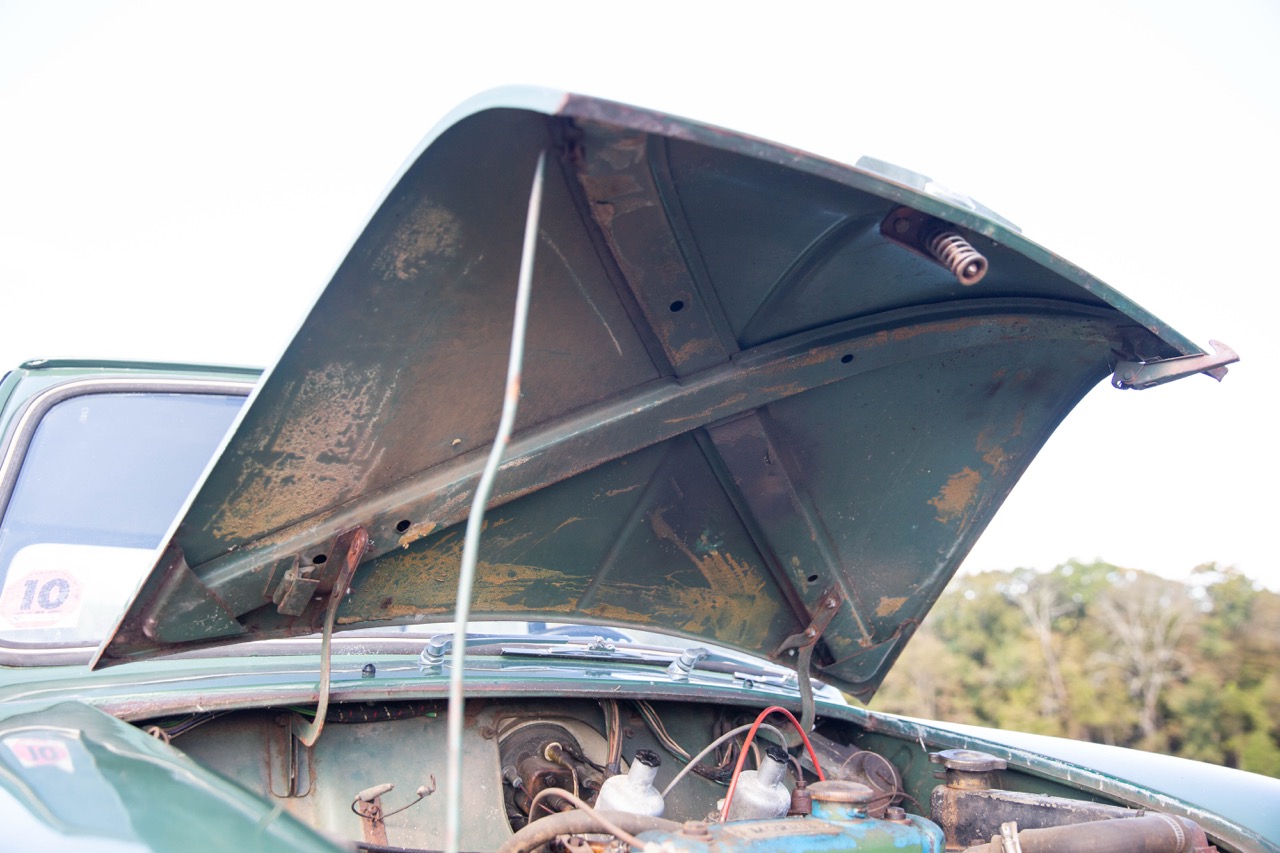
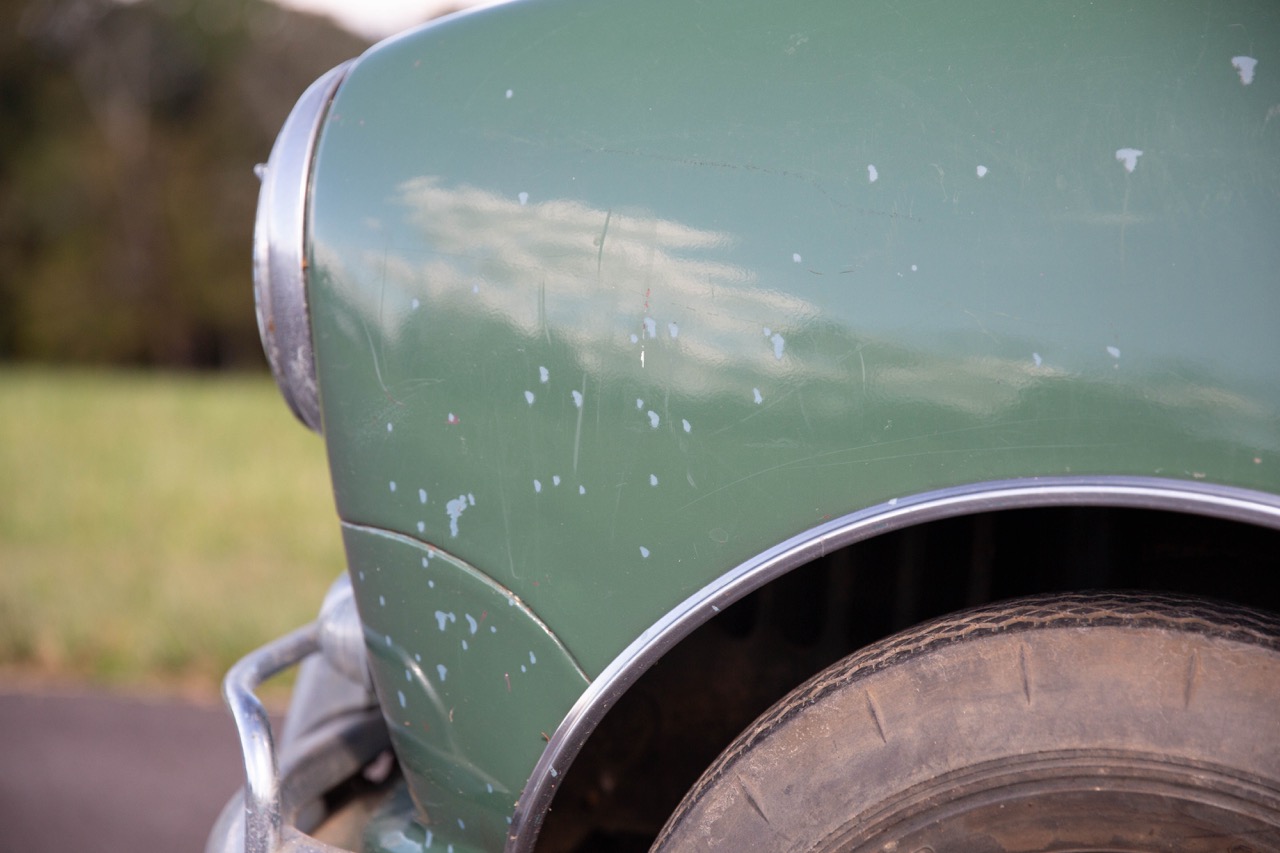
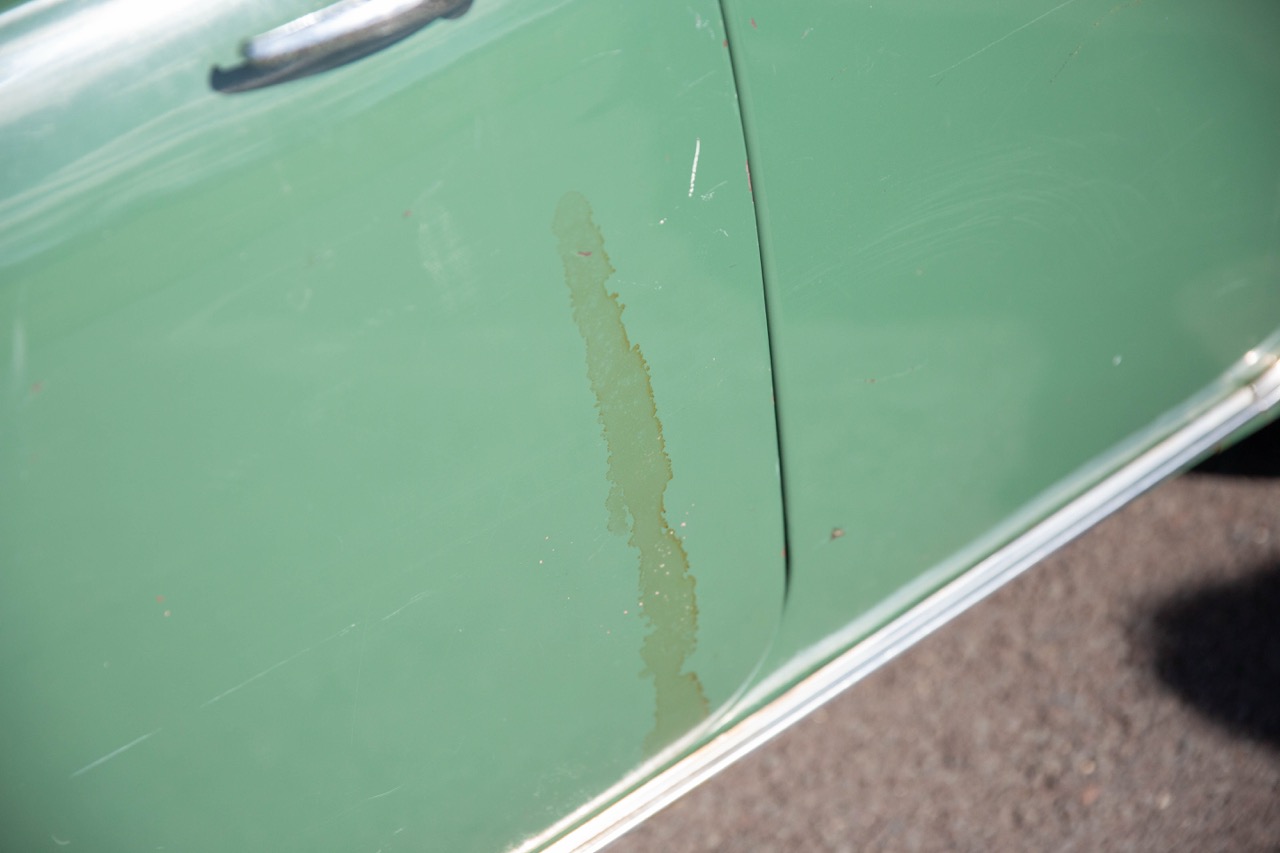
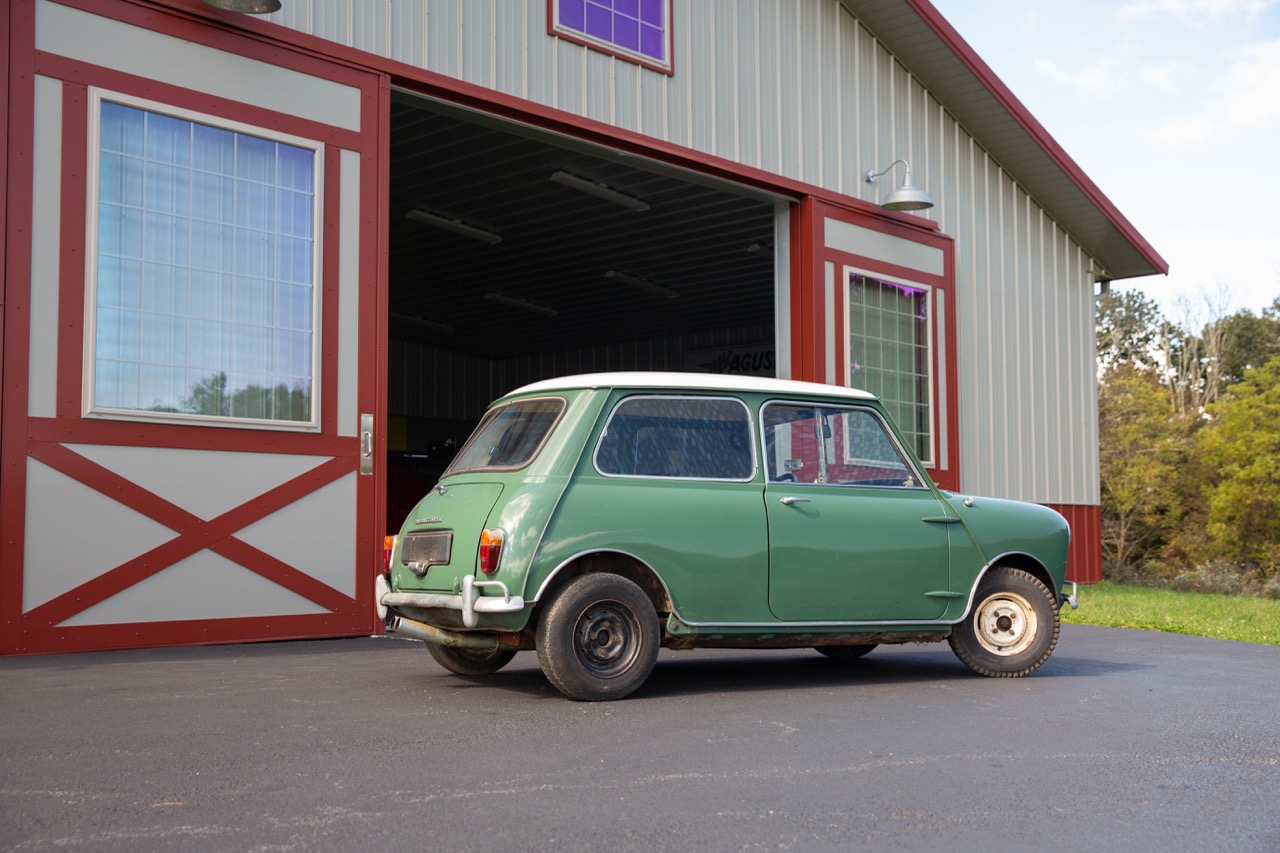
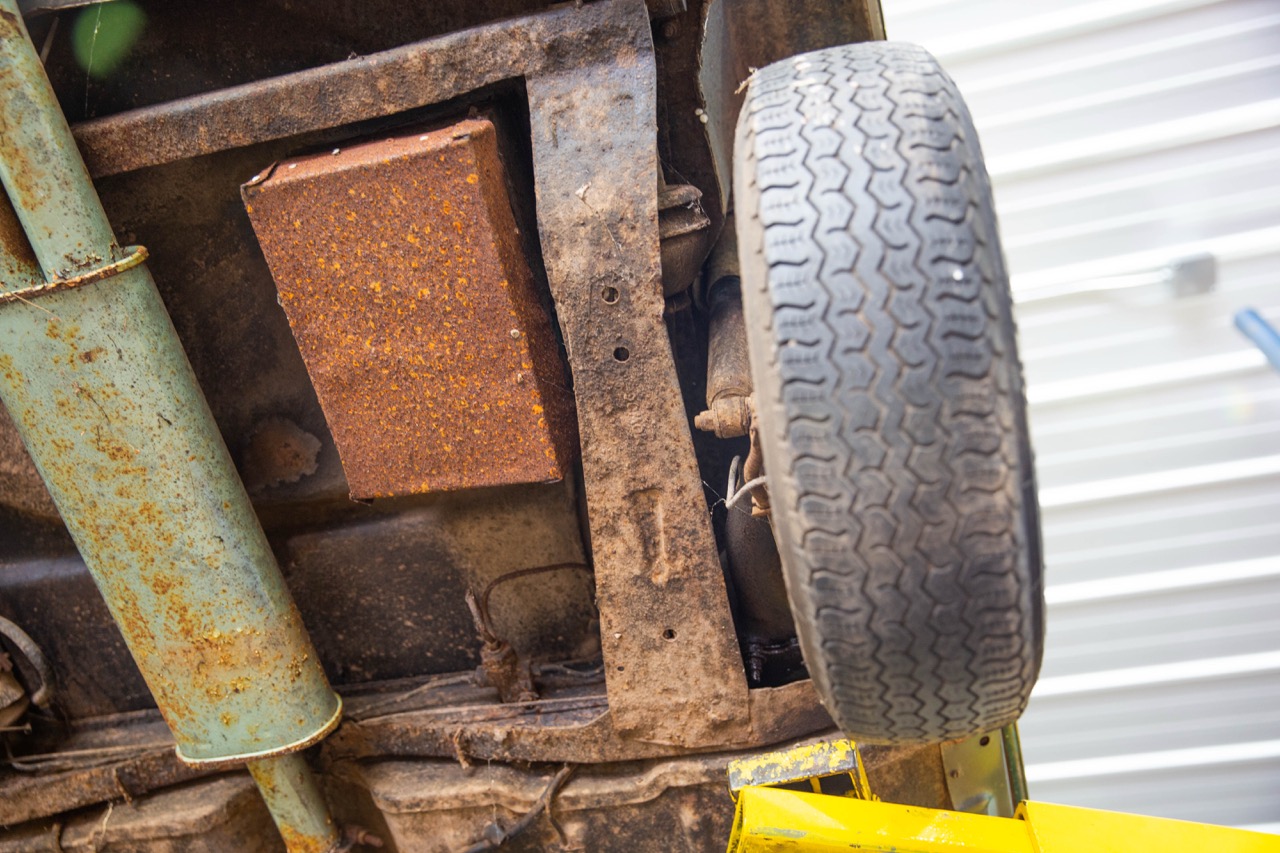
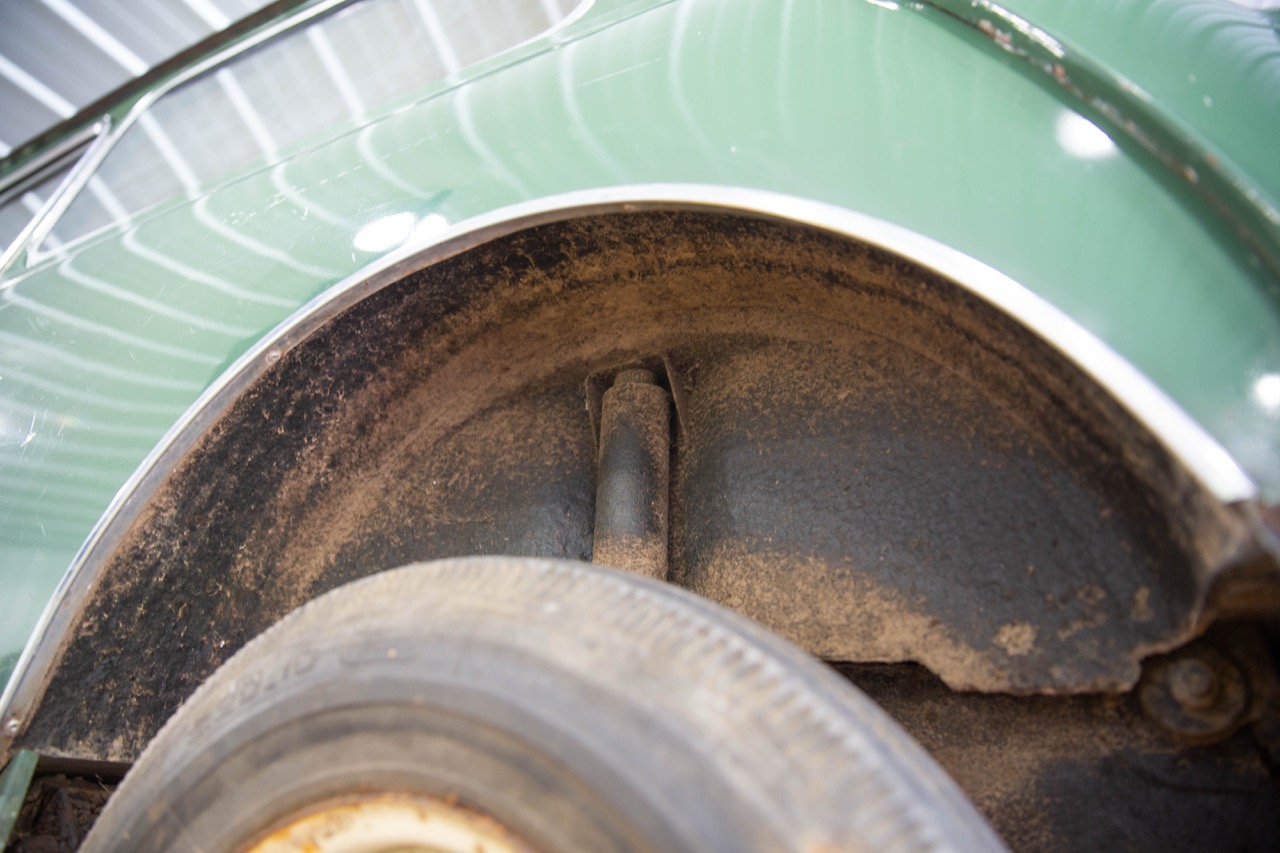
Getting this Mini back on the road was a ton of work, but we have been having a great time driving it around. It gets tons of looks everywhere it goes and puts a smile on your face every time you drive it. I’ve lost track of how many hours went into research just so we could keep it as close to the original spec as possible. There are still a few things to do, but they are all minor jobs, like refurbishing the door hinges, adjusting the hood, and replacing the remaining rubber body bits. There’s also some rust in the rear fender liner and in the door bottoms that could be addressed, but neither impacts driving it. We treated these areas with cavity wax, so that things don’t progress. We’ve had our fun with it but a new project is already waiting for my attention, so will be offering it for sale here on Barn Finds soon. Be sure to keep an eye out for it and let me know what you think of the final product!


Awesome! Thanks for sharing the story.
997 cu in 4 cylinder???
Cubic centimeters.
Great article Josh! Like the way you work.
Hagerty did a rebuild of one on YouTube 4 years ago. It’s up to 951K views. If anyone else is into Mini Coopers.
Nice. How many busted knuckles did it cost you? Lol These days, while rebuilding projects, you usually have to go online for parts. It’s so #&$@%ing aggravating to “find” the part, order it, and get sent the wrong part. Recently I went to Advanced Auto, told the kid I got a 66 El Camino, and he said, What kinda car is that? Weeeee….
Surprisingly, I didn’t bust my knuckles up too much on this one. It came apart pretty smoothly. I don’t think I had a single bolt break during disassembly. The axles were the hardest part to take off, it’s kind of tight in there. MiniSpares in the UK has just about every part you could need to restore a Mini. These early cars are a little harder; there were lots of 997-only parts, but I was able to track down everything but the brake pads. They ship stuff fast, so if I put in an order on Sunday evening, I’d have the parts by Wednesday afternoon. It was a learning experience, but it was well worth it.
You could have gone for the “Big Block’ – 1275!
997 way rarer. And you have to rev the piss out of it. But it can handle it.
We thought about putting a 1275 in it, but this is the numbers matching engine and I wanted to see what the original Cooper was like. I’ve driven ones with the 1275 and this is a different experience. You have to change the way you drive. It’s hard to explain, but I’ll be doing a driving video soon and hopefully it will convey why the 997 is special.
I owned same car new in the UK, Nippy and a great drive – had push button starter on the floor by the driver seat. Did run the car on Rallyes – great memories but at 81 I’m not able to enjoy such as car again. Good luck to the new owner, you will not be dissapointed.
Ah, the ambitiousness of youth. Reminds me of me, no task was off limits. Today, changing the oil in the Jeep, I was sore for 3 days. I can’t think of too many cars like the Mini, fun cars, AMC came close, but for basic transportation of the masses, the Mini did it. I’d have to say, a bit intimidating among RAM duallys and such, but did a nice job.
I can’t get over the amount of pictures one is able to show nowadays, why, that would cost a fortune at the Walgreens years ago,,,
Great story. I am especially glad you found the parts and a garage that could rebuild the head properly. I had two Minis but didn’t have quite the ambition you had to complete the rebuild. I repaired the rust and let them go as projects. Sometimes I regret not finishing them. Good luck to the next owner.
Wonderful write-up Josh…and gold star to you!
Great job, Josh! I have a ’69 Cooper myself with the 998cc, and they really are fun little cars to drive. Mine also has the original 7″ discs on the front, and I was able to get EBC Greenstuff pads for it some years ago. I’ll need to check availability on them in case I need to change them again. I purchase most anything I need from MiniSpares in the UK and have had very good luck with them. I’ll keep my eyes open for when you put her up for sale, if only I had more garage space. Then again, a 10 X 12 shed from Lowe’s would work! Hmmmm………
Just an addendum to my last post, Josh. The EBC pads are still available for my 998 Cooper, but as you stated, pads are long gone for your earlier 997. I might just buy a set now for mine to have in case EBC decides to pull the plug on them. Good luck with the sale!
Probably should have read your other posts first before mentioning MiniSpares, sorry! Glad you found them, like I said, they’ve always been good with all my orders. The only issue with some of the repro parts is their quality and longevity, but then, it appears that holds true with parts for any make or model these days.
Trial and tribulations of lovingly rebuilding a classic, especially Brit or Italian. This should be required reading beforehand for those considering doing something similar. Amazing job, Josh. Thank you for sharing this.
Loverly! Well done sir.
In my ’20’s, in college, I had a Mini Minor 850, which I bought for a song because the gas tank needed repair, It was a joy to drive. I dream of another, but today, at 81yo, while I remember the interior as commodious, I doubt I could bend my very arthritic body enough to slip into it.
Having owned over the years nearly every iteration of Mini ever made, and still owning several 1275s, I actually found the 997 quite a delightful car to live with. It’s very torquey being a relativery long stroke with a low 3.7 diff ratio.
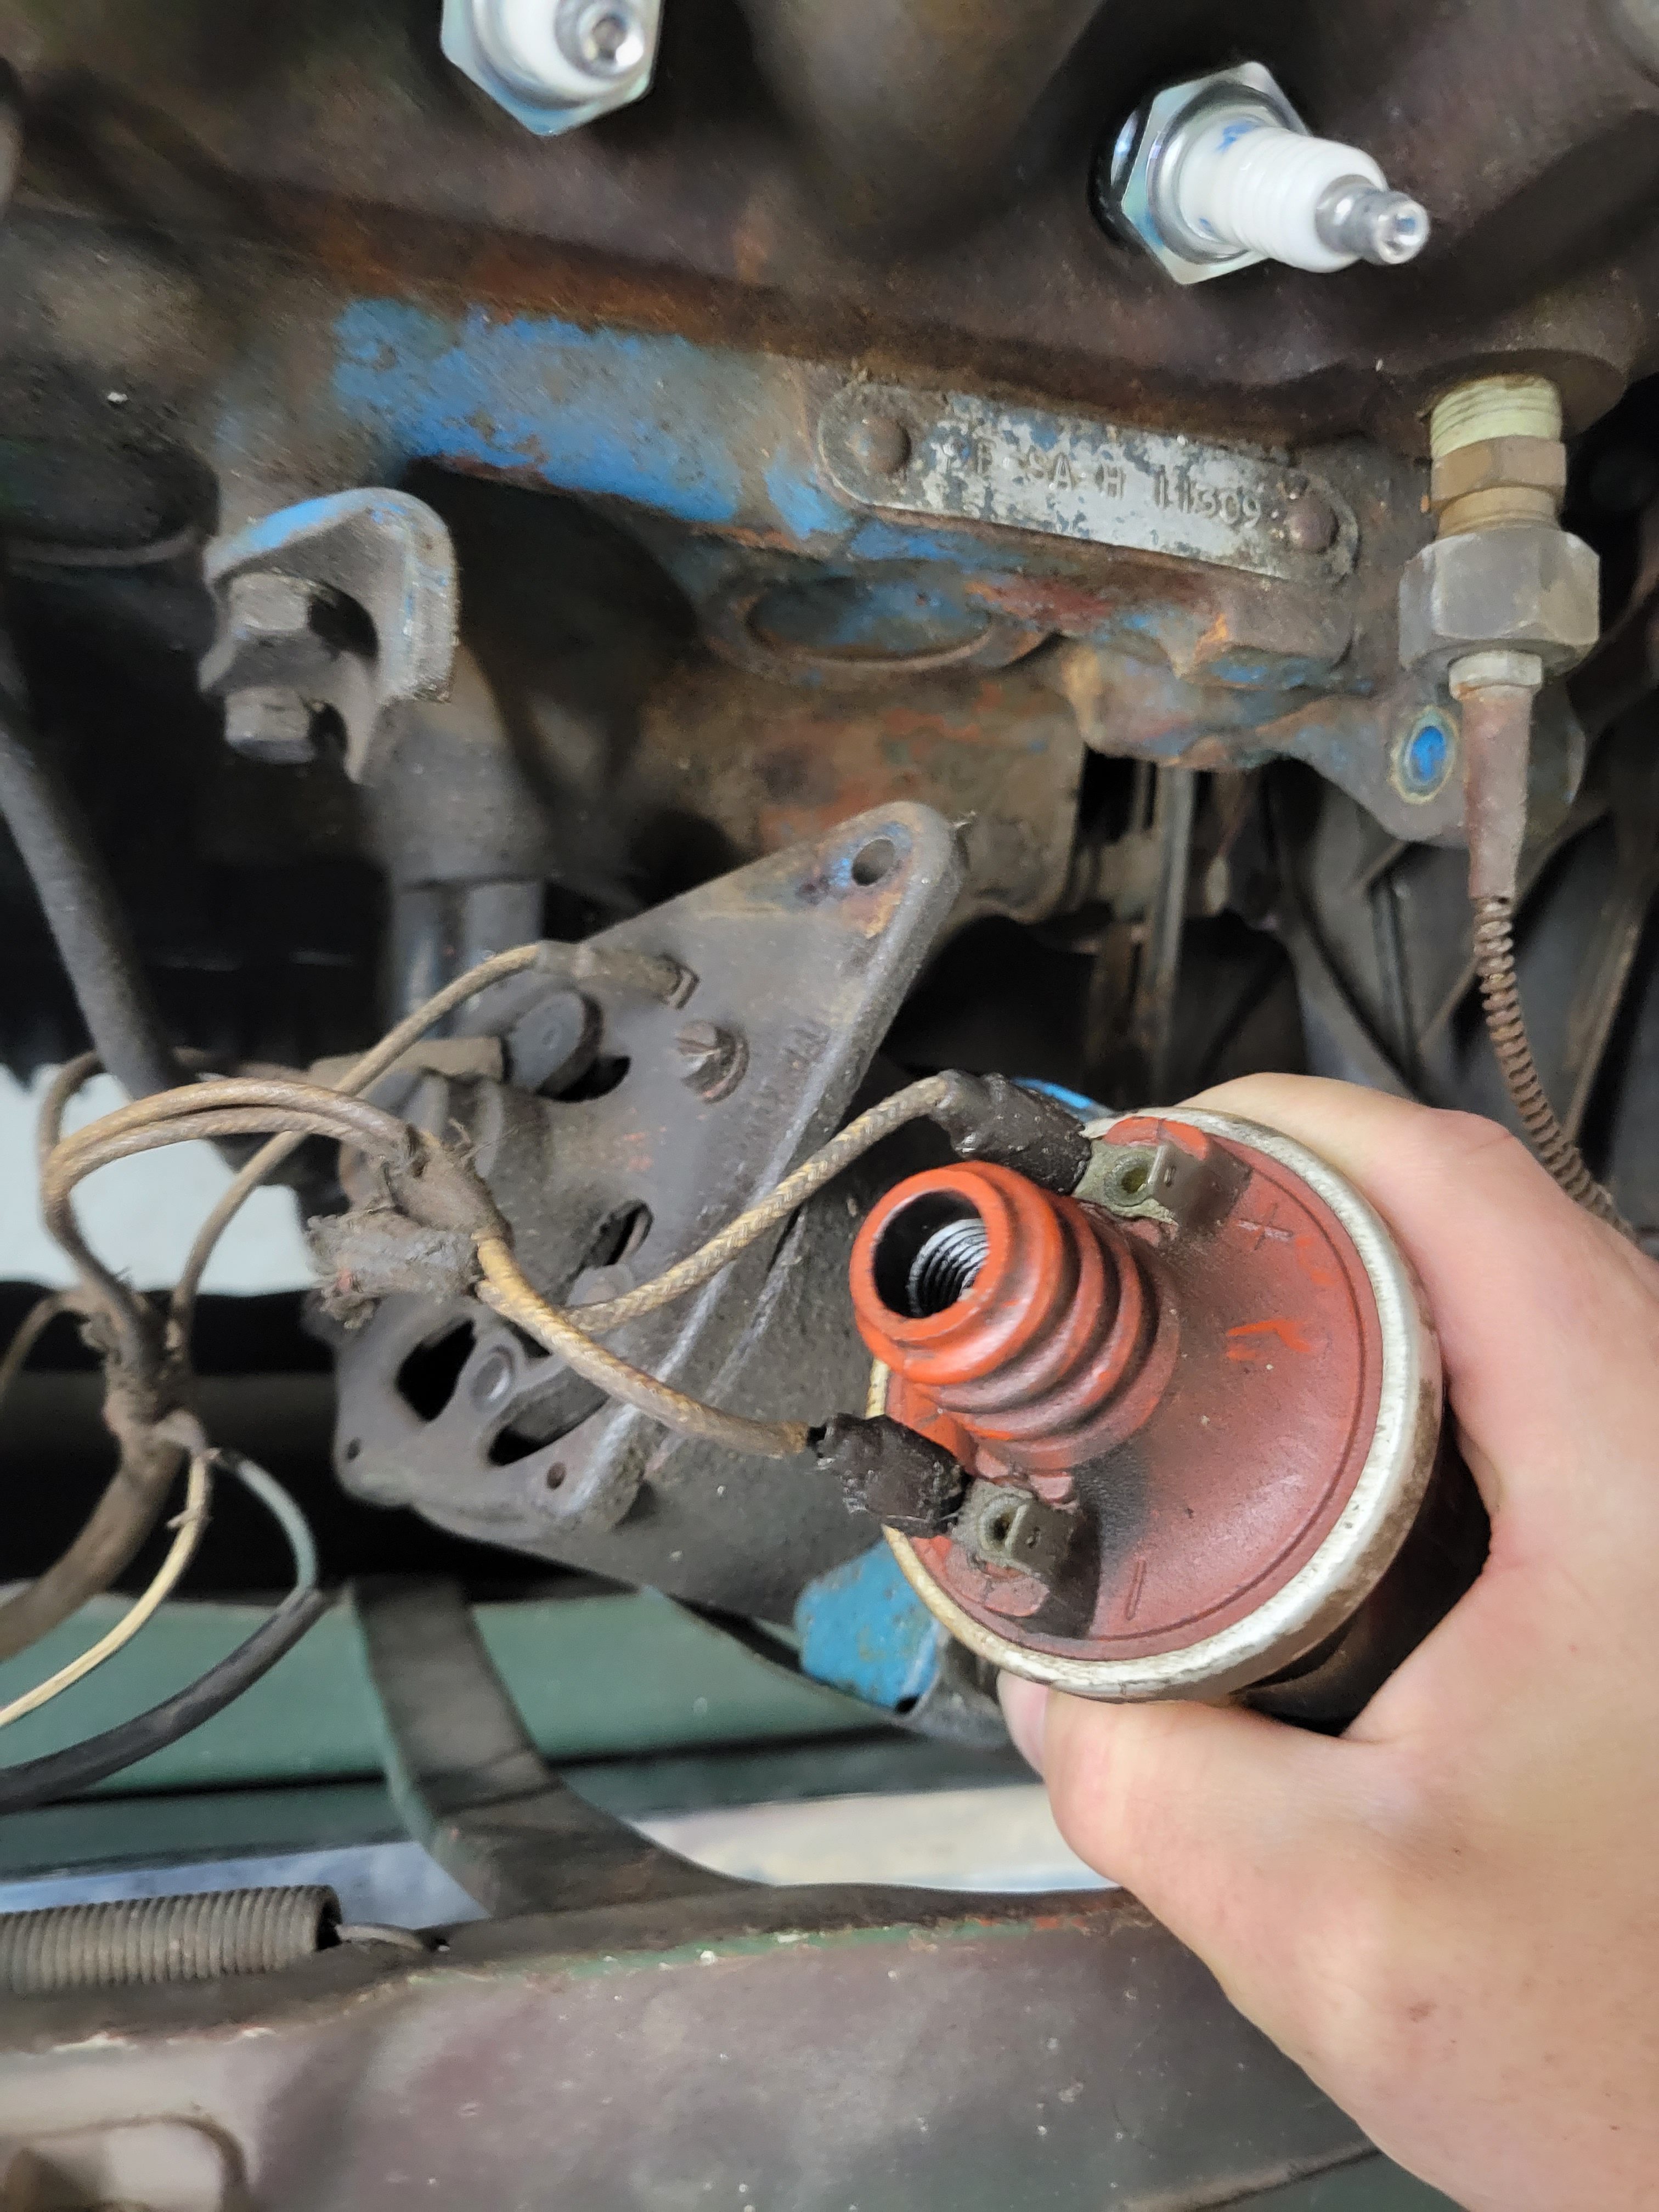
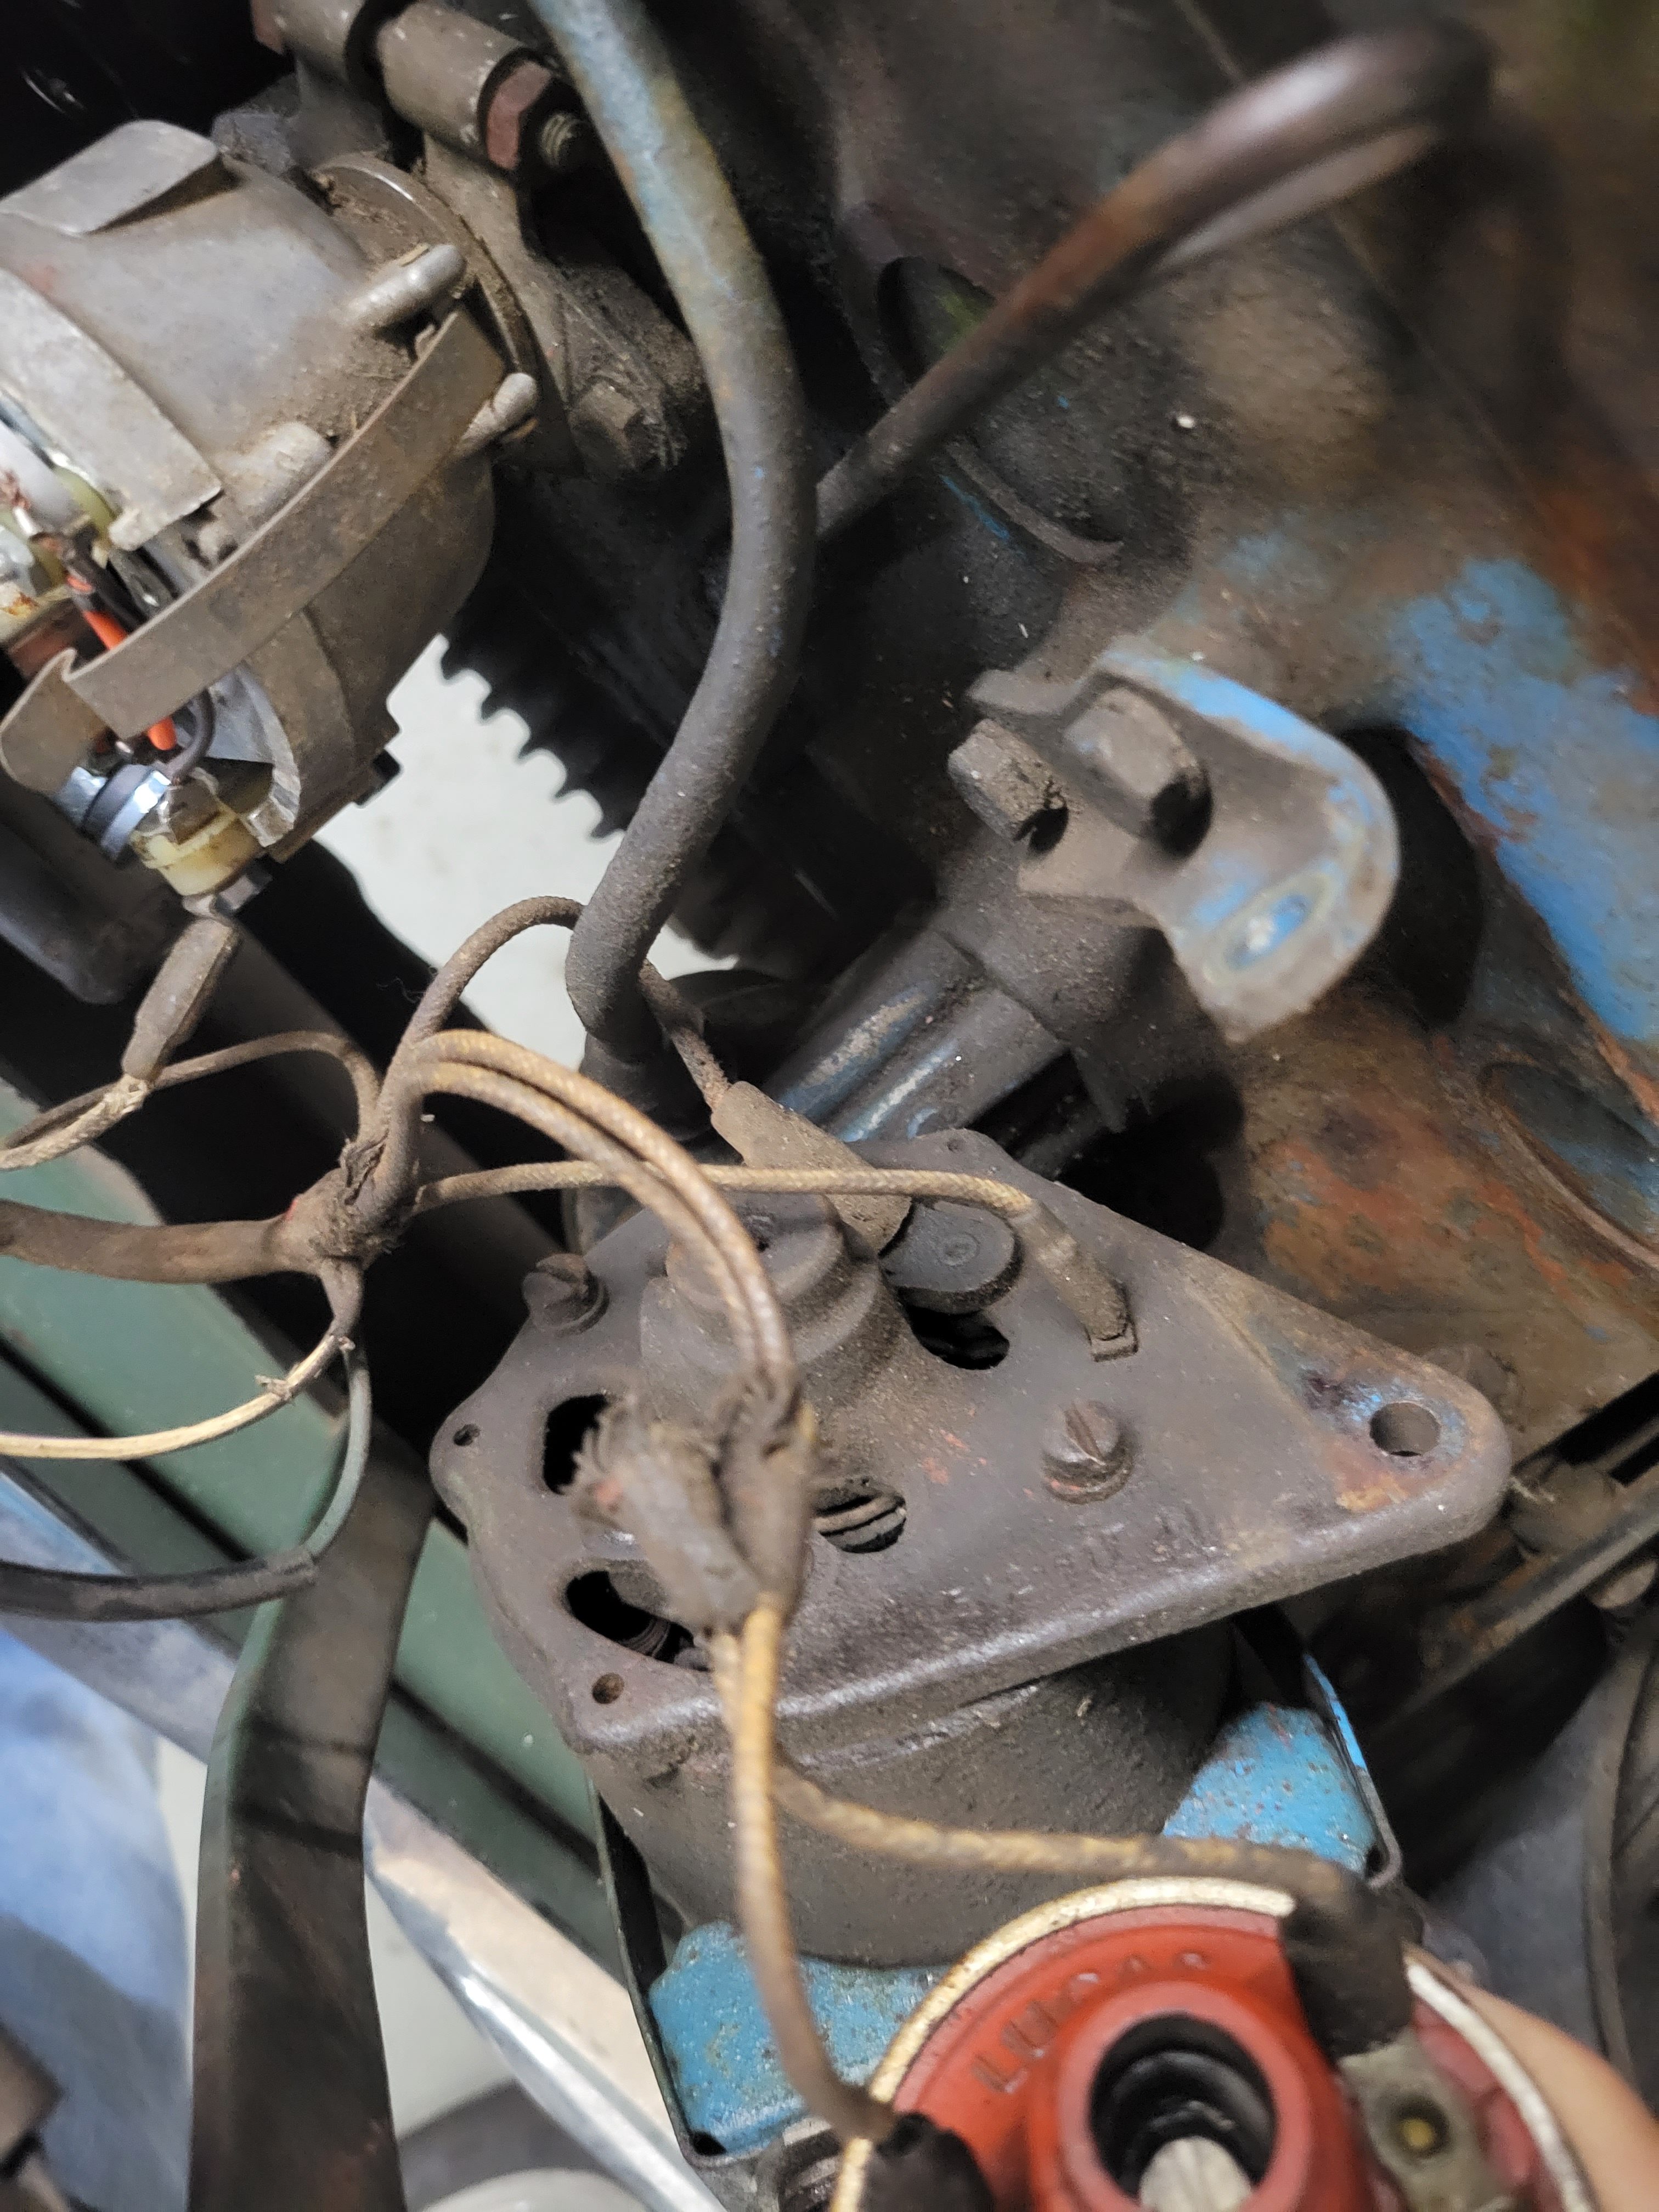
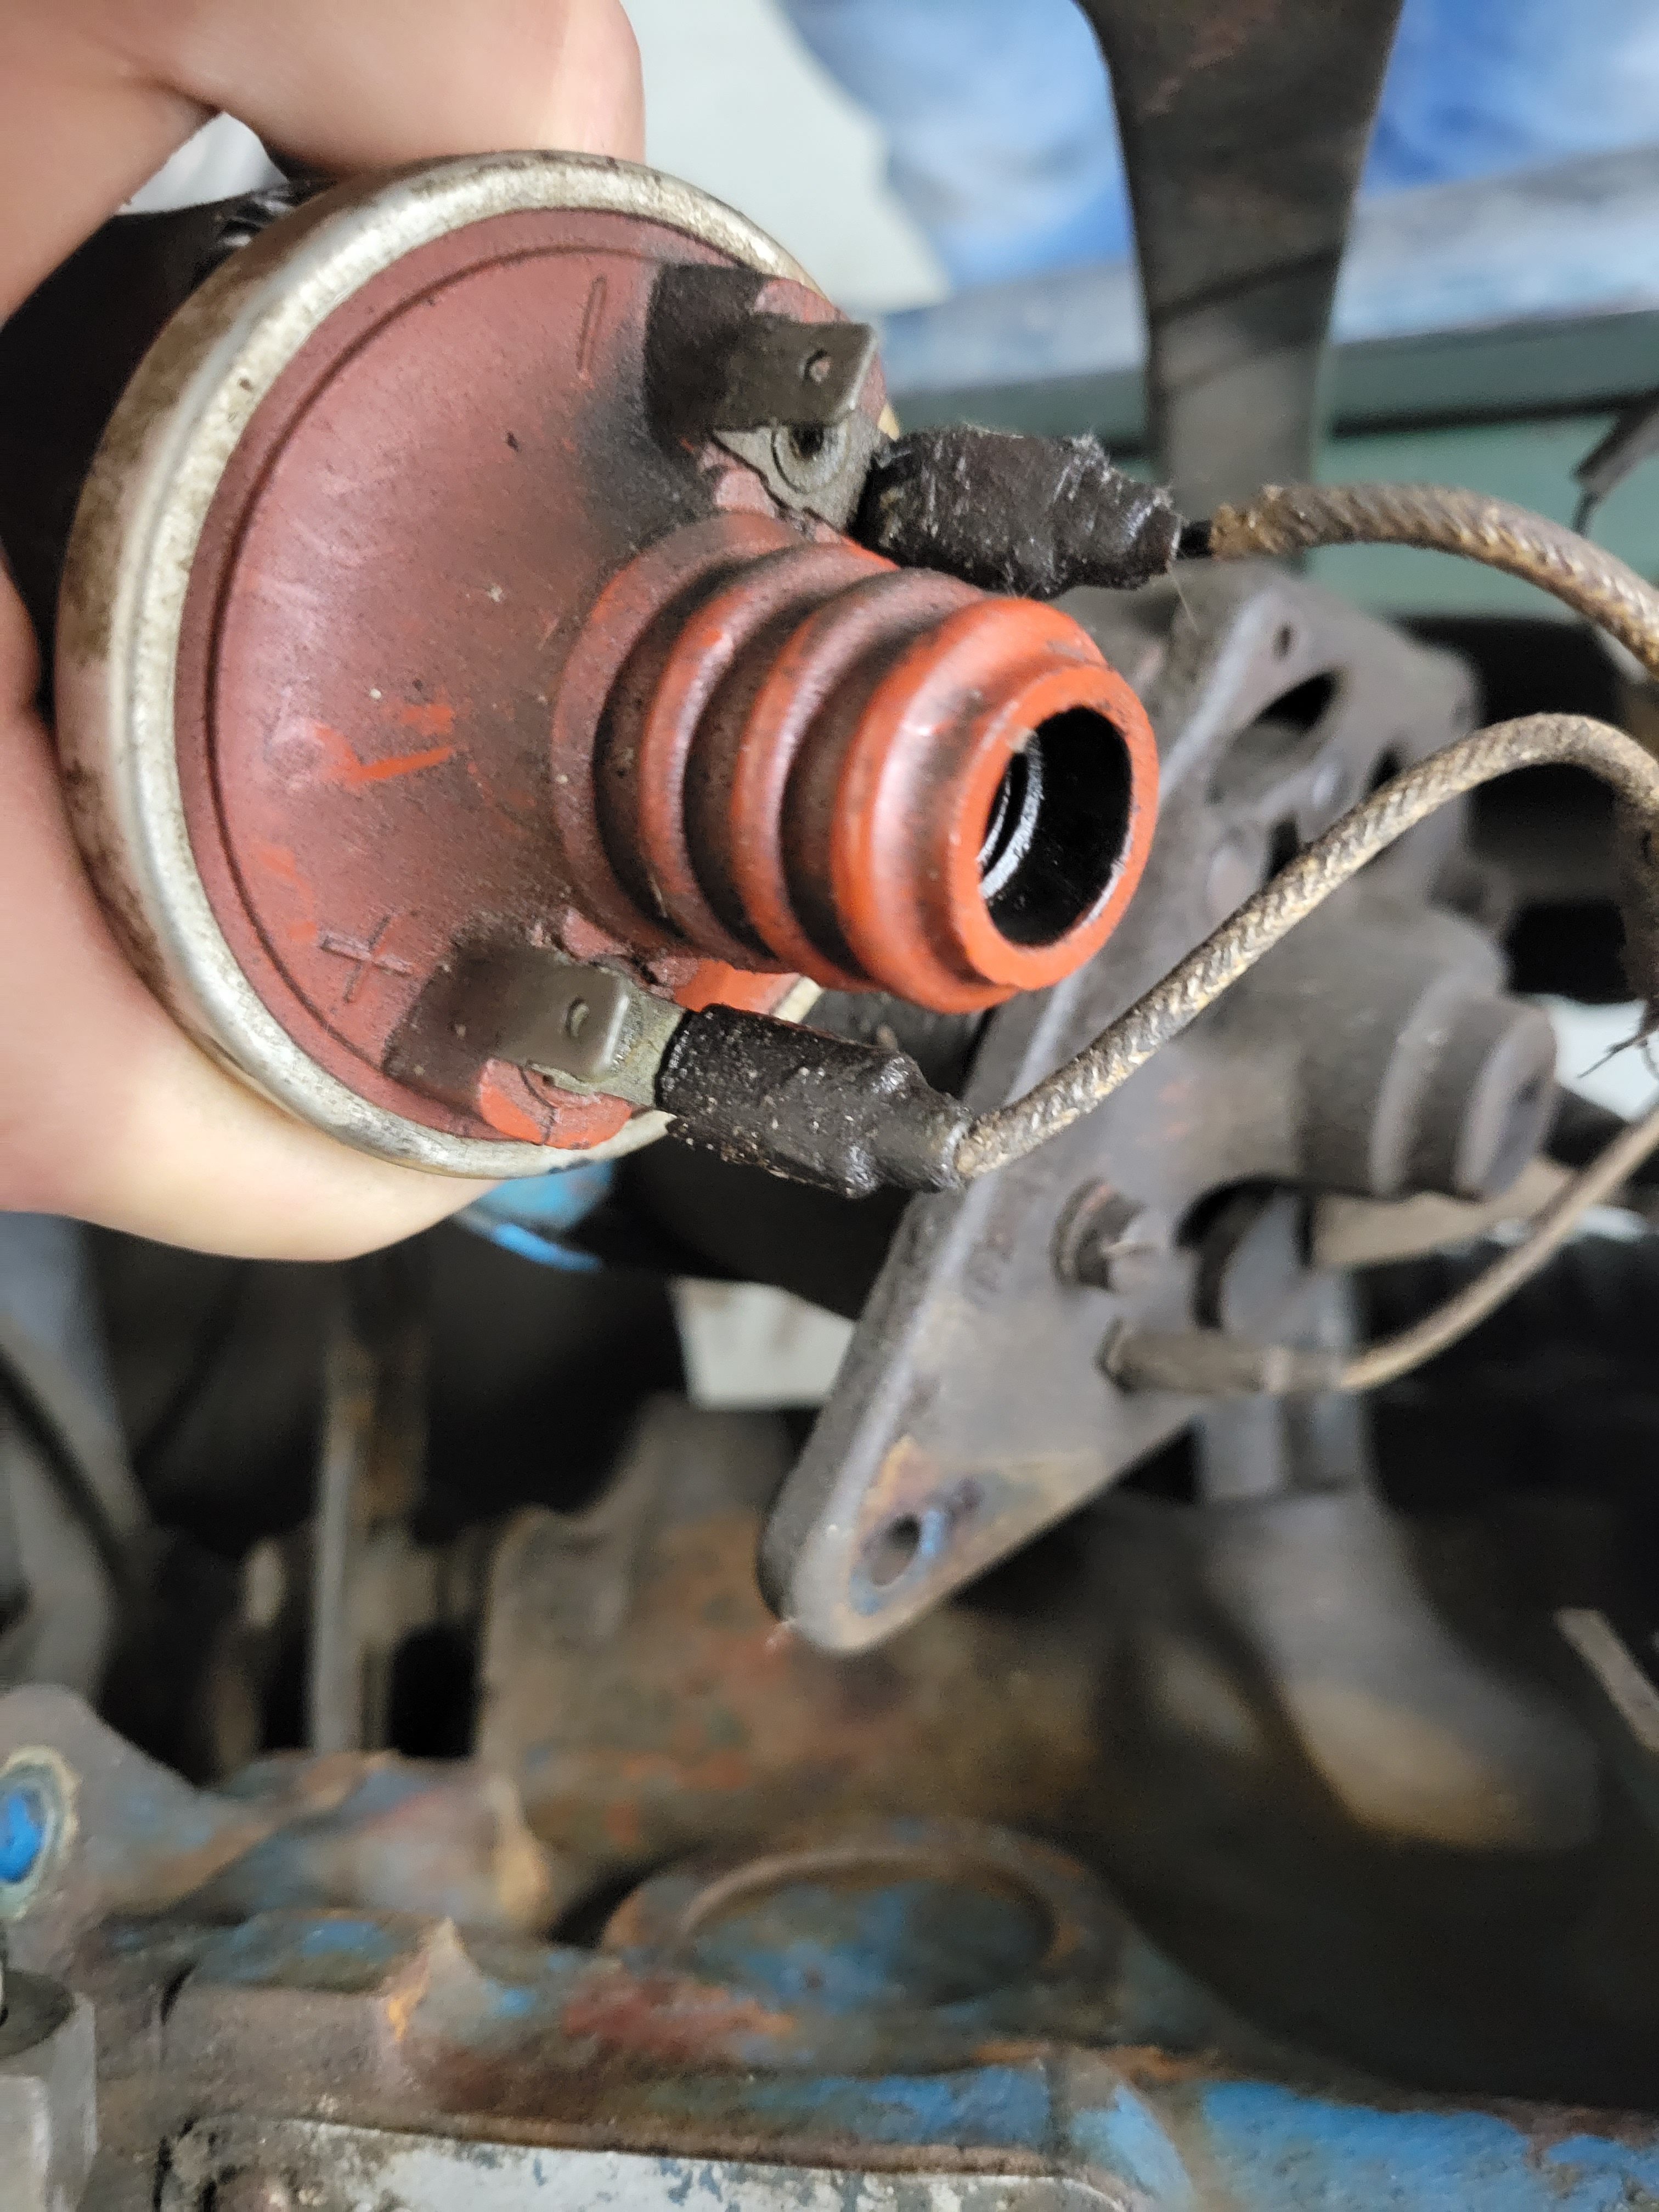
Its only let down is the brakes. The initial small rotors with the odd non servo “pressure multiplier” were very inadequate, and actually worse than the original drum brakes.
The original 997 close ratio gearbox was a bit delicate with the later 998 and Cooper S’s using B type gear sets with roller bushes on the selector hubs.
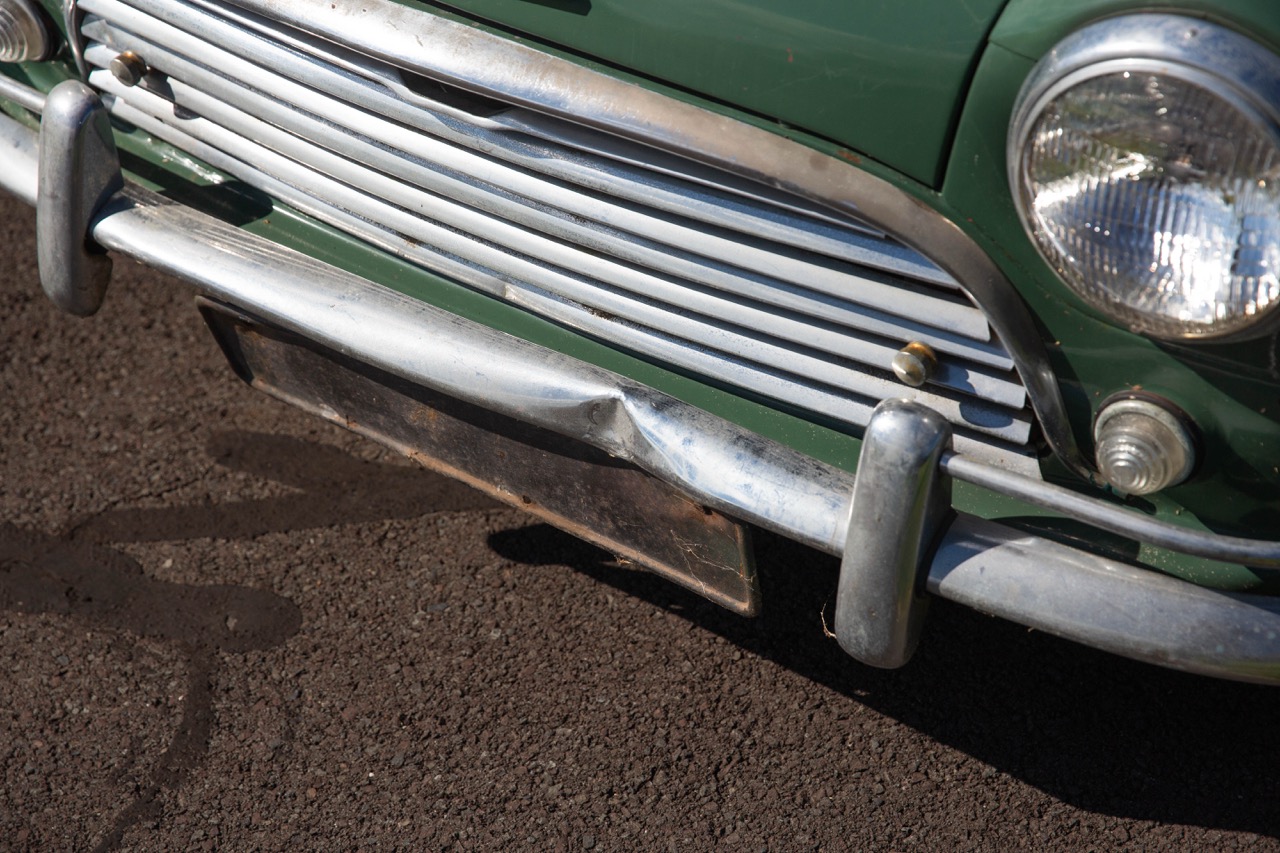
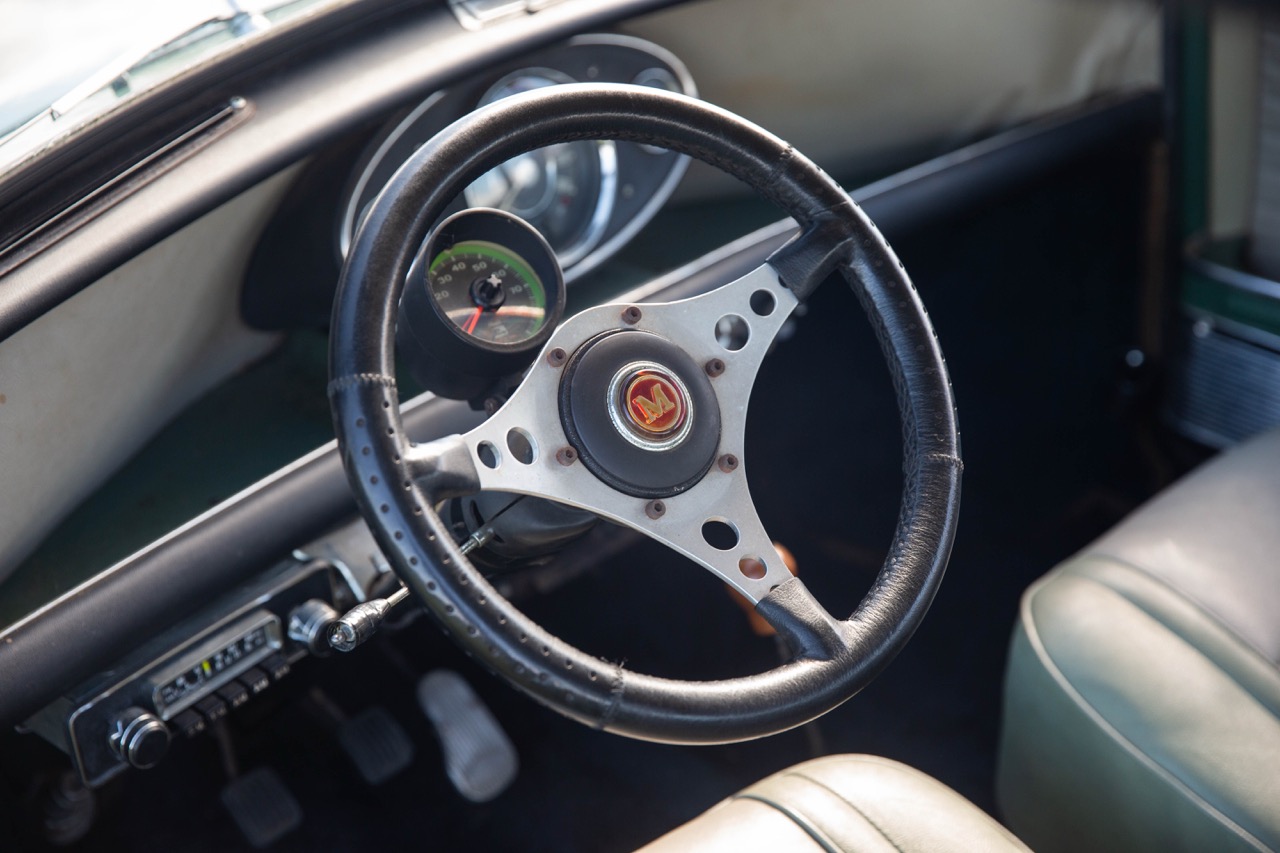
It looks like this one has been modified to use Cooper S brakes and wheels.
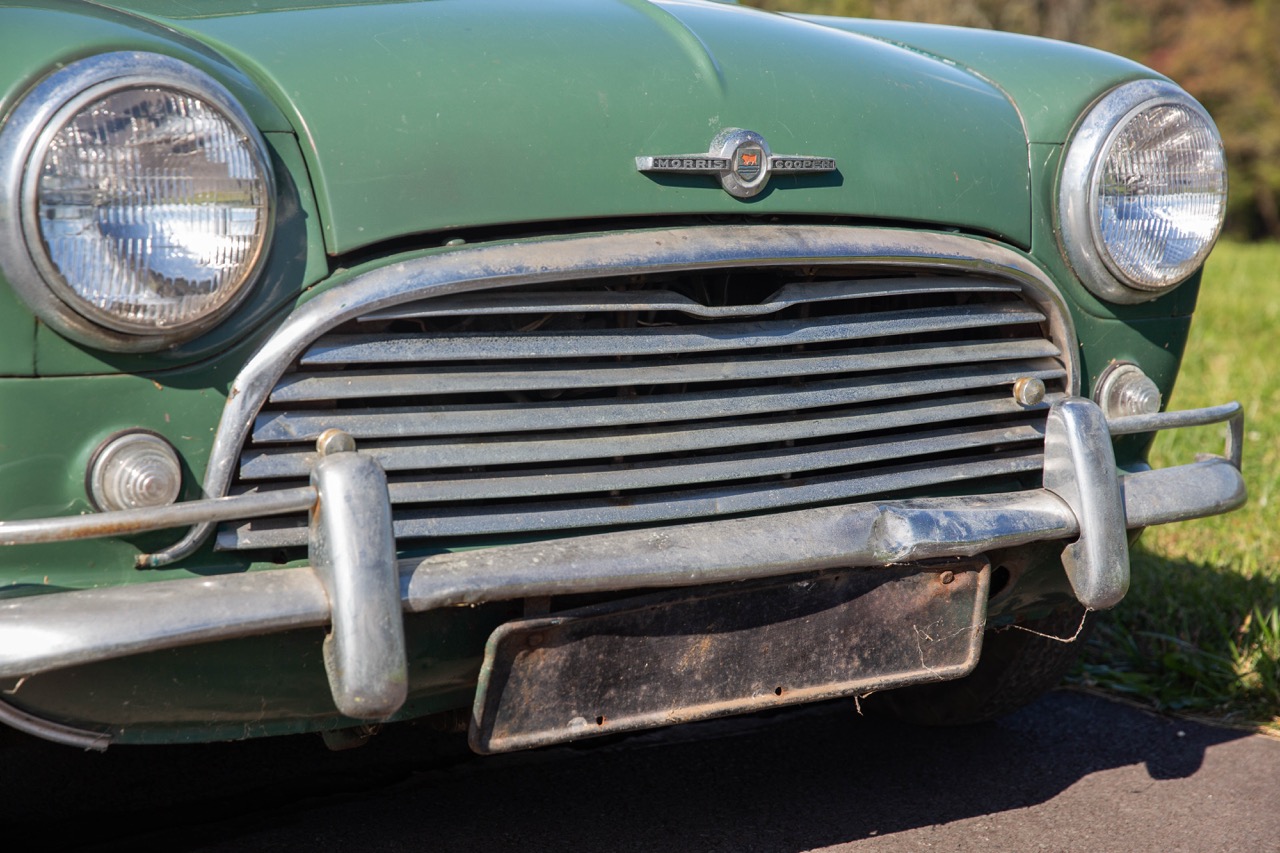
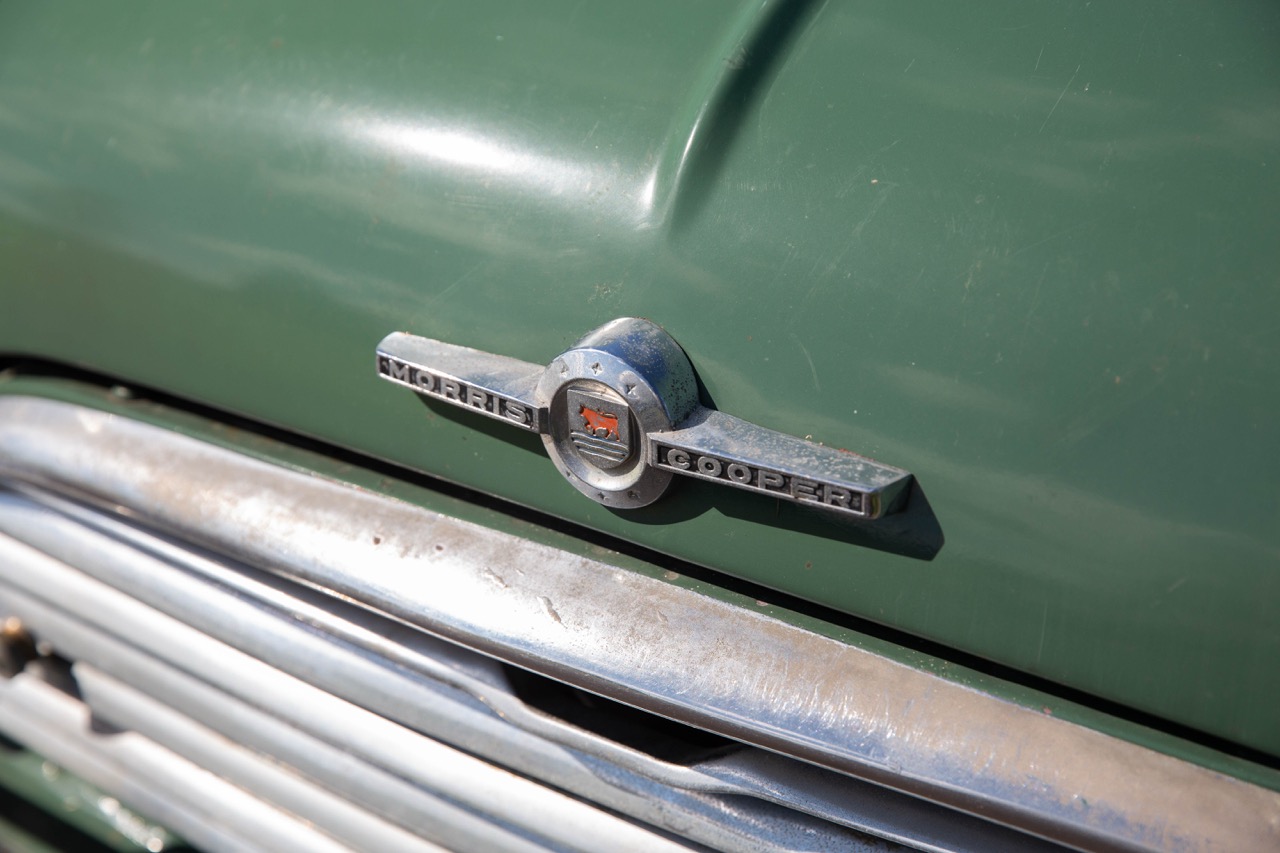
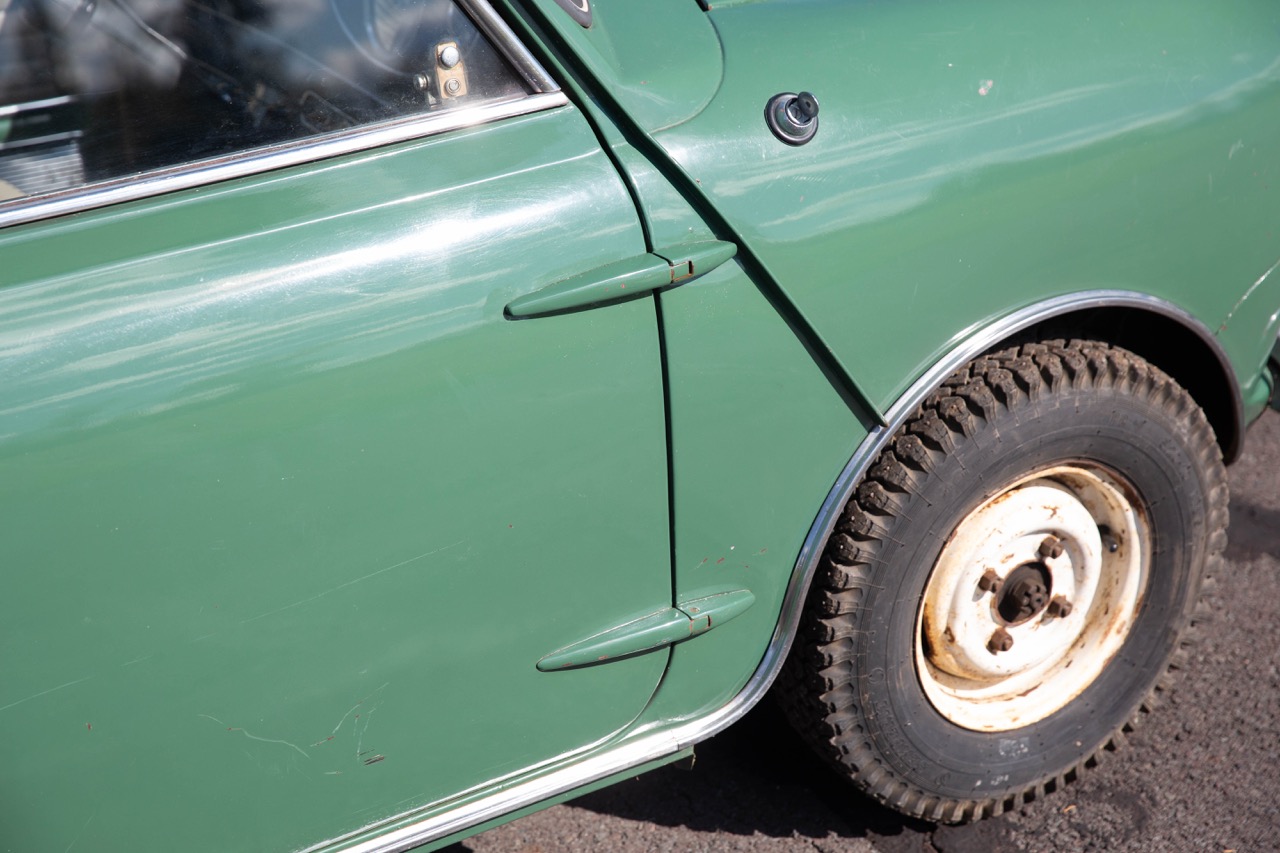
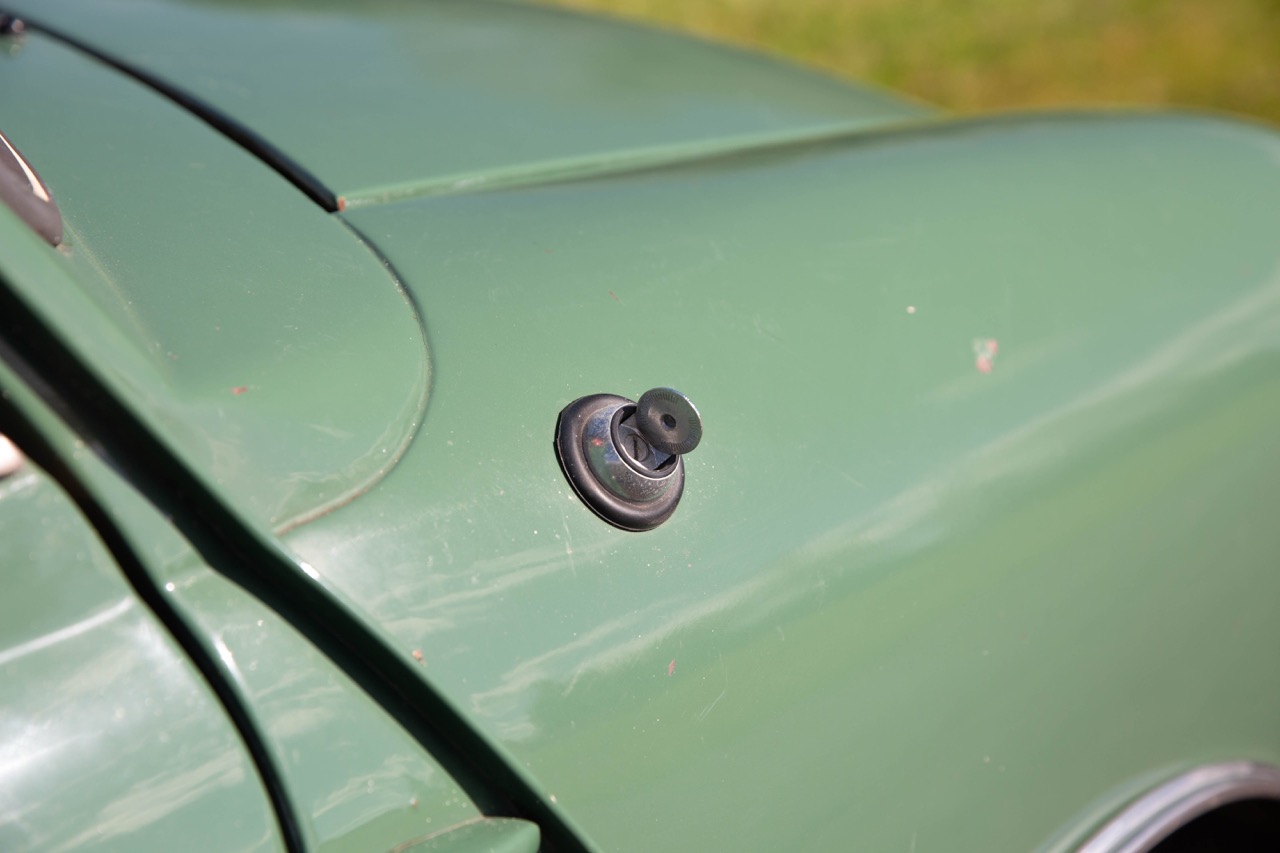
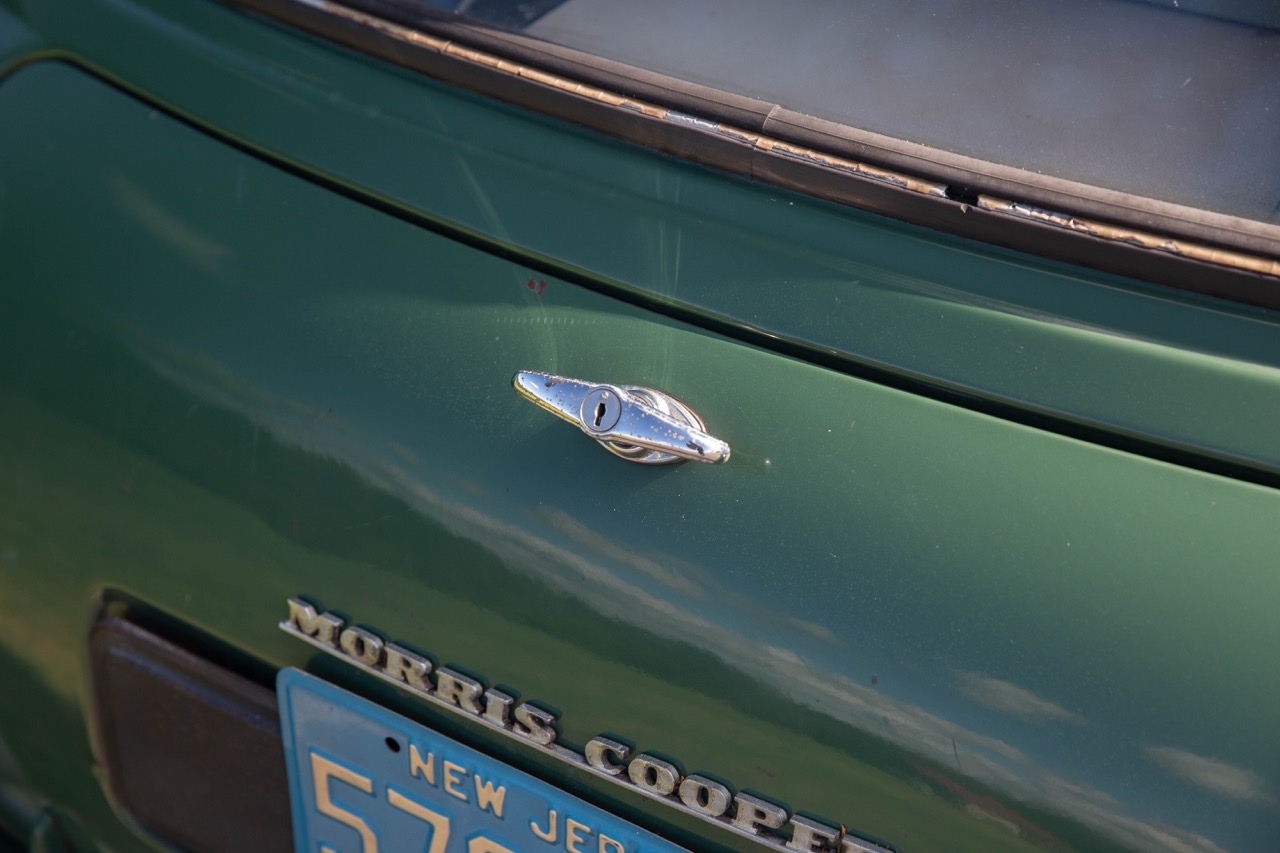
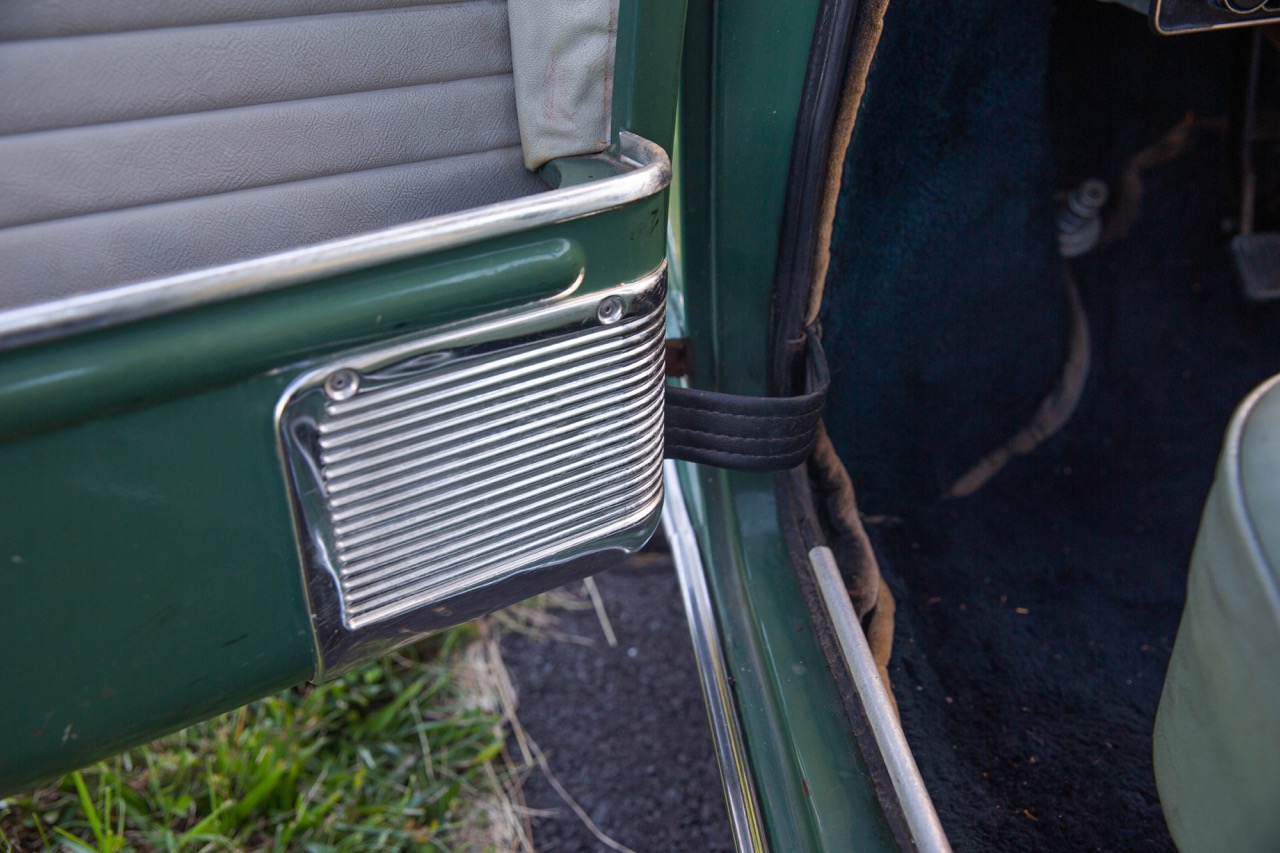
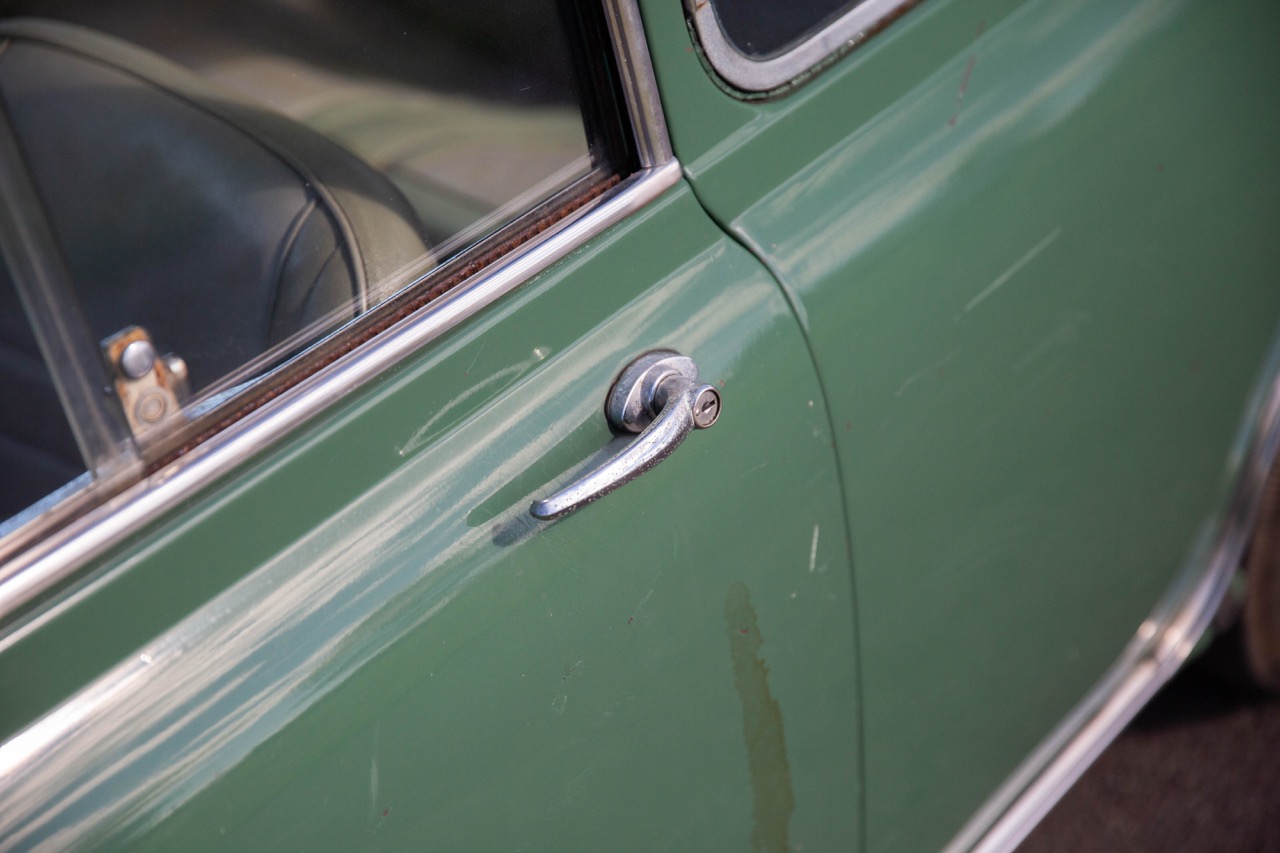
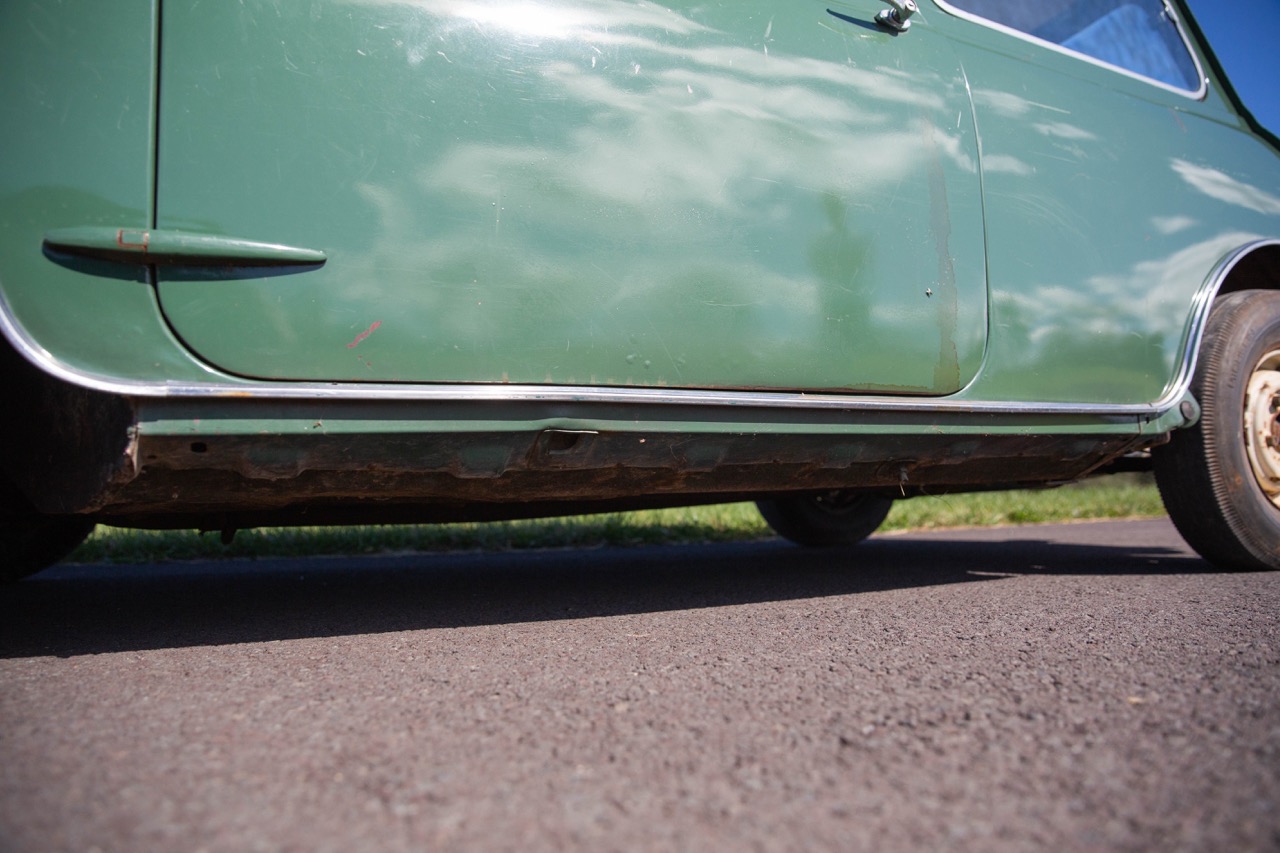
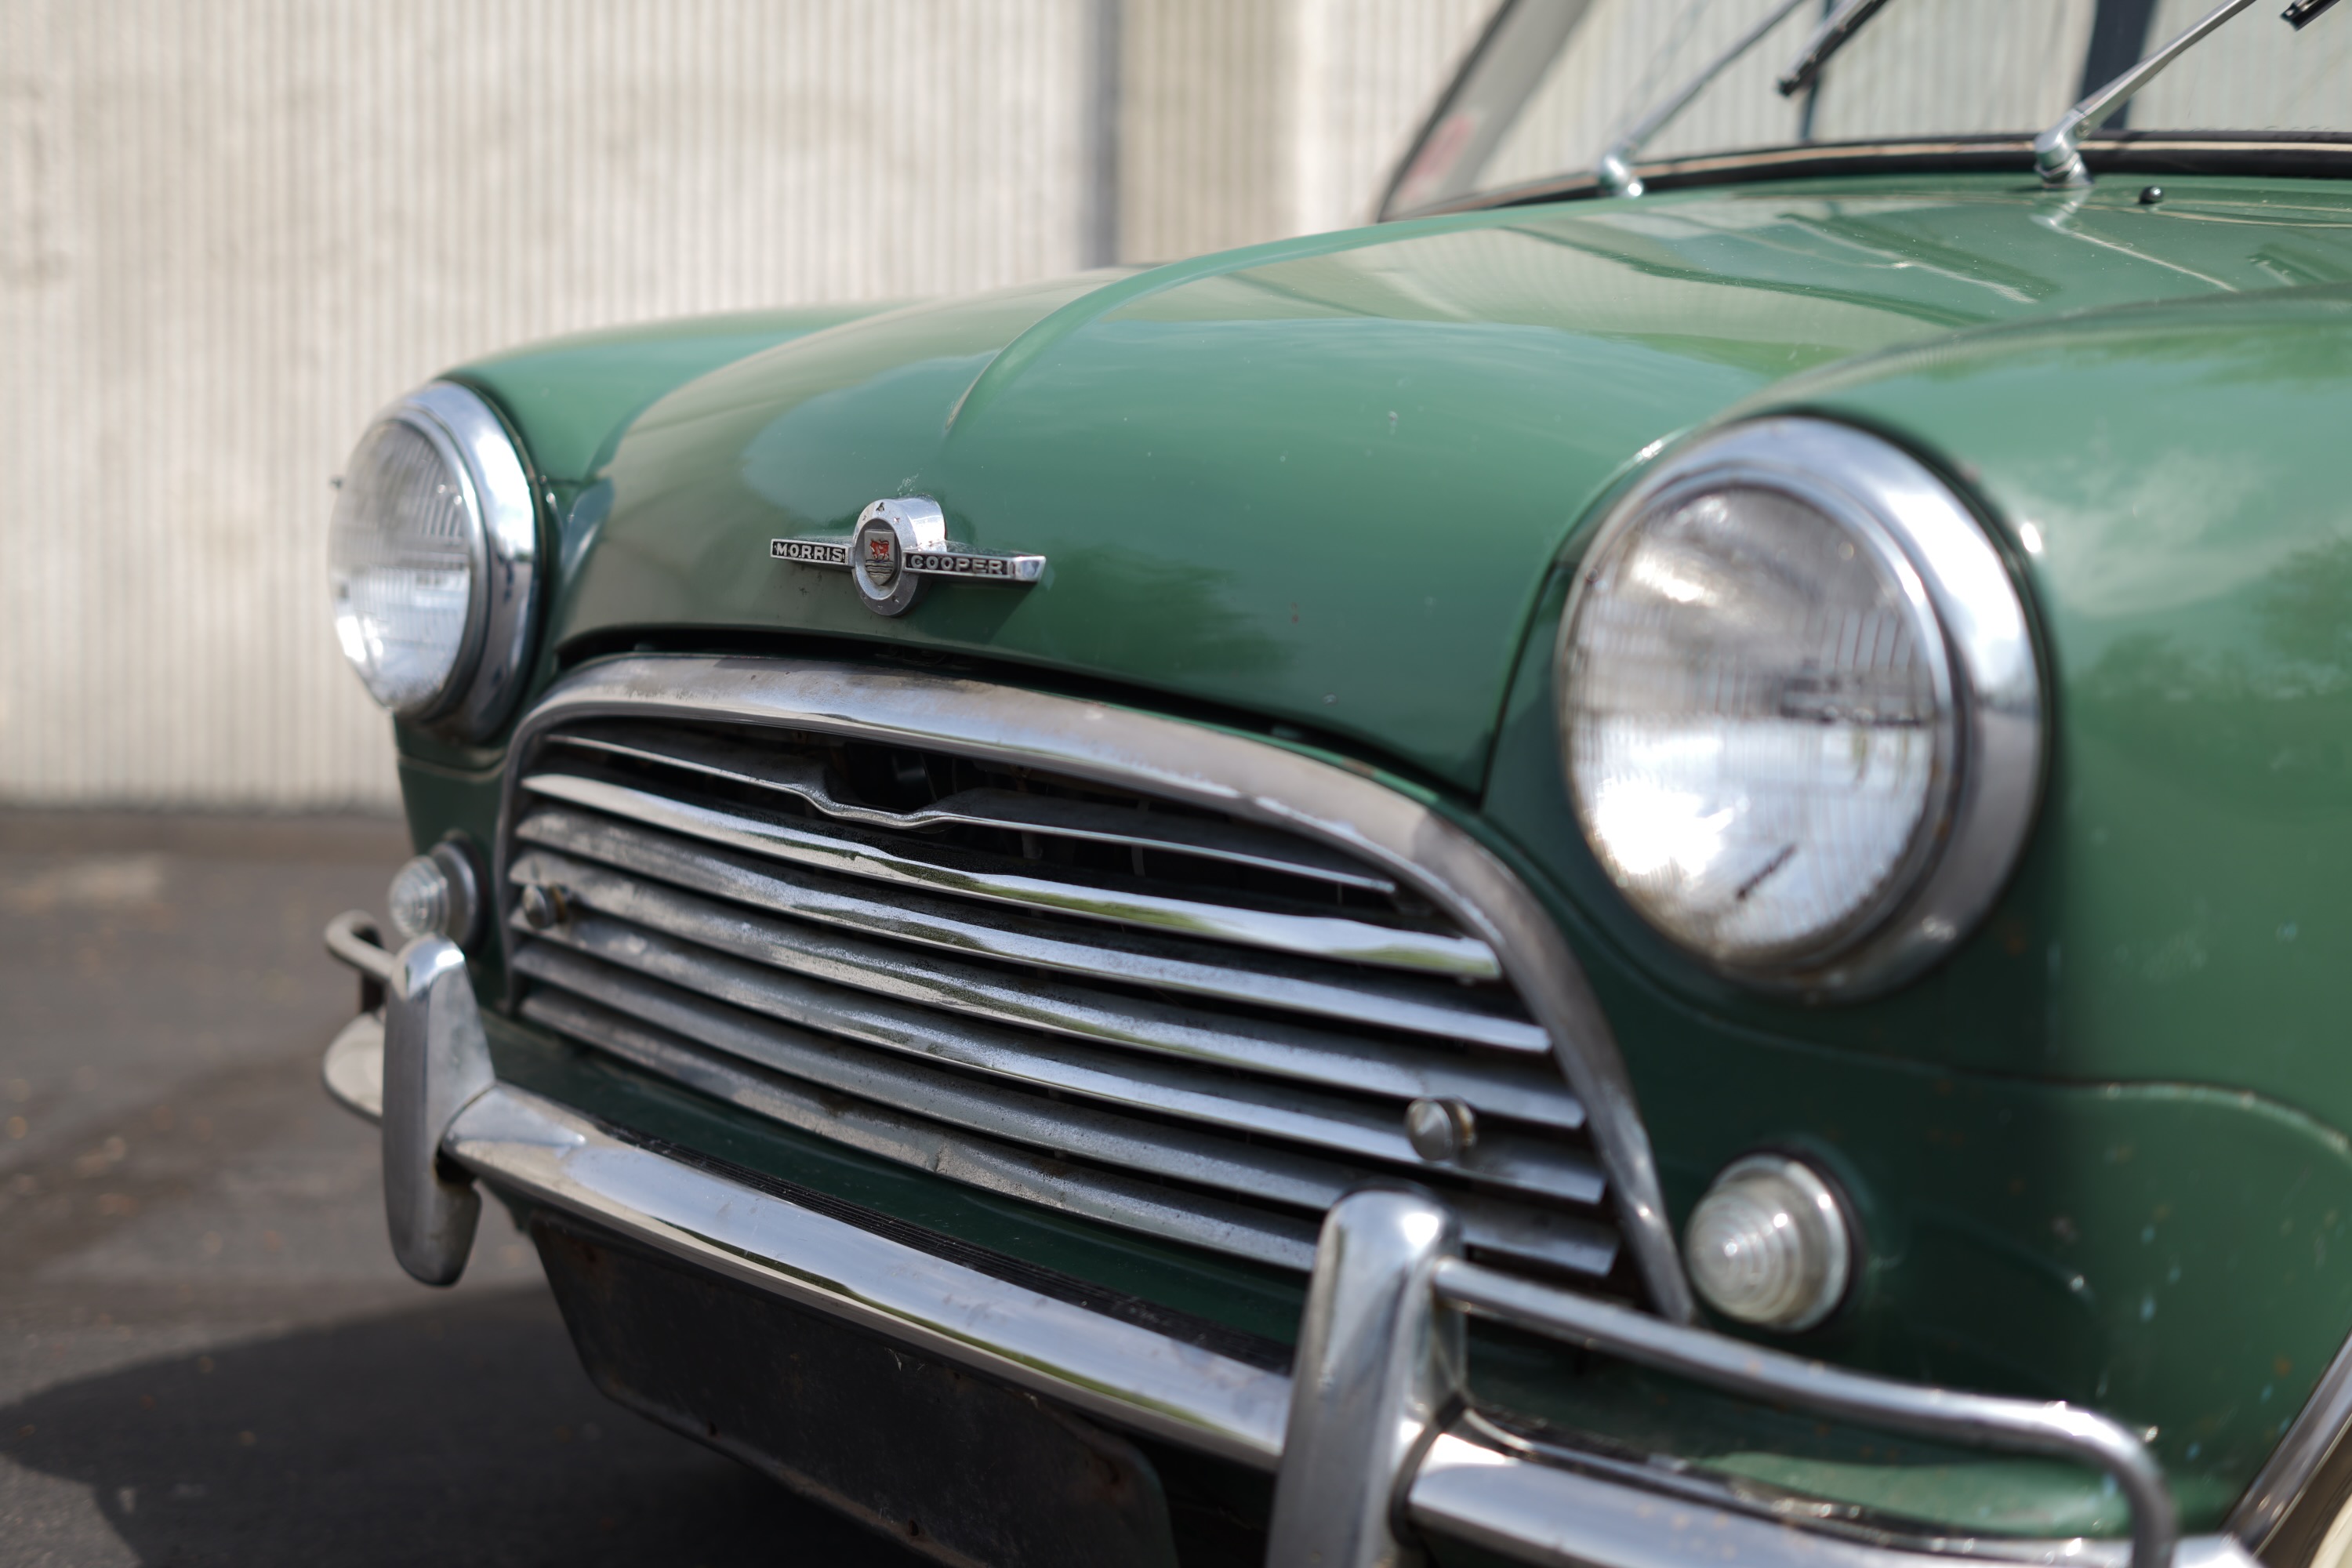
If Im right, it looks like this had the original polished SS delux side trims – worth a fortune as they are extremely rare and only came on the 997 before switching to plastic trim.
Looks like you started with an excellent donor that was relatively complete.
Excellent Job !
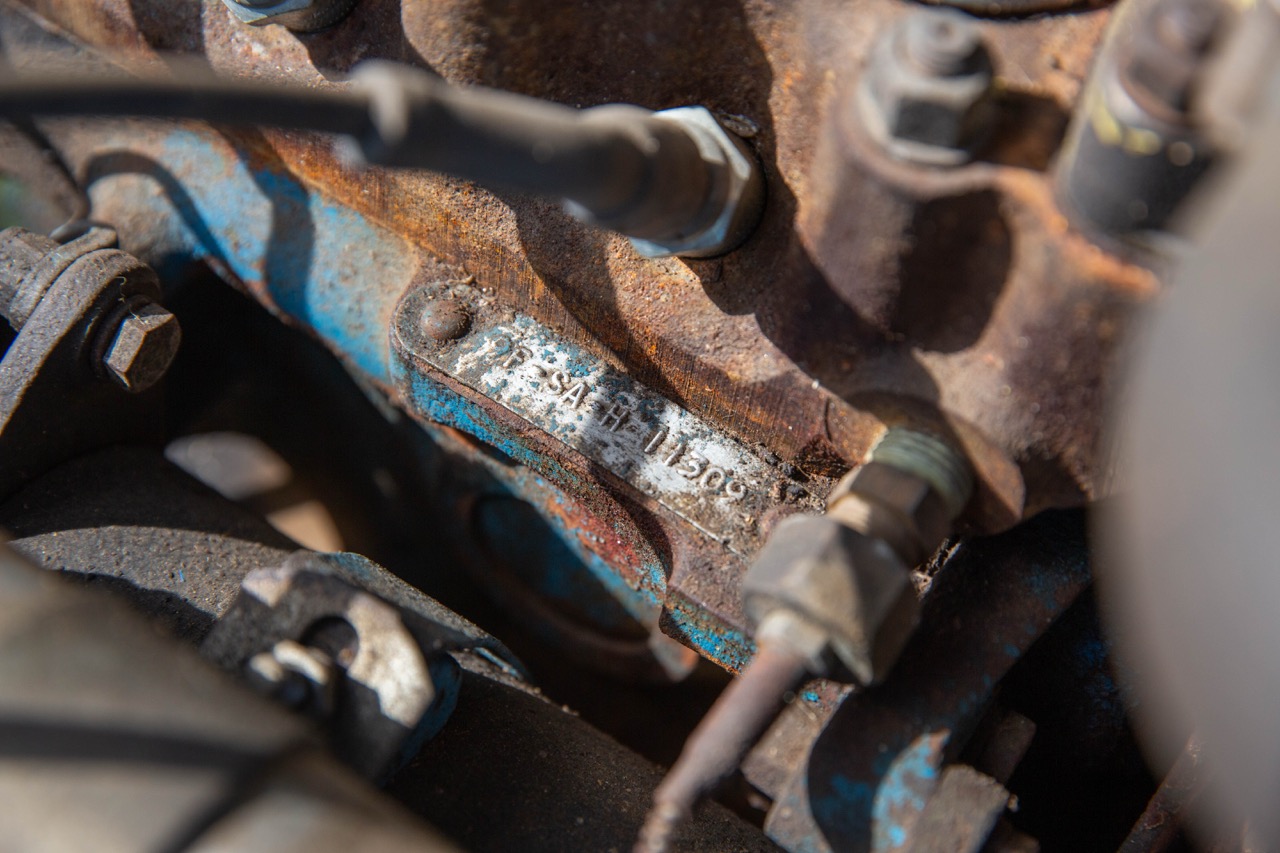
It appears to be a replacement head- since 12G295’s were on 998 Coopers but 12G202 head on the 997. Nice car.